# FEP Film Replacement Step by Step for Resin Printers 2026
Replacing the release film on an MSLA resin printer takes about 20 minutes and needs nothing more exotic than a hex wrench, a plastic scraper and some isopropyl alcohol. You drain the vat, unscrew the tension frame in a diagonal cross pattern, peel off the old sheet, clean the frame and screen, then seat the new film on the pre-punched holes and tighten it back down the same way.
Here is the direct answer. **FEP film replacement step by step** comes down to four things: identifying the correct film type and hole pattern, draining and cleaning the vat, releasing the frame evenly instead of one corner at a time, and re-tensioning the new sheet in a cross pattern until it feels drum-tight. Skip any one of those and the result is usually a sheet that wrinkles, leaks, or refuses to release a layer.
Do it because the film degrades even when nothing goes wrong. Standard FEP typically runs 30-50 prints before it needs swapping, and nFEP or PFA last two to three times longer.
## What You Need
Confirm what your printer uses before you buy anything, because the wrong sheet simply will not clamp down properly. Most single-exposure printers use a tension frame with screws around the vat perimeter and a pre-punched sheet, while a few use a clamp-style or spring-loaded design that takes the same film in a different carrier.
Start by checking the model documentation for the membrane type and the film dimensions. If the original film is still attached, measure the frame opening and the spacing of the mounting holes. If it has already been stripped, the replacement sheet sold for your exact model is the safest bet, and pre-cut sheets with the right hole pattern save you trimming.
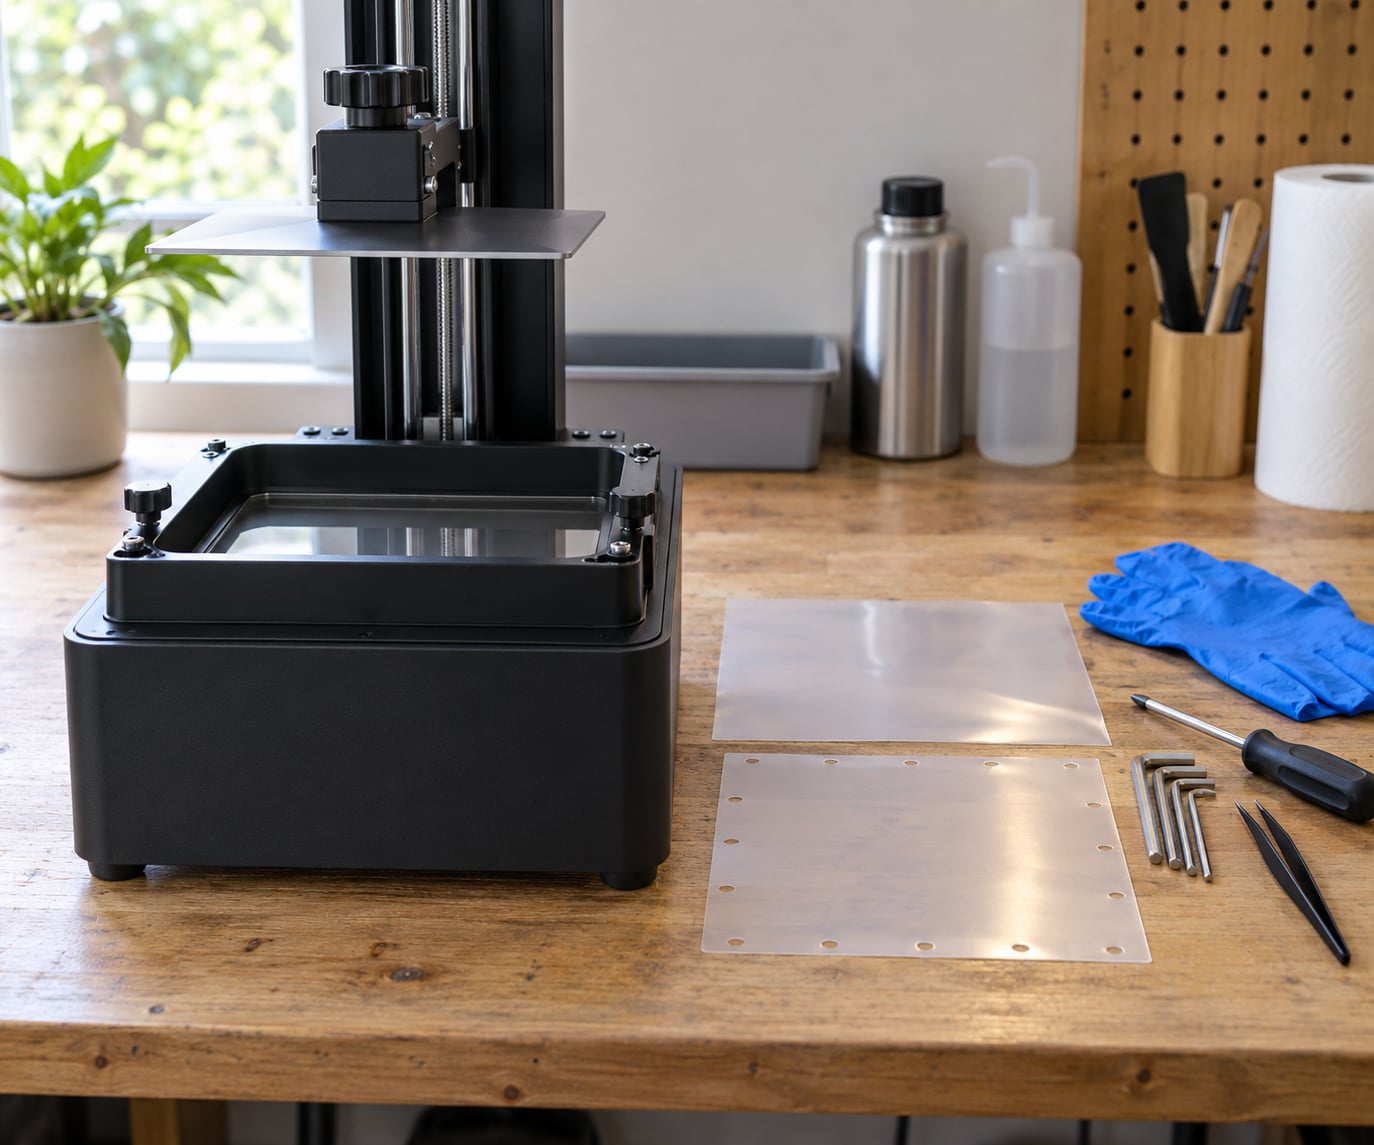
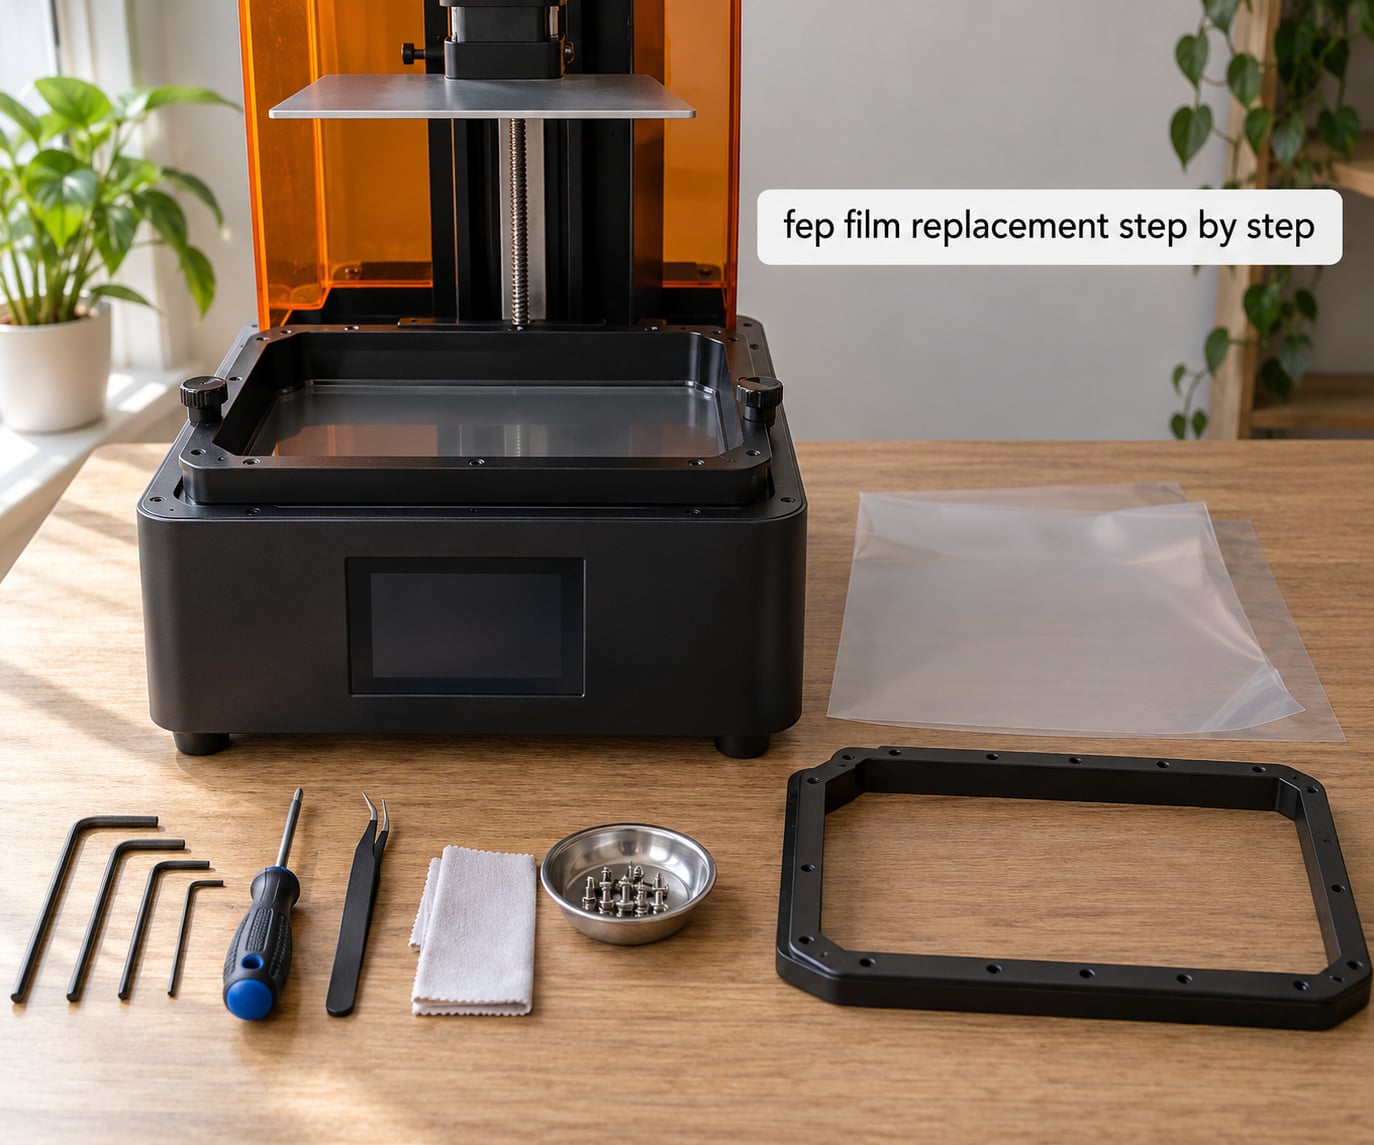
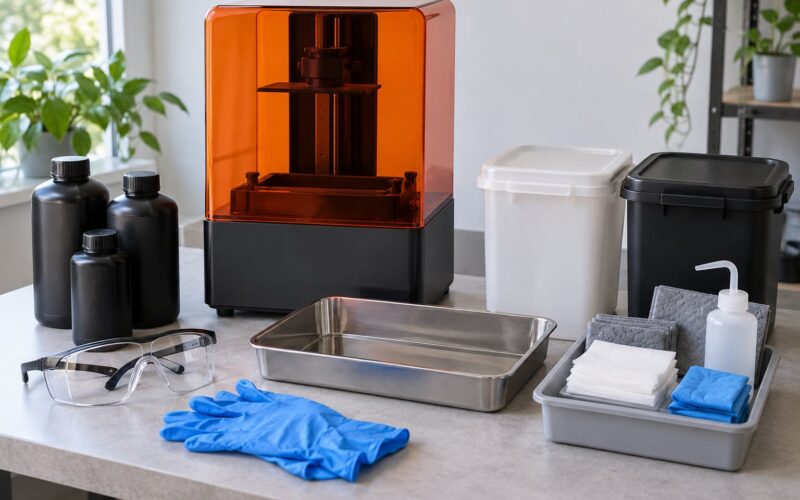
Then gather the tools:
– **Hex wrenches sized to your frame** — commonly 2.5mm and 3.0mm on consumer printers, but check yours rather than forcing a mismatch.
– **Plastic scraper or spatula** — the soft kind. Metal and the rigid plastic spatulas that ship in some printer kits will scratch the film permanently.
– **Soft brush or lint-free wipes**
– **Isopropyl alcohol, 90% or higher** — for the frame and screen.
– **Nitrile gloves and a rag or paper towels** — uncured resin is a skin sensitiser, and it will not wash off with soap alone.
– **Replacement film** — plus the foam spacer if your printer uses one.
– **A phone** — optional, for a tuning app that reads tension frequency.
### FEP, nFEP or PFA: Which Film Should You Fit?
FEP is the default. nFEP is a smoother, more non-stick variant that extends film life, and PFA is the newest generation, sold by some manufacturers as an upgraded FEP. All three fit the same frame, so this is purely a life-versus-friction decision.
Film type
How it behaves
Expected life
Watch out for
Standard FEP
Works well, but clings more as it stretches
30-50 prints
Peel force climbs over time; most common choice
nFEP
Smoother surface, layers release with less force
2-3x longer than FEP
Costs more; slightly less optically clear
PFA
Most durable and most non-stick of the three
2-3x longer than FEP
Handle carefully while seating; no metal tools near the sheet
Work in a ventilated space, keep uncured resin away from skin and eyes, and never pour resin down a drain. Do the job with the printer powered off and the build platform raised clear of the vat.
## FEP Film Replacement Step by Step
### 1. Identify the Film and Printer Type
Confirm the membrane type, film dimensions and hole pattern against your printer documentation before removing anything. If the frame uses a foam spacer, note where it sits and how thick it is, because that spacer sets your target tension.
Take a photo of the frame screw layout while it is still assembled. When you refit it, you will want the same screw positions and the same film orientation relative to the vat.
### 2. Remove the Resin and Clean the Vat
Pour the remaining resin back through a filter into its bottle, or into a sealed container if you will not reuse it. Wipe the vat out with isopropyl alcohol, then lift the build platform out so nothing can drop onto the film during the rest of the job.
If your printer allows the vat to detach from the frame, unclip it and set it on a padded surface. Vats with a screen protector underneath can stay in the machine; just keep the screen from being knocked.
### 3. Loosen the Frame and Remove the Old Film
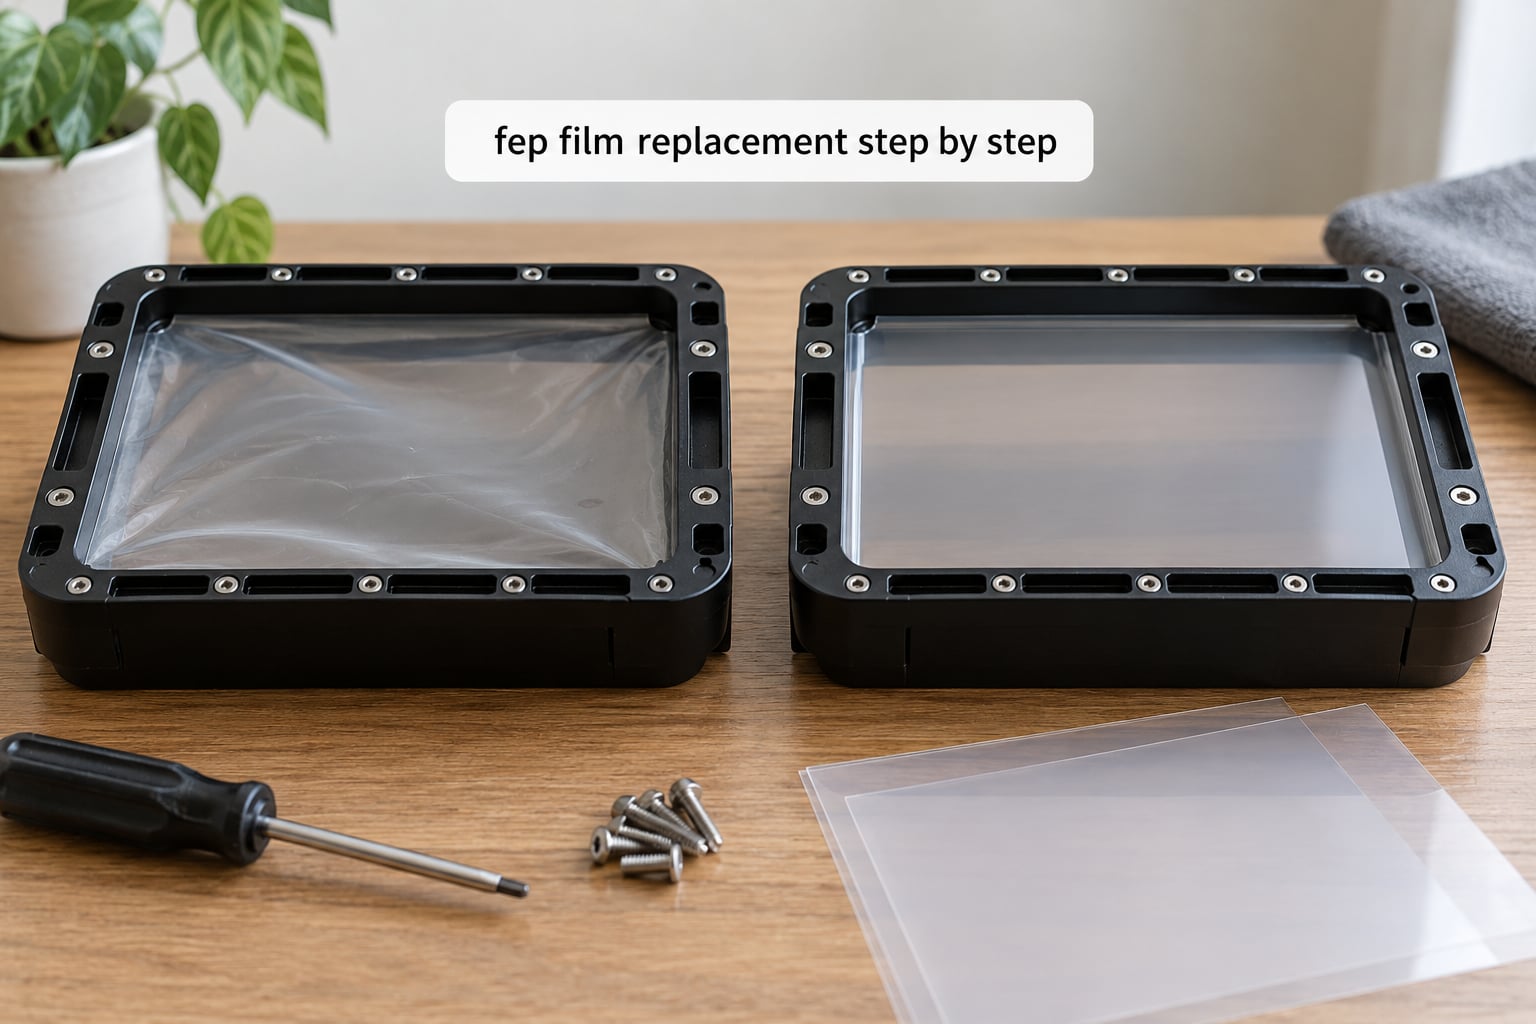
Unscrew the frame hardware in a **diagonal cross pattern**, not around the perimeter. Start at any screw, turn it one or two full rotations, then move to the screw diagonally opposite, then work through the remaining screws in the same alternating order.
This matters more than anything else in the procedure. Loosening the perimeter in sequence puts all the release on one corner, and that is what curls the film and cracks it. A cross pattern lets the tension leave the sheet evenly.
Lift the frame away and peel the old film off slowly. If cured resin has partly bonded to the film, work a plastic scraper under the edge and warm the sheet slightly with a heat gun on low if you have one. Pulling hard on a stuck sheet tears it, and torn corners are the most common reason a supposedly new film starts leaking within a week.
### 4. Clean and Inspect the Screen and Frame
Wipe the frame and the screen with isopropyl alcohol and a lint-free cloth, and clear every piece of cured debris. Trapped cured resin under the film telegraphs straight into the next print, so do not leave it behind even if it looks harmless.
Now check the parts that decide whether the job succeeds:
– **Screen:** any scratch you can feel with a fingernail matters. Fine haze is tolerable; a groove is not.
– **Frame:** look for flatness. A bent or cracked frame will never tension a sheet evenly.
– **Film channel:** clean and free of cured chunks, and free of old adhesive or resin residue.
– **Screws:** check the threads for stripped or burred heads before you need them mid-job.
### 5. Fit the New FEP Film
Seat the new sheet centred on the frame, aligning every pre-punched hole with its screw. The film should overhang the frame edge evenly on all four sides, with a consistent amount of material to trim off later.
Take the protective sheets off. **Remove them from both sides** — every layer of protective film on both faces has to go before the sheet goes anywhere near the vat. This is the single most reported reason a new film fails to release, and it looks exactly like a correctly fitted film, because it is. It just has a plastic coating between it and your resin.
Peel slowly, at a low angle, so the sheet does not stretch or crease as the adhesive releases. If you see small bubbles or a diagonal wrinkle forming, lift the sheet and reseat it rather than screwing it down first and hoping.
### 6. Reinstall and Tension the Film
Hand-start each screw a couple of turns so the frame holds the film in place, then tighten in the same **diagonal cross pattern** you used to remove it. Work in small increments — a fraction of a turn per pass — so tension spreads across the whole frame instead of concentrating in one area.
Stop tightening the moment the film goes drum-tight: firm, flat, and it rings slightly when tapped near the middle. A small foam shim or spacer between the frame and the vat, if your printer uses one, sets the correct offset; over-tightening past that point strains the Z axis and can crack the frame.
If you have a tuning app that reports a main frequency, aim for roughly 250-350 Hz on most consumer printers. A noticeably higher reading usually means the film is over-tensioned, and a low one means it will sag and wrinkle under the vat when heated.
### 7. Test for Leaks and Print Readiness
Pour a small amount of resin back in, wipe the frame edge clean, and look underneath the vat. Any film that has crept past the channel will show as a wet line or a bead forming under the frame. If you see it, back the screw off slightly and re-seat the sheet rather than tightening harder.
Refit the build platform and re-level it. The vat height has almost certainly shifted when you removed the frame, and a badly levelled platform is the next thing to blame when prints fail after a clean film change.
Run a short test print or a burn-in layer set to the same exposure you use for a real model, and watch the first few layers form and release. Then re-filter the resin back into its bottle, wipe the vat rim, and you are back to printing.
### FEP Film Replacement Step by Step Summary
Confirm film type, dimensions, hole pattern and whether a foam spacer is used.
Drain and filter the resin; clean the vat; raise or remove the build platform.
Photograph the screw layout, then loosen in a diagonal cross pattern.
Lift the frame and peel the old film slowly with a plastic scraper.
Clean and inspect the screen, frame and film channel; clear all cured debris.
Seat the new film centred on the pre-punched holes, with even overhang.
Remove the protective sheets from both sides, then reseat if any wrinkle appears.
Hand-start the screws, then tighten gradually in the same cross pattern to drum-tight.
Check for leaks, re-level the platform, run a test print, and filter the resin back.
## Common FEP Film Replacement Mistakes
Almost every film change that goes wrong traces back to one of a handful of things, and all of them are avoidable. Here is what each symptom usually means.
Symptom
Likely cause
Fix
New film does not release at all, even at normal settings
Protective sheet still on one or both sides
Remove the film, strip every protective layer, reseat and re-tension
Prints stick, or the layer tears instead of lifting
Film is over-tensioned, or the wrong spacer is used
Back off the screws a quarter turn at a time; fit the correct foam shim if the printer uses one
Film wrinkles or creases when tightened
Sheet not seated squarely on the pre-punched holes, or tension released unevenly
Loosen fully, realign the holes, and retighten in a cross pattern
Resin seeping under the frame or out of the vat
Frame channel not clean, or sheet edges not tucked in evenly
Clean the channel, reseat with even overhang, and re-check each corner
Film pops loose again after a few prints
Under-tensioned, or screwed down in perimeter order
Retension in a cross pattern until drum-tight
Cloudy, milky patches that will not wipe off
Film has degraded and scattered the UV enough to under-cure layers
Replace the film; scrubbing will not fix it
Sudden streak of failures with no setting change
Silent micro-damage from a metal tool or the rigid plastic spatula
Replace the film and use a soft silicone scraper from now on
Two habits prevent most of these. Never touch the film with metal or a hard plastic scraper, and always clear cured debris while the vat is open, since a chunk under the film telegraphs into every layer above it.
Between changes, filter your resin back into its bottle, wipe the vat rim, and store the printer out of direct sunlight. A screen protector under the LCD is cheap insurance against the one mistake that is genuinely expensive.
## Frequently Asked Questions
How do I know if my FEP film is too loose or too tight?
Too loose and the film sags or wrinkles when the vat warms, and layers release without force. Too tight and prints grip hard enough to tear, and the frame can strain the Z axis. Drum-tight is the target: firm, flat, and it rings when tapped near the centre. With a tuning app, aim for a main peak around 250-350 Hz on most consumer printers. Judge by feel first, and use the app if you want a number you can repeat.
How often should I replace FEP film?
Treat roughly 30-50 prints as the routine interval for standard FEP, and check it sooner if you print resin that bonds aggressively. nFEP and PFA usually run two to three times longer, so a swap every 100 prints or so is reasonable for those. Real life varies widely, and one user tracked around 60,000 releases before replacing. Keep a rough release count in your slicer notes rather than trusting a date.
What is the difference between FEP and nFEP film?
Both are fluoropolymer release films that fit the same tension frame. nFEP has a smoother, more non-stick surface, so layers release with less peel force and the film resists clouding as it stretches. That makes it last two to three times longer than standard FEP. The trade-off is a higher cost and slightly less optical clarity, which matters little on consumer printers but can matter on machines calibrated for fine dental work.
Can a cloudy FEP film really cause a print to fail?
Yes, and it is a mechanical failure, not a settings one. A clouded film scatters the UV coming off the LCD array, so each layer receives less usable light and under-cures. Under-cured layers stick to the film instead of lifting, adhesion to the build plate weakens, and you get failures at the bottom of tall prints with every exposure, lift and slicing value already correct. Replace the film before you start changing settings.
Do I need a spacer when tightening FEP?
Only if your printer’s documentation calls for one. Many frames include a foam shim that sets a deliberate tension offset, and tightening past that point strains the Z axis and can crack the frame. If your printer ships a spacer, fit it exactly as specified. If it does not, tension the film to drum-tight and stop. Users who tightened with no spacer and later added the correct one generally reported the frame surviving and the film behaving far better.
Do I need to replace the whole vat or just the film?
Just the film in almost every case. Replace the whole vat only if the screen itself is scratched deep enough to catch a fingernail, the frame is bent or cracked, or resin has crept under the frame and stained or deformed the vat wall. None of those are fixed by new film, and continuing to print on a grooved screen means every layer after that point keeps the defect. If the frame is damaged, fit a replacement vat rather than trying to true it up.
## Conclusion
FEP film replacement step by step is straightforward once you stop treating the frame screws as eight separate fasteners. Release them in a diagonal cross pattern, seat the new sheet on the pre-punched holes, strip the protective layers from both sides, and tighten back down in that same cross pattern until the film is drum-tight.
Before you touch anything, confirm the membrane type, film dimensions and whether your frame uses a foam spacer. While the vat is open, clear all cured debris and check the screen for anything you can catch a fingernail on. Then check for leaks, re-level the platform and run a short test print before you commit to a full job. Most film problems trace back to skipping one of those three steps, and all three take five minutes.