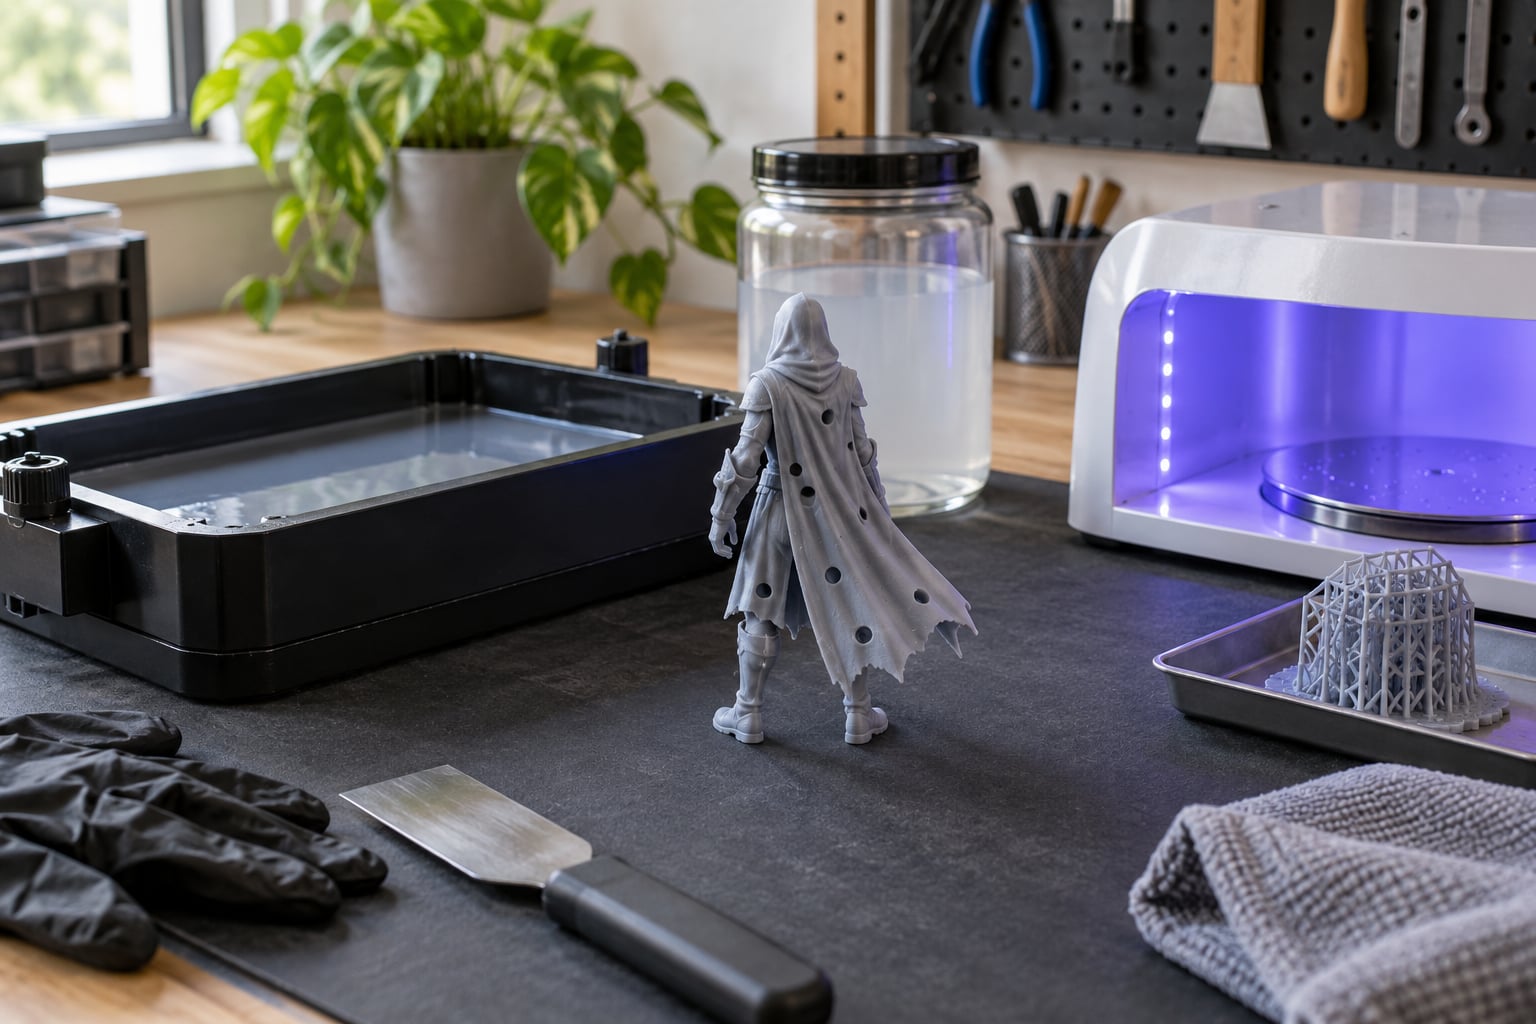
Hollowing a resin model means replacing its solid interior with a thin shell, then cutting at least two drain holes so uncured liquid resin and trapped air can escape instead of being sealed inside. You do it in a mesh editor or your slicer before printing, and you finish the job at the wash station, where the cavity has to drain fully before curing.
Most resin printers lay down dense parts by default, which is fine for a dice or a bracket and wasteful for a bust, a large figure or a diorama base. Hollowing cuts resin use, makes the finished piece lighter, and shortens print time. The catch is that a sealed shell behaves like a suction cup on the build plate, so it can implode on the plate or crack days later after curing.
This guide walks through the whole process for how to hollow and drain resin models, from orienting the mesh to sealing the holes at the end. Budget about 20 minutes of prep per model; the hollowing itself is quick once you know which command lives where.
Table of Contents
- 1What You Need
- 2Step-by-Step: How to Hollow and Drain Resin Models
- 3How to Hollow a Resin Model in Slicing Software
- 4How to Drain Resin Models Without Traps or Leaks
- 5Rinse, Cure and Finish the Hollow Print
- 6Common Mistakes
- 7The model imploded or split on the plate
- 8It cracked days later, after curing
- 9Drain holes clogged or not draining
- 10The hollow print dropped into the vat
- 11Cloudy or sticky interior surfaces
- 12Walls feel fragile after curing
- 13Frequently Asked Questions
- 14Should you hollow out resin prints?
- 15How big should resin drain holes be?
- 16Do I need two drain holes or can I use one?
- 17Can I close the drain holes after printing?
- 18What wall thickness should a hollow resin print have?
- 19Can you overcure resin models?
- 20Conclusion
What You Need
You need a mesh editor, a slicer, a way to wash, a way to cure, and basic protective gear. Some of that you already own if you print resin at all.
- Mesh editor. Meshmixer is the free standard and it is what most people mean when they talk about hollowing. Autodesk Meshmixer handles shell offset and hole placement cleanly, and it is free. Blender works too, through the Solidify modifier, if you already model there.
- Slicer. Chitubox, Lychee Slicer, OrcaSlicer, PrusaSlicer and Cura all have hollow tools. Formlabs PreForm has its own shell and hole workflow if you print on a Formlabs machine.
- Wash station or container. Any watertight jar or a purpose-built wash station, plus 99% isopropyl alcohol. Water-washable resins need water and detergent instead.
- UV cure box or lamp. Most UV lamps run 405 nm and suit most standard resins. Follow the time your own resin specifies rather than a generic timer.
- Safety gear. Nitrile gloves, a ventilated workspace, and glasses if your lamp runs at 405 nm. Uncured resin is a sensitizer and it goes straight onto skin and into your prints.
- Optional finishing kit. Two-part filler putty for closing drain holes, sanding sticks, a small drill bit and a paper towel for catching drips.
One optional item matters more than the rest: a small hand drill. It is the difference between saving a solid print that has trapped resin inside and losing it.
Step-by-Step: How to Hollow and Drain Resin Models
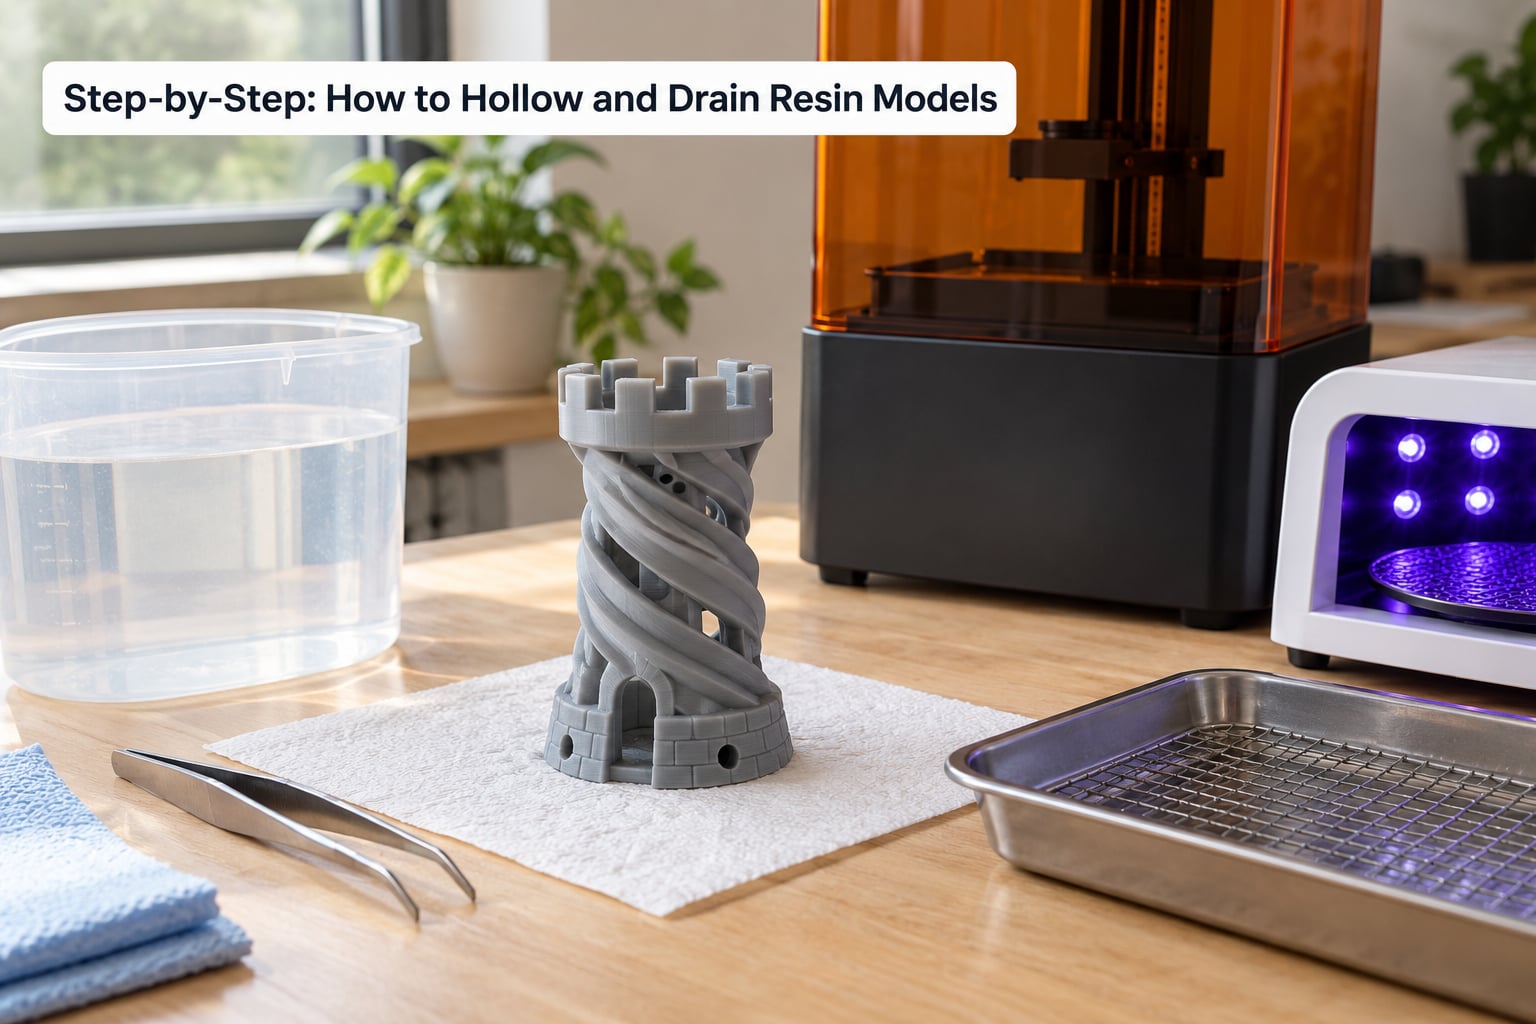
Read through all seven stages before you start, because the order matters more than any single setting. The one rule that catches beginners: orient the model first, then find the new low and high points. Hollow holes placed before orientation end up facing a wall instead of the floor.
How to Hollow a Resin Model in Slicing Software
Start by importing the STL and orienting it the way you intend to print it. Auto-orient tools get you close, but check the result yourself, especially for overhangs that would need heavy support. Once the model sits where you want it, the lowest point of the print is the point where resin would pool.
In Meshmixer, the reliable sequence runs through three commands. Start with Edit, then Generate Face Groups, which shades the model by angle and makes it much easier to spot where resin would gather in an internal corner. Next use Edit, then Hollow, and set the offset distance between 1.5 and 2 mm. That offset is your wall thickness, and 2 mm is the practical minimum for most resin shells.
The reason 2 mm keeps coming up is peel force. Each layer is pulled off the FEP film with real mechanical force, and a thinner wall buckles inward rather than resisting it. If you print a large figure, go to 2.5 or 3 mm. If you print a small scale miniature, 1.5 mm usually holds up fine.
PreForm handles this differently. You set the shell thickness in the print settings and use the dedicated hollow and hole tools on the model itself. Chitubox and Lychee Slicer both have a built-in hollow command plus a separate Hole tool where you specify diameter and depth. Some versions force you to hollow before you can cut a hole.
Readers on r/resinprinting have mixed feelings about slicer-native hollowing, mostly because it can leave artifacts on the mesh. Hollowing in Meshmixer and exporting a clean STL, then importing that into Chitubox or Lychee, is the more predictable path.
Export the hollowed model as STL and bring it into your slicer for supports and layer settings. Turn islands on. Then check for cupping, which is resin that pools in an internal corner during a peel even in a hollow model. Most slicers have a cupping inspection view that shows you exactly where it collects, and it tells you where to put a vent hole.
How to Drain Resin Models Without Traps or Leaks
Two holes is the minimum, and they do two different jobs. The low hole is a vent: it lets air into the cavity as liquid resin leaves, so the cavity never goes sealed. The high hole is the drain: it lets resin out as the print comes off the plate. One hole cannot do both jobs reliably, which is why people who cut only one hole tend to find resin still sitting inside.
Size matters as much as count. Start at 2 mm diameter for a tabletop miniature, use 3 mm for a bust, and go to 4 mm or larger for a full-size figure or a large prop. Community practice on Tabletop Battles settled on two well-spaced holes of at least 2 mm radius, or a single 3 mm radius hole, with a simple preference for bigger. If a hole is too small, it will not clear fast enough during each peel, and resin will still be inside at the end of the print.
Place the low vent hole at the lowest point of the printed model, usually underneath or tucked behind a foot, and the high drain hole at the highest point of the cavity. If the model is printed on its back, the low point is now the back of the head. That is exactly why orientation comes first.
To get one clean opening instead of a scatter of small ones, cut overlapping holes. Chitubox lets you place several holes in the same spot to open up a wider channel. In Meshmixer you can hollow first and then plane-cut the hole straight through, which gives you a single clean cylinder.
Hiding the holes is the part people complain about most, and it is solvable. Put the hole on the underside where it sits flat against a base, drop it into an existing recess or under an overhang, or fill it after curing with two-part epoxy putty. You can also model a small printed plug that snaps into the hole from the inside. Nobody will see a filled hole on the bottom of a bust.
Before printing, do one manual check: tip the sliced model over in the slicer preview and confirm that liquid would run out of the low hole and air would enter it. If resin looks trapped anywhere, that is your cupping problem and you need another vent.
Rinse, Cure and Finish the Hollow Print
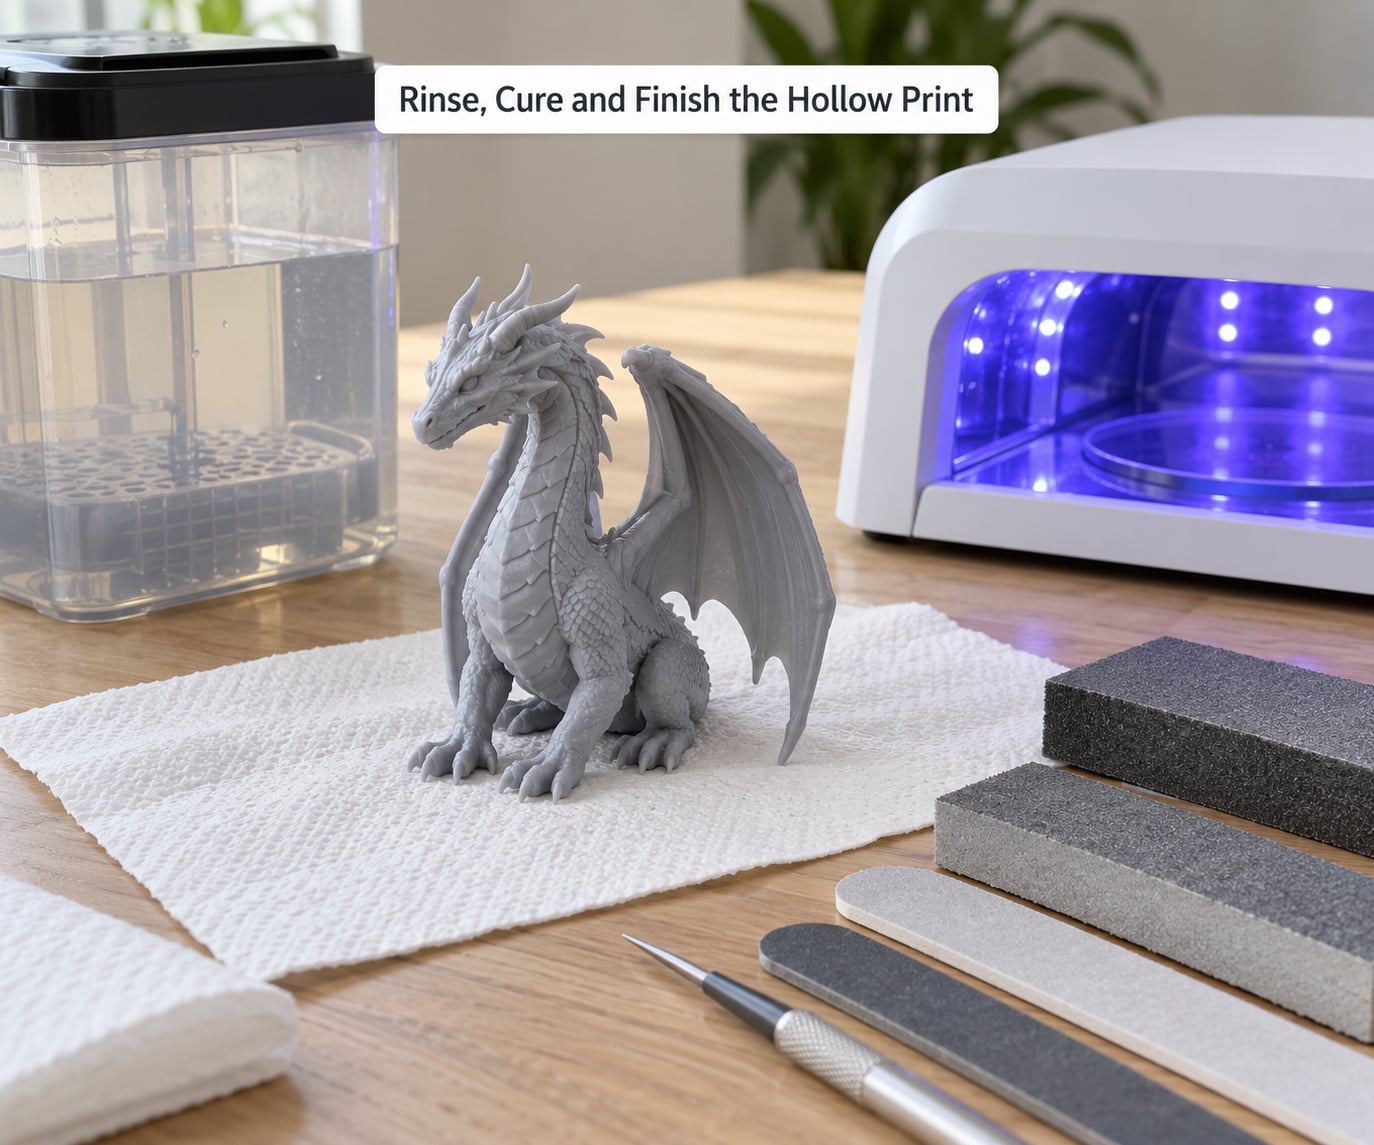
Remove the print from the plate with a plastic or metal spatula, working from an edge rather than prying at the model itself. Then wash it in isopropyl alcohol and drain it completely.
Draining is the step that gets skipped. Hold the piece over a paper towel, tilt it in every direction, and let it sit until nothing more comes out of the cavity. A thin stream you can barely see is still resin sitting against an inner wall, and that resin keeps reacting after you cure. Squeeze a little alcohol through the holes to flush the interior, then drain again.
Let the piece dry, then cure it. Follow your resin’s stated cure time rather than a generic one. Over-curing is real and it is worth avoiding, since resin that sits under a UV lamp too long turns brittle and chalky, and surface detail goes chalky and flat. Most people cure in short passes and check by touch between them.
Finish by sanding support marks, filling the drain holes if they are visible, priming and painting. If you used filler putty, sand it flush after it cures.
Wear gloves for the wash and cure stages and work somewhere with ventilation. Uncured resin on your skin is a sensitizer, and it will show up as a rash weeks later.
Common Mistakes
Almost every hollowing failure traces back to one of four things: wall thickness, hole count, hole size or trapped resin. Work down that list in order.
The model imploded or split on the plate
A sealed cavity resists the lift as the layer peels off the FEP film, and the weakest wall gives way inward. The fix is not thicker walls. Cut a second hole at the lowest point so the cavity is never sealed, then confirm wall thickness is at least 2 mm.
It cracked days later, after curing
This one confuses people because the print looked fine. Uncured resin trapped inside keeps reacting and off-gasses, and the expanding gas splits a cured shell from the inside. It means the cavity was not fully drained or washed before cure. Drain longer, flush with alcohol, and check for cloudy residue inside before curing.
Drain holes clogged or not draining
Holes are usually too small, or positioned at the wrong height after orientation. Enlarge them to 2 mm and up, and check that the low hole actually sits at the lowest point of the printed orientation rather than the lowest point of the original mesh.
The hollow print dropped into the vat
A thin shell can peel unevenly, especially on large models. Raise wall thickness to 2.5 or 3 mm, add more supports on large flat faces, and check that your plate isn’t tilted more than a couple of degrees.
Cloudy or sticky interior surfaces
Resin stayed in the cavity. Wash longer, flush alcohol through the holes, and give it extra drain time. Do not cure first and wash later, because curing locks that residue permanently into the part.
Walls feel fragile after curing
Thin walls and over-curing have similar symptoms. Print the next one at 2.5 to 3 mm, or add internal ribs or gyroid infill inside the shell for larger models. And cure to the resin’s spec rather than far past it.
Frequently Asked Questions
Should you hollow out resin prints?
Usually yes, for anything larger than a small part. Hollowing cuts resin use sharply, lightens the finished piece and shortens print time, and it prevents the suction failure that tears shells off the build plate. The exceptions are parts with thin legs, load-bearing pieces and snap-fit features, where a hollow shell is weaker than a solid one. On a bust or large figure, hollowing is close to mandatory.
How big should resin drain holes be?
At least 2 mm diameter for a tabletop miniature, 3 mm for a bust, and 4 mm or larger for a full-size figure or prop. Small holes do not clear resin fast enough during each peel, so liquid stays trapped even when the hole technically exists. You can overlap holes in Chitubox or plane-cut straight through in Meshmixer to get one clean wide opening instead of several small ones.
Do I need two drain holes or can I use one?
Use two. The low hole vents air into the cavity while the high hole drains resin out of it, and those are separate jobs. With only one hole, air has no reliable path in, so the cavity can behave like a sealed suction cup and either slow the drain or resist the peel. Orient the model first, then place one hole at its printed low point and one at its printed high point.
Can I close the drain holes after printing?
Yes. Two-part epoxy putty works well on small holes, sanded flush after it cures. You can also print a small plug that snaps into the opening from the inside, or place the hole where it is invisible, such as under a base or in an existing recess. Seal only after curing and after the cavity is fully dry, or you will trap resin against the patch.
What wall thickness should a hollow resin print have?
Two millimeters is the practical minimum for most resin shells, because thinner walls buckle under peel force. Small scale miniatures can drop to 1.5 mm. Large figures, busts and props do better at 2.5 to 3 mm, and internal ribs or gyroid infill add strength without adding resin. Below 1.5 mm you should expect splits on the plate.
Can you overcure resin models?
Yes, and it does real damage. Resin that sits under a UV lamp longer than its specified cure time turns brittle, loses flexibility and goes chalky, which flattens fine surface detail. Cure in short passes and check the piece by touch between them. Most beginners find this out late, because the part looks fine right up until handling breaks it.
Conclusion
Start with orientation, then hollow at 2 mm wall thickness, then cut one low vent hole and one high drain hole at 2 mm and up. That three-step workflow in Meshmixer, exported as a clean STL and re-sliced, solves most hollowing problems before the printer is ever switched on.
Two checks catch the rest: run the slicer’s cupping inspection to find trapped resin, and let the cavity drain completely after washing. If you only remember one thing about how to hollow and drain resin models, it is that a sealed shell is the real enemy. Give it somewhere for air to come in and somewhere for resin to go out, and it will print.