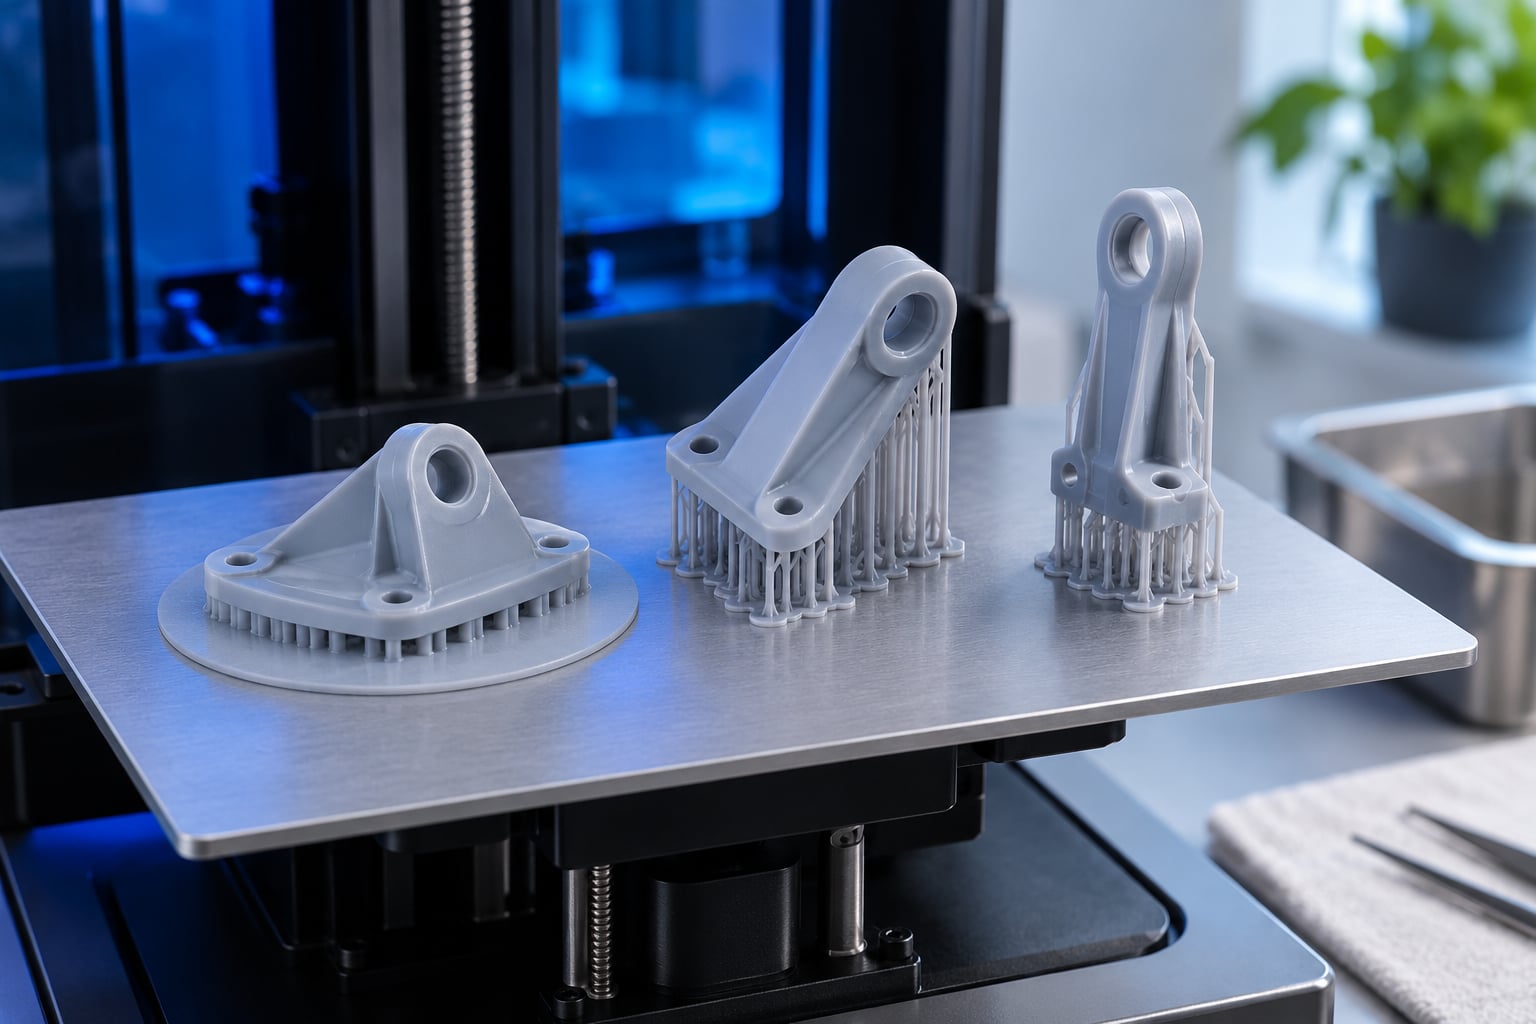
Most resin print failures trace back to a decision you make in about ten seconds: how the model sits on the build plate. To orient resin prints to avoid failures, tilt the part 15 to 45 degrees off the plate, with 30 to 45 degrees the range most people settle on, so every cured layer peels away as a thin strip instead of one wide suction-cup-shaped sheet. Get it wrong and you get layer shifts, cracked faces, or a part that rips off the plate three hours in.
The rest of this guide is the workflow I work through before every orientation change: pick the contact point, set the angle, hide the supports, hunt for floating pixels, decide on hollowing, then verify with a small test. It takes a couple of minutes once you know what each step is actually fixing.
Table of Contents
- 1What You Need
- 2Step-by-Step: How to Orient Resin Prints to Avoid Failures
- 31. Inspect the Model and Print Settings
- 42. Choose a Stable Build Direction
- 53. Set the Best Angle With Auto or Manual Orientation
- 64. Position Supports at the Right Contact Points
- 75. Hollow the Model Without Creating Failure Points
- 86. Add an Island and Raft That Fit the Geometry
- 97. Preview the Entire Print for Failure Clues
- 108. Run a Small Test Print and Correct the First Failure
- 11Common Mistakes
- 12Frequently Asked Questions
- 13What is the best angle for orienting resin prints?
- 14Should I use fewer supports on a resin print?
- 15How do you orient a resin print with holes?
- 16How do you hollow a resin print without trapping uncured resin?
- 17Should large resin models be hollowed before printing?
- 18Conclusion: Start With a Test Print
What You Need
You need very little to test an orientation properly.
- An MSLA or LCD resin printer. Any masked stereolithography printer gives you the same peel problem, whether it is a consumer Mars or Saturn series machine or a shop-floor unit.
- A supported model file. STL or OBJ that your slicer can open without repair prompts.
- A current stable version of Lychee Slicer or ChiTuBox. Both do auto orientation and both have a manual override.
- An IPA wash station and a curing unit. Not needed for orientation itself, but you cannot judge a test coupon without them.
- A small test model. Something roughly 30 to 40 mm tall is plenty.
Optional but useful: a plate of a translucent or bright resin so islands show up clearly in the preview, and a set of printed coupons you can re-orient and compare side by side.
You do not need a finished, hollowed, support-optimised print to test an orientation. That is the point. Nail the geometry with a cheap test model first, then apply what you learned to the real part.
Step-by-Step: How to Orient Resin Prints to Avoid Failures
I run the same small bracket through Lychee Slicer and ChiTuBox for every orientation change. The eight steps below are the same in both, but the menu labels are not always identical — where they differ I have named both, and in a few builds the same feature sits under Support instead of Orientation.
1. Inspect the Model and Print Settings
Before you touch the model, know what you are working with. Look for fragile projections, thin walls, deep recesses, holes and undercut detail — those are the features that decide the angle.
Then check the print settings that interact with orientation. Resin viscosity, exposure time and lift speed decide how aggressively each layer is pulled off the FEP or nFEP film, and a stiff fast resin punishes a bad orientation harder than a soft slow one. A model with 0.4 mm fins and a model with 3 mm walls cannot take the same tilt.
Orientation cannot rescue an unstable setup. If the first three layers are not bonding, fix exposure and plate levelling before you start rotating things.
2. Choose a Stable Build Direction
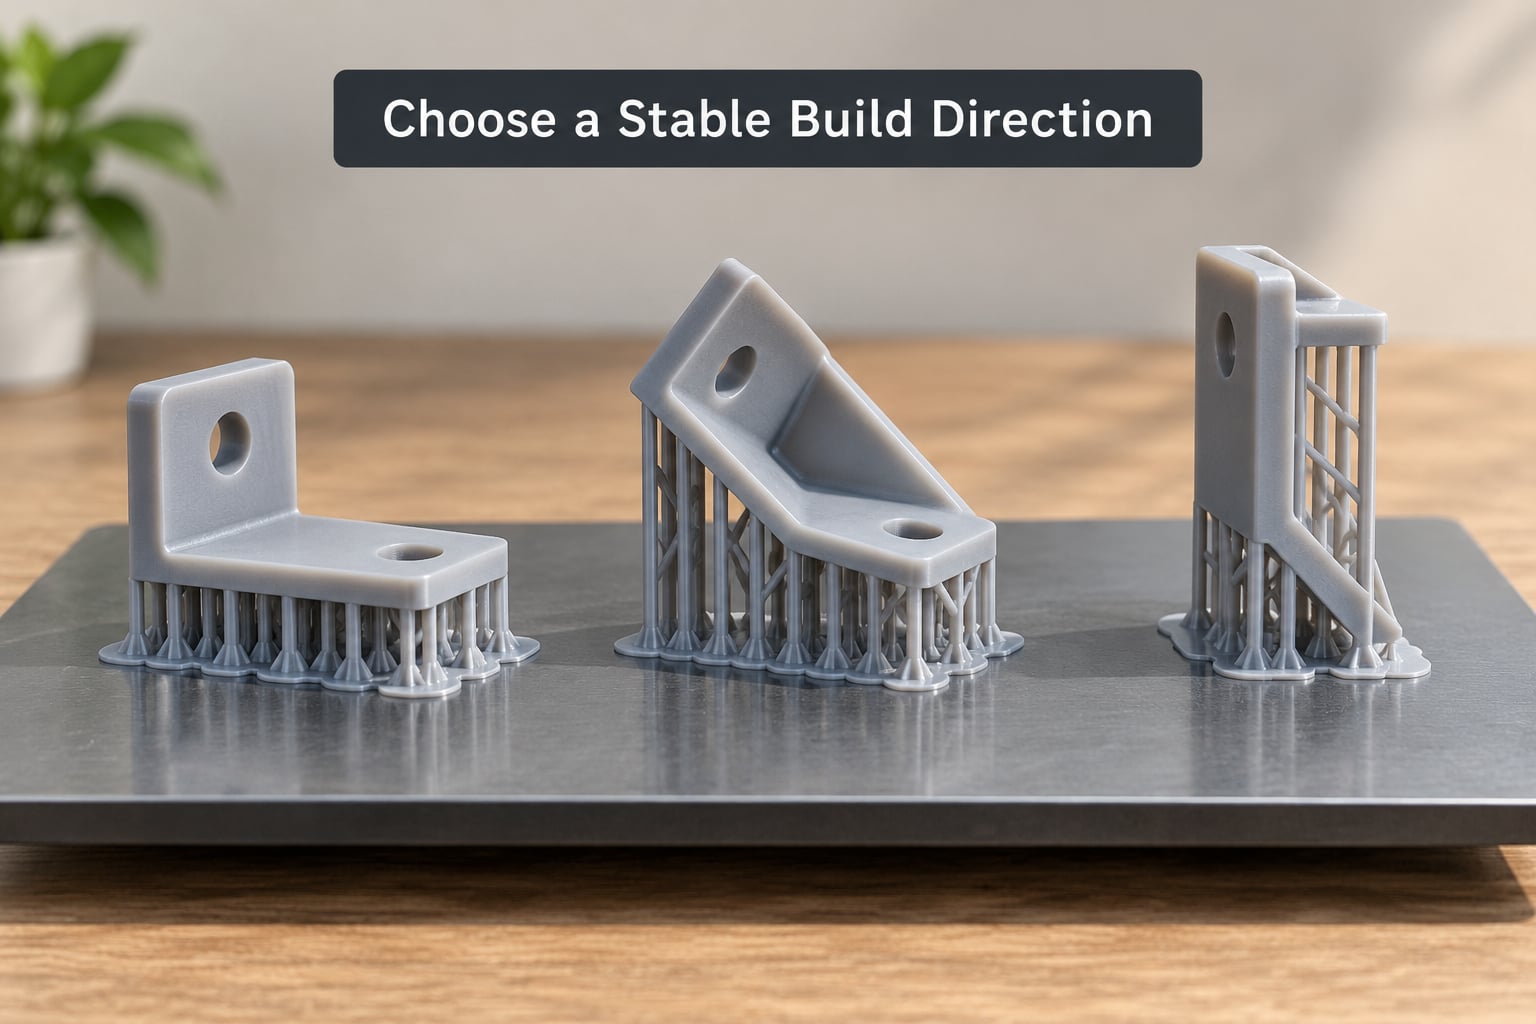
The core rule is simple: put the largest, flattest surface on the build plate, then turn the model so its overhangs sit inside the angle your resin can hold on its own. Holes, bridges and shelves go toward the plate, because that is where you can support them cheaply and hide the marks.
This is also where most people confuse two different moves. Tilting is rotating the part away from the plate by an angle. Rotating is spinning it around the vertical axis. A part tilted 45 degrees to the front has a completely different footprint from the same part tilted 45 degrees to the right, and a different support pattern too.
| Angle from the plate | Best for | What it costs you |
|---|---|---|
| 0 degrees, flat | Very small parts, thin rafts, simple coupons | Maximum suction, highest risk of cupping and mid-print detachment |
| 15 to 25 degrees | Jewelry, thin flat parts, models with delicate detail on the base | Short shadows, few supports, but a narrow footprint that grips less |
| 30 to 45 degrees | Most miniatures, busts, general purpose parts | Taller print, more resin, more supports to clean off |
| 45 to 60 degrees | Hollow boxes, tall thin features, interior detail | Longer prints and side supports that mark visible surfaces |
| 70 to 90 degrees | Vertical stems, small standing figures, clear parts | Needs a well-drained hollow and careful side support contact |
Weak and fragile orientations share one feature: the load-bearing cross section sits perpendicular to the layer lines, or the largest flat area sits square on the film. A 100 mm base printed flat is a suction cup. A one millimetre rod printed upright is a delamination waiting to happen.
3. Set the Best Angle With Auto or Manual Orientation
Auto orientation gets you most of the way. In Lychee Slicer the button is called Auto Orient and it places the model to minimise support volume and height; ChiTuBox calls the equivalent Auto Rotate, and some versions add an Optimal placement option. Both do a reasonable job on organic shapes like figures.
Then override by hand. Take the test bracket and compare three positions: flat down, tilted 30 to 45 degrees, and stood on its side. For each one, check the contact area on the plate, the number of support points, the shadows the supports cast on finished faces, and where the layer lines end up on surfaces that matter to you.
Juggling a tall thin part upright to save height is where people get burned. It reads as efficient and prints like a coin tower.
4. Position Supports at the Right Contact Points
Supports exist to stop two things: material falling, and a cured layer hanging in mid-air. That means point supports on islands, on bottom faces that face the plate, and on overhangs past the self-supporting limit. Concentrate them where the load actually pulls.
The settings that matter are support density, support angle, support width, support offset and the critical contact option, which biases the slicer toward generating contact points on the plate. Getting them right in one pass is what makes it possible to use fine 0.2 to 0.4 mm tips — tips that sand off easily because they are small, and that would snap if they were fat and hugging a big flat face.
Do not just put every point straight down on the plate. A dozen small pads on one layer behave like a suction cup again. Angle a few supports so they break the seal, and use fewer, heavier points near the bottom with lighter fill supports elsewhere, which is roughly what people do over on r/resinprinting.
5. Hollow the Model Without Creating Failure Points
Hollowing cuts resin use and, more importantly, shrinks the cured cross-section at each layer, so peel forces drop. That is the single biggest win for a big figure, and the reason hollow side down at 45 degrees with internal supports is the standard recipe in the resin printing communities.
The failure point is trapped resin. Put a vent hole of roughly 3 to 5 mm at the lowest interior point so every cavity drains, and never leave a sealed pocket. Walls thinner than about 1.5 mm crack as the part cools, and resin that stays inside and cures later expands and splits the shell.
One ordering note that catches people out: add your supports before you hollow. ChiTuBox can drop supports inside the cavity after hollowing if you do it the other way round, and you will find them there after a failed print.
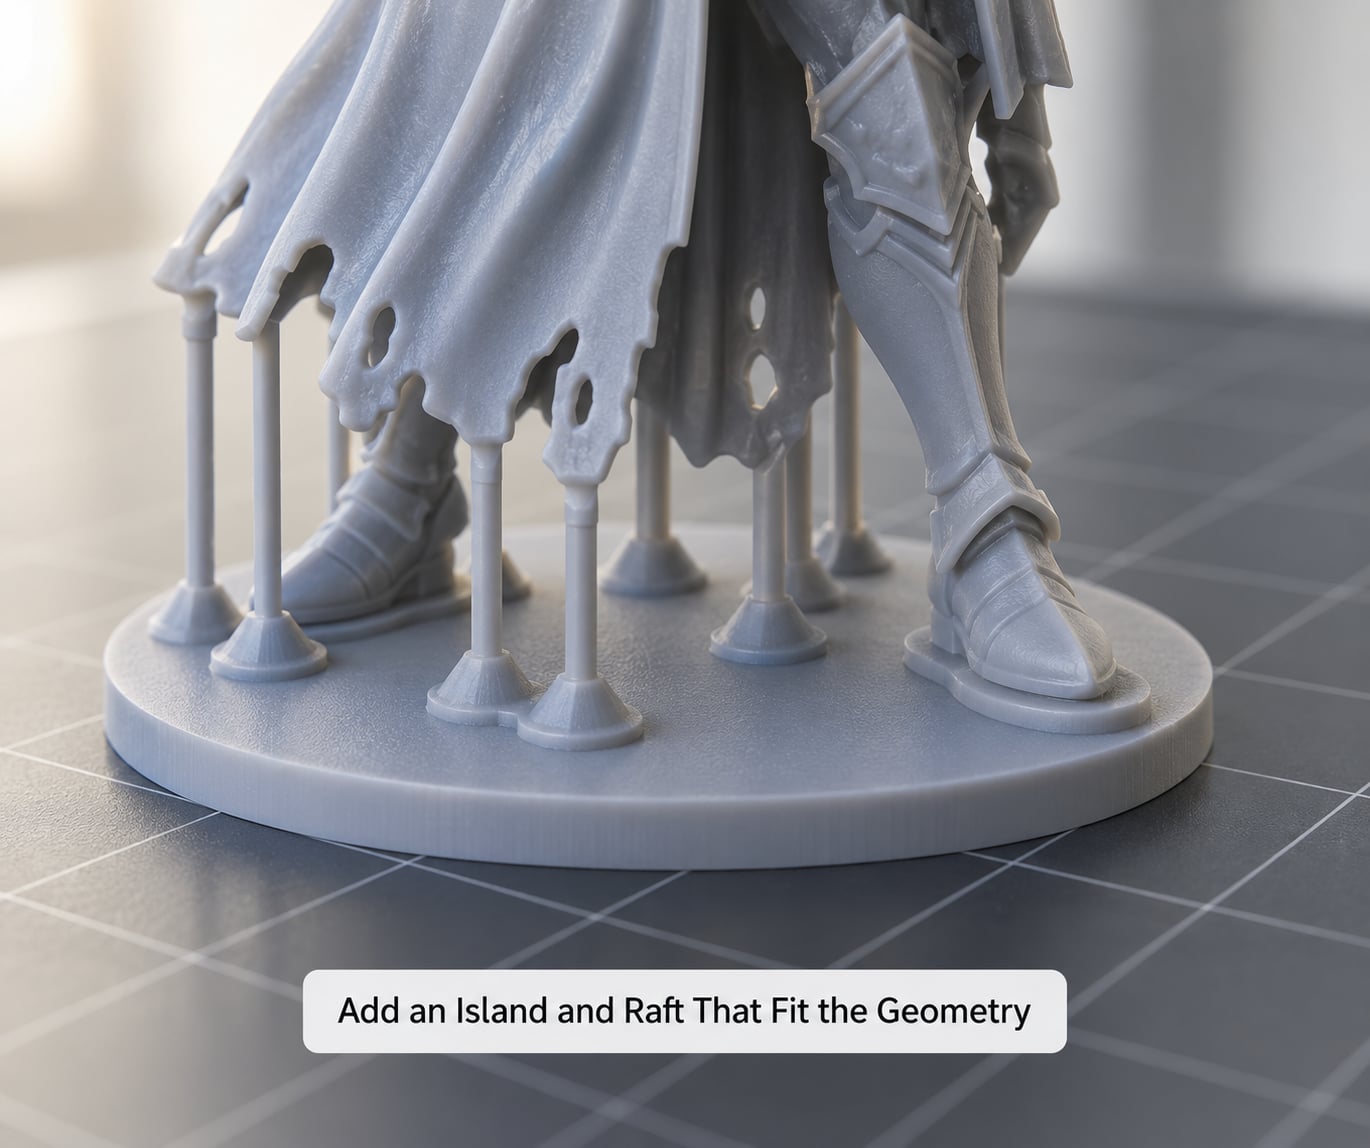
6. Add an Island and Raft That Fit the Geometry
A solid raft spreads the first-layer load over a wide area, which is what a small tilted part usually needs. An island lets you control exactly where the model touches the raft, which is useful when the footprint is uneven or when you want the attachment spread out rather than centred.
Size the raft to the model. Too small and the part tips off it as the print grows and the centre of mass moves. Too large and you are printing a heavy slab of resin for no benefit. Adjust thickness and adhesion settings for your film — an nFEP film generally wants less aggressive adhesion than FEP.
For very small parts, the trick people on the Formlabs forum use is overlapping the rafts of two or three copies so they merge into one larger contact area. You get the grip of a big raft without the delamination risk of printing the part itself flat.
7. Preview the Entire Print for Failure Clues
Open the layer slider and scrub from the bottom up, then look at the profile view. You are hunting for specific things.
- Floating pixels — single pixels or tiny fragments cured in mid-air. They fall onto the part and stick as warts.
- Disconnected islands — sections of geometry with nothing under them. Auto island detection misses plenty of these, and one user on r/resinprinting found a massive hidden overhang that ChiTuBox had not flagged at all.
- Unsupported projections — shelves and arms sticking out past what the resin can hold.
- Suction areas — wide, uninterrupted cross-sections on the profile view.
- Poor drainage — a hollow with no opening at the bottom.
- A model that is simply too tall — every extra millimetre is another chance to detach.
A green preview that passes auto island checks is not a pass. Auto detection works on connected geometry, not on whether the geometry is actually attached to anything.
8. Run a Small Test Print and Correct the First Failure
Print a short coupon or a simplified version of the model at two or three candidate angles, write down the orientation and settings for each, and put them side by side after curing. This is the only step that tells you something a slicer cannot.
Be honest about the cost of tilting. A 45 degree orientation can turn a two hour fifty minute print into one that runs past seven hours, and it does use more resin. For a big figure that is a fair trade. For a batch of small gaming minis, upright prints with overlapping rafts are often the smarter call.
| Symptom | Likely cause | Orientation fix |
|---|---|---|
| Ripped off the plate early in the print | Large cross-section, suction cup | Tilt 30 to 45 degrees, break up the footprint with angled supports |
| Detached around the middle layers | Peel force beat layer adhesion | Lower the height, raise the angle, hollow the part |
| Elephant’s foot around the base | Too much exposure on the first layers plus a soft base | Reduce exposure slightly, lift the model a touch, tilt to shrink the base area |
| Cracked after curing or a week later | Trapped uncured resin expanding, or thin hollow walls | Add 3 to 5 mm drainage holes, thicken walls to 1.5 mm or more |
| Visible ridges or grooves on one face | Film damage rather than orientation | Change the FEP or nFEP film before you reorient anything |
| Oval or squashed holes | Holes printed along the Z axis | Turn holes toward the build plate so they run on the X and Y axes |
| Stepping across a face | Tilt angle larger than the feature can carry | Reduce the tilt or stand the figure up and rely on raft overlap |
Common Mistakes
Most of the damage comes from a handful of repeated errors.
- Optimising for the fewest supports instead of stability. Minimum support volume is a slicer objective, not a print-quality objective. Fewer, well-placed contacts beat a forest of thin ones.
- Printing tall thin parts upright. A one millimetre post standing vertical peels away layer by layer until it lets go. Turn it sideways and the same geometry prints fine.
- Skipping islands and raft sizing. A tilted part with a raft that is too small tips mid-print. Check the footprint against the raft before you slice.
- Hollowing without drainage holes. Sealed resin pockets crack the shell later, and people usually blame the resin or the post-processing.
- Choosing an oversized raft. You print resin you will never use, and the extra mass makes removal harder.
- Rotating without checking the footprint. Plus 45 degrees and minus 45 degrees produce different support patterns and different plate coverage. Check the plate view, not just the model view.
- Trusting auto island detection and a green preview. It checks connectivity. You need to check attachment.
Before every print, run through a short check: the largest flat surface is near the plate, overhangs are inside the self-supporting angle, every floating fragment has a support or was deleted, the hollow drains, the raft covers the footprint, and the model is not taller than it needs to be. Then check the first few layers on the plate — if they look like they are not gripping, stop the print there rather than discovering it at hour three.
Frequently Asked Questions
What is the best angle for orienting resin prints?
Most resin printing guidance converges on 15 to 45 degrees off the build plate, with 30 to 45 degrees the usual range for miniatures, figures and general parts. The angle is not magic on its own. What matters is how much flat area each layer presents to the film, so a large part needs only a modest tilt. Transparent parts and vertical stems can go steeper, around 70 to 80 degrees.
Should I use fewer supports on a resin print?
Only after the orientation is already stable. Fewer supports means fewer points sealing against the film, so on a badly oriented part they make failures more likely, not less. Get the contact area and the tilt right first, then thin the supports out. Fine 0.2 to 0.4 mm tips are only practical on a tilted model, because they would snap on a wide flat face. Fewer, heavier contacts near the bottom beat many thin ones.
How do you orient a resin print with holes?
Turn holes so their axis runs along X and Y rather than Z. Holes printed on the Z axis come out oval, because each layer is a thin rectangle intersecting a circle at a slight angle, and the staircase effect stacks those errors into a visible taper. Holes that face the build plate also print rounder and take cleaner supports. The exception is a through-hole in a part you already want printed vertically for height reasons.
How do you hollow a resin print without trapping uncured resin?
Add a drainage hole of about 3 to 5 mm at the lowest interior point so every cavity empties, and check there is no sealed pocket anywhere in the shell. Keep walls at roughly 1.5 mm or thicker, because thin walls crack as the part cools. Wash thoroughly and inspect the inside with a light before curing. Resin that stays trapped cures later, expands, and splits the shell when you least expect it.
Should large resin models be hollowed before printing?
Yes, for almost anything above hand size. Hollowing cuts resin use sharply and shrinks the cured cross-section at each layer, which lowers peel force and makes a big model far less likely to detach mid-print. Print it hollow side down at an angle with internal supports, and add drainage holes before you start. Solid is still reasonable for small parts and for parts that need to resist heat or impact rather than weight.
Conclusion: Start With a Test Print
If you take three actions, make them these: keep the largest flat surface close to the build plate, build reliable support contact so the footprint is stable rather than sealed, and verify the whole setup with a small test print before committing hours of resin to the full model. Hollow and drain correctly at the same time, and most failures never start.