How to reduce resin print layer lines comes down to four things in this order: a correct Z-offset, a sensible layer height, the right orientation, and then surface work after curing. Layer lines are the ridge where each cured layer meets the one below it, so they can’t be removed completely — but you can shrink them from obvious to faint in a single afternoon of changes.
Most people I’ve watched fight this battle start in the wrong place. They drop layer height from 0.05mm to 0.02mm, triple the print time, and the lines are still there, because the real culprit was a wobbling Z lead screw or a plate that lost its level three weeks ago. Fix the machine first, then the model, then the finish.
This guide walks through that order. It takes about an hour of diagnosis and, if everything checks out, an afternoon of printing and sanding. No printer brand is assumed — menu names differ between slicers, but the physics do not.
Table of Contents
- 1What You Need
- 2Step-by-Step
- 3How to Reduce Resin Print Layer Lines With Correct Z-Height
- 4How to Reduce Resin Print Layer Lines With Better Orientation
- 5How to Reduce Resin Print Layer Lines With Stable Print Conditions
- 6How to Reduce Resin Print Layer Lines by Improving the Print Surface The build plate and the FEP film underneath it decide how evenly light reaches the first layers, and a dirty or cloudy window scatters light into a blur. Cloudy film means softer layer edges everywhere, which looks exactly like a bad exposure setting. Work through these checks in order: Clean the FEP film with isopropyl alcohol and a lint-free wipe. Scratches and resin haze scatter the light. Replace the film when it will not clear up. Clean the build plate the same way. Skin oil from handling is enough to cause a first layer to shift or release mid-print. Re-level the plate. Dust on the mount points and loosened hardware are common causes of a plate that quietly drifts out of level. Check adhesion. If the base separates from the plate, raise bottom exposure rather than sanding the problem off later. Most slicers let you set bottom exposure as a multiple of normal exposure — somewhere between 8x and 12x is a normal range to test. Look at the plate surface itself. A scratched, gouged or textured plate prints fine but can leave a patterned finish on the bottom face. Verify with the cube test again. A properly levelled, clean plate gives a first layer with a uniform matte texture and no lift at the corners. How to Reduce Resin Print Layer Lines With Careful Post-Processing
- 7Common Mistakes
- 8Frequently Asked Questions
- 9Can you completely remove layer lines from a resin print?
- 10Does a thinner layer height always look better?
- 11How do I tell a Z-offset problem from an exposure problem?
- 12Do layer lines affect the strength of a resin print?
- 13How much sanding is safe on a resin print?
- 14Conclusion
What You Need

Before you touch a setting, gather what you need to actually see the problem. Layer lines are a scale-of-a-millimetre defect, so your eye needs help.
- The printer and its slicer. Note which slicer you use — ChiTuBox, Lychee, Photon Workshop and the like all expose the same core settings under different labels.
- A freshly printed test piece from the same file, so you compare like with like.
- Bright directional light — a desk lamp or phone flashlight held at a shallow angle across the surface. Grazing light turns faint ridges into obvious shadows.
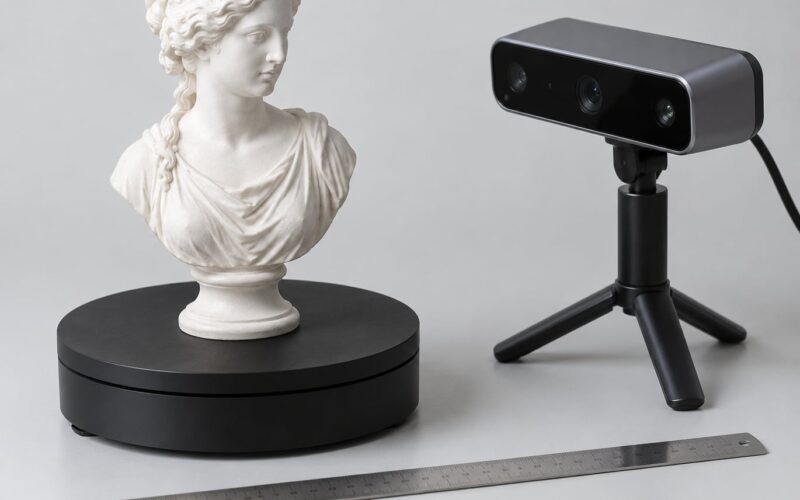
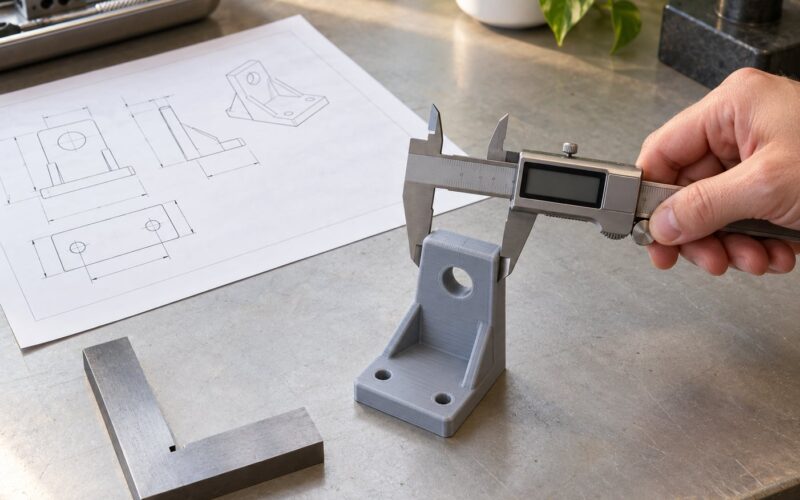
- A layer-line inspection card, or an ordinary ruler, so you can measure the pitch of the lines against your chosen layer height.
- Isopropyl alcohol and lint-free wipes for the plate and the FEP film.
- Optional finishing kit: wet sanding sponges, 400 to 1000 grit paper, spray primer, a small buffing wheel or polishing compound.
Skip the hardware gathering if your lines are severe enough that you can see gaps between layers with the naked eye. That is a fault, not a finish, and finishing tools will only hide it for an hour.
Step-by-Step
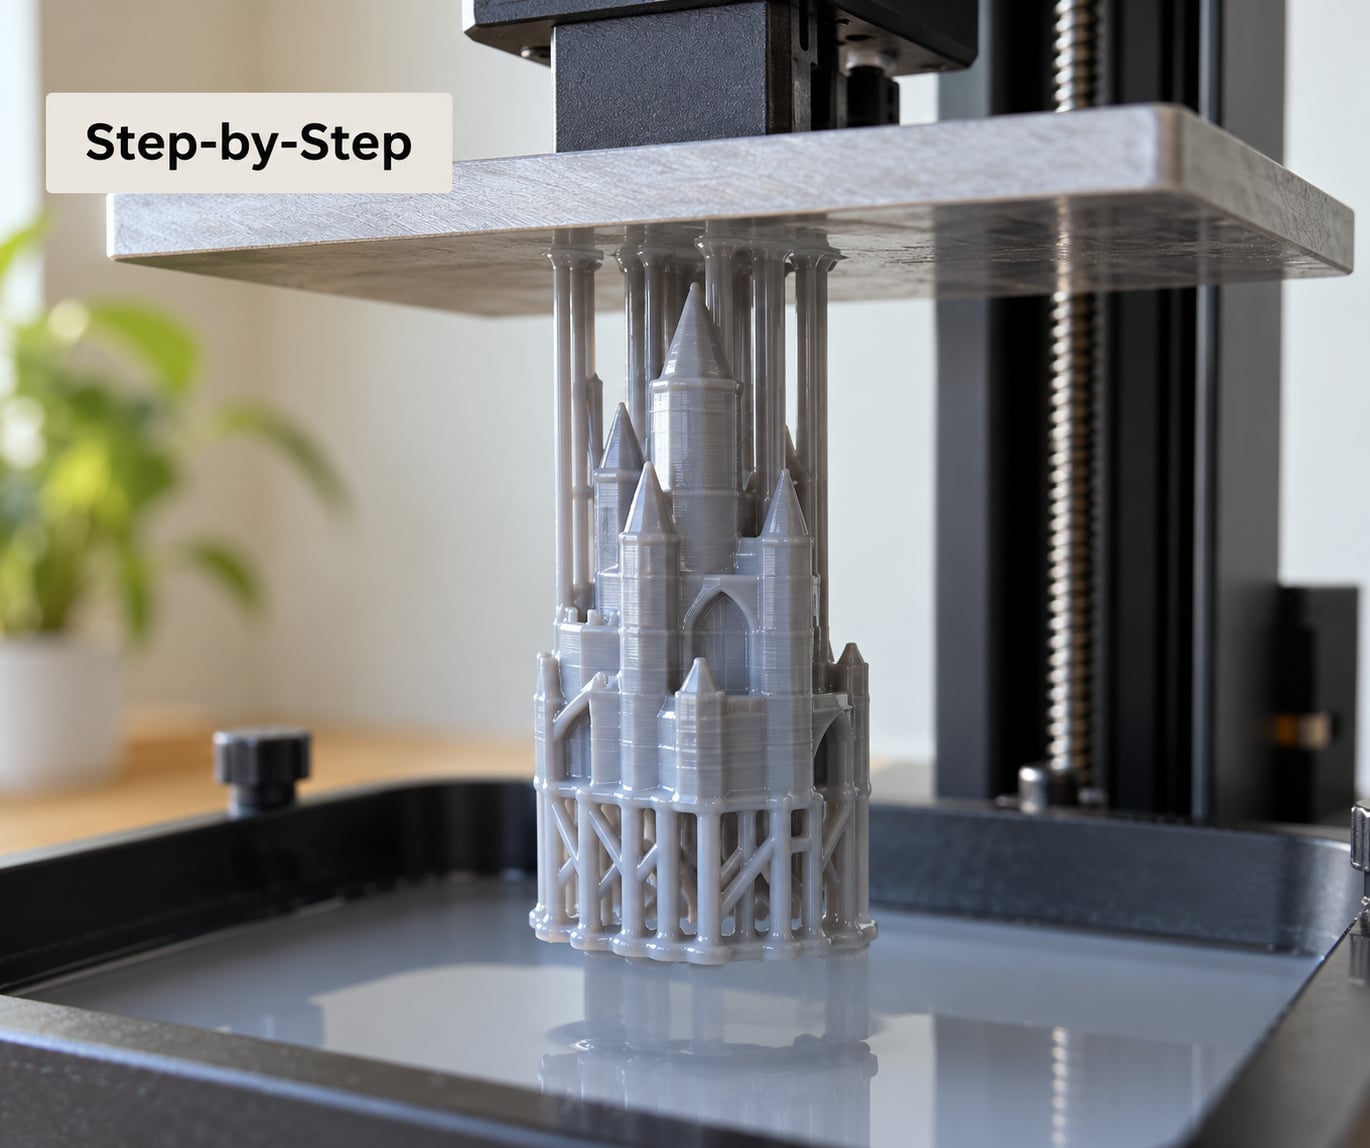
Work down this sequence and stop as soon as the lines look acceptable. Each stage below lists what to inspect, what to change, and how to confirm the change worked.
How to Reduce Resin Print Layer Lines With Correct Z-Height
A Z-offset that’s even half a millimetre too high leaves a gap between layers, and you see it as a fine line of shadow running around the whole part. Too low and the plate drags the cured layer, which flattens details and produces ridges on vertical walls.
- Run the printer’s own calibration. Most machines have a Z-offset or calibration routine in the printer menu; some slicers have a paper-drag method. Use whichever your hardware offers and don’t improvise.
- Check the first layer by eye. A correct first layer looks like a matte, slightly textured skin with no reflection. Glossy patches mean the plate is too close. Visible gaps between the first-layer lines mean it’s too far.
- Check the mechanical side. Loose lead screw nuts, a worn rail or a motor coupler that has slack will produce uneven layer thickness no offset value can fix. Tighten what is loose before recalibrating.
- Confirm your layer height setting matches reality. Some firmware has a layer-height multiplier or an “extra layers” toggle that shifts the effective pitch.
Verify by printing a simple cube or cylinder at your normal settings and holding it under grazing light. If the lines are still evenly visible but no gaps show, your Z-height is good and you can move on to layer height.
How to Reduce Resin Print Layer Lines With Better Orientation
Orientation decides how obvious the lines are. A horizontal wall shows every layer edge as a stair step; a curved surface tilted at 30 to 45 degrees spreads each layer’s step across several layers, so it reads as a smooth curve instead of a staircase. This is why two prints from the same file can look wildly different when only the build plate position changed.
Tilt flat, mostly-horizontal surfaces such as a plaque face or a shield so the steps land on a curve. Turn round features vertical, where the eye cannot compare one step to the next. Hide the single worst face against the build plate or against a support raft where nobody will look at it.
Where a large flat face must stay flat, add supports on that face with small contact points. Tiny contact nubs sand away in seconds; a wide raft scars leave you sanding a large area. Variable or adaptive layer height helps too — fine layers on curves and spheres, thicker ones on flat walls, which cuts print time without giving up the silhouette.
Verify by comparing two orientations of the same small test file under the same light. The one with fewer lines on the visible face is your new default for that shape.
How to Reduce Resin Print Layer Lines With Stable Print Conditions
Resin viscosity changes with temperature, and viscosity controls how a layer flows before it cures. Cold resin from a garage in January gives you thicker, more pronounced ridges than the same bottle warmed to room temperature. Aim for resin and room air between roughly 20 and 25C, and let a cold bottle sit on the bench for an hour before pouring.
A few things move the needle more than most people expect:
- Mix the resin. Pigments and thickeners settle. Stir or shake the bottle and pour a second cup back into it to get the bottom slurry mixed in.
- Refill the vat correctly. Topping up mid-print shifts both the temperature and the light-absorbing depth, and layers laid down around the change often show up as a visible band. Start each print with a full vat.
- Keep the room stable. A heater kicking on halfway through a six-hour print is enough to change exposure behaviour. Shut the door and kill the draught.
- Stop the table moving. Anything that shakes the printer during exposure — a footstep, a washing machine, a chair scraped back — can ripple the layer. Put it on a solid surface.
Handle uncured resin with nitrile gloves and work with the vat lid closed while it prints. Keep it away from your eyes and never pour it down a drain; most people keep a dedicated sheet of nonstick film under the vat for drips and spills.
How to Reduce Resin Print Layer Lines by Improving the Print Surface
The build plate and the FEP film underneath it decide how evenly light reaches the first layers, and a dirty or cloudy window scatters light into a blur. Cloudy film means softer layer edges everywhere, which looks exactly like a bad exposure setting.
Work through these checks in order:
- Clean the FEP film with isopropyl alcohol and a lint-free wipe. Scratches and resin haze scatter the light. Replace the film when it will not clear up.
- Clean the build plate the same way. Skin oil from handling is enough to cause a first layer to shift or release mid-print.
- Re-level the plate. Dust on the mount points and loosened hardware are common causes of a plate that quietly drifts out of level.
- Check adhesion. If the base separates from the plate, raise bottom exposure rather than sanding the problem off later. Most slicers let you set bottom exposure as a multiple of normal exposure — somewhere between 8x and 12x is a normal range to test.
- Look at the plate surface itself. A scratched, gouged or textured plate prints fine but can leave a patterned finish on the bottom face.
Verify with the cube test again. A properly levelled, clean plate gives a first layer with a uniform matte texture and no lift at the corners.
How to Reduce Resin Print Layer Lines With Careful Post-Processing
Post-processing fixes the look of a good print. It does not fix a bad one. Get the printer side right first, then work down this finishing ladder.
- Wash, then remove supports while the part is still soft. After an alcohol wash and before full cure, thin supports snap off cleanly. Once hardened you are cutting them with flush cutters, which scars.
- Cure fully but not excessively. An under-cured surface stays tacky and the lines look worse; an over-cured surface goes slightly swollen and brittle. Follow the resin maker’s recommended cure cycle rather than guessing longer.
- Sand progressively. Start around 200 grit to knock the ridges down, then move through 400, 600, 800 and up to 1000 or finer for a display finish. Jump straight to 1000 and you will spend longer flattening peaks than flattening valleys.
- Wet sand for a cleaner surface. Soak the part, sand under water, and let it dry between grits. The water carries resin dust away and keeps the paper from loading up with debris.
- Prime. Thin spray primer reveals flaws without softening detail, which is the right choice for miniatures and anything being photographed. Filler primer fills lines and pits faster and suits functional parts, castings and cosplay props — but it builds up on fine sculpted detail and rounds off sharp edges.
- Coat if you need a mirror finish. A thin epoxy or clear coat over a primed, sanded part gives the smoothest result and hides the last of the texture.
Cured resin dust is a real respiratory hazard. Sand wet where you can, wear a respirator rated for fine particles, and sand outdoors or in a ventilated space. Keep a vacuum or brush nearby — dry-brushing dust into the air just moves the problem.
Verify by priming. Primer finds every remaining flaw, so a part that looks smooth but shows rings under a coat of grey primer needs one more sanding pass, not more coats.
Common Mistakes
Almost every frustrated resin printer I talk to is making one of these.
- Changing five settings at once. You learn nothing and cannot tell which change helped. Move one variable, print one test file, then move the next.
- Copying someone else’s profile. Exposure time, bottom exposure and lift speed are resin- and machine-specific. A calibration print on your own setup beats any borrowed profile every time.
- Dropping to 0.02mm too early. Going from 0.05mm to 0.02mm multiplies the layer count by 2.5 and the print time with it. The lines get shallower, but the quality jump that matters usually comes from fixing Z-height and orientation instead.
- Sanding past the detail. Aggressive grit on a fine miniature removes sculpted texture, not just lines. Move up in grit steps and stop where the surface reads smooth to a fingertip.
- Treating exposure problems as a finishing problem. Underexposure gives a dull, chalky part that holds dust and looks worse after an alcohol wash. Fix the exposure in the slicer.
- Ignoring a plate that has drifted out of level. Re-level whenever you notice a corner lifting, and check the mount screws at the same time.
- Filling primer on everything. It works, then it destroys the detail you wanted. Pick the primer for the object, not for the finish you wish you had.
- Printing with the lid open or in a draught. One cold gust across the vat mid-print can leave a visible band of rougher layers.
Frequently Asked Questions
Can you completely remove layer lines from a resin print?
No. Layer lines are the physical boundary between cured layers, so they can be shrunk but never fully eliminated. You can get them to the point where they disappear under primer, paint or a clear coat on a display piece. On an unpainted functional part viewed from close up, expect a faint texture at even 0.02mm layer height.
Does a thinner layer height always look better?
It always looks smoother, but not always better. Moving from 0.05mm to 0.02mm multiplies your layer count by 2.5 and the print time with it, while the visible gain is modest on anything under about 50mm tall. Use thin layers for display pieces and photography; use standard layers for functional parts and save the hours.
How do I tell a Z-offset problem from an exposure problem?
A Z-offset problem shows as an even line of shadow around the whole part, or as gaps you can feel with a fingernail, and the first layer either separates from the plate or drags and flattens detail. An exposure problem shows as a dull, chalky, slightly grainy surface across every face, with soft or missing fine features and a tacky feel after curing.
Do layer lines affect the strength of a resin print?
Yes, and in a specific way. Layers fused at higher exposure times bond more strongly across the gap, so a well-exposed part resists splitting along layer boundaries. Under-exposed layers bond weakly, and a part can snap along a layer line under load. Layer lines are cosmetic on display models and structural on load-bearing parts.
How much sanding is safe on a resin print?
Sand until the surface reads smooth to a fingertip and the lines stop catching light, then stop. On a small miniature that is typically 200 to 400 grit and a light 600 grit pass. Keep the pressure low, wet sand where possible, and remember that sanding thins the part — on thin features like fingers or antennae, use thin spray primer rather than paper.
Conclusion
Start with layer height, then verify Z-offset and plate leveling, then look at exposure and stability, and only then work on the surface. That order matters, because sanding a print that has gaps between its layers just smooths the outside of a bad part.
Once the machine is behaving, how to reduce resin print layer lines comes down to honest choices: a layer height you can afford in time, an orientation that puts the worst face out of sight, and enough patience at the sanding block to make the difference visible in a photograph.