To clean a resin vat safely you filter the liquid resin back into its bottle, lift cured chunks off the release film with a plastic tool, and wipe the film down with a lint-free cloth and high-strength isopropyl alcohol. No metal tools, no drain pours, and gloves on the whole time. A full clean takes about 20 minutes once the printer is cool.
Uncured liquid resin is a skin sensitiser, so the safety side of this job matters more than the scrubbing. Ventilate the room, wear nitrile gloves and eye protection, and keep the vat away from food, pets and anything that sparks. I learned this the slow way, and the messy sink is why.
Most failures blamed on exposure time or resin settings actually start in the vat. A scratched or hazy film scatters the UV light coming off the LCD, so layers bond weakly and the surface goes matte. Knowing how to clean a resin vat safely is the difference between a ten-minute reset and an LCD replacement.
Table of Contents
- 1What You Need to Clean a Resin Vat Safely
- 2Step-by-Step: How to Clean a Resin Vat Safely
- 31. Shut Down the Printer and Prepare the Work Area
- 42. Remove Excess Resin and Check What Is Cured
- 53. Loosen Cured Resin with a Plastic Scraper
- 64. Clean the Vat and Release Film
- 75. Rinse, Dry, Inspect, and Reinstall
- 8Common Mistakes When Cleaning a Resin Vat
- 9Frequently Asked Questions
- 10Can I wash a resin vat with dish soap?
- 11Why is my resin vat cloudy after cleaning?
- 12How often should I clean a resin vat?
- 13How do I remove stubborn cured resin from a vat?
- 14Can I pour unused or rinsed resin down the drain?
- 15When should I replace the release film?
- 16Conclusion
What You Need to Clean a Resin Vat Safely
Gather everything before you touch the printer. Halfway through a clean with no spare gloves means you either stop early or contaminate your hands anyway.
- The printer manual, open to the vat removal section
- Nitrile gloves and safety goggles
- A ventilated workspace, or a fan pulling air away from you
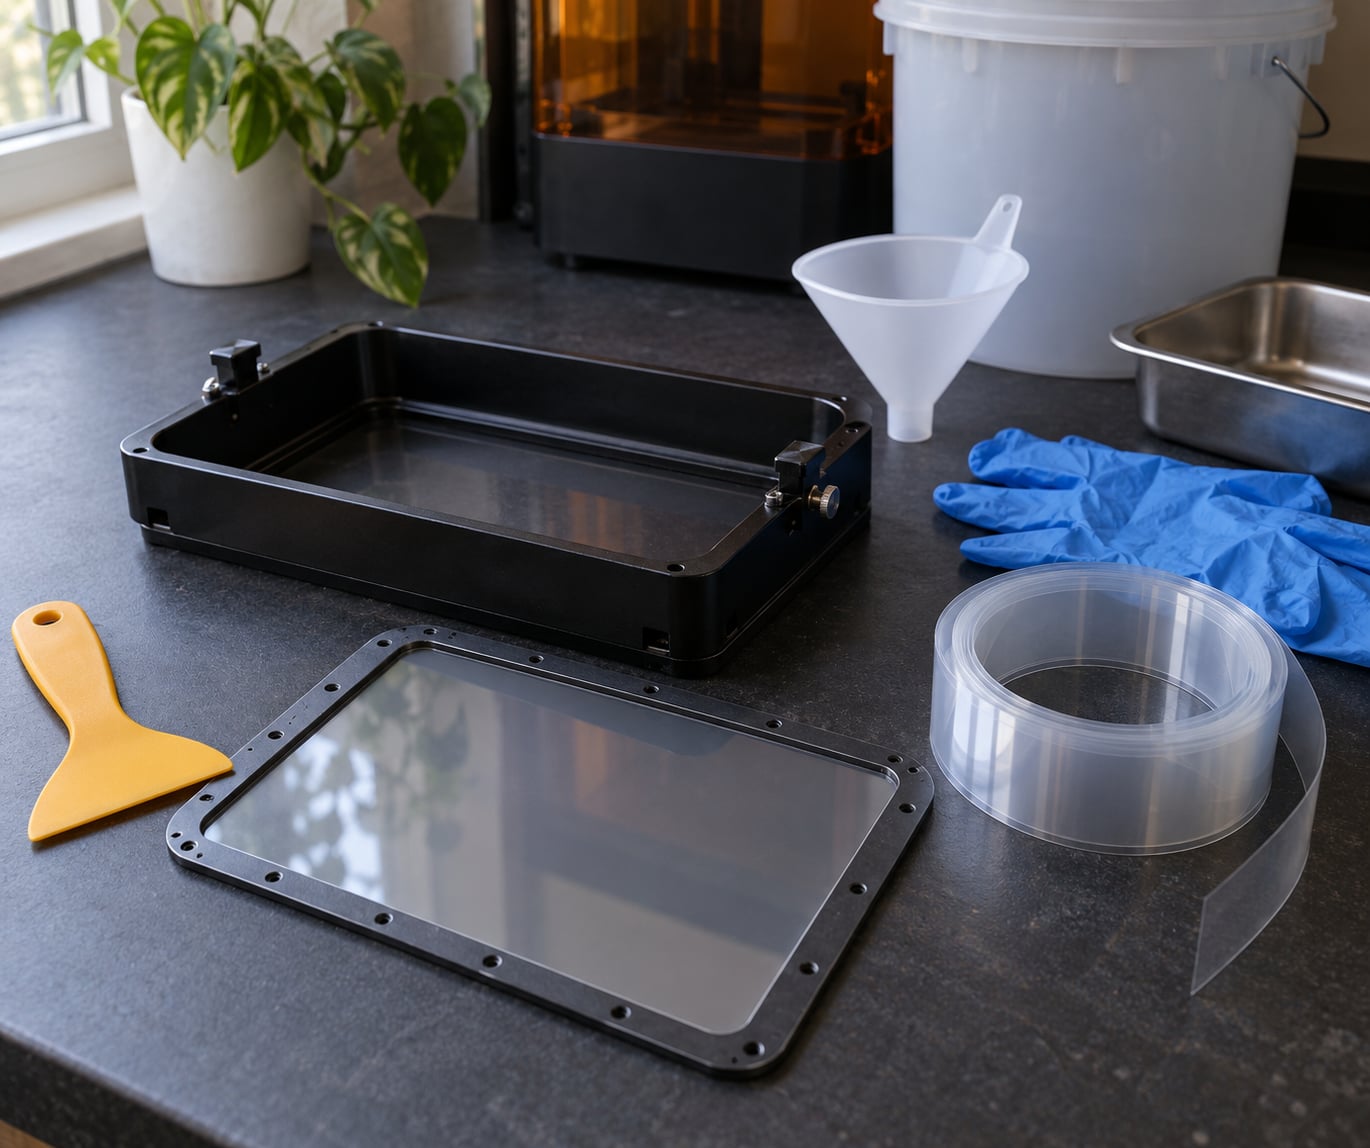
- A plastic or silicone scraper, and a plastic razor if the film is stubborn
- Warm water, 95% or higher isopropyl alcohol, and a lint-free cloth or lens tissue
- A funnel with a strainer or a paint filter
- A sealable container for waste resin, plus a separate jar for dirty alcohol
- Replacement film, if the old one turns out to be scratched
Replacement film is cheap insurance, not a luxury. If you already have a spare on the shelf, cleaning stops being stressful.
| Use these | Never these | Why |
|---|---|---|
| Plastic or silicone scraper | Metal spatula, screwdriver, razor blade, keys | Metal leaves micro-scratches that trap resin and haze the film |
| Lint-free cloth or lens-cleaning tissue | Paper towels, kitchen roll, shop rag | Wood pulp fibres scratch FEP and leave lint that breaks adhesion |
| Plastic razor on stubborn cured resin | Steel wool, scouring pads, abrasive sponge | Any abrasive dulls the release surface permanently |
| Warm water and 95%+ isopropyl alcohol | Ammonia-based glass cleaner unless your printer maker approves it | Some films cloud with the wrong solvent; follow the manual |
| Fingers, gloved, pressing the film from below | Dry scraping with anything hard | Backing pressure releases cured resin instead of shearing it |
One useful extra: a paint filter catches cured dust before it goes back into the bottle. It costs almost nothing and saves you printing cloudy chunks later.
Step-by-Step: How to Clean a Resin Vat Safely
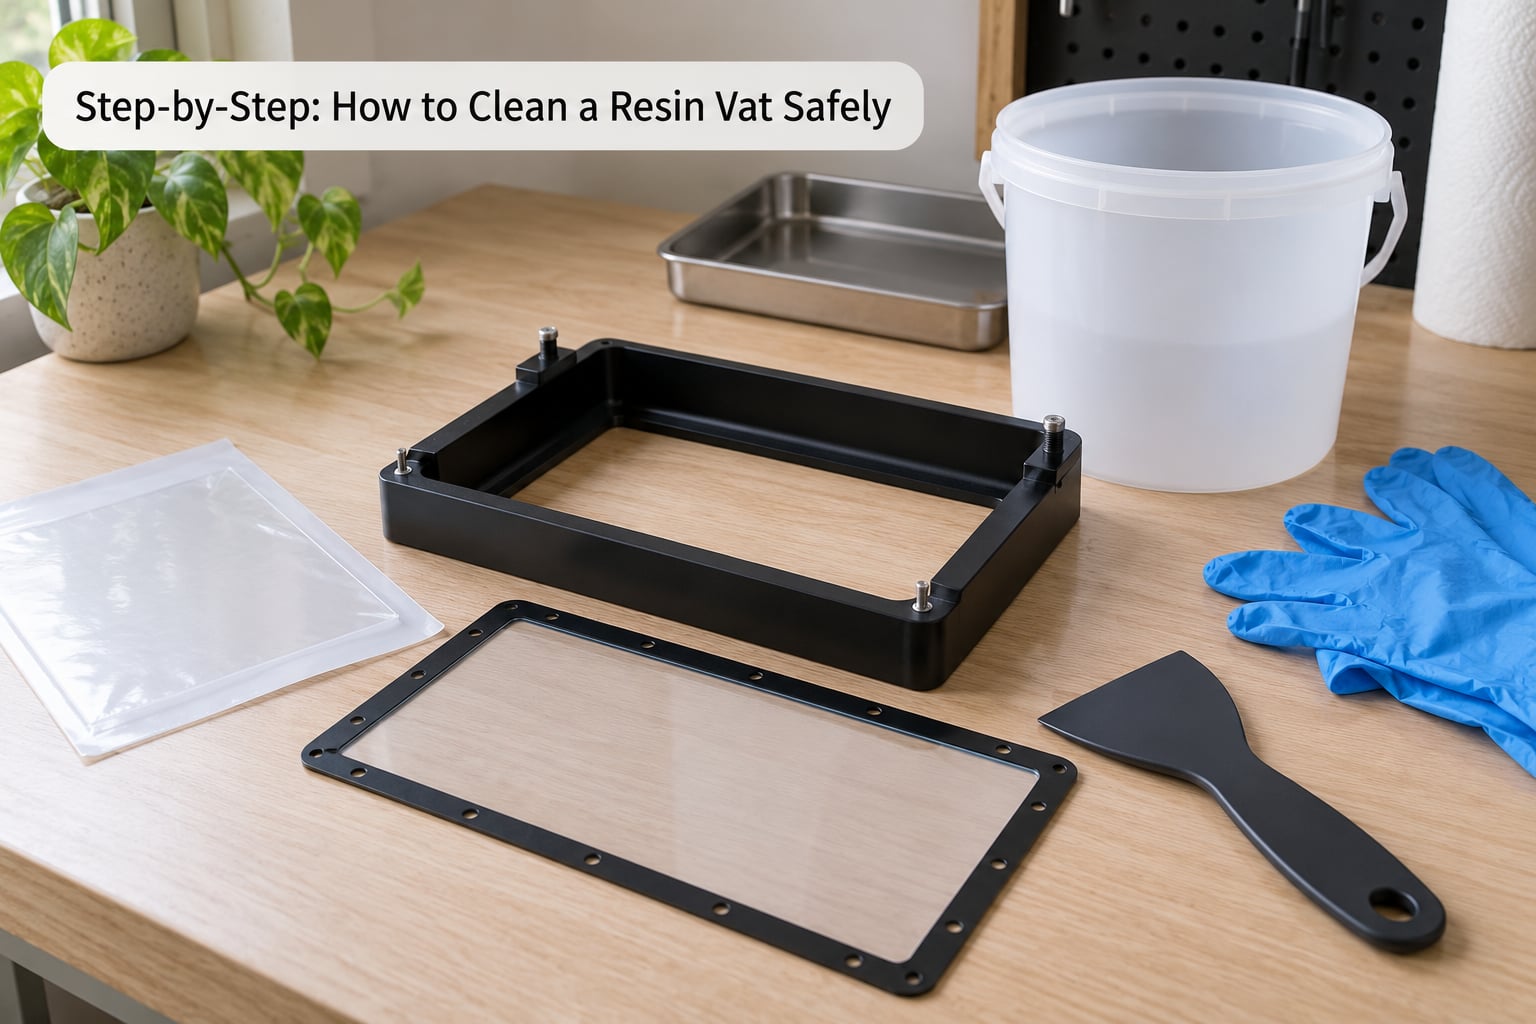
Work in this order and the whole job is straightforward. The trick is separating liquid resin, cured resin and the film itself, because each needs a different handling method.
Before you start, match the effort to the trigger. People tend to over-clean, and constant scrubbing is how a clear film turns cloudy.
| What happened | What to do | How thorough |
|---|---|---|
| A print failed or a part stuck to the film | Soak, press the film from below, peel and wipe | Full clean of the vat |
| Loose cured fragments near the plate | Tip them out and wipe the surface | Thirty-second check |
| Switching resin brand, colour or type | Filter out the old resin, wipe, then refill | Full clean of the vat |
| Going back to water-washable resin | Clean and dry the vat fully first | Full clean plus a dry-out day |
| Storing the printer for more than a few days | Empty, filter, wipe, dry and cover from dust | Full clean before storage |
| Nothing unusual, printing weekly | Look at the film, wipe only if needed | Quick check, no deep clean |
| Prints coming off matte or patchy | Check the film under a light for haze or scratches | Full clean, then replace the film |
1. Shut Down the Printer and Prepare the Work Area
Finish or cancel the print, switch the printer off at the mains, and unplug it. If you just ran a long print, leave the lid open and wait until the vat and build plate are at room temperature. Warm film stretches and behaves unpredictably, and hot parts are how people burn themselves on a spatter of resin.
Open a window and set up a fan so air moves away from your face. Pull on gloves and goggles before you uncap anything. Move pets, food and drinks out of the area, and clear any solvent or lamp that could spark. Then remove the vat following your printer’s manual — on most bottom-up machines that means loosening the vat from the build plate, unscrewing the funnel if there is one, and lifting it out level.
You will know it worked when the vat sits flat on your bench with the film facing up and no tension pulling at the corners.
2. Remove Excess Resin and Check What Is Cured
Pour the liquid resin through a funnel with a strainer or a paint filter into a clean, labelled bottle. Do this over a tray, slowly, and keep the vat tipped at a shallow angle so resin runs off the film rather than sheeting across it. Strained resin usually prints fine again; cloudy or stringy resin that has sat for months gets binned.
Look at the film now. Cured resin comes in three forms: brittle chunks lying loose, thin sheets stuck to the film, and a haze of dust across the whole surface. Loose chunks you can tip straight into a waste tub. Anything bonded needs the next step.
Handle bonded pieces like glass. They snap unpredictably, so keep your gloved hands to the sides of the vat rather than over it.
3. Loosen Cured Resin with a Plastic Scraper
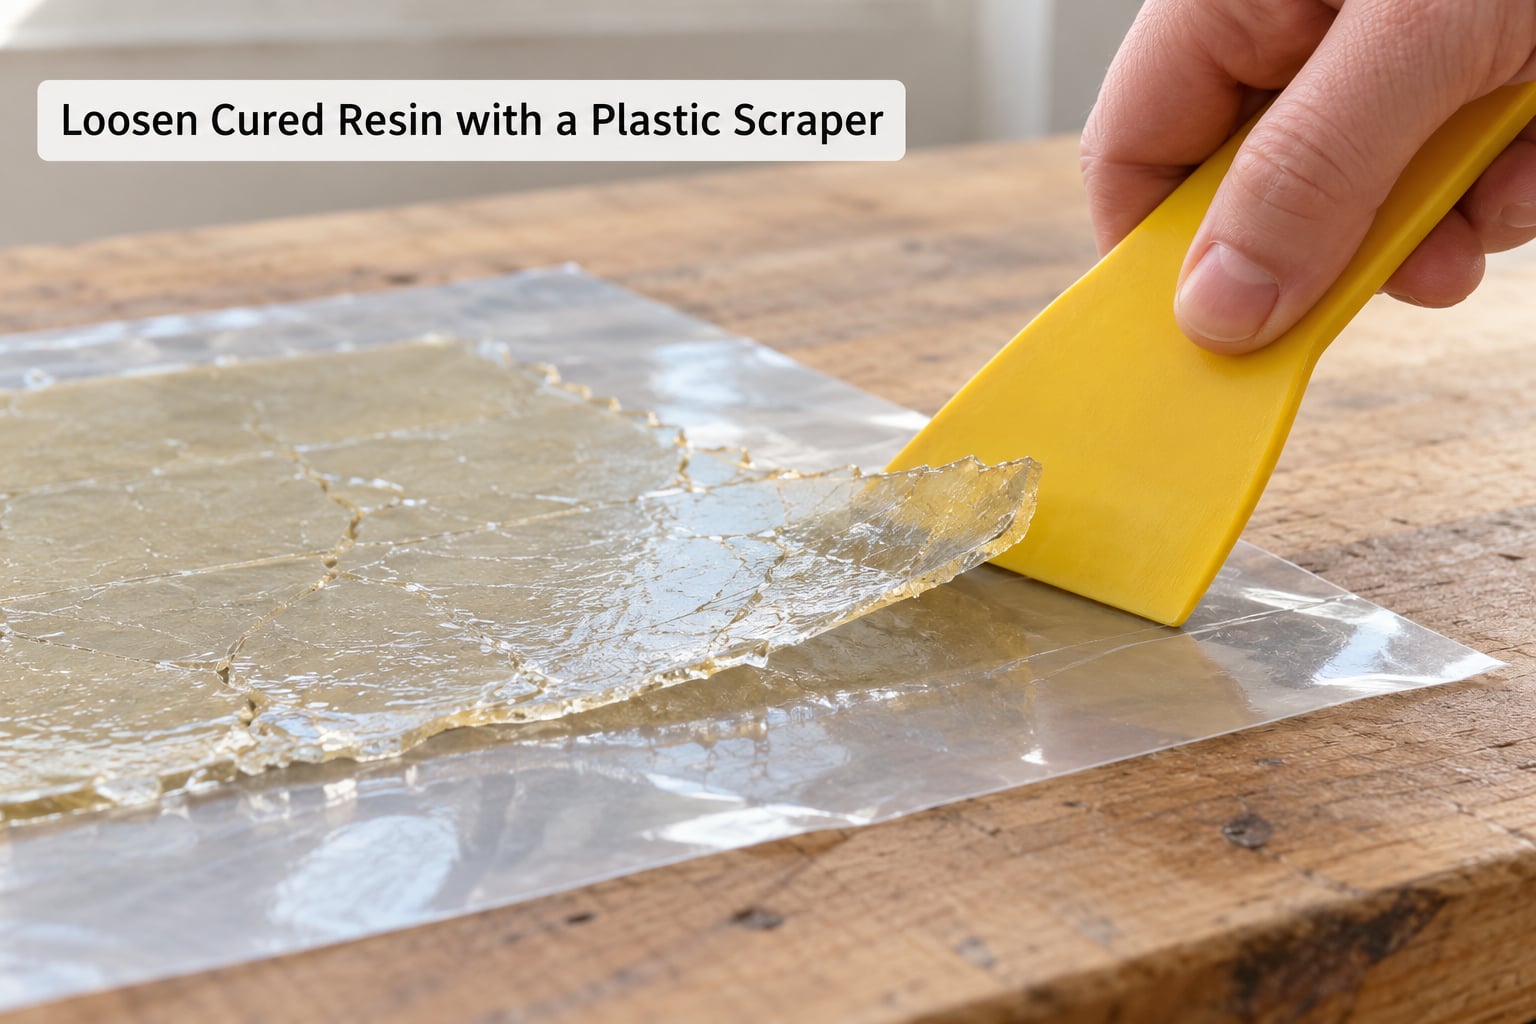
Spray or drip a little isopropyl alcohol on the stuck sheet and wait about 30 seconds. Then press up gently on the underside of the film with your gloved fingertips. Most bonded resin releases on its own once the alcohol has softened it. Peel the sheet away from the edges toward the centre and lift it out whole.
Use short strokes from the rim inward with light hand pressure, and stop the moment the film squeaks. Squeaking means friction is turning into abrasion, and that is how scratches happen.
You will know it worked when the sheet lifts in one piece and the film underneath feels slick rather than gritty. If it only crumbles into dust, soak for a few more minutes and try again.
On printers with a built-in tank cleaning cycle, run that first: it cures a sacrificial sheet across the film so you peel off one solid layer instead of picking at specks. Note that it consumes a measure of resin, and some machines do not display a residue warning during the cycle.
4. Clean the Vat and Release Film
Pour warm water into the vat and let it sit a couple of minutes to soften remaining smears, then wipe with a lint-free cloth or lens tissue. Follow with 95% or higher isopropyl alcohol on a clean section of cloth for anything the water left behind. Wipe the outer walls too, since spilled resin on the sides can drip onto the build plate later.
Skip the scrub. Use a soft circular motion, and never press hard on the middle of the film. If your printer maker approves an ammonia-free glass cleaner, that is gentler on some films than alcohol — but check the manual first, because guidance genuinely conflicts between manufacturers and the wrong choice is what causes haze.
You will know it worked when you can read a printed word through the film and see no milky film or lint fibres in the reflection.
5. Rinse, Dry, Inspect, and Reinstall
Rinse with clean warm water until nothing smells like alcohol and the water runs clear. Let the vat air dry completely in a dust-free spot, then do a close inspection under a bright light. Look for scratches, cloudiness, loose cured fragments, torn corners and any sign the film has pulled loose from the vat lip.
If the film is scratched, cloudy or punctured, replace it rather than printing on it. Peel the old film off slowly, keep the tension even, and avoid touching the new film with bare fingers because skin oils cause the same haze alcohol can. Fit the vat back per the manual, fill to the level your printer specifies, and run a short test print before committing to a long job.
Common Mistakes When Cleaning a Resin Vat
Almost every damaged vat traces back to one of these mistakes, and each has a simple fix. The pattern I see most often is over-cleaning: someone scrubs a nearly clean film every week and slowly hazes it, then wonders why their prints went matte.
Cleaning without ventilation. Open a window and add a fan blowing away from your face. If you have a garage or patio, use it. Resin vapour and dust settle on everything nearby, prints included.
Reaching for a metal tool. Metal leaves micro-scratches that trap resin and haze the film permanently. Use a plastic or silicone scraper at a shallow angle and stop if you hear squeaking.
Cleaning a hot printer. Warm film stretches, moves unpredictably and burns on contact. Shut down, unplug, and wait until the vat and build plate reach room temperature.
Pouring resin or rinse water down the drain. Resin cures inside pipes and wastewater rules differ where you live. Filter and reuse good resin, cure the rest fully in an open container under UV or sunlight, and follow your local chemical waste guidance for the rinsings.
Using a solvent your printer maker did not approve. Manufacturer guidance conflicts on alcohol and glass cleaners, and the wrong choice is a fast route to cloudiness. Stay with warm water and 95% or higher isopropyl alcohol unless your manual says otherwise.
Leaving waste resin uncured. Thin liquid resin in a bin can spill, cure and stick to whatever it touches. Spread it thin, cure it fully to a solid, then bag it as solid waste. Give dirty isopropyl alcohol its own sealed jar and never mix it with your clean supply.
Running the vat under the tap and calling it disposal. A water rinse leaves a chemical film behind and puts uncured resin into your wastewater. Wipe and filter first, then handle the rinse water properly.
Four habits keep the whole job short. Check the film for loose cured fragments before every print. Keep the vat dry and covered from dust when it sits idle. Never top new resin onto old separated resin, because pigment and clumps print right through the surface. And if resin gets on skin, wash with soap and cool water immediately rather than rubbing it with a dry towel.
Frequently Asked Questions
Can I wash a resin vat with dish soap?
Only for a water-washable resin vat liner, and even then check your printer manual first. Standard FEP film is cleaned with warm water and 95% or higher isopropyl alcohol, not detergent. Dish soap leaves a surfactant film that can trap dust and interfere with release. If you already used it, rinse thoroughly with clean warm water until the film looks clear and there is no residue.
Why is my resin vat cloudy after cleaning?
Cloudiness is usually scratches or film haze, not dirt. Metal tools, paper towels and hard dry scraping all dull the release surface, and repeated rubbing makes it worse. Ammonia-based glass cleaners can also haze some films. Try holding the vat up to a light: uniform haze means the surface is abraded, while marks in one direction mean a scratch. Fix it with a lint-free cloth, a plastic tool and less pressure, and replace the film if prints stay matte.
How often should I clean a resin vat?
Between prints, all you usually need is a quick check for loose cured fragments and a wipe if something is stuck to the film. A full clean makes sense after a failed print, when you switch resin brand or colour, when the film looks hazy, and every one to two weeks during regular printing. If you store resin in the vat for more than a few days, clean and seal it first so nothing sits uncured for weeks.
How do I remove stubborn cured resin from a vat?
Wet the stuck sheet with isopropyl alcohol and wait about 30 seconds, then press up gently on the underside of the film with gloved fingertips. Most bonded resin lifts off in one piece. For what stays, work a plastic scraper from the edges toward the centre at a shallow angle with light pressure, and stop if the film squeaks. Soaking for several minutes beats scraping harder every time.
Can I pour unused or rinsed resin down the drain?
No. Uncured liquid resin keeps curing wherever it settles, and it is a skin sensitiser. Filter it back into its bottle if it is clean and free of dust, spread waste resin thin in an open container, and cure it fully under a UV lamp or in sunlight until it is solid all the way through before bagging it. Rinse water and dirty isopropyl alcohol need their own containers, and local wastewater rules vary, so check what your area requires.
When should I replace the release film?
Replace it when prints come off with a matte or patchy finish, when you can see scratches or cloudiness under a bright light, or when a cured sheet has bonded in a way you cannot lift without force. A rough guideline is around 40 to 50 prints, tens of thousands of layers, or three to six months even if the printer sits unused, since film degrades and yellows with age. Swap the film if it is torn, warped or pulling loose from the vat lip.
Conclusion
As of 2026, the guidance from printer manufacturers still differs on alcohol versus glass cleaner, so check your own manual before anything touches the film. Whatever you use, the safe sequence is the same: cool and unplug the printer, ventilate the room, put on nitrile gloves and eye protection, then drain and contain the resin so nothing spills. After that it is simple work — soak, press the film from below, lift with plastic, wipe with a lint-free cloth, let it dry fully, and inspect before it goes back in.