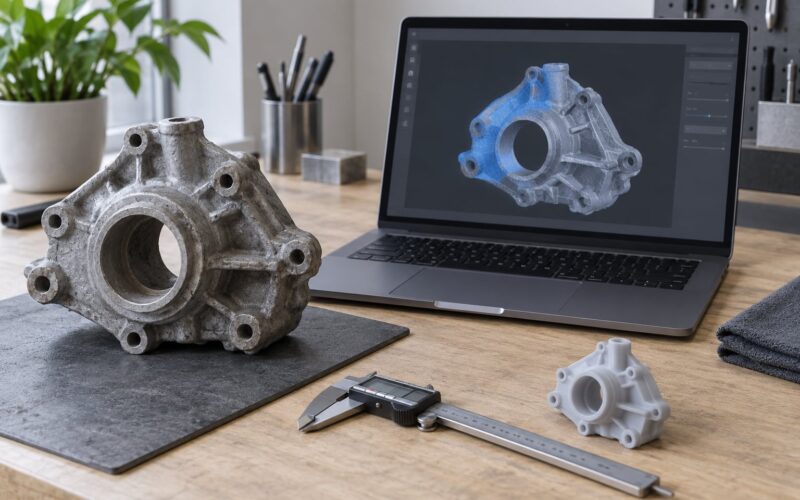
You can use a phone as a 3D scanner, and for replicating parts, figurines, heirlooms and room props it is genuinely good enough to print from. The phone camera shoots dozens of overlapping photos, the app finds matching points between them, and the result is a 3D mesh you can clean up and export as an STL file. The whole job takes about 20 minutes once you know what to look at.
What it will not do is replace a caliper or a CAD program. A phone scan has no absolute scale and no guaranteed tolerance, so treat the first scan as a shape capture rather than a measurement. Here is the workflow I would actually follow, including the checkpoints that tell you whether a step worked.
Table of Contents
- 1What You Need
- 2Step-by-Step: How to Use a Phone as a 3D Scanner
- 3Set up the phone and your scanning app in five minutes
- 4Photograph the object in overlapping passes at three or more heights
- 5Review the alignment preview before processing
- 6Build the mesh and clean it up
- 7Scale the model, export it, and check it in the slicer
- 8Common Mistakes
- 9Frequently Asked Questions
- 10Can any phone be used as a 3D scanner?
- 11What is the best 3D scanning app for an iPhone or Android phone?
- 12How accurate is a phone 3D scanner for making models?
- 13Do I need a computer to scan and clean a 3D object?
- 14Which objects can be scanned reliably with a phone camera?
- 15What file format should I export for 3D printing?
- 16Conclusion
What You Need
Short answer: a modern phone, soft even light, a nonreflective background, and one good scanning app. Everything else is optional but makes the job easier.
- A recent iPhone or Android phone. Any phone from the last five years with a rear camera of 12 megapixels or more can do photogrammetry. Phones with a LiDAR depth sensor capture faster and produce cleaner geometry, and on iOS that hardware exists only on Pro and Pro Max models from the 12th generation onward, plus the iPad Pro and iPad Air models that carry the sensor. Android phones with depth sensors exist too, but far fewer apps use them well, so most Android scanning happens through the camera.
- A scanning app. RealityCapture, Polycam, 3D Scan and KIRI Engine all run object and photogrammetry modes. RealityScan and KIRI Engine are the two most commonly recommended by makers right now, and KIRI Engine is often pointed to as the one with the shallowest learning curve.
- Soft, even light. A window on an overcast day, or two lamps at 45 degrees, is enough. Harsh overhead light creates a hot spot that hides surface detail from the solver.
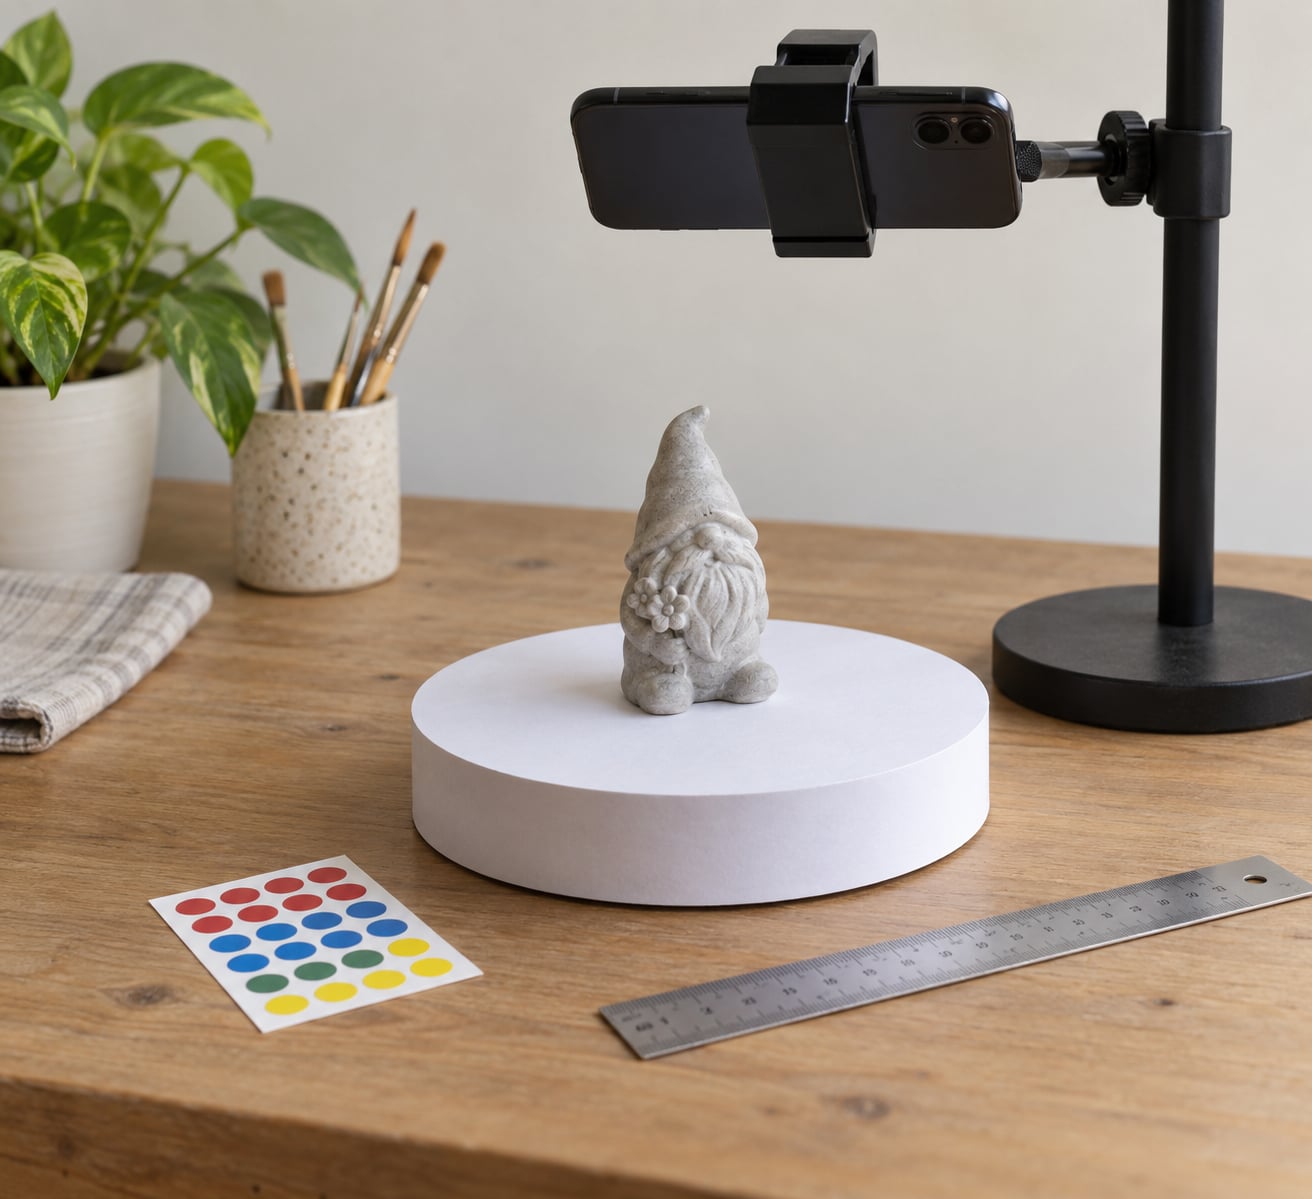
- A plain background and a stable object. A sheet of matte paper or a nonreflective turntable with a printed marker pattern. Sticky notes work as a scale reference when you need real dimensions.
- A textured object. Anything with visible surface detail. A garden gnome, a power tool housing, a shoe last or a toy robot scans well. A polished chrome tap or a sheet of glass will not.
There are two broad ways to run the job. An app-only workflow keeps everything on the phone, which is fast and free but limits how much mesh repair you can do. A computer-assisted workflow shoots the photos on the phone, then processes and repairs them in desktop software such as RealityCapture, Agisoft Metashape, MeshLab or Blender, which gives you control over cleanup and poly count. Beginners do fine on the phone alone. The moment a scan has holes or noise you cannot remove, move it to a computer.
Step-by-Step: How to Use a Phone as a 3D Scanner
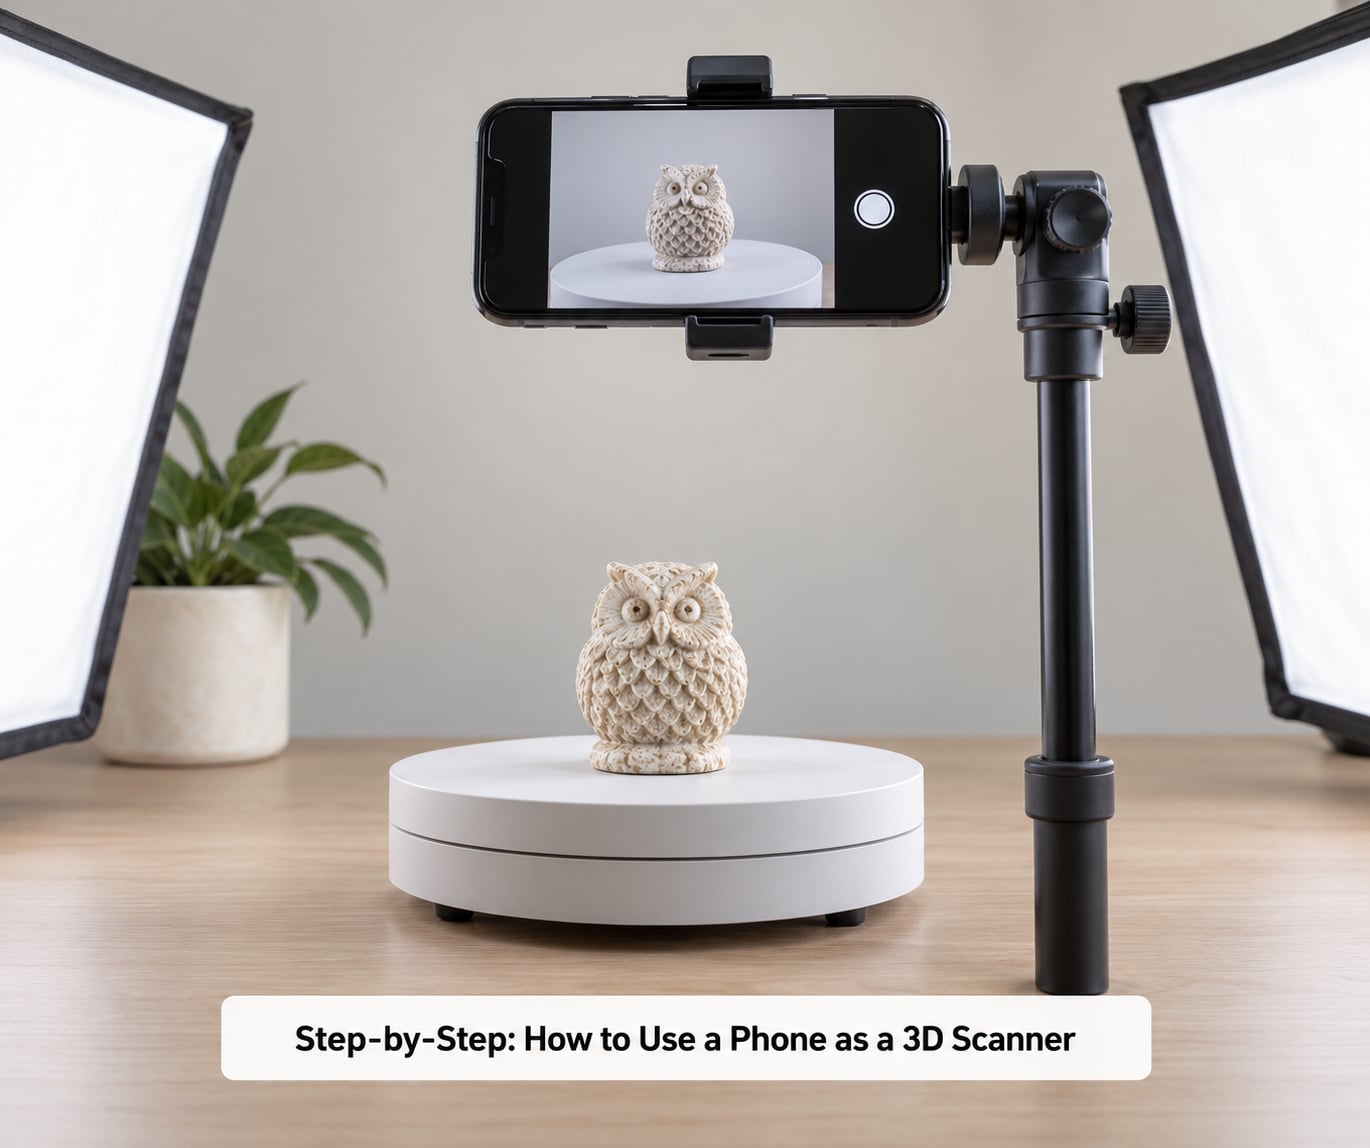
Set up the phone and your scanning app in five minutes
Set up the phone so nothing moves during capture, because any camera shift between photos breaks the alignment. Install the app you chose and open its object or photogrammetry mode, which is usually labeled object, scan or photogrammetry rather than room or AR mode.
Clean the camera lens first. A fingerprint on the lens is the single most common reason a phone scan comes out blurry, and it costs nothing to fix before you start. Turn the flash off, since direct flash creates a bright spot and a hard shadow that the software reads as a surface change.
Lock exposure and focus if the app offers it, or lock both in your camera app before switching over. A phone that auto-adjusts exposure between frames produces a set of photos the solver will struggle to match. Menu names differ between apps and between iOS and Android versions, so look for words like exposure lock, focus lock or manual in the capture settings.
Checkpoint: take five test photos, spin back through them, and confirm each one is sharp and evenly exposed. If the first is soft, stop and fix the lens or the light before shooting the full set.
Photograph the object in overlapping passes at three or more heights
Photographing the object means working around it in a ring, keeping the object centered and shooting overlapping frames, not single views. Overlap is what gives the software matching detail, so aim for roughly a third of the previous frame showing in every new shot.
Most successful phone scans use somewhere between 50 and 200 photos. A small object needs the lower end, a large or complex one needs the upper end. More photos past that point only slows processing down without improving the mesh.
Shoot in rings at several heights rather than one flat circle. Three passes work well: level with the top, level with the middle, and level with the base, then a final ring at a slight downward angle for the top surface. Keep the distance and the lighting identical on every shot, and move yourself rather than tilting the phone, since a tilted camera changes the perspective between frames.
Keep the lighting constant, which means you cannot use a hand-held lamp that moves with you. A surface with nothing for the solver to track is a problem, so put small matte marker dot stickers or strips of masking tape on glossy or plain areas before you start. A thin dusting of matte spray powder on a shiny object works for the same reason.
Skip transparent, mirror-finish, and thin single-surface objects. Hair and fur defeat most phone scanning too. If the object is one of those, a laser scanner is a better tool for the job.
Checkpoint: you should have at least one full ring at three heights, and every side of the object should appear in at least two frames.
Review the alignment preview before processing
Most apps show a live preview that flags problem frames in red, or a quality score per photo. Read it before you commit to a long processing run, because rebuilding from scratch costs far more time than deleting six bad frames.
Look for the four usual problems. Blurred frames come from movement, distant frames come from stepping too far back, duplicated frames come from firing twice in the same spot, and dark frames come from shadowed angles. Remove all of them.
Only add another pass when the preview shows a genuine coverage gap, such as a hollow underside or a recessed slot that no angle reached. Otherwise the extra photos add processing time and nothing else.
Checkpoint: the preview should show the object fully covered with no large red or yellow patches on the surface you care about.
Build the mesh and clean it up
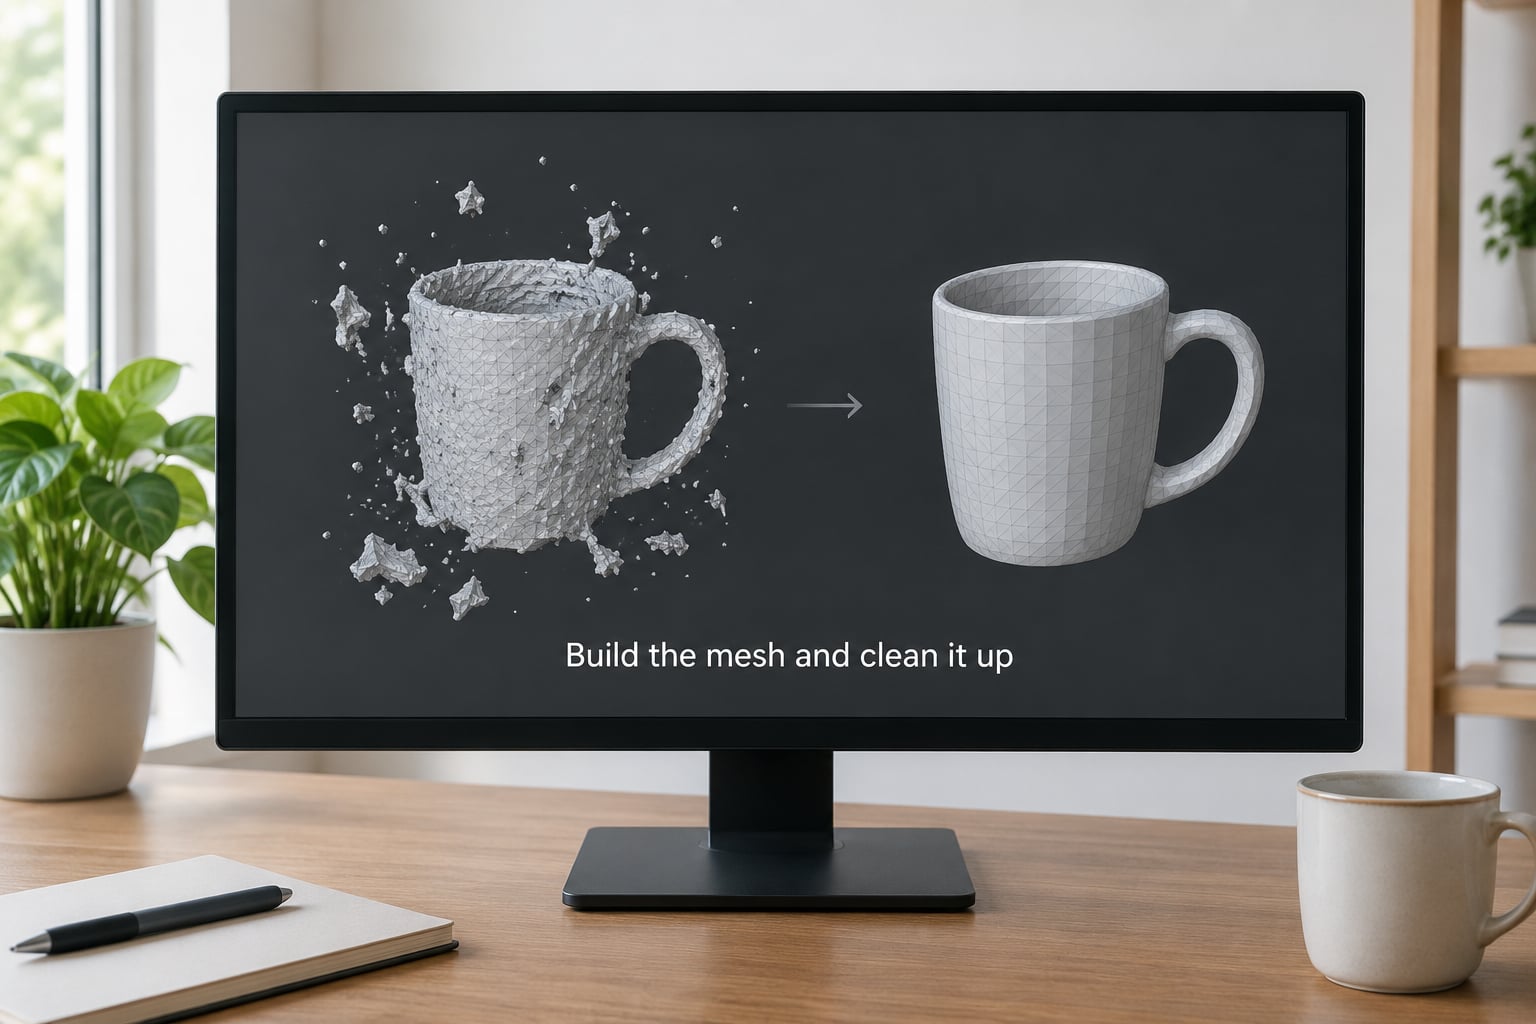
Building the mesh is where the photos turn into triangles, usually after a cloud processing wait that ranges from a couple of minutes on a fast phone to a couple of hours on a free tier with a queue. The result should look like your object, slightly lumpy, sitting on a patch of captured background.
Crop the background and any support you photographed, then fill the obvious holes. Most phone apps have a fill holes button, and it works well on small gaps under a few millimeters. Larger holes come from surfaces that failed to align, and filling them just hides bad data.
For noise, run a light smoothing pass rather than an aggressive one. Heavy smoothing rounds off the details you scanned for, and you cannot get them back. Then check the mesh for thin floating fragments, which come from the background or from a reflection, and delete them by hand.
For a difficult object, or one where the phone app is struggling, this is the point to move to desktop software. MeshLab handles decimation and cleanup well, and Blender lets you apply a decimate modifier to cut the poly count, which matters because a phone scan can easily produce a mesh with a million faces that your slicer will choke on.
Checkpoint: rotate the mesh in the viewer. If it looks solid from every angle with no see-through patches, the model is usable.
Scale the model, export it, and check it in the slicer
A phone scan has no absolute scale, so the model comes out at an arbitrary size. The fix is to include something of known size in the capture, such as a ruler, a printed marker template, or a sticky note measured with a caliper, and then set that as the real-world reference in the app before exporting.
Set the units to millimeters in the export settings, then check the bounding box dimensions against your printer’s build volume. Most home printers sit in the 150 to 250 mm range on the long axis, and a scan that measures 400 mm long needs scaling or splitting before it will slice.
Export STL for printing, since that is the format every slicer reads reliably. OBJ and PLY are worth exporting as well if you want the texture or want to keep working in 3D software, and GLB is the right choice for game and VR assets.
Open the STL in your slicer before you commit filament. A repaired, watertight mesh slices cleanly. A mesh with open edges produces warnings, stray extrusions, or an empty build plate, and that is usually a hole you skipped or a fragment you left attached. Confirm the model sits flat on the plate, add supports where the shape overhangs, and set your layer height and infill to match what the model is for.
Checkpoint: the slicer previews a solid part with no red error markers, and the model is the size you intended.
Common Mistakes
Most failed phone scans come down to one of nine things, and each has a quick fix.
- Blurry or smeared photos. The camera moved, or the lens was dirty. Clean the lens, brace the phone, and take a test shot before the full ring.
- A mesh that floats or spins off from the object. Background surfaces got captured and merged in. Use a plain, matte background and crop the background out before cleaning.
- Holes in the surface. The area was reflective, transparent, or featureless. Add matte marker dots or masking tape and rescan that side, or use a laser scanner for that part.
- Glossy black plastic that will not align at all. This is the most common hard failure on car trim and appliance parts. Matte spray powder or a coat of chalky paint gives the solver something to track, and no amount of extra photos fixes a surface with no detail.
- Wrong size in the slicer. The scan had no scale reference. Measure a printed marker or ruler in the same frame, set it as the reference dimension, and check the result against a caliper before printing.
- A file too dense to handle. Millions of faces. Decimate in MeshLab or with a Blender decimate modifier, and target a few hundred thousand triangles for most printed parts.
- Slicing errors or an empty build plate. The mesh is not watertight. Run a repair or make-solid operation in the slicer, and if that fails, go back and fill the holes properly.
- Misaligned or ghosted texture. Lighting changed between frames. Shoot in one session under fixed light, and never move a lamp while capturing.
- The phone wobbling mid-capture. Every frame shifted slightly. Prop it on a stack of books or a cheap rig, and use a turntable for the object instead of walking around it when the object is small and light.
Two habits cover most of these. Capture in one session with fixed light, and check the alignment preview before processing rather than after. Ten seconds of looking at the preview saves half an hour of cleanup.
Frequently Asked Questions
Can any phone be used as a 3D scanner?
Yes. Any phone with a rear camera from the last five years can do photogrammetry scanning, and phones with a LiDAR depth sensor capture geometry faster with less cleanup. LiDAR hardware is limited to recent iPhone Pro models and certain iPads. Android depth sensors exist but few apps use them well, so Android scanning is camera-based. Expect less detail on older or lower-resolution cameras.
What is the best 3D scanning app for an iPhone or Android phone?
KIRI Engine is the most common answer among makers for general object work, with a short learning curve and exports in most standard formats. RealityScan is a strong free option for iOS and works well for larger sets. Scaniverse is widely recommended as a free alternative with fast on-device processing. Polycam is versatile but is less favored for fit-critical work.
How accurate is a phone 3D scanner for making models?
Accurate enough for shape, not for measurement. A phone scan typically lands within a few percent of true size, and only if you give it a known-size reference object in the frame. Surface noise, rounded edges and thin features add error. Never use a phone scan to check clearance or to make a mating part. Measure those dimensions with calipers or model them in CAD instead.
Do I need a computer to scan and clean a 3D object?
No for most jobs. Modern apps handle capture, meshing, hole filling, smoothing and export on the phone alone. A computer helps when a scan has holes or noise you cannot remove, when the mesh has too many polygons for your slicer, or when you want to export a texture map. MeshLab, Blender and Agisoft Metashape cover those cases.
Which objects can be scanned reliably with a phone camera?
Matte, textured, solid objects of moderate size scan reliably: garden ornaments, power tool housings, figurines, shoe lasts, toys and worn sculptures. Transparency, mirror and glossy black surfaces, hair, fur, single-sheet thin parts and anything with deep holes usually fail. Add matte marker dots or chalky spray powder to smooth areas before scanning them.
What file format should I export for 3D printing?
STL, because every slicer reads it without extra software. OBJ keeps the texture and is useful if you plan to work on the model further, and PLY is a good middle ground. GLB is the right pick for game and VR assets. Set units to millimeters on export, and open the file in your slicer before slicing to confirm the mesh is watertight.
Conclusion
Start small: one matte, textured object in bright, diffuse light, about a hundred overlapping photos across three heights, and a known-size marker in the frame. Read the alignment preview before processing, inspect the mesh in your slicer, and only then attempt something reflective or oddly shaped. Once that first one prints cleanly, the workflow stops being a mystery and starts being a tool.