Learning how to clean up a 3D scan mesh for printing comes down to removing what the scanner added by accident — floating fragments, holes, surface noise, duplicate vertices — then closing the shape so a slicer reads it as a solid. On a normal scan the whole job takes 30 to 90 minutes once you know which operation to run, and in which order.
The order matters more than the tool. Delete loose islands first, because everything after that gets harder if junk geometry is still attached. Fix boundaries second. Smooth last, and only lightly, because smoothing a mesh that still has holes just blurs the damage.
Most of the confusion comes from vocabulary. People say “smoothing”, “filling holes”, “decimating” and “remeshing” when they mean four completely different operations, each with its own cost to your model. Fix the terms first and the rest gets mechanical.
This guide covers a general mesh-repair workflow. Menu names shift between Blender and MeshLab and between versions, so I name the application with each operation rather than pretending one universal path exists.
Table of Contents
- 1What You Need
- 2Large scans need reducing first
- 3How to Clean Up a 3D Scan Mesh for Printing: Step-by-Step
- 41. Preserve the Scan and Assess Its Quality
- 52. Remove Unconnected Components
- 63. Reduce Noise Without Blurring Detail
- 74. Fill Holes and Repair Open Edges
- 85. Fix Self-Intersections and Non-Manifold Geometry
- 96. Close the Watertight Mesh and Orient Normals
- 107. Check Scale, Wall Thickness, and Printability
- 118. Slice a Test Copy and Validate the Result
- 12Common Mistakes
- 13Frequently Asked Questions
- 14What is the easiest software to clean up a 3D scan mesh?
- 15Can I use the repair tool built into my 3D printer slicer?
- 16Does a 3D scan mesh need to be watertight before printing?
- 17Why does my repaired 3D scan have the wrong dimensions?
- 18When is it better to rescan instead of repairing a 3D scan mesh?
- 19Conclusion
What You Need
The original scan file, plus an untouched duplicate. This is non-negotiable. Every operation described below is reversible only by re-scanning, and nobody wants to explain a mangled model to a client.
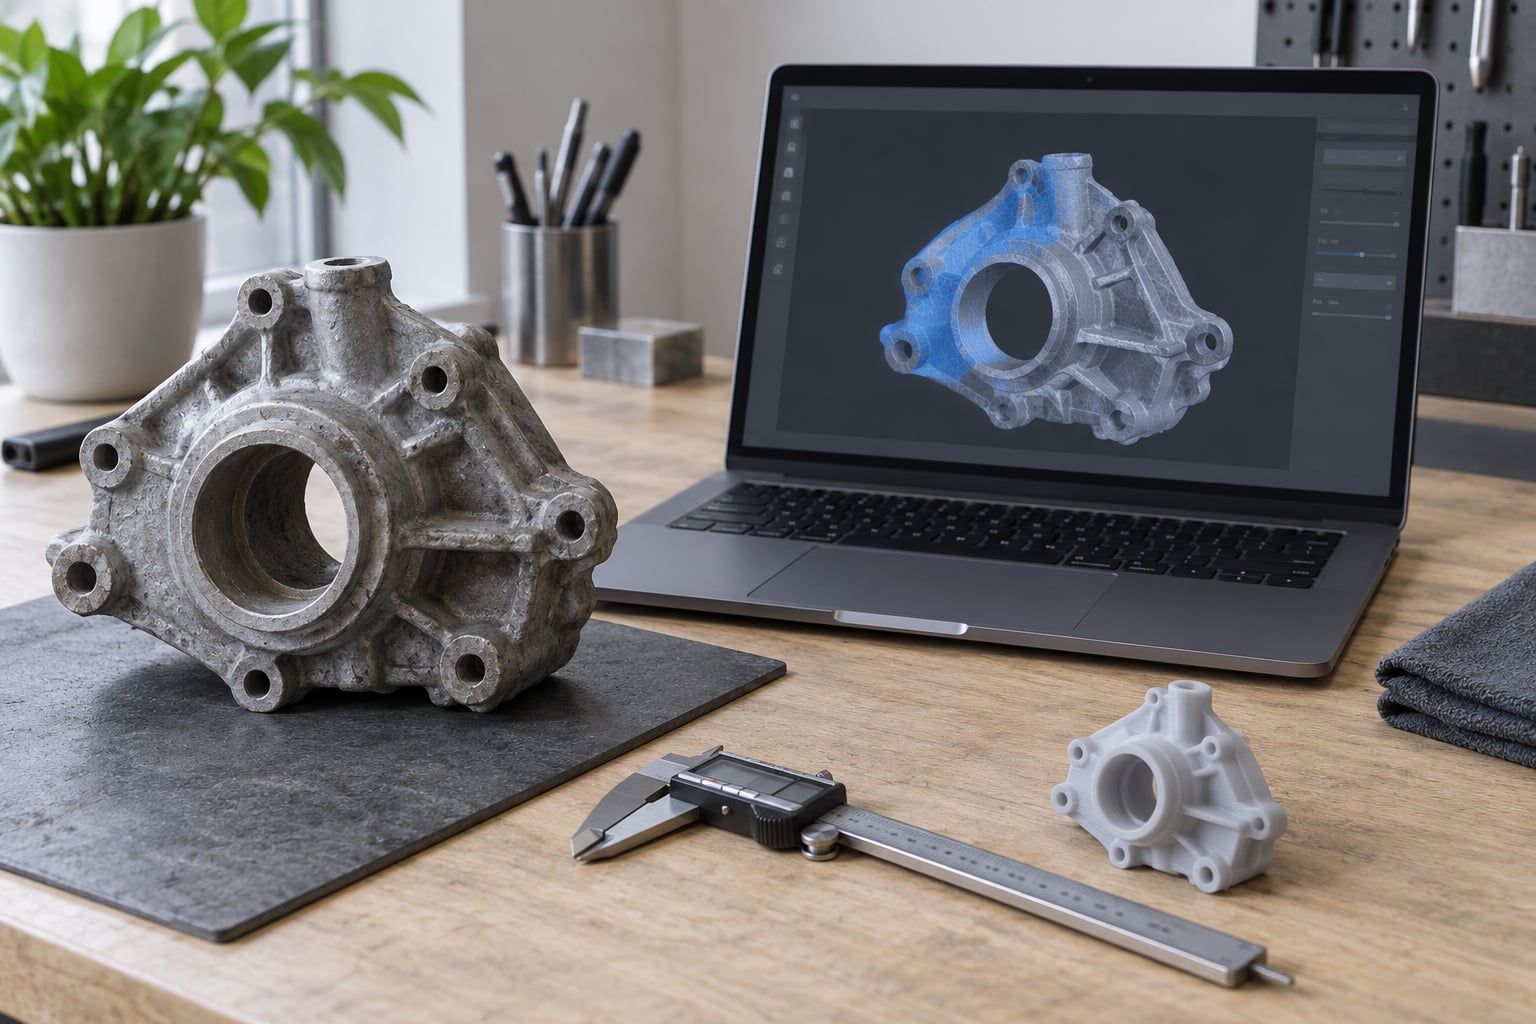
One real-world dimension measured off the original object with calipers. Pick a distance you can re-measure on the print later, like overall length. This is how you fix scale, and guessing at it is how you end up with a part that does not fit.
A mesh editor. MeshLab, Blender, Meshmixer, ZBrush, or the software bundled with your scanner all handle this task. MeshLab is free and has the most explicit filter pipeline. Blender is free, heavier to learn, and gives you scale control and a printability check in one place.
The slicer you actually print with — Cura, PrusaSlicer, Bambu Studio, OrcaSlicer. Every one has a built-in analysis or repair pass, and it is your last line of defence before a 14-hour print starts.
Optional but useful: a decimation step for large files, a measuring tool, and matte scanning spray for shiny subjects. That last one saves cleanup work before the scan even starts.
Large scans need reducing first
A 550MB scan will stall or crash ordinary mesh software before you finish your coffee. If your file opens slowly or not at all, decimate to a rough working copy first, clean that, then apply the same settings to the full-resolution file at the end.
How to Clean Up a 3D Scan Mesh for Printing: Step-by-Step
1. Preserve the Scan and Assess Its Quality
Save a duplicate, open the copy, and never touch the original again. Then write down two things before you edit anything: the units your software is using, and one measured dimension of the real object.
Turn the shading mode between Solid, Wireframe and Matte in Blender, or between Flat and Wireframe in MeshLab. Solid shows you surface quality. Wireframe shows you the triangle structure, which is where most defects are actually visible — long slivers, stretched triangles, stray edges pointing into empty space.
Open the mesh statistics panel. Note the triangle count, vertex count and object count. In Blender, Edit Mode puts vertex, edge and face counts in the status bar; Blender’s 3D Print Toolbox add-on adds non-manifold and intersection counts, which are worth installing early.
Look specifically for five defect types: floating fragments away from the main body, holes and open boundaries, surface noise and spikes, thin or stretched triangles, and stray internal surfaces sitting inside the shell.
This assessment step is where you decide how to clean up a 3D scan mesh for printing. A controlled copy with a written defect list beats guessing at operations and undoing them one by one.
2. Remove Unconnected Components
Loose islands are the classic photogrammetry artifact — chunks of background that fused to the model because they appeared in enough overlapping photos. They print as blobs floating in space or as separate pieces the slicer refuses to merge.
In Blender Edit Mode: hover the mouse over a stray fragment, press L to select linked geometry, then P and Separate by Selection. The island moves to its own object. Move it aside, look at it, and delete it if it is junk. If you are unsure, move it to a separate collection and hide it rather than deleting outright.
In MeshLab, the Components filter based on face connectivity does this in one pass and reports the number of connected parts. After the operation, check the remaining count. One connected body is what you want for a single scanned object.
The trap here is over-deleting. Some scans capture a genuinely separate part — a removable cap, a handle, two objects the user asked for together. Compare the island against the original photos before you bin it. A fragment that matches a real feature of the object belongs in the model.
3. Reduce Noise Without Blurring Detail
Noise is surface bumpiness the scanner picked up from texture, reflections or an unsteady hand. Remove it in small, reversible doses.
Start with Merge by Distance in Blender’s Mesh menu, using a small threshold. This collapses duplicate and coincident vertices, which is harmless and often removes whole categories of slicer warnings on its own.
Then apply light smoothing. Blender’s Smooth modifier with a factor around 0.3 and two or three iterations is a reasonable starting point; repeat and re-inspect between each pass. MeshLab’s equivalent is the Smooth filter, where three to four iterations at low strength usually does it. Statistical Outlier Removal is useful for photogrammetry meshes with isolated spikes.
Watch the silhouette as you go. Over-smoothing rounds sharp edges, shrinks fine detail like lettering and fabric texture, and can push mating surfaces out of alignment. If you need to smooth a whole uniform surface at once, voxel remesh gives an even result, but the voxel size sets your detail ceiling permanently — set it from your printer’s resolution, not by eye.
The finish line is a surface that reads clean in Solid shading while the wireframe shows an even triangle distribution. Not a mirror finish. Slightly soft is fine; melted is not.
4. Fill Holes and Repair Open Edges
First decide which holes are accidents. A pinhole where the scanner lost track of texture is a defect. A gap at the bottom of a vase, an opening in a bracket, or a socket meant to receive a screw are design features. Filling those changes what you are making.
For a small accidental gap: click one boundary vertex, press F to fill, and confirm the new face. For a patch several faces wide, use Mesh and Facet, Fill Holes with a modest maximum edge count so you do not accidentally swallow a genuine opening. To connect two boundary loops that belong together, use the Bridge Edge Loops operation instead of filling each separately.
In MeshLab, Close Holes works on the largest holes first and reports the count it repaired. For noisier scans, reconstructing the surface with Screened Poisson gives a cleaner, denser result than patching, though it softens sharp edges.
Then check. Switch to wireframe and zoom into each repair to confirm the new geometry sits in the plane of the surrounding surface. Recalculate normals with Shift+N, and confirm thickness where you added a Solidify modifier.
5. Fix Self-Intersections and Non-Manifold Geometry
A manifold mesh is one where every edge is shared by exactly two faces. Non-manifold geometry breaks that rule — an edge with three or more faces, or a stray face poking through the surface. Slicers treat it badly: they either refuse the file, patch it arbitrarily, or generate toolpaths that leave holes in your part.
The causes are duplicate faces, zero-area slivers, doubled vertices, and thin spikes that fold back through the surface. Merge by Distance handles a surprising share of these. For the rest, Blender’s Mesh and Clean Up menu has automatic repair operations, and MeshLab offers a non-manifold edge filter.
Check the result, always. Automatic repair modifies geometry, and sometimes it modifies geometry you cared about. Compare the repaired mesh against the original visually before moving on, and undo if the shape shifted.
6. Close the Watertight Mesh and Orient Normals
Watertight means no boundary edges — the surface closes completely. With no holes left, run Recalculate Outside to make every normal point outward consistently. Inconsistent normals confuse slicers about inside and outside and can invert your solid.
Verify with the 3D Print Toolbox, or run your slicer’s analysis tab. Then remember: multiple closed shells are not automatically wrong. A two-part assembly, a hollow shell with an internal void, or a solid with a properly formed cavity are all legitimate. What is wrong is a shell that is open.
7. Check Scale, Wall Thickness, and Printability
Scale is where silent failures live. Measure the real object, measure the same dimension in your mesh, and divide. If the object is 180mm long and your mesh measures 172 units, scale by 180/172. In Blender, apply the transform with Ctrl+A so the mesh scale returns to 1.00 and does not distort later edits.
Then check minimum wall thickness against your process. On a 0.4mm nozzle FDM machine, two perimeters give roughly 0.8mm of wall, so anything thinner may disappear or come out fragile. Resin prints want about 1.5mm minimum. Match your mesh detail to the layer height too — anything finer than the layer height is not geometry your printer can resolve.
Flag thin spikes and inaccessible internal cavities before slicing. A sealed pocket traps uncured resin in resin printing and is a scrap part no matter how clean the mesh looks. When you find one, open it into a drain hole or delete the internal surface.
8. Slice a Test Copy and Validate the Result
Import into your slicer and confirm the units first. The model appearing at 1mm or 100x size is a scale error, not a slicer bug. Set orientation, then run the slicer’s repair or mesh analysis and read what it reports.
Inspect the toolpaths, not just the outline. Look for missing perimeters, wandering lines on flat areas, or a solid that flipped. Then print a small section or a scaled-down copy at 50% — a 20mm test piece tells you everything about wall strength and surface quality in about an hour.
Signs the cleanup worked: the slicer slices with no repair warnings, the layer preview shows continuous perimeters, and the model measures the same as the real object. That is how to clean up a 3D scan mesh for printing with a defined finish line rather than a hunch.
Common Mistakes
Over-smoothing. Detail loss is permanent. Fix: undo, then use half the iterations.
Deleting valid geometry. “Stray” fragments are sometimes real parts. Fix: compare against the original photos before deleting, and move rather than delete when unsure.
Filling intentional openings. A cap that no longer unscrews is a design change, not a repair. Fix: set a maximum hole size low enough that real openings stay open.
Inconsistent units. Import at one scale, repair at another. Fix: set units once, before any operation, and apply transforms.
Ignoring internal cavities. The mesh passes every check and the part still fails in the wash. Fix: inspect cross-sections in the slicer, not just the surface.
Trusting watertight as proof. A mesh can be perfectly closed and completely wrong. Fix: compare the silhouette against the object every few steps.
Skipping the slicer test. No amount of mesh cleanup replaces one 50% test print. Fix: always print a small copy before a long job.
A few tips from people who do this daily. Save after every operation — file versions cost nothing next to a rescan. Work at low zoom when you delete; floaters hide at overview scale. If you hit a porous, hole-riddled scan where Solidify and remeshing both failed, decimate hard and voxel remesh as a recovery path, accepting that you are rebuilding the surface rather than repairing it. And remember the tracking trick from the scanning side: egg-carton pieces around a featureless object give the camera something to lock onto, then you delete them during cleanup.
Frequently Asked Questions
What is the easiest software to clean up a 3D scan mesh?
For most people, Blender. It is free, handles the full workflow from floating-fragment deletion through remeshing to scale correction, and its 3D Print Toolbox add-on reports non-manifold edges and intersections directly in the viewport. MeshLab is easier for pure filter pipelines and lighter on very large files. Meshmixer has the friendliest manual repair tools. Start in one and stay there until the workflow clicks.
Can I use the repair tool built into my 3D printer slicer?
Yes, for final checks and small fixes. Slicers such as Cura, PrusaSlicer and OrcaSlicer can close small holes, fix normals and report non-manifold geometry. They work well on minor defects and badly on large ones, because automatic repairs can distort the shape silently. Treat the slicer as your last validation pass, not as your cleanup tool.
Does a 3D scan mesh need to be watertight before printing?
For FDM and resin printing, yes — the slicer needs a closed surface to build a solid from. An open mesh means the slicer either refuses the file, patches holes arbitrarily, or produces missing material. Several closed shells in one file are still valid, such as a separate part or a solid with a proper internal cavity. What must be closed is every individual shell.
Why does my repaired 3D scan have the wrong dimensions?
Almost always a units mismatch or an unapplied scale. If the object is 180mm long but the mesh measures 172 units, multiply by 180 divided by 172. In Blender, select the object and press Ctrl+A so scale returns to 1.00. When exporting STL, enable both the selection-only and scene-unit options, otherwise the exported file can ignore your scene scale entirely.
When is it better to rescan instead of repairing a 3D scan mesh?
Rescan when the captured surface is wrong rather than untidy. Missing texture across a whole face, heavy tracking drift, or a warped silhouette all mean the data was never there to clean up. Repair handles holes, noise and stray fragments well. If more than a few large regions are unusable, or the object moved during capture, another round of photos usually beats an afternoon of patching.
Conclusion
Duplicate the scan before anything else. Open the copy, check its units, measure it against the real object, and spend five minutes looking at it in wireframe shading so you know what you are dealing with.
Then work in order: remove unconnected fragments, close holes, fix non-manifold geometry, orient normals, smooth lightly, and check scale and wall thickness. Finish in your slicer, inspect the toolpaths, and print a 50% copy before committing to the full model.
When a scan needs real repair rather than tidy-up, the difference is usually that you decided the cleanup order in advance instead of discovering it operation by operation.