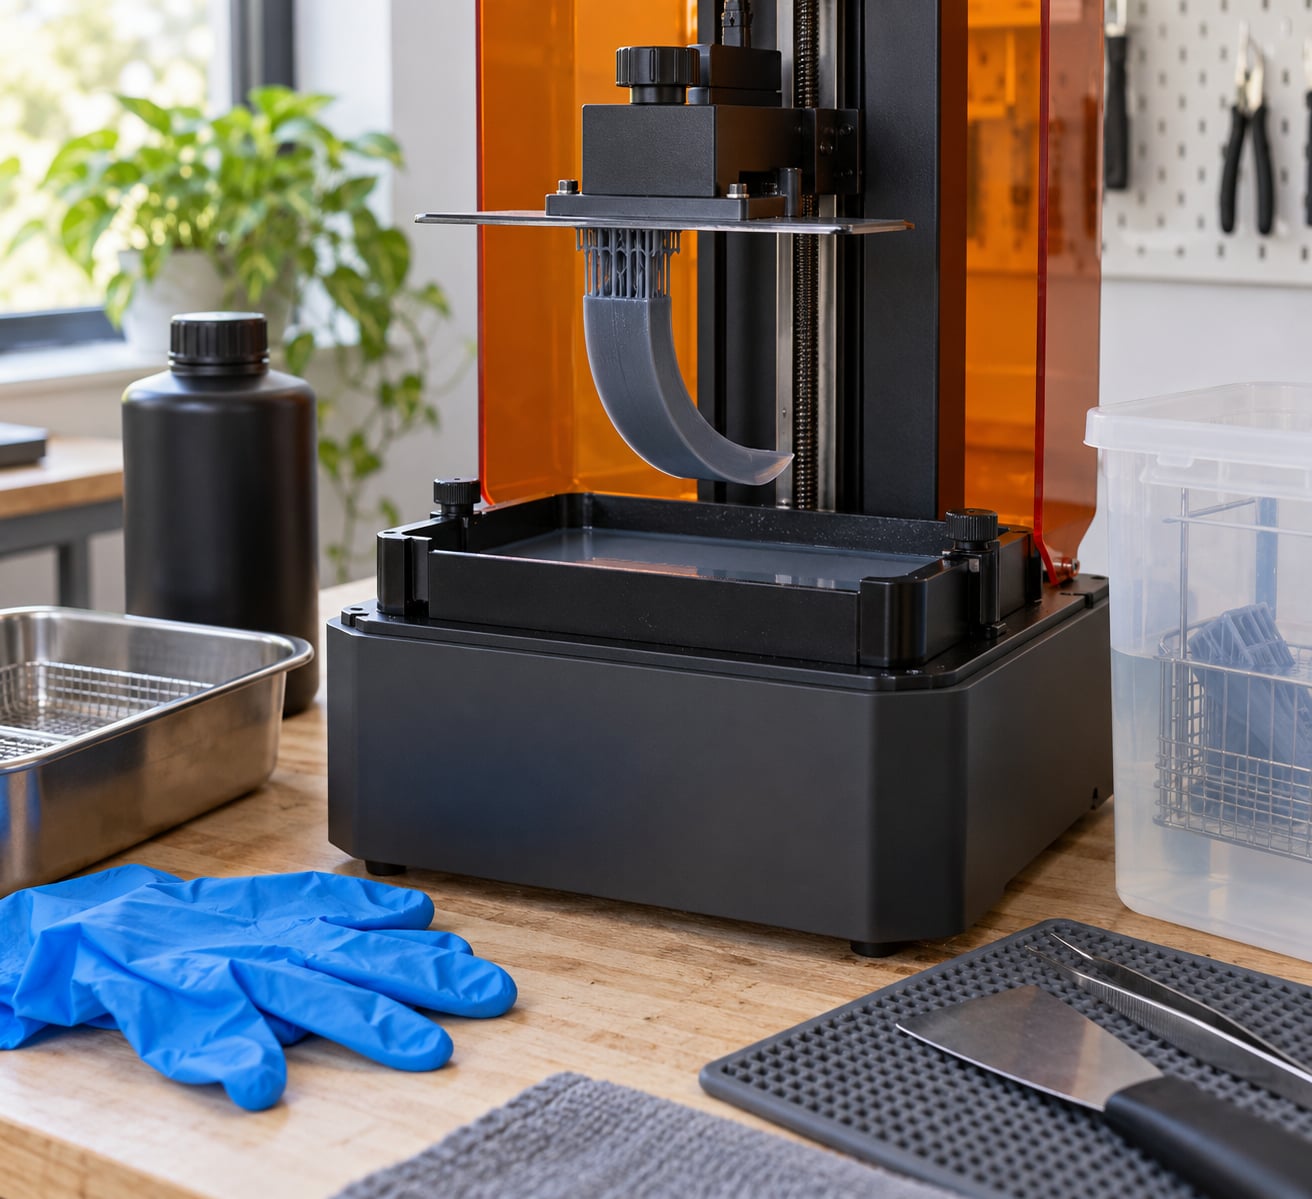
How to print flexible resin parts? Print them exactly like rigid resin, then change three things: run the printer in a warm room, slow the lift and retract speeds way down, and post-cure for less time at less heat. Soft photopolymer has low green strength, so it tears instead of releasing cleanly if you push it. That single physical fact explains nearly every failure you will hit.
Flexible resin parts come out of the vat cured, elastic and rubber-like, which is why they beat rigid resin for gaskets, grips, bumpers, keychains, wearables and soft robotics. The catch is that they are far less forgiving during the print.
What follows is the workflow I would hand someone starting out: pick the resin for the job, calibrate the machine, control where the peel forces land, and cure the finished part with restraint. Exact numbers come from your resin and printer manuals, because formulations and machines vary. Everything else here is how to apply them.
Table of Contents
- 1What You Need Before You Print Flexible Resin Parts
- 2Step-by-Step
- 31. Choose the Right Flexible or Tough Resin
- 42. Prepare and Calibrate the Printer
- 53. Import, Orient, and Support the Model
- 64. Set Layer Height, Exposure, and Print Speed
- 75. Remove, Wash, and Cure the Part
- 86. Inspect and Test the Finished Part
- 9Common Mistakes
- 10Frequently Asked Questions
- 11Can you print flexible resin on a standard LCD resin printer?
- 12What is the best flexible resin for prototypes and wearables?
- 13How do I keep flexible resin parts from sticking to the build plate?
- 14Do flexible resin parts need supports?
- 15How long should a flexible resin part be washed and cured?
- 16Why is my flexible resin part brittle after printing?
- 17Conclusion
What You Need Before You Print Flexible Resin Parts
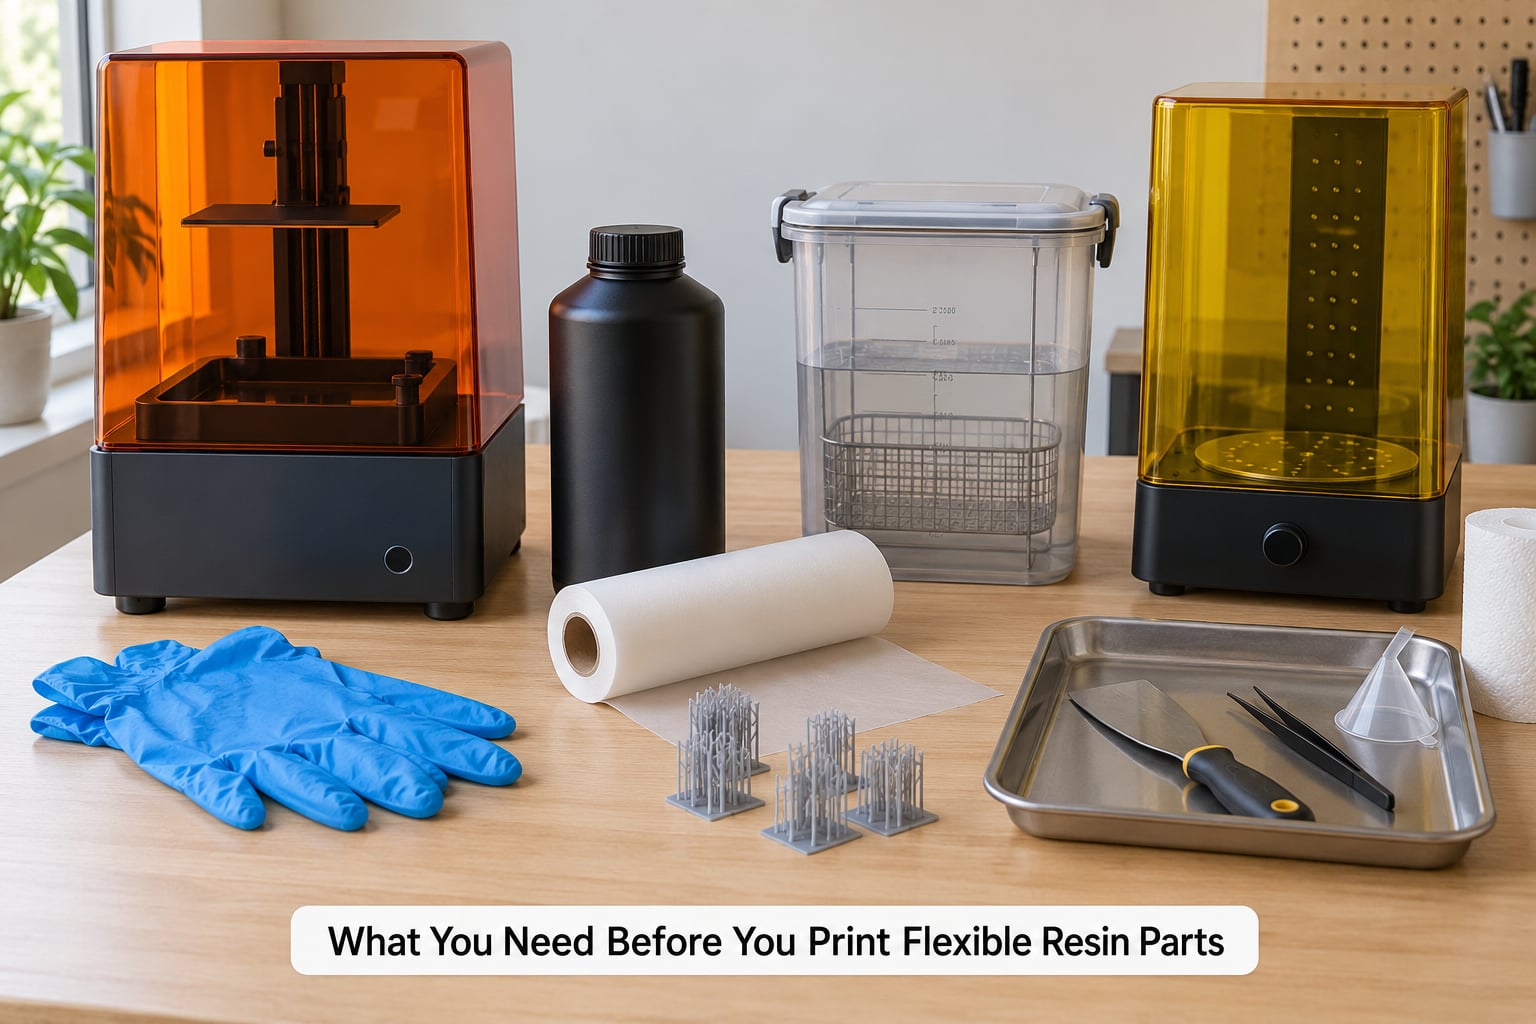
A bottom-up MSLA or DLP printer with a 405 nm light source, or a masked LCD machine, plus the usual flexible or tough resin in the matching formulation. You also need a build platform the resin will actually grip, a spare vat liner or film in case of a tear, nitrile gloves, a wash station, a UV cure chamber, and ventilation where resin is handled.
Two prerequisites catch out nearly every beginner. The first is room temperature: most manufacturers ask for ambient conditions at or above 25 °C, and cold resin raises viscosity, slows cure and makes parts far more likely to tear at the peel step. The second is honesty about your ventilation. Uncured resin is an irritant, and gloves plus a ventilated space are not optional.
Keep the resin manufacturer’s technical data sheet and safety data sheet open while you work. Those two documents carry the printer compatibility list, the recommended wavelength, the expected exposure range and the post-cure schedule, and they override anything written here.
Step-by-Step
1. Choose the Right Flexible or Tough Resin
Three families get sold as flexible. True flexible photopolymer behaves like rubber, with high elongation and a Shore A hardness in roughly the 50A to 80A range. Semi-flexible or tough resin sits between rigid and rubber, absorbing impact without stretching much. A fourth category, rigid resin with a flexible additive blended in, is tougher than rigid but is not truly flexible.
Match the family to the job rather than to the marketing. A vibration damper or wearable strap wants a true flexible resin. A snap-fit clip or a housing that gets dropped wants a tough resin, because a rubbery part there would deform and stay deformed. Check the data sheet for elongation at break, tear strength and tensile strength alongside the hardness number, because a high-elongation resin with weak tear strength will still shred at a sharp corner.
Read the SDS before opening the bottle, confirm the printer is on the compatibility list, and print a small coupon before committing to a production run. A flat paddle 40 mm long with a stepped thin section tells you more in twenty minutes than a datasheet will.
2. Prepare and Calibrate the Printer
Work through the preparation in order. Level the build platform against the vat, then set the Z offset fresh with the vat filled, since displacement changes with liquid level. Clean the vat glass or film, level it again, and check the film for wrinkles or slack. Stir or shake the resin bottle according to its instructions, let bubbles settle, then pour the vat.
Run the machine’s own calibration or resin test print if it has one. The success signals are specific: a clean, flat base on the plate with no gap lines, consistent layer definition up the wall, and attachment firm enough that a hand can lift the plate without the part releasing. If the first layers separate from the plate as the plate rises, the exposure is short or the plate needs more area.
Warm the room before you fill the vat rather than after. Waiting for the vat to reach temperature mid-print wastes resin and gives you an inconsistent first half.
3. Import, Orient, and Support the Model
Orientation decides whether the print survives. Every lift drags the part away from the vat, and that peel force is what tears soft resin. Put the largest flat surface near the build plate when the geometry allows, so the peel line travels along a wide, strong cross-section instead of a thin edge. Angle the part so the least surface area faces downward, and rotate it so the peeled region runs along the strongest walls rather than across holes or detail.
Supports need to be fewer and denser than you would use for rigid resin. Light supports break off easily but leave scars; heavy supports grip so hard that removal flexes and damages the part. Use a medium density with a small contact point, and place contact points on hidden surfaces, inside holes, or under overhanging lips. Avoid dragging a support contact across a visible face.
Leave drain holes and vents clear. Resin trapped in a pocket cures into a hard lump that behaves like a stress raiser. And skip hollowing entirely on flexible parts, because the soft outer shell has too little green strength to hold itself out against suction, so hollow models tend to collapse inward.
4. Set Layer Height, Exposure, and Print Speed
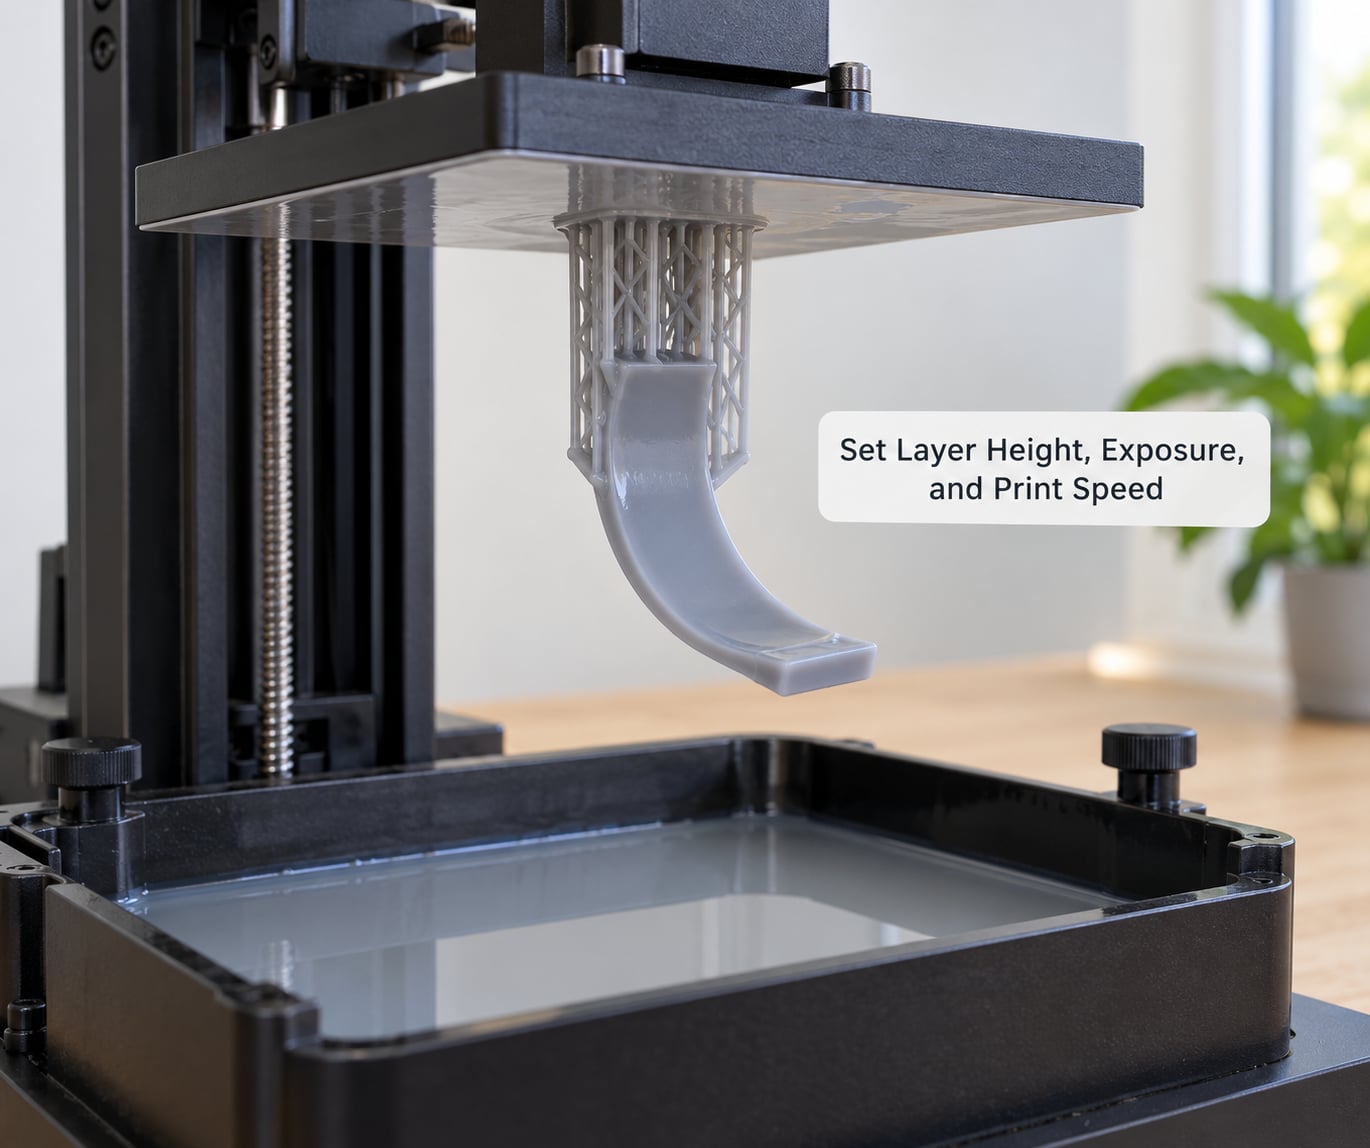
Take base exposure and regular exposure from the resin manufacturer’s profile for your exact printer model and layer height, then tune from there. Layer height in the 0.05 to 0.1 mm range is a reasonable starting band. The variable that matters most is speed: slow the lift and retract significantly below what you use for rigid resin, since the plate has to pull a part that is already soft, and fast motion is the number one cause of tears mid-build.
Read the symptom to find the adjustment. Under-curing shows up as hazy surfaces, soft edges that deform under a fingernail, and holes in the top layers; raise exposure or check that your vat film is clean. Over-curing shows as glassy, brittle surfaces that crack when flexed and supports that are almost impossible to cut away; drop exposure or shorten the cure. Cupping, where the part bows upward toward the plate, points to insufficient base exposure. Layer separation, where a print snaps cleanly at one height, points to too little exposure at that layer or contamination in the vat.
5. Remove, Wash, and Cure the Part
Let the part cool on the plate for the interval your resin manual gives, then release it. Flexible parts can tear if you peel them off while the remaining section is still under load, so support the whole part in both hands and flex it away from the plate rather than twisting one corner.
Remove supports with sharp flush cutters close to the surface, working from the least visible side. Rinse and wash using the resin manufacturer’s method, and if you use an alcohol, follow the concentration they specify and clean the part twice with fresh solution. Then cure only the surfaces that need it, for the stated time at the stated temperature. Flexible resin over-cures into something stiffer and more brittle, and curing every face on both sides is a common way to turn a rubbery part into a hard one.
Finish by inspecting for uncured resin in drain holes and interior pockets, and for tacky surfaces. If a part stays sticky, it is usually under-cured rather than over-cured, and a second short cure pass fixes it.
6. Inspect and Test the Finished Part
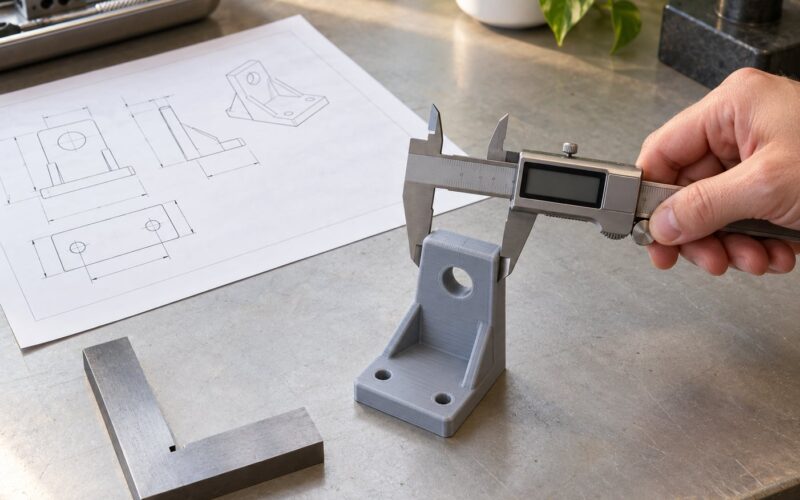
Compare the part against the design intent: overall dimensions, wall thickness at tight tolerances, hole fit, surface finish on cosmetic faces, and whether flexibility is where you need it. Test a thin feature by bending and releasing it gently. That is enough to catch a brittle cure or a delaminated layer without risking the part.
Write down what worked. I keep a small note per filament spool equivalent: layer height, base exposure, regular exposure, lift and retract speeds, orientation, cure time, and room temperature. Flexible resin varies more between bottles than rigid resin does, so when you open a new bottle, print the coupon again rather than trusting last month’s numbers.
Common Mistakes
Parts tearing away from the build plate. This is the signature flexible resin failure and it happens at the peel step. Slow the lift and retract speeds, reorient so the peel line runs along a wide face, and check your room is at or above the manufacturer’s minimum temperature. A cool room raises viscosity and makes everything worse.
Delamination and parts snapping mid-build. The peel force exceeded the green strength. Lower the lift speed, increase base exposure so the first few layers bond harder, and reduce the total surface area being peeled each cycle by tilting the part.
Holes and soft, smeared detail. Under-cure. Raise regular exposure, confirm the layer height is one the resin’s profile supports, and clean the vat film or glass. Dust on the film can block light and leave uncoated areas.
Brittle or glassy parts. Over-cure and over-exposure are the usual causes. Shorten the post-cure, cure fewer surfaces, or reduce exposure. Overexposure also makes supports much harder to remove on flexible resin, so if supports are fighting you, check your exposure before you check your cutters.
Tacky surfaces and residue that stays sticky for hours. Incomplete wash or incomplete cure. Wash with the recommended solution in two passes, dry fully, then cure again briefly. If a bottle prints rigid despite being labelled flexible, suspect the batch before your settings.
Flexibility that varies across one part. Thick sections often read firmer than thin ones because more material shares the load, so a part that bends nicely at 1 mm can feel rigid at 4 mm. Resin hardness alone does not control this; geometry does. When you need consistent softness, adjust wall thickness rather than chasing a softer bottle.
Two habits prevent most of the above. Filter resin only if the manufacturer permits it, since some formulations rely on thixotropy that filtering disturbs. And keep the room stable, label opened bottles with the date, and log your settings, so when quality shifts you know whether the resin or the machine moved.
Frequently Asked Questions
Can you print flexible resin on a standard LCD resin printer?
Yes, on most masked LCD MSLA machines that use a 405 nm light source, as long as the resin manufacturer lists your printer model as compatible. Flexible resin is less forgiving than rigid, so add margin: slower lift and retract speeds, a warm room, and a test coupon before any long job. Printers with a projection system or a different wavelength may need a manufacturer-specific profile or a different resin entirely.
What is the best flexible resin for prototypes and wearables?
For wearables and anything flexed repeatedly, look for a true flexible photopolymer in the 50A to 70A range with a published elongation at break and tear strength, not just a hardness number. Confirm it is rated for skin contact if it will touch skin, and check the post-cure method, since some flexible resins need a specific cure routine to stay soft. Validate the choice with a coupon that you bend and release several times.
How do I keep flexible resin parts from sticking to the build plate?
If a flexible part will not stay attached, raise base exposure, increase the contact area by pressing the part flatter to the plate, and clean the plate surface so the resin has something to grip. Check that the Z offset is not set so high that only a few pixels of each layer touch down. Very high base exposure can glue the part down permanently, so raise it in small increments and test the coupon first.
Do flexible resin parts need supports?
Most do, especially anything with overhangs, holes or a horizontal surface. Use a medium density with small contact points and place them on hidden surfaces or inside holes, because support removal is the moment a flexible part is most likely to tear. Hollow tubular parts can sometimes print tilted with minimal supports, but a solid part with overhangs will still need them, and hollowing a flexible model outright usually causes the outer shell to collapse.
How long should a flexible resin part be washed and cured?
Follow the resin manufacturer’s schedule, which usually means two wash passes in fresh solution and a cure far shorter than for rigid resin. Flexible resin is easily over-cured, and excess UV exposure stiffens it, so curing both faces of every part is a common mistake. Cure only the surfaces that need it, check for tacky patches afterwards, and allow the part to cool before handling so fingerprints do not end up permanently pressed into the soft surface.
Why is my flexible resin part brittle after printing?
Brittleness usually means over-curing or overexposing, because extra UV crosslinking stiffens a soft part into something closer to rigid plastic. Symptoms include glassy surfaces, cracking when flexed, and supports that are nearly impossible to remove. Drop regular exposure slightly, cut the post-cure time, and cure fewer surfaces. If the part was printed from a blend of rigid resin with a flexible additive, it was never fully flexible to begin with.
Conclusion
Start with three actions. Choose a flexible photopolymer that your printer is listed for and read its data sheet before anything else. Calibrate the platform, Z offset and exposure in a room at or above the manufacturer’s minimum temperature. Then print a small coupon and record layer height, base and regular exposure, lift and retract speeds, orientation and cure time.
Once that coupon behaves the way you need, learn how to print flexible resin parts one variable at a time from there. Peel forces and low green strength cause nearly every failure, so orientation and speed matter more than any other setting you will touch.