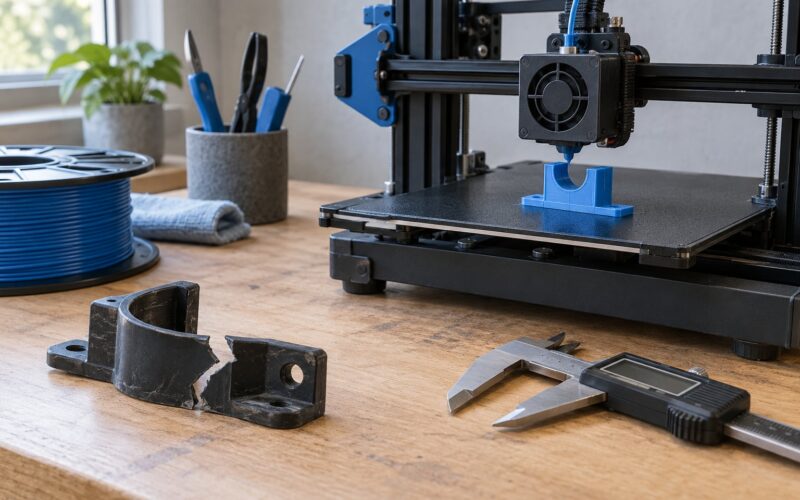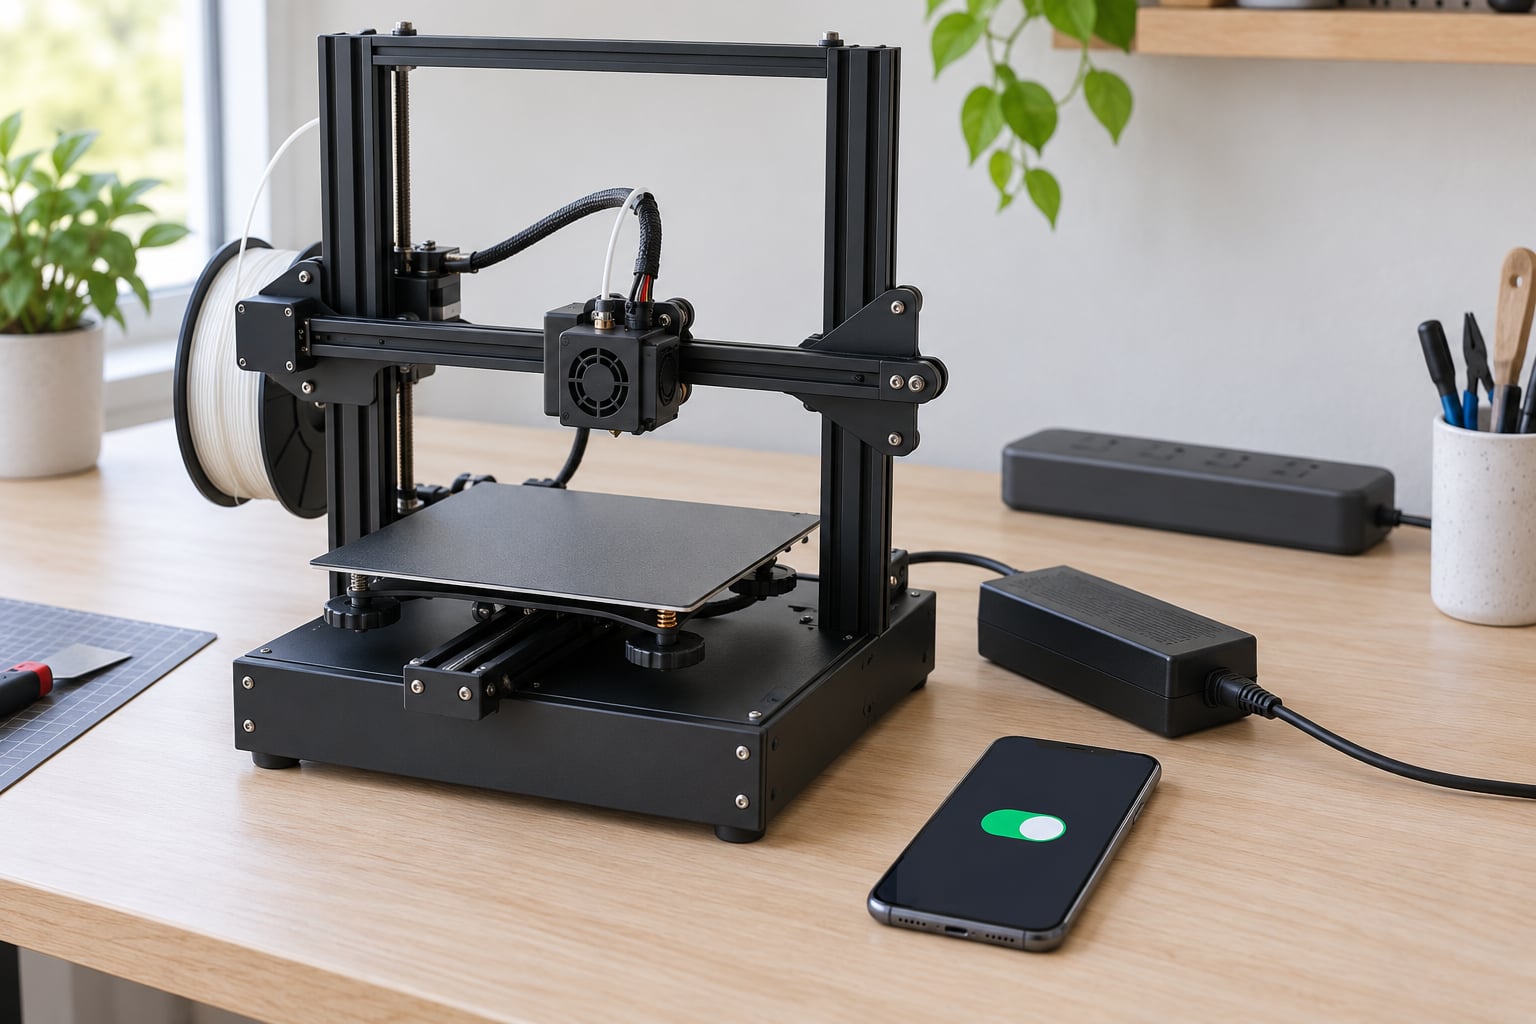
A smart plug for printer safety is a Wi-Fi controlled outlet that cuts power to a 3D printer remotely or on a schedule, so the machine is not sitting hot and drawing current with nobody watching it. Plug the printer’s power brick into the smart plug, pair the plug to your app, and set a shutdown rule. Setup takes about 20 minutes. The catch matters as much as the convenience: a smart plug is not fire protection, and the manufacturer’s manual on unattended operation still governs what you do.
Most owners who add one are not chasing a dramatic safety upgrade. They are fixing an annoyance that shows up every single print. The job finishes at 2am, the nozzle sits at 200 degrees, the bed stays on, and nobody walks downstairs to switch anything off. A remote cutoff closes that gap and gives you a single switch to hit from your phone when a filament jam or a crash is happening while you are out of the house.
Updated for 2026. The steps below assume a desktop FDM printer with a heated bed, which is the most common setup. Laser engravers, resin printers, and heated-chamber machines need extra care noted in their steps.
Table of Contents
- 1What You Need
- 2Step-by-Step
- 31. Check the Printer and Outlet First
- 42. Match the Smart Plug to the Printer’s Power Draw
- 53. Set Up the Smart Plug and App
- 64. Connect the Printer Safely
- 75. Create a Shutdown and Monitoring Routine
- 86. Test Normal and Failure Scenarios
- 97. Turn Off and Disconnect It Safely
- 10Common Mistakes
- 11Tips
- 12Frequently Asked Questions
- 13Can I turn off my 3D printer with a smart plug during a print?
- 14What happens to a 3D printer if Wi-Fi goes out?
- 15How do I know whether my printer is safe for a smart plug?
- 16Do I still need a surge protector with a smart plug?
- 17Should I use a smart plug on a printer with a heated bed?
- 18Can the printer restart by itself after power returns?
- 19Conclusion
What You Need
You need six things, and one of them is a number you have to find before you buy anything else.
- Your printer and its power brick, cord intact
- A smart plug rated above the printer’s maximum power draw
- A wall outlet and, where the load warrants it, a surge protector
- A phone with the plug manufacturer’s app installed
- An account with the plug’s maker
- The printer manual, specifically the unattended-operation section
Start with the load number. Look at the label on the power brick or power supply unit and note two figures: the output voltage and the maximum current or wattage. A label reading 24V 15A tells you the brick is rated to deliver 360 watts. Check the same label for an input rating, because that is the number you compare against the outlet and the plug.
Next, confirm the printer’s own draw. The heated bed and the hotend heater rarely run at the same time, and the chamber heater, if you have one, adds to the peak. Add the rated figures together rather than guessing from a random power strip, and then add headroom. The plug should be rated comfortably above your calculated peak, not equal to it.
Watch for inrush current, the brief spike as heaters and fans spin up. A plug sized exactly at the continuous total can trip or degrade under that spike. Buy the next rating up and you give yourself margin for a bigger bed, a chamber heater, or a future upgrade.
Step-by-Step
1. Check the Printer and Outlet First
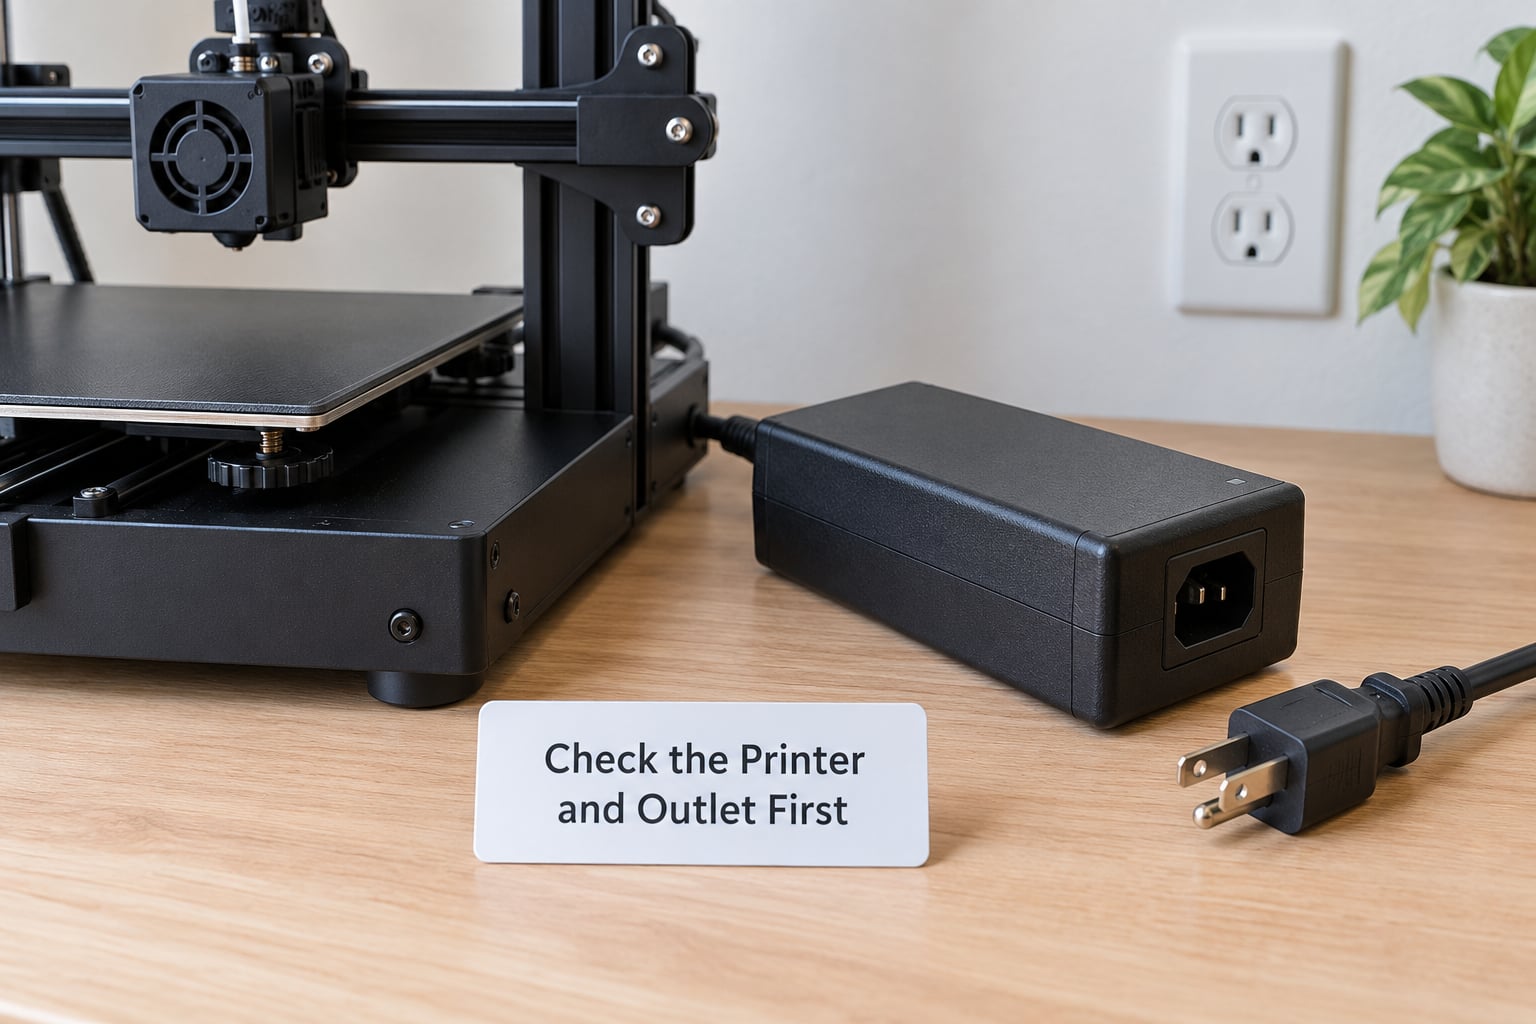
Before anything gets plugged in, inspect the machine. Look at the power cord from plug to brick for kinks, discoloration, a soft spot, or a warm spot after a print. A cord that was coiled tightly around the brick to store it is the most common finding here, and it is worth replacing before you add a switching device to the circuit.
Check the outlet too. Plug a lamp into it, then plug a lamp into the outlet one room away on the same circuit and switch the first one off. If the second lamp dims, you have a shared circuit with a load problem, and that is the wrong outlet for a heated printer.
Success looks like a printer whose cord and brick show no damage, sitting on a stable, non-overhanging surface with clear travel around the bed and gantry, powered from an outlet that does nothing else on its circuit.
2. Match the Smart Plug to the Printer’s Power Draw
Compare your calculated peak against the plug’s continuous rating, and compare the voltage against the plug’s supported input. Common residential plugs are rated around 10A or 15A, and many cheap ones are not genuinely rated for a resistive load of that size. A heated bed alone can draw 100 to 200 watts, and an enclosed printer with a chamber heater pushes higher.
Also check two behavioral settings before you buy, because these are the deal breakers forum users keep repeating. Look for a plug that can be configured to stay de-energized after a power outage rather than switching itself back on, and look for local control that keeps working when your router or the vendor cloud is down. Cloud-only control with a plug that auto-restarts is a poor safety choice.
Success means you can say out loud: the plug’s continuous rating exceeds the printer’s worst-case load with margin, and the plug stays off until you tell it otherwise.
3. Set Up the Smart Plug and App
Plug the smart plug into the wall outlet, leaving the printer disconnected for now. Install the app, create an account, and follow the pairing flow. Most plugs join on a 2.4 GHz network, so if the phone cannot find it, move the router band or set the phone temporarily to 2.4 GHz.
Rename the device to something clear like Printer-Bed rather than leaving it as a model number in a list of twenty plugs. Grant only the permissions the app needs for control and notifications, then check for a firmware update before you continue.
Test both directions with nothing plugged into the outlet. Tap on, confirm the relay clicks and the indicator lights. Tap off, confirm it goes dark. Then test the physical button on the plug itself, because that button is your fallback when the app is down and it needs to work.
Success means on, off, and the physical button all behave, and the device stays where you named it after a router reboot.
4. Connect the Printer Safely
With the plug off, connect the printer. The correct path is wall outlet to smart plug to printer power brick, or wall outlet to smart plug to surge protector to printer power brick where the load and the code require it. The surge protector handles transient voltage spikes; it does not substitute for a correctly rated plug or for sound equipment condition.
Do not daisy-chain. A printer plugged into a power strip that is itself plugged into another power strip, or into an extension cord run under a desk, is the setup people describe in forum threads about charring sockets. Extension cords and cheap multi-taps are a leading cause of the electrical faults that worry us all in the first place.
Turn the plug on, watch the printer boot, and confirm it reaches its normal startup state rather than stalling or erroring on power-up. Success looks like a normal cold boot every time you energize the plug.
5. Create a Shutdown and Monitoring Routine
There are two kinds of shutdown, and they are not interchangeable.
A firmware or slicer shutdown finishes the print, then runs a cooldown: the hotend temperature falls gradually, the bed heater cycles off, and the fan runs until the hotend is cool. The machine ends up powered but cold. This is the better default because it protects the hotend from thermal shock and leaves a clean state.
A hard power cut through the smart plug drops everything instantly, at whatever temperature it happens to be. Use it as the escalation when firmware shutdown will not happen: a jam that keeps the nozzle hot, a crash with the heater on, a machine that is already in a fault state, or an end to the day after a cooldown has completed.
Build the routine around that. If your printer can be reached from a network service such as OctoPrint or Home Assistant, bind the plug to print-complete events so a cooldown runs first and the hard cut follows only if the machine is still drawing power. Otherwise, set a generous timer on the plug itself as a backstop, and enable notifications so you know when it trips.
If you use energy monitoring, set a conservative limit above the printer’s normal peak rather than at the threshold. A limit that cuts power during a bed soak is an unwelcome surprise halfway through a 30-hour print. Treat a sudden draw above the limit as a signal to go look at the machine, not as an automatic shutdown you never question.
Success looks like a routine that ends with the printer cold and powered off, and a notification path that tells you it ran.
6. Test Normal and Failure Scenarios
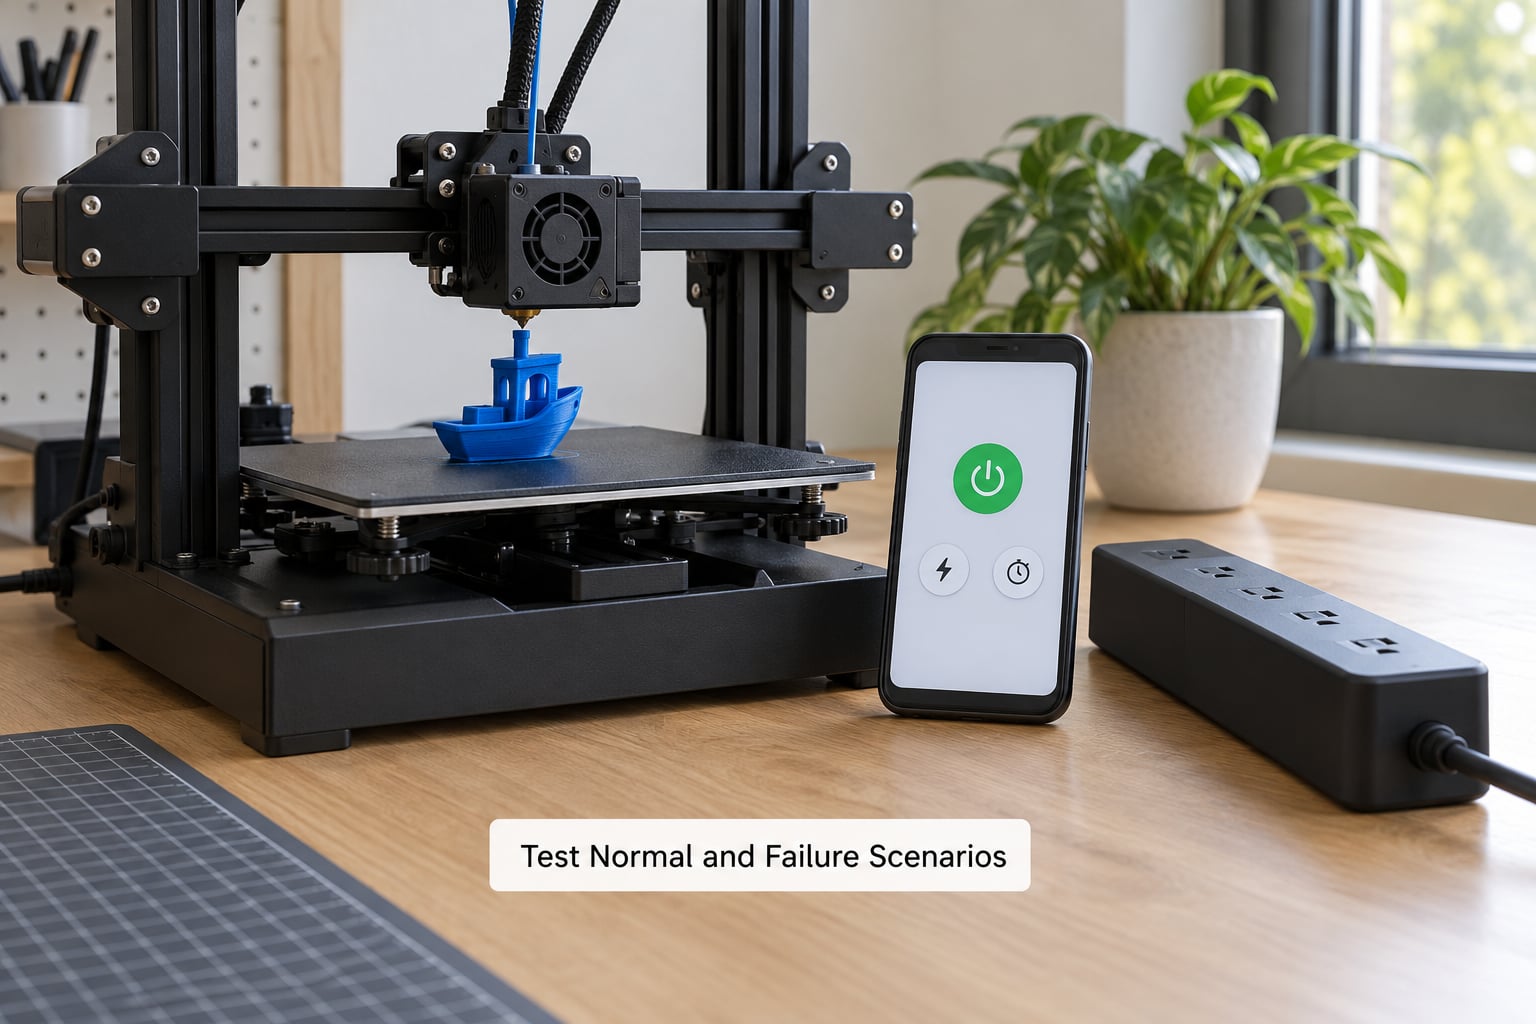
Run a short test print, then test the real scenarios before you rely on any of it. Tap the plug off from your phone mid-print and watch what happens to the printer. Expect the heaters to stop, the screen to go dark, and the print position to be lost. Know that now, not during an emergency.
Test an app failure by putting your phone in airplane mode, and test a network failure by powering the router down for a minute. The question is whether the plug behaves sanely, not whether the app stays perfect. Many plugs hold their last command through a network drop, which is the correct behavior. What you want to confirm is that a network event never turns a cold printer on by itself.
Test the outage case: shut power at the breaker with the printer running, restore it, and see whether the plug re-energizes. If it does and you do not want that, the de-energize-on-failure behavior needs configuring before real prints start.
Then rehearse recovery. A printer that lost power mid-print does not resume where it stopped in most firmware. A power-loss recovery feature exists on some machines, but on many it means a crash at the last known layer rather than a clean continuation. Reprint the failed section or start the job over rather than trying to force a restart onto a hot machine. If the machine is in a fault state, cycle power once, read the error, and resolve it before another attempt.
7. Turn Off and Disconnect It Safely
Shut down in this order: end or pause the print in the printer’s own interface, let the hotend and bed cool to a safe handling temperature, switch the printer off at its own control, and only then cut power at the smart plug.
That last ordering is the part people skip. Cutting power at the plug first leaves the machine to decide for itself, and a machine that boots into a heated-state fault or starts a recovery routine on a hot nozzle is a poor trade for saving eight seconds.
Success looks like a routine you can do without thinking, in under a minute, ending with everything cold and dark.
Common Mistakes
- Sizing the plug to the average draw instead of the peak. Fix: add the rated heater loads together, add margin, and step up one rating.
- Daisy-chained power strips and extension cords. Fix: wall outlet to smart plug to the printer, one hop only.
- Leaving a plug on auto-restore after an outage. Fix: configure de-energize on failure so the printer stays cold until you command it.
- Hard power cuts as the default shutdown. Fix: prefer a firmware cooldown, save the hard cut for faults and end of day.
- Treating the smart plug as surge protection or as a fire-detection device. Fix: understand what each layer does. A plug removes power on your command. It senses nothing, and it suppresses nothing.
- Overloading one outlet. Fix: a printer with a heated chamber, a heated bed, and a filament dryer on one circuit is too much. Split them across separate circuits, each with its own control.
- Mounting the plug somewhere you cannot reach the button. Fix: keep the physical button reachable. It is the fallback when the app, the cloud, and the network are all down at once.
- Skipping firmware updates. Fix: update the plug firmware and the printer firmware, since thermal protection lives mostly in the printer’s firmware.
- Ignoring heat, smell, or a discolored socket. Fix: power down, unplug, and inspect. Odor or heat with no load means stop using that device and have the circuit checked.
Tips
- Put the printer on a dedicated wall outlet rather than a shared one, and keep heaters and the printer off the same circuit as a space heater or a dehumidifier.
- Enable restart-after-power-loss in the printer’s firmware only when you understand what your machine does on restore. For most people, leaving it off is safer.
- Label the plug and the outlet. Six months from now, a labeled plug is the difference between a two-minute fix and a mystery.
- Re-test the shutdown schedule every couple of months, and after any app update. Quiet automations break silently.
- Keep the printer’s vents and intake clear, and leave clearance around the enclosure so heat is not trapped near the brick.
- Choose equipment listed to the electrical standards in force locally, and let a licensed electrician handle anything involving a new circuit or a fixed outlet.
- Run the filament dryer or an air purifier on a second controlled plug with its own schedule, so you are not sharing a load or a timer you cannot reason about.
- Follow the printer manufacturer’s unattended-operation guidance above any general advice, including this one.
Frequently Asked Questions
Can I turn off my 3D printer with a smart plug during a print?
You can, and the printer will stop immediately with the heaters live. The print will be lost, and on most machines the machine cannot resume from the position. Use a hard remote cut when a jam or crash keeps the nozzle hot with nobody home, and treat it as an escalation from a normal firmware cooldown rather than your regular end-of-print routine.
What happens to a 3D printer if Wi-Fi goes out?
Most plugs hold their last command through a network drop, so a running print keeps running. Some budget plugs revert to a default state, which is why you should test your specific model before trusting it. A plug that can be set to stay de-energized after a network event prevents a printer from being switched on by a router reboot while you are asleep.
How do I know whether my printer is safe for a smart plug?
Check the power-supply label, add the rated heater loads together, and confirm the plug’s continuous rating exceeds that total with headroom. Also inspect the cord and brick for heat damage, verify the outlet is on a lightly loaded circuit, and check the printer’s manual for any unattended-operation restrictions. A printer already showing scorching or a warm socket is not a candidate.
Do I still need a surge protector with a smart plug?
They do different jobs. The smart plug controls switching; a surge protector absorbs transient voltage spikes and can include noise filtering. Adding one is reasonable where a heated printer sits on a shared circuit, but a surge protector does not raise the current rating of a plug and cannot substitute for sound wiring. Never daisy-chain strips or run an extension cord to reach the outlet.
Should I use a smart plug on a printer with a heated bed?
A heated bed is normal and most plugs handle it, but it is usually the largest single load and it is what you size the plug around. Read the brick label, add the bed and hotend ratings, and pick a plug rated above the total. A bed soaking at temperature for hours is also a good reason to schedule a proper shutdown instead of running idle.
Can the printer restart by itself after power returns?
That depends on two separate settings: the plug’s power-on state and the printer’s restart-after-power-loss setting. Many plugs default to turning back on after an outage, and many machines will attempt a recovery on power-up. Set the plug to de-energize on failure and check what your firmware does on restore, so an overnight outage cannot heat an empty room.
Conclusion
Start with the electrical condition, not the app. Inspect the cord, brick, and outlet, read the power-supply label, and add up the rated loads until you know the peak. Then pick a plug rated above that number, confirm it can stay off after an outage, and keep its physical button reachable.
Once it is connected, run the tests: a remote cut during a short print, a network drop, a breaker cycle. Build the routine so a normal end of print means a firmware cooldown first and a hard cut only when something is wrong or the day is done.
And keep the layers. A remote cutoff removes power when heat is left on with nobody watching, and it saves real energy on every single job. It senses nothing, detects nothing, and it does not stop a thermal runaway, a failing power supply, or a blocked vent. A working smoke alarm, sound wiring, ventilation, and the manufacturer’s guidance on unattended printing are what turn this from a convenience into a setup you can actually leave running overnight.