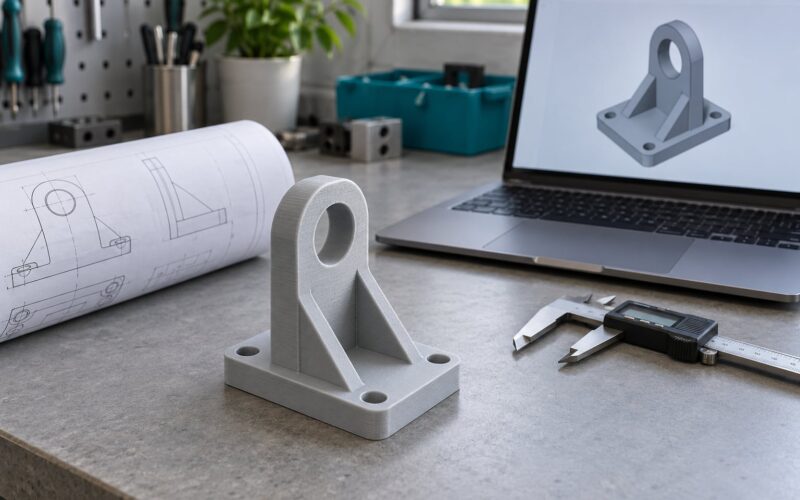
A 3D printing part request spec is a written brief that tells a print service exactly what to make, in which material, by which process, and to what standard. It removes the guesswork that causes quotes for the same file to differ by two or three times, and it takes about 20 minutes once you have the template below.
The file itself carries almost none of the information a supplier needs. An STL tells geometry and nothing else: it does not say whether the part is a display model or a load-bearing bracket, whether holes are meant to accept a bolt or a shaft press, or whether the visible face is allowed to carry support marks. Every one of those decisions left open becomes an assumption, and assumptions get priced in.
Table of Contents
- 1What You Need to Write a 3D Printing Part Request Spec
- 2Step-by-Step
- 3Define the 3D Printing Part Request Spec
- 4Describe Geometry and Functional Dimensions
- 5Select Materials and Print Requirements
- 6Set Tolerances, Surface Finish, and Inspection
- 7Add Quantity, Pricing, and Delivery Requirements
- 8Attach Files and Supporting Documents
- 9Review and Send the Request
- 10Common Mistakes
- 11Frequently Asked Questions
- 12What information should I include in a 3D printing part request?
- 13How specific should tolerances be in a 3D printing request?
- 14Which CAD file formats should I send to a supplier?
- 15Should I specify the exact material or allow alternatives?
- 16How should I handle questions or unclear requirements before production?
- 17Conclusion
What You Need to Write a 3D Printing Part Request Spec
Gather these before you type a single field. The list is short, and most of it already exists in your CAD project or your head.
- The mesh or solid model, in whatever format you have
- A drawing or dimensioned sketch of the functional features
- The intended application, described in one or two sentences
- Material preference, or the properties that matter if you are flexible
- Quantity, split into prototype and production figures if both apply
- Your required date and the destination
- A named technical contact who can answer follow-up questions
Separating what the supplier must have from what is a preference saves an argument later. Required items block a quote; optional ones let the supplier propose something better.
| Required before sending | Optional, but helpful |
|---|---|
| Part identifier and revision | Reference images of the finished part |
| File format and units | A physical sample of a similar part |
| Material and process | Preferred colour or finish reference |
| Critical dimensions and their tolerances | Surface finish target in Ra |
| Quantity | Packaging preferences |
| Delivery destination and required date | Inspection report or certificate request |
| Technical contact | Confidentiality or NDA requirements |
If a cell in the left column is empty, the supplier either guesses or comes back with a question. Guessing costs you a requote, and questions cost you days.
Step-by-Step
Define the 3D Printing Part Request Spec
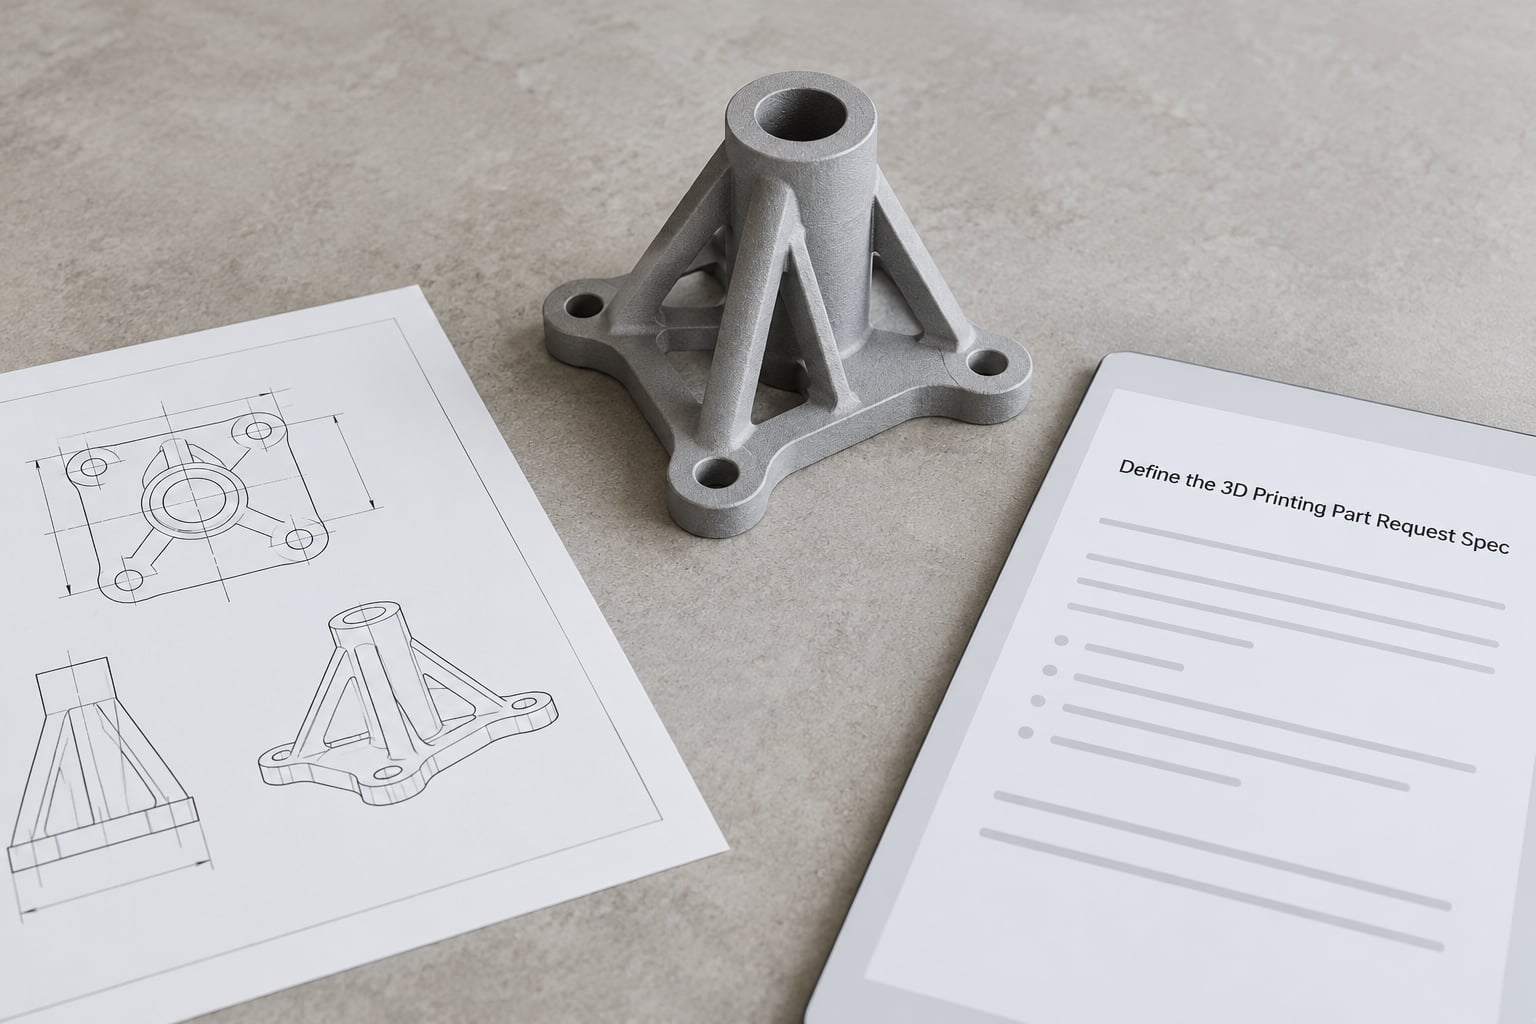
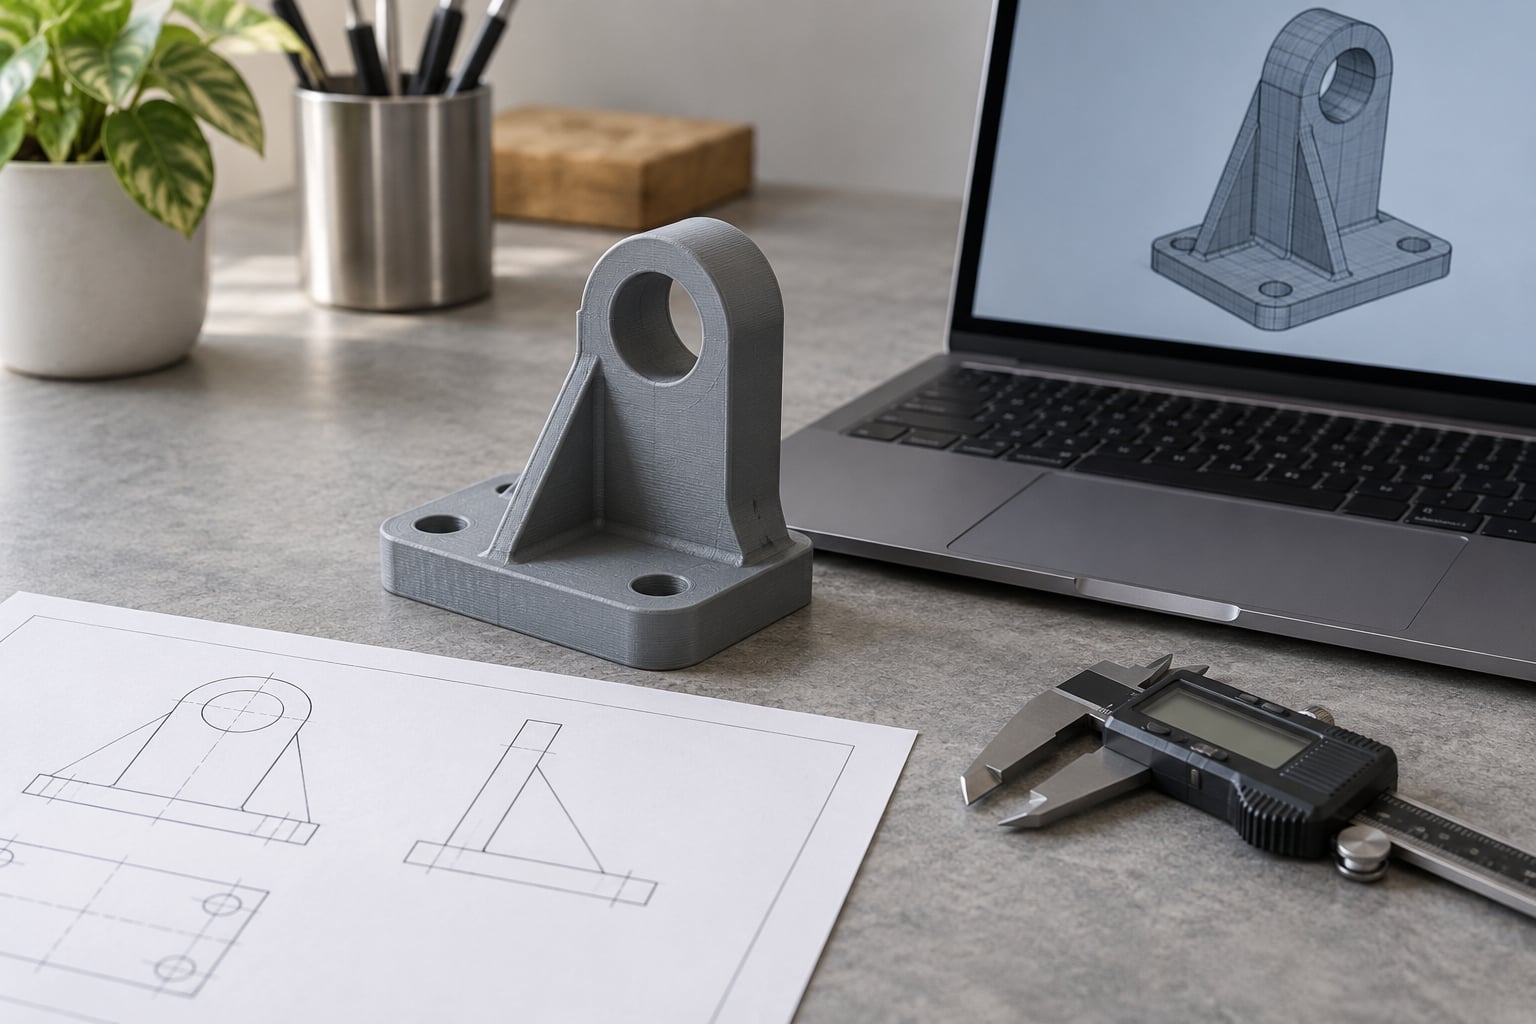
Start with identity and intent. Give the part a name a stranger could recognise, such as BRACKET-L-01, and state the revision number. Then write two sentences on what the part does and where it goes.
Do not rely on the file name alone. A file called final_v3_reallyfinal.stl tells a supplier nothing about which revision is current or what changed.
Add a line stating what you want back from the supplier: a price, a price and lead time, a manufacturability review, or all three. Asking for every quote in the same format is what makes responses comparable later.
Check: another engineer should be able to read your header and know exactly which part this is, at which revision, for what job, without opening a single file.
Describe Geometry and Functional Dimensions
List overall dimensions first, then the features that actually matter. Functional dimensions are the ones a fit, a load path, or a mating interface depends on: shaft diameters, hole positions, bearing seats, snap-fit thicknesses, wall distances.
Mark each dimension as critical or reference. Critical means an out-of-tolerance result fails the part, and it triggers inspection. Reference means the supplier may vary it within reason. Marking everything critical is the fastest way to make your request unreadable.
State the units on every dimension, and state them once more on the drawing. Millimetre and inch models look identical on screen and scale by 25.4 when mishandled, which is one of the most common reasons parts arrive wrong.
Note orientation-sensitive features explicitly: which face is cosmetic, which direction the layers must run relative to a load, and where bridging would be unacceptable. A bracket loaded across layer lines fails far earlier than the material data suggests.
Call out minimum wall thickness where the model has thin regions. Typical minimums sit near 0.8 mm for FDM, 0.4 mm for SLA and 0.6 mm for SLS; anything thinner usually gets thickened or refused.
Check: every functional requirement in your notes maps to a specific feature in the model, and every feature you marked critical has a tolerance attached.
Select Materials and Print Requirements
Name the material as specifically as the supplier’s catalogue allows. PLA, PETG, ABS, ASA, polycarbonate, TPU, PA12 nylon and semi-crystalline resins each behave differently under load, heat and UV, and most services offer several grades of each.
If you would rather let the supplier choose, say so and give the properties you need instead. A sentence like “must hold 80 °C in a car dashboard, must not be brittle outdoors” lets a service recommend a better polymer than you would have picked, and it gets you a quote that fits the job.
Separate mandatory properties from preferences. Material, process and any temperature or load requirement are mandatory. Colour, sheen and layer finish are preferences, and saying so explicitly prevents them from inflating the quote.
Decide your position on layer height and orientation. If resolution matters, give a target rather than a word like “high detail”. A request for “high detail” has produced everything from 0.1 mm FDM layers to fine-layer SLA at several times the standard cost.
Say whether the service should add supports and which faces are cosmetic. Sending a pre-supported file removes the service’s freedom to place supports where they are structurally convenient, and it is rarely an advantage.
Check: a supplier reading only your material and process lines could pick the right polymer and technology without asking a follow-up question.
Set Tolerances, Surface Finish, and Inspection
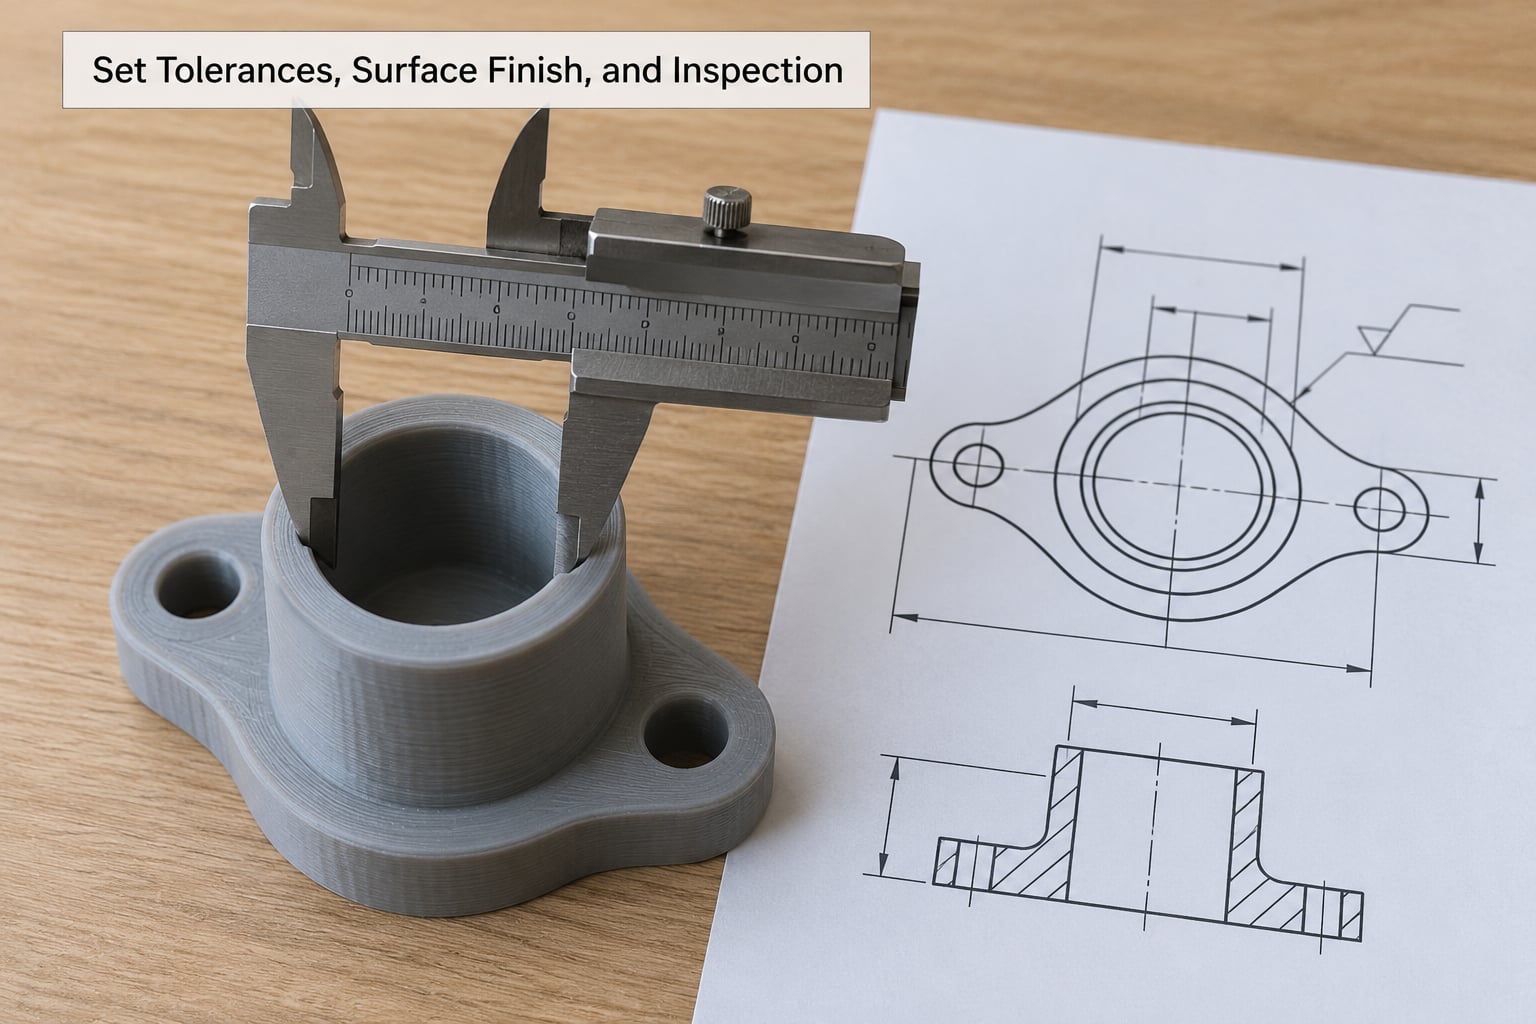
Tolerances tell the supplier what actually has to be held. Use one general tolerance for everything unspecified, in the style of ISO 2768 medium, and override it only on critical features. Tight tolerances on non-critical features raise the quote without improving the part.
| Process | Typical dimensional accuracy | Best fit clearances |
|---|---|---|
| FDM / FFF | ±0.3 to ±0.5 mm | 0.3 to 0.5 mm extra per side |
| SLA / DLP | ±0.1 to ±0.2 mm | 0.15 to 0.25 mm extra per side |
| SLS / MJF | ±0.1 to ±0.3 mm | 0.2 to 0.3 mm extra per side |
| Metal powder bed fusion | ±0.1 to ±0.2 mm | 0.1 to 0.2 mm extra per side |
Holes print undersized in most polymer processes, so add clearance to any hole that receives a fastener. If a hole must be exact, write that it will be reamed or drilled after printing, because a printed hole alone will not hold a tight tolerance.
Threads deserve a decision too. Printed threads are rarely functional; either specify a printed cosmetic thread or state that the hole is to be tapped after printing.
For surface finish, give a target roughness in Ra (the average roughness measured in micrometres) if appearance matters, or describe the standard you expect, such as smooth enough to handle with no visible layer stepping.
Finish with inspection. State whether you need a dimensional report, a first article inspection (an inspection of the first delivered part before the rest are released) or a certificate of conformance, and name the measurements you expect reported.
Ask for what the process can genuinely deliver. Requesting ±0.05 mm on an FDM part does not make it tighter; it makes the supplier decline or add post-machining cost you did not budget for.
Check: each critical feature has a tolerance, a datum reference and an inspection method, and the values match what the chosen process can hold.
Add Quantity, Pricing, and Delivery Requirements
State quantity twice when it matters: one figure for prototypes and one for the production run. Suppliers price setups and amortise them across a batch, and the per-part figure usually drops sharply past a small break point.
Ask for pricing in a consistent structure so responses line up: per-part cost at each quantity, one-time setup or engineering charges, post-processing charges, and the total.
Add the delivery destination, the required date and whether an alternative lead time should be quoted. Urgency that appears only after the quote is awarded is the most common cause of a missed deadline.
Finish with packaging and labelling, which matter more than people expect once parts arrive individually bagged, or coated parts that must not scratch each other in transit.
Check: every commercial line has a number or an explicit “open to quote” note, so no supplier has to guess your terms.
Attach Files and Supporting Documents
Send a STEP file when the supplier works from solids, because STEP preserves exact surfaces and units that a mesh throws away. Send a 3MF when you need to carry colour, material assignment or an explicit unit definition. Send an STL when the service only accepts meshes and your design is simple.
Some pipelines accept only STL and 3MF, so a STEP-only submission gets a rejection email rather than a quote. Attach the mesh in that case and include a drawing so dimensional intent survives the export.
Name files so the revision is obvious: bracket-L-01_revC_120x80.step tells a supplier what they are holding. Keep a revision history with each release so you can state what changed and why.
Include material data sheets or reference samples if appearance or compliance matters, and state any confidentiality terms before files leave your organisation rather than after.
Check: the file opens correctly in a neutral viewer, the units match what you stated in the document, and the drawing and model agree.
Review and Send the Request
Run a final self-audit before you hit send. Read the spec as if you had never seen the part and could not open the files.
- Every dimension carries a unit.
- Critical dimensions have tolerances; non-critical ones do not pretend to.
- Material is named as a grade, not a family, or properties are given instead.
- Process is stated, with permission to recommend an alternative if you want one.
- Minimum wall thickness is confirmed against what the process can produce.
- Holes that receive fasteners have added clearance or a reaming instruction.
- Threads are addressed: printed, tapped later, or omitted.
- Build orientation and the cosmetic face are identified.
- Support strategy is assigned to the service, with cosmetic faces named.
- Colour is described as a preference, or a colour reference is attached.
- Quantity is given as prototype and production figures.
- Pricing structure and what is included are stated explicitly.
- Destination, required date and packaging needs are present.
- File format, revision and naming are consistent.
- Inspection evidence and the technical contact are named.
Resolve blanks before sending. An empty field is an invitation to the supplier to fill it with their assumption, and that assumption becomes the price.
Invite clarification in the request itself. Add a line asking the supplier to list any unclear point in their reply rather than proceeding on an assumption. That single sentence removes most of the back-and-forth that delays a quote.
Proofread the technical terms. “Tolerance” and “clearance” are not interchangeable, and a typo in a tolerance value is expensive.
Check: the request is ready when another engineer could act on it without asking you a single question.
Common Mistakes
These come up repeatedly in requests I have read, and each has a straightforward correction.
Units left unspecified. A model without a unit declaration can be scaled by 25.4. State the unit on the document, in the filename, and in the file’s own unit setting if the format supports one.
Every dimension marked critical. When all 60 dimensions are critical, the supplier cannot price the job and defaults to a worst-case estimate. Mark the 5 to 8 that govern fit or strength as critical and give everything else a general tolerance.
A finish the process cannot produce. Asking for a mirror finish on an as-printed FDM part, or for perfectly flat faces on a warped resin part, produces a requote or a decline. Describe the standard you need and ask what the process can deliver.
Nominal dimensions written where tolerances belong. “Hole 6 mm” tells the supplier nothing about whether a 6.2 mm hole fails. Write “hole 6.0 mm +0.2 / -0.0” or “hole 6.0 +0.5 mm” for a fastener clearance fit.
No inspection evidence requested. Without a stated requirement, the supplier has no obligation to report measurements, so a drifting dimension becomes your problem on arrival. Ask for a dimensional report on the features you marked critical.
Ambiguous file names. part_final.stl invites a wrong-revision order. Use a name that carries the part identifier and revision letter.
Assembly files sent instead of separate parts. A multi-body file often prints as a fused lump. Send individual parts and identify how many of each you need.
Threads assumed to be functional. Modeled threads in a polymer print rarely survive a first assembly. Decide between cosmetic threads and post-process tapping before the quote, not after the parts arrive.
Getting any of these wrong is what turns a 20-minute job into a two-week exchange of emails. The pattern underneath all of them is simple: whatever you leave undefined gets decided for you, usually in a direction that costs money or causes a rejected delivery.
When comparing responses, normalise them first. Put each supplier’s figures into the same columns: per-part price at your quantity, one-time charges, what post-processing is included, what quality documents are included, the quoted lead time and what happens if that date slips. Then look at total cost to you rather than unit price alone, since a lower unit figure with added setup and finishing can end up higher.
Ask two follow-up questions before you commit: which process will actually run this job, and what happens to the schedule if the first article fails inspection. Answers to those two questions separate suppliers who have thought about your part from those who have only read your file.
Frequently Asked Questions
What information should I include in a 3D printing part request?
Include a part identifier and revision, the model file with its format and units, the material and printing process, critical dimensions with tolerances, quantity, delivery destination and required date, plus a named technical contact. Add surface finish, orientation preferences, post-processing and inspection requirements when they matter. Required items let a supplier quote immediately; preference items give them room to recommend something better.
How specific should tolerances be in a 3D printing request?
Give one general tolerance for everything unspecified and override it only on features that govern fit, strength or function. Typical accuracy runs from plus or minus 0.3 to 0.5 mm for FDM, 0.1 to 0.2 mm for SLA, and 0.1 to 0.3 mm for powder-bed processes. Mark five to eight dimensions critical at most, and add clearance to holes that take fasteners since printed holes come out undersized.
Which CAD file formats should I send to a supplier?
Send STEP when the supplier works from solids, because it preserves exact surfaces and units. Send 3MF when you need to carry colour, material assignment or an explicit unit definition. Send STL only when the service accepts meshes and the geometry is simple, since STL is triangulated and discards tolerance intent. If a service quotes from STL only, include a dimensioned drawing so the critical values survive.
Should I specify the exact material or allow alternatives?
Name the exact grade when you already know the material that works, since it removes a round of questions and usually holds the price down. Allow alternatives when you care about performance rather than chemistry, and describe the properties instead: operating temperature, load, exposure to oil or UV, and whether the part must flex. Most services will then propose a material that fits the job better than your first guess.
How should I handle questions or unclear requirements before production?
Answer questions in writing against the revision you submitted, and mark which changes are free edits to the specification versus changes that trigger a new quote. Add a line in the request asking the supplier to list every unclear point instead of proceeding on an assumption. Before releasing a production batch, ask for a first article inspection report on the critical dimensions and hold the remaining parts until you have reviewed it.
Conclusion
Start with four things: what the part does, which dimensions are critical, what material and process it needs, and what evidence you want on inspection. Everything else in the spec supports those four.
Work through the seven steps and then run the 15-item self-audit before you send. That is how to write a 3D printing part request spec that saves a round of emails: a request that another engineer could act on without a follow-up conversation is finished, and it is the fastest route to a quote you can actually compare against the others.