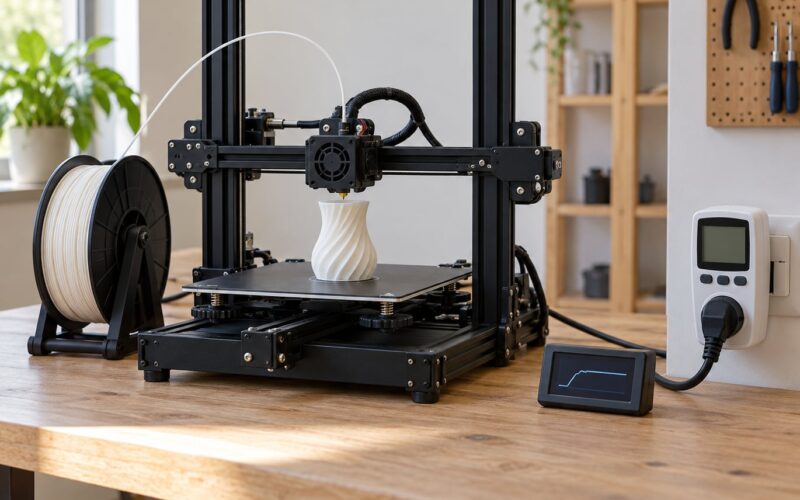
Start PETG at a 235C nozzle and a 75C heated bed, print the first layer slowly at 15 to 25 mm/s, keep the part fan off or low, and dry your filament before anything else. Most PETG failures trace back to four things: damp filament, a bad first layer, too little heat for layer bonding, or cooling that is too aggressive.
PETG behaves differently from PLA in ways that trip up almost everyone who switches. It bonds aggressively to smooth build plates, it needs heat to fuse layers properly, and it absorbs moisture faster than people expect. This guide gives you the numbers to start with, then a symptom-to-fix path for when the print goes wrong.
Table of Contents
- 1PETG printing settings and common problems at a glance
- 2What PETG printing settings should I start with?
- 3Nozzle temperature
- 4Heated bed temperature
- 5First layer height and speed
- 6Layer height and wall count
- 7Print speed
- 8Cooling fan
- 9Retraction
- 10Flow multiplier
- 11How do I tune PETG temperature for the best results?
- 12How should I prepare the printer bed for PETG?
- 13Bed surface options
- 14First layer test procedure
- 15Do I need to dry PETG before printing?
- 16What are the most common PETG printing problems?
- 17How do I fix PETG stringing and blobs?
- 18How do I fix PETG warping, lifting, and bed adhesion problems?
- 19How do I improve PETG layer bonding and strength?
- 20How do I improve PETG overhangs, bridges, and fine surface quality?
- 21How do I know when a PETG problem is hardware-related?
- 22Heat creep and nozzle buildup
- 23Worn or partially blocked nozzle
- 24Damaged PTFE and hotend components
- 25Z-axis issues
- 26Failing heated bed
- 27Frequently Asked Questions
- 28What temperature should I print PETG at?
- 29Do I need an enclosure for PETG?
- 30Should I use a brim for PETG?
- 31Why is my PETG stringing even with retraction?
- 32Can PETG stick too much to the build plate?
- 33How do I know whether PETG needs drying?
- 34Conclusion
PETG printing settings and common problems at a glance
These numbers are starting points, not laws. Your filament brand, nozzle size, printer and room all shift them a little, and most stock slicer profiles sit close enough that you can run one and then adjust from there.
| Setting | Start here | Usable range | Change it when |
|---|---|---|---|
| Nozzle temperature | 235C | 220 to 250C | Stringing, blobs or layer splitting persist |
| Bed temperature | 75C | 70 to 85C | Corners lift or the part fuses to the plate |
| First layer speed | 20 mm/s | 15 to 25 mm/s | Line gaps appear or the nozzle gouges the plate |
| First layer height | 0.28 mm at 0.2 mm layer | 0.24 to 0.32 mm | Textured or powder-coated plate |
| Part cooling fan | 0 to 20% | 0 to 60% | Oozing in one spot, or a deformed part |
| Print speed | 50 mm/s outer wall | 40 to 80 mm/s | Underextrusion or rough walls |
| Retraction distance | 0.8 mm direct drive | 0.4 to 1.2 mm | Only after filament and temperature check out |
| Flow multiplier | 1.00 | 0.95 to 1.05 | Wall thickness measures off target |
| Enclosure | Not required | Optional | Drafty room, ABS or ASA variants |
The community advice that dominates most PETG threads goes straight to retraction when stringing appears. That skips four other causes and often wastes a spool of filament. Check filament condition and temperature first.
What PETG printing settings should I start with?
Eight parameters do most of the work. Everything else in your slicer profile is a refinement of these.
Nozzle temperature
PETG needs a hotter nozzle than PLA to get good layer bonding, typically 220 to 250C depending on the formulation. The window is narrow. Ultimaker community consensus is that PETG holds up within about plus or minus 5C, and going colder produces visibly sluggish extrusion rather than a subtle change.
Heated bed temperature
A 75C bed gives PETG the grip it needs without the aggressive fusing you get on a hot smooth sheet. Move to 80 to 85C on printers with weaker bed heating or in a cold room.
First layer height and speed
Set the first layer slightly taller than your normal layer height and slow it down. Most first-layer failures are a speed or Z-offset problem, not a temperature problem.
Layer height and wall count
0.2 mm layers are the sensible default for functional parts. For anything that takes load, add perimeters rather than raising infill, since a solid wall bonds to the layer below far better than sparse infill does.
Print speed
Outer walls want to be slow, 40 to 50 mm/s on most machines, because they cool slower and end up weaker and rougher when printed fast. Infill can run 60 to 80 mm/s.
Cooling fan
Keep it off or very low for PETG. Full cooling stiffens the part and hurts layer bonding, but zero cooling invites oozing and blobs. Thirty percent is a reasonable middle ground on printers with a controllable fan.
Retraction
Direct drive machines typically need 0.4 to 1.0 mm. Bowden tubes need more, often 3 to 6 mm at a faster retraction speed. Treat this as a late-stage fix, not a starting move.
Flow multiplier
Leave it at 1.00 and only change it after measuring a printed wall. PETG usually prints close to nominal because of its low shrinkage, so a value of 1.03 on a fresh spool usually means something upstream is wrong.
How do I tune PETG temperature for the best results?
Tune the nozzle by symptom rather than by guesswork. Too low and you get poor layer bonding, visible gaps between walls, weak parts and a nozzle that seems to drag through plastic. Too high and you get heavy stringing, oozing blobs, a rough shiny surface, heat creep and nozzle buildup.
A temperature tower is the fastest way to map this. Print the same small shape at 5C increments from 220C to 250C and pick the block with the cleanest top surface and the strongest layer bond, not the one that looks smoothest on top.
Conflicting numbers are normal, not a sign that something is wrong. Prusa’s knowledge base suggests 230C for the first layer and 240C afterwards, while some stock slicer profiles ship PETG at 250C. Those differences come from filament formulation: some PETG blends contain more glycol or additives that need more heat. Always defer to the temperature printed on the spool or the filament manufacturer’s own profile, then adjust from there.
If you print PETG-CF or a fibre-filled variant, expect to go higher. Users running PETG-CF commonly land around 265C with a flow multiplier near 0.99, because the fibre changes how the melt flows and clogs a standard nozzle faster.
How should I prepare the printer bed for PETG?
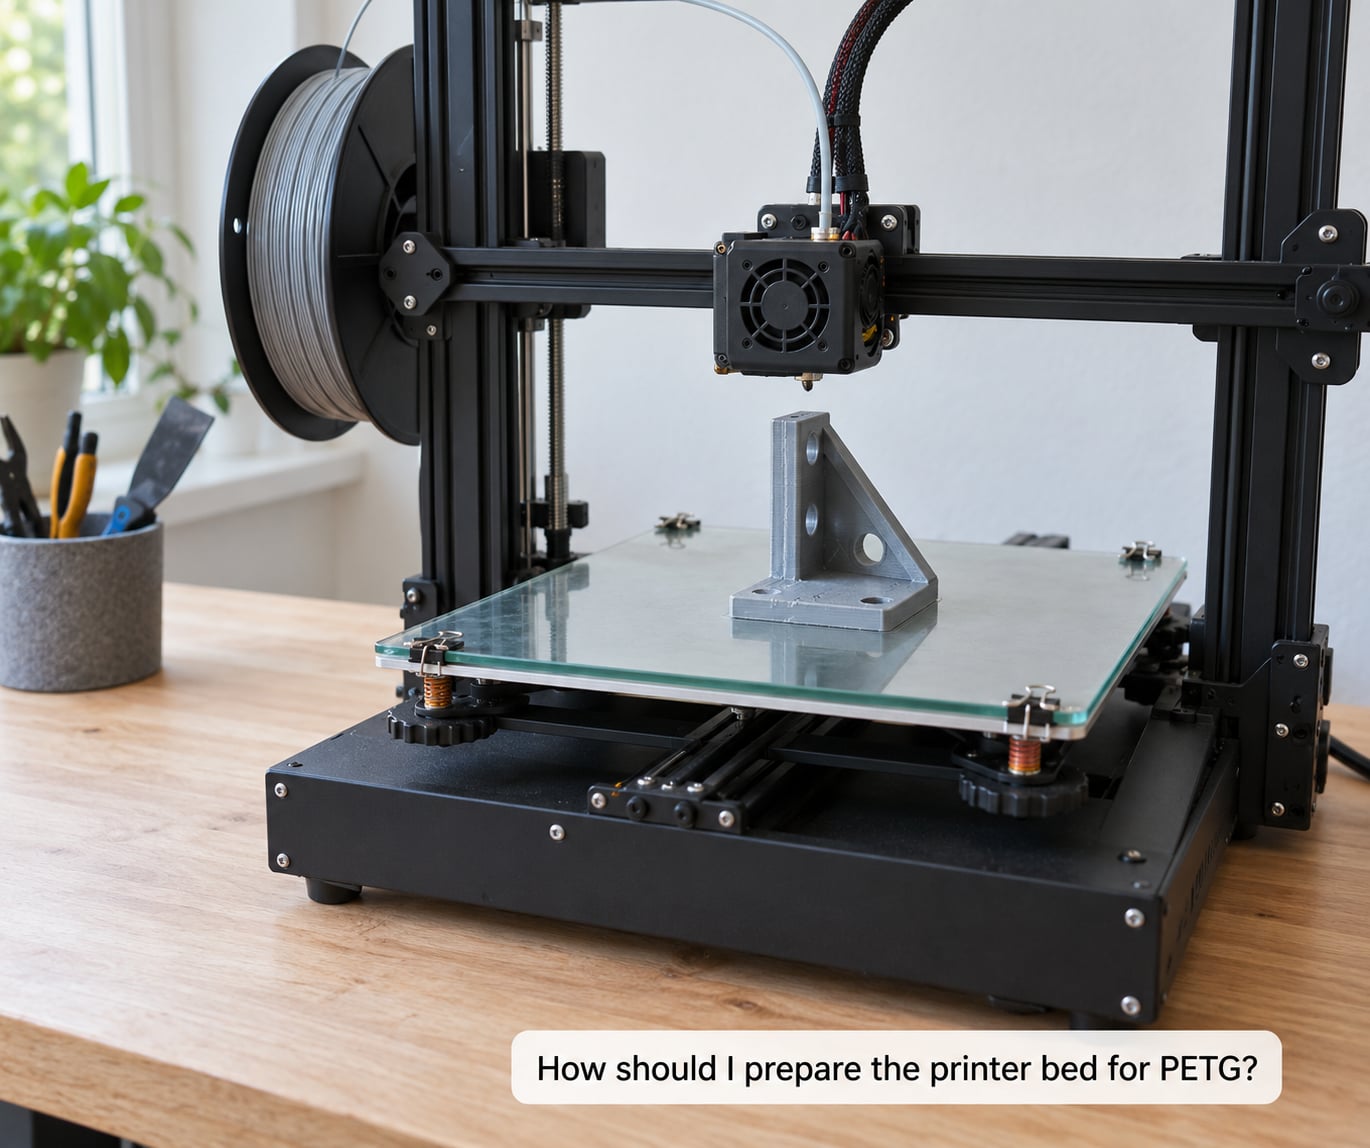
PETG sticks to smooth surfaces so well that bed prep is where most of the real work happens. A textured or powder-coated plate gives you grip and lets you peel the part off without prying, which matters because PETG often bonds harder than the sheet can take.
Bed surface options
| Surface | How PETG behaves | Watch out for |
|---|---|---|
| Smooth PEI | Excellent grip, easy first layer | Can damage the sheet permanently; parts fuse hard |
| Textured or powder-coated PEI | Very reliable adhesion, releases with a knock | Needs a slightly taller first layer |
| PEI with glue stick | Adds a sacrificial layer | Reapply often, but it stops sheet damage |
| Glass | Works well with a glue stick | Brittle, needs careful levelling |
First layer test procedure
- Clean the plate with isopropyl alcohol and let it dry fully.
- Re-level the bed while the bed is at printing temperature, since metal expands when hot.
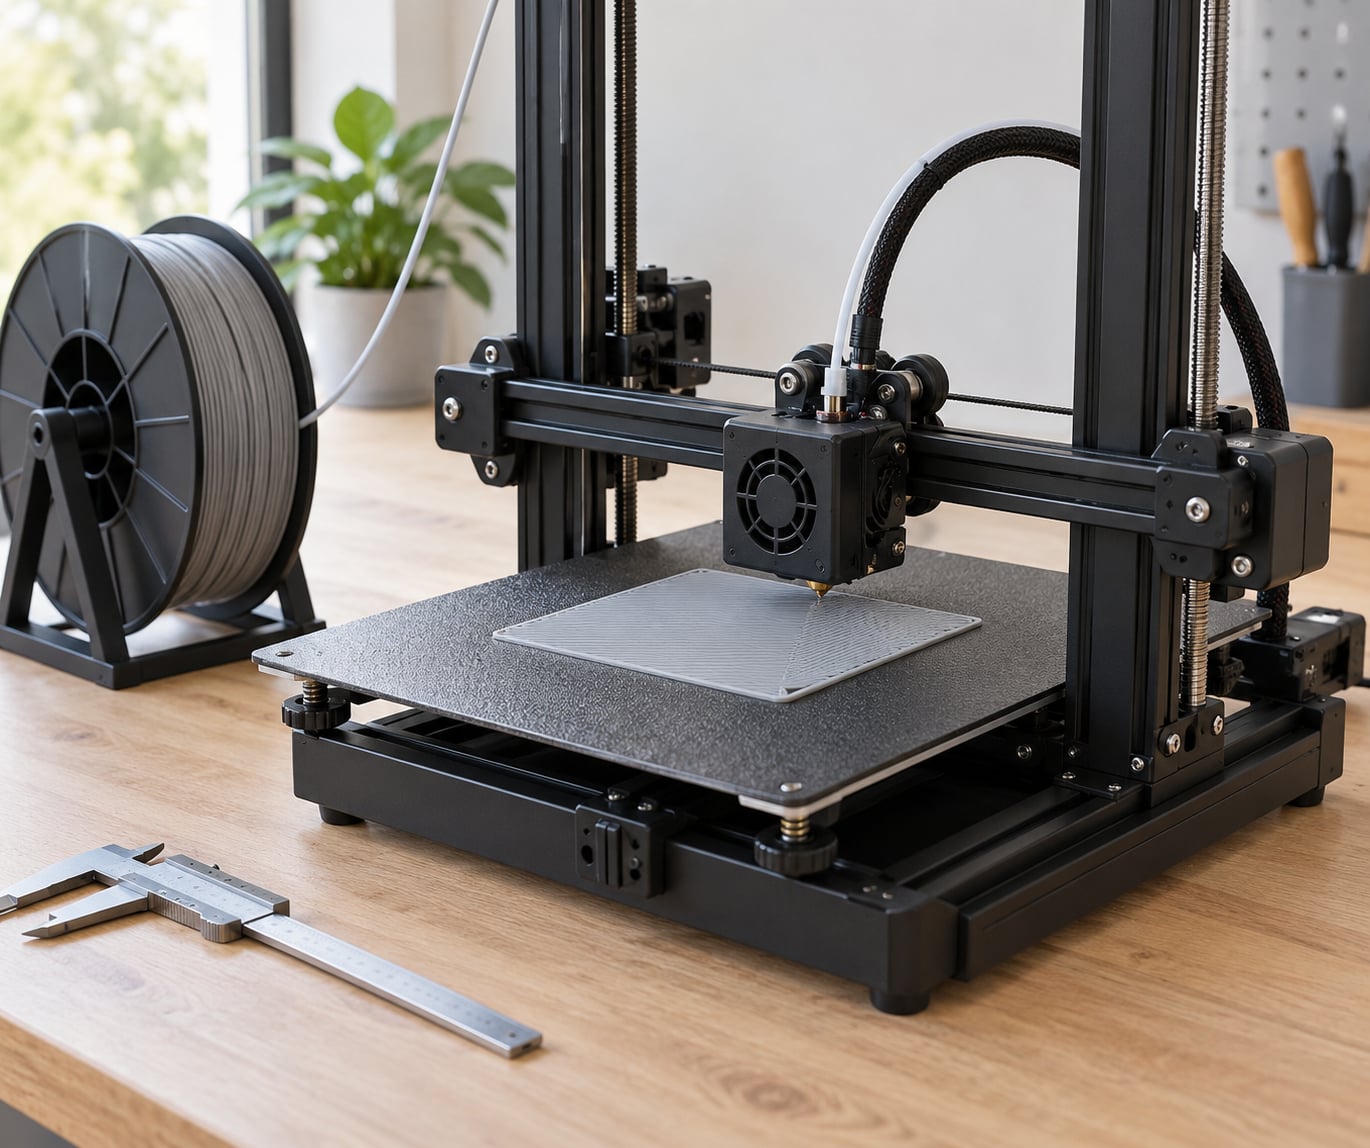
- Print a single 20 mm square at 235C nozzle, 75C bed and 20 mm/s.
- Check the top: lines should merge into a solid sheet with no gaps between them.
- Check the edges: no lifting corners and no ridges scraped off the plate.
- Adjust Z-offset in 0.02 to 0.05 mm steps and repeat until the lines just squish together.
A good first layer looks slightly glossy and almost flat, with the layer lines visible but not separated. Too high and you see distinct rounded lines with gaps. Too low and the surface looks scraped and dull, which means the nozzle is dragging.
Do I need to dry PETG before printing?
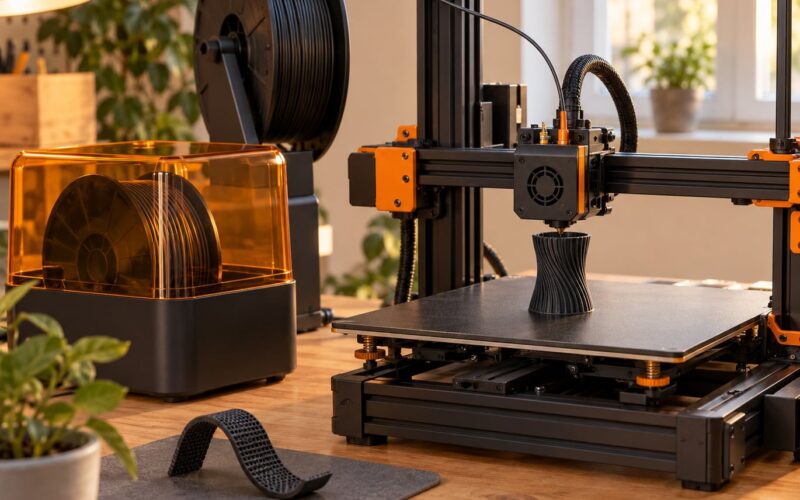
Yes, usually. PETG is hygroscopic, and an open spool sitting in a normal room picks up enough water in a few days to cause popping, stringing, rough surfaces and poor layer adhesion. Unlike PLA, it does not tolerate months on a shelf without consequence.
For a home setup, dry at 60 to 65C for 4 to 8 hours, then seal the filament in a dry bag with a desiccant immediately. A dry cabinet held under 20% relative humidity removes most of the moisture a heated dryer would, though it does not replace a dryer for a spool that is already wet. Always follow the drying guidance printed on your spool, since some brands set different limits.
Wet filament is easy to confuse with a temperature problem. A crackling or popping sound at the nozzle, bubbles in the deposited line, a rough pitted surface, and heavy stringing that appears and disappears as the spool turns all point to moisture. Low flow that looks identical on both sides of a spool usually points to temperature or a partially blocked nozzle instead.
You can over-dry PETG, though it takes more heat and time than most people expect. Sustained drying above the manufacturer’s recommended temperature, or many repeated cycles, can degrade the polymer and shift the colour. If a spool starts printing stringier and rougher after a long hot dry rather than better, back off the heat and try again at a lower setting.
What are the most common PETG printing problems?
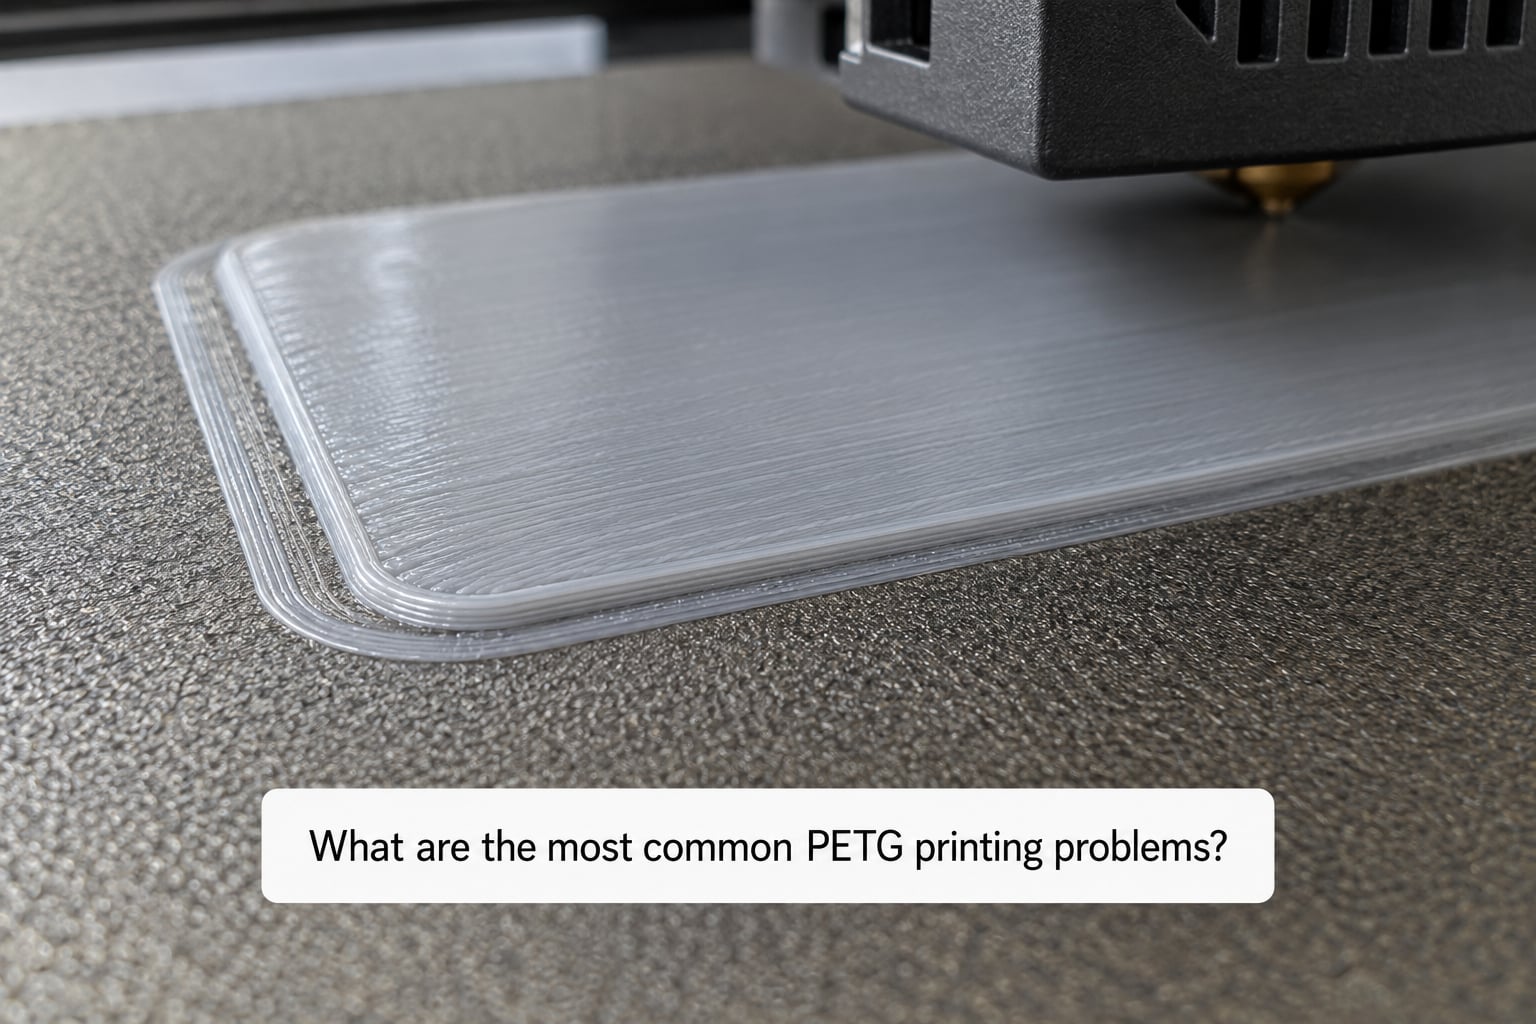
Nearly every PETG defect falls into one of four buckets: moisture, heat, cooling or adhesion. Find the bucket first, then pick the fix.
| Symptom | Likely cause | Fix |
|---|---|---|
| Stringing between features | Wet filament, or nozzle too hot | Dry the spool, drop nozzle temp 5C, then tune retraction |
| Oozing blobs and layer shifts | Nozzle too hot, no cooling, worn nozzle | Lower temp, raise fan to 30%, inspect the tip |
| Layer splitting mid print | Not enough heat or too much cooling | Raise nozzle temp 5C, cut fan, slow the outer wall |
| Underextrusion | Heat creep, clogged tip, too much retraction | Check the cold section, clear the nozzle, test flow |
| Corners lifting off the bed | Bed too cold, dirty plate, drafts | Raise bed 5C, re-clean, add a brim |
| Part welded to the plate | Smooth surface at high heat | Scrap the sheet, switch to textured, use glue stick |
| Cracking on tall parts | Layer bonding failure | More heat, less fan, add perimeters |
| Poor overhangs and sagging bridges | Material lacks support structure | Lower fan, reorient the part, add supports |
| Rough surfaces | Retraction too aggressive, low flow | Reduce retraction, check tip, raise temp 5C |
| Elephant’s foot | First layer too close | Raise Z-offset 0.05 mm |
| Popping and crackling | Moisture in filament | Dry at 60 to 65C for 4 to 8 hours |
| Nozzle buildup and jams | Heat creep | Improve cooling, lower temp, clear the cold section |
How do I fix PETG stringing and blobs?
Fix stringing in this order, because each step rules out a whole class of causes.
- Dry the filament. Users report dried spools that string far less, and dry cabinet owners regularly cut stringing by 70 to 80 percent just by getting moisture down.
- Lower the nozzle temperature by 5C. PETG’s window is narrow, so this alone resolves a surprising share of cases.
- Clean the nozzle. A blistered or partially blocked tip oozes constantly no matter what the slicer says.
- Turn on wiping if your slicer offers it. A nozzle wipe between layers clears ooze before it becomes a blob.
- Tune retraction last. Run a retraction test, then adjust in 0.2 mm increments.
Blobs are the same problem in miniature. An oozing deposit can hit the print head and shift layers by several millimetres, which is why people describe layer shifts that started halfway up a print. If lowering the temperature and raising the fan to around 30 percent does not stop the ooze within a few layers, suspect hardware rather than settings.
One useful data point: on a heavily oozing PETG setup, users resolved layer shifts of up to 10 mm by combining lower print speed, lower nozzle temperature and a higher fan percentage. None of those three alone was enough.
How do I fix PETG warping, lifting, and bed adhesion problems?
PETG warps far less than ABS because it shrinks less, but it still lifts at the corners on large or flat parts. The causes are almost always the same four things.
- Bed temperature too low. Raise it 5C at a time up to 85C.
- A dirty or oily plate. PETG grabs fingerprints and skin oil readily, and those spots become the release points.
- Drafts and moving air. An open-frame printer near a window can lose a corner mid print.
- Poor geometry. Large flat footprints need a brim or raft to spread the hold force across more area.
A 5 mm brim usually fixes corner lift on medium parts. On large flat bases, switch to an 8 mm brim and slow the first layer down rather than raising the temperature further, since you have already reached the adhesion limit of the material.
When a part does bond hard, do not lever it with a metal spatula. Flex the plate away from the part while it is still slightly warm, or let the bed cool fully and push the part off from the edge. If the part fuses to a smooth PEI sheet, that layer is often permanently deformed. Follow your printer and sheet manufacturer’s handling guidance, and consider glue stick as a sacrificial release layer.
How do I improve PETG layer bonding and strength?
Layers split apart when the new layer arrives with too little heat to fuse to the one below. That happens for a handful of reasons.
- Nozzle temperature too low for the filament formulation
- Part cooling too aggressive, chilling the layer before the next one bonds
- Volumetric flow exceeded, so the nozzle cannot lay plastic fast enough at that temperature
- Contaminated filament from moisture or handling
- Retraction so long that it creates a gap in the extrusion at each move
Test it properly instead of guessing. Print a short tower or a wall with several perimeters, then flex the test part at each height. Note where it bends or splits, make one change, and reprint. Doing this with two changes at once is how people spend an afternoon fixing the wrong thing.
Raising the nozzle temperature 5C and cutting fan speed to zero is usually the highest-yield pair of changes for a part that splits. After that, add perimeters rather than infill, and keep the outer wall slow so the heat has time to spread.
How do I improve PETG overhangs, bridges, and fine surface quality?
PETG bridges and overhangs poorly because the material is dense and stiffens quickly as it cools. Tinkering with fan settings alone rarely rescues a 60 degree overhang. Orientation and support placement do more work than any slicer number.
- Turn the part so large flat overhangs become gentle curves.
- Keep fan at zero or low so sagging has time to set.
- Add supports before anything else if the geometry cannot be changed.
- Run bridges slower, around 25 to 30 mm/s, so the leading edge stays molten.
- Widen extrusion width for strength, and slow the outer wall for surface quality.
Distinguish two kinds of surface defect. Lumpy, blistered, blobby surfaces come from cooling that is too weak, letting plastic ooze and pool. Dimpled surfaces with visible layer ridges come from cooling that is too strong, or from a nozzle too cold to flow smoothly. Roughness that follows the nozzle tip and appears only on vertical walls is usually a worn or partially blocked nozzle rather than a cooling issue.
On dry PETG with a clean tip and 30 percent fan, wall quality improves noticeably. Wet filament produces a pitted, sandy surface that no fan setting fixes.
How do I know when a PETG problem is hardware-related?
Several PETG symptoms look like settings problems until you rule out the machine.
Heat creep and nozzle buildup
PETG is more prone to heat creep than PLA. Heat travels up from the hotend into the cold section, softens the filament inside the feeder and causes a jam partway through a print. Signs include consistent under-extrusion at the same layer, a blob at the start of the filament after a cold pull, and ooze that does not respond to a lower temperature. Improve cooling around the cold section, lower the nozzle temperature, and keep the feeder as far from the hotend as your hardware allows.
Worn or partially blocked nozzle
If ooze and underextrusion return within minutes of a cold pull, replace the nozzle. V6-style brass tips are cheap and PETG eats them faster than most people expect. Check for burrs, residue rings or an uneven tip.
Damaged PTFE and hotend components
Retracting into a PTFE-lined hotend with a damaged liner melts the tube and blocks the filament. Inside the PTFE, you should see a clean, intact tube rather than a narrowed or carbonised one. Check your printer’s service documentation before replacing it.
Z-axis issues
Uneven gaps between layers across a single print point to a mechanical problem rather than a temperature one. Check for a binding Z axis, debris on the rods, and correct first layer levelling at temperature.
Failing heated bed
If the bed reports temperature but parts consistently fail on one corner or one region, the heater or its sensor is the suspect. Follow your printer manufacturer’s service guidance rather than compensating with temperature offsets you cannot control.
Frequently Asked Questions
What temperature should I print PETG at?
Start at 235C for the nozzle and 75C for the bed. Most PETG prints well between 220 and 250C at the nozzle and 70 and 85C at the bed. The right value depends on your filament formulation, so run a temperature tower or follow the manufacturer’s suggested range. If parts separate at the layer lines, add 5C. If you get heavy stringing and blobs, drop 5C.
Do I need an enclosure for PETG?
No, not for standard PETG. It shrinks far less than ABS, so an open-frame printer handles it well and PETG does not suffer from the fumes that enclosure filtering exists to address. An enclosure helps only in specific situations: a drafty room causing corner lift, or fibre-filled and ASA variants that behave more like ABS. Start without one and add a draft shield only if you see warping.
Should I use a brim for PETG?
Usually yes, and it is one of the cheapest fixes for corner lift. PETG bonds well to the bed, so a 5 mm brim handles most medium parts and an 8 mm brim suits large flat bases. Use a raft instead when the first layer keeps failing entirely, and remember that the plastic underneath still has to come off later. Raise the first layer height slightly on textured or powder-coated plates.
Why is my PETG stringing even with retraction?
Retraction is usually the wrong first fix. Moisture is the most common cause, and it makes the filament ooze far more than a well-tuned extruder should. Dry the spool at 60 to 65C for 4 to 8 hours and seal it afterwards, then lower the nozzle temperature by 5C. If stringing persists on dried filament at a stable temperature, inspect the nozzle for a burr before touching retraction again.
Can PETG stick too much to the build plate?
Yes, and it regularly damages smooth PEI sheets. PETG forms a stronger bond with smooth surfaces than most other filaments, and forcing the part off can deform the coating permanently. Switch to a textured or powder-coated sheet, or apply glue stick as a sacrificial release layer. To remove a bonded part, flex the plate while it is slightly warm or let it cool fully and push from the edge rather than prying.
How do I know whether PETG needs drying?
Listen and look. Crackling or popping at the nozzle, bubbles inside the deposited line, a pitted sandy surface, and stringing that comes and goes as the spool turns all point to moisture. If the flow is weak from the very start and stays weak, that is more likely a temperature or blocked nozzle problem. Follow the drying guidance printed on your spool, since brands set different limits.
Conclusion
Work through PETG problems in a fixed order. Confirm the filament is dry, verify the nozzle and bed temperatures are actually where you set them, get a clean first layer with a fresh Z-offset check, then change one slicer variable at a time and write down what happened.
That order matters because moisture and temperature explain most PETG defects, and both masquerade as retraction problems. PETG printing settings and common problems searches usually end in the same place, so keep your own notes as printer profiles and filament brands change from year to year. If a change does nothing, revert it before trying the next one.