Yes, you can print nylon on a desktop printer, but not on the machine you bought yesterday with the factory PTFE-lined hotend. Learning how to print nylon on a desktop printer comes down to four things: dry filament, an all-metal hotend that reaches 260C, a hot bed at 70-90C with a surface nylon grips, and a chamber that stays warm. Get those four right and a stock bed-frame printer like an Ender 3 or a Prusa MK4 can produce gears, clips and hinges that hold up under real load.
The whole process takes about an hour of prep per spool, plus an overnight dry if the filament has been sitting open. This guide covers the hardware, the drying, the slicer profile and the failures that trip people up.
Here is the starting profile. Treat these as a baseline to tune, not a set of laws.
| Setting | Nylon 6 (PA6) | Nylon 12 (PA12) |
|---|---|---|
| Nozzle temperature | 260-275C | 255-270C |
| Bed temperature | 70-90C | 70-85C |
| Chamber temperature | 35-45C | 30-40C |
| Layer height | 0.2-0.3 mm | 0.2-0.3 mm |
| Print speed | 30-50 mm/s | 30-50 mm/s |
| Retraction (direct drive) | 1-3 mm | 1-3 mm |
| Retraction (Bowden) | 3-5 mm | 3-5 mm |
| Part cooling fan | 0% for first 3 layers, 20-40% after | 0% for first 3 layers, 20-40% after |
| Adhesion | 8-12 mm brim or raft | 8-12 mm brim or raft |
| Nozzle | 0.4 mm hardened steel | 0.4 mm hardened steel |
Table of Contents
- 1What You Need
- 2Step-by-Step
- 3How to Print Nylon on a Desktop Printer: Check the Machine
- 4Dry the Nylon Before Printing
- 5Prepare the Build Plate and Chamber
- 6Create and Test a Slicer Profile
- 7Run a Calibration or Small Test Print
- 8Start the Full Print and Monitor the Layers
- 9Common Mistakes
- 10Frequently Asked Questions
- 11Can a normal desktop 3D printer print nylon?
- 12Do I need an enclosure to print nylon?
- 13What temperature should I print nylon at?
- 14How dry does nylon filament need to be?
- 15Why does my nylon print pop, string, or separate between layers?
- 16Conclusion
What You Need
Nylon is a polyamide, and it is hygroscopic. That single property explains most of what follows: the filament drinks moisture out of the air, and when water reaches a 260C nozzle it flashes to steam inside the melt zone. Steam bubbles expand, layers stop bonding, and the part snaps at the seam.
Four things have to be true before nylon comes out of the spool.
An all-metal hotend. A factory PTFE liner starts degrading around 240C and gives up entirely somewhere near 260C. Below that line you get a soft, blobby mess and a hotend that starts to clog. You have three conversion routes. A micro-PTFE tube replaces the inner liner with a short metal one that insulates the filament from the heater block while keeping the melt zone all metal, and it is the cheapest route. A full all-metal hotend drops the PTFE entirely and can sit above 300C, which is what you want for carbon-filled nylon. A direct-drive extruder shortens the filament path and removes the Bowden tube from the equation, which mostly helps with feeding, not temperature.
Either way, re-level your Z-offset after the swap. A bad first layer right after a hotend conversion is nearly always an offset problem, and it costs an evening to fix.
A heated bed that holds 80C. Nylon shrinks as it cools, and it shrinks a lot. A cold bed means the part is under stress the second the nozzle moves on.
A bed surface nylon actually bonds to. Glossy PEI and bare glass are poor partners. You want glue-coated smooth PEI, a garolite sheet, or a textured PEI plate used with the manufacturer recommended adhesive.
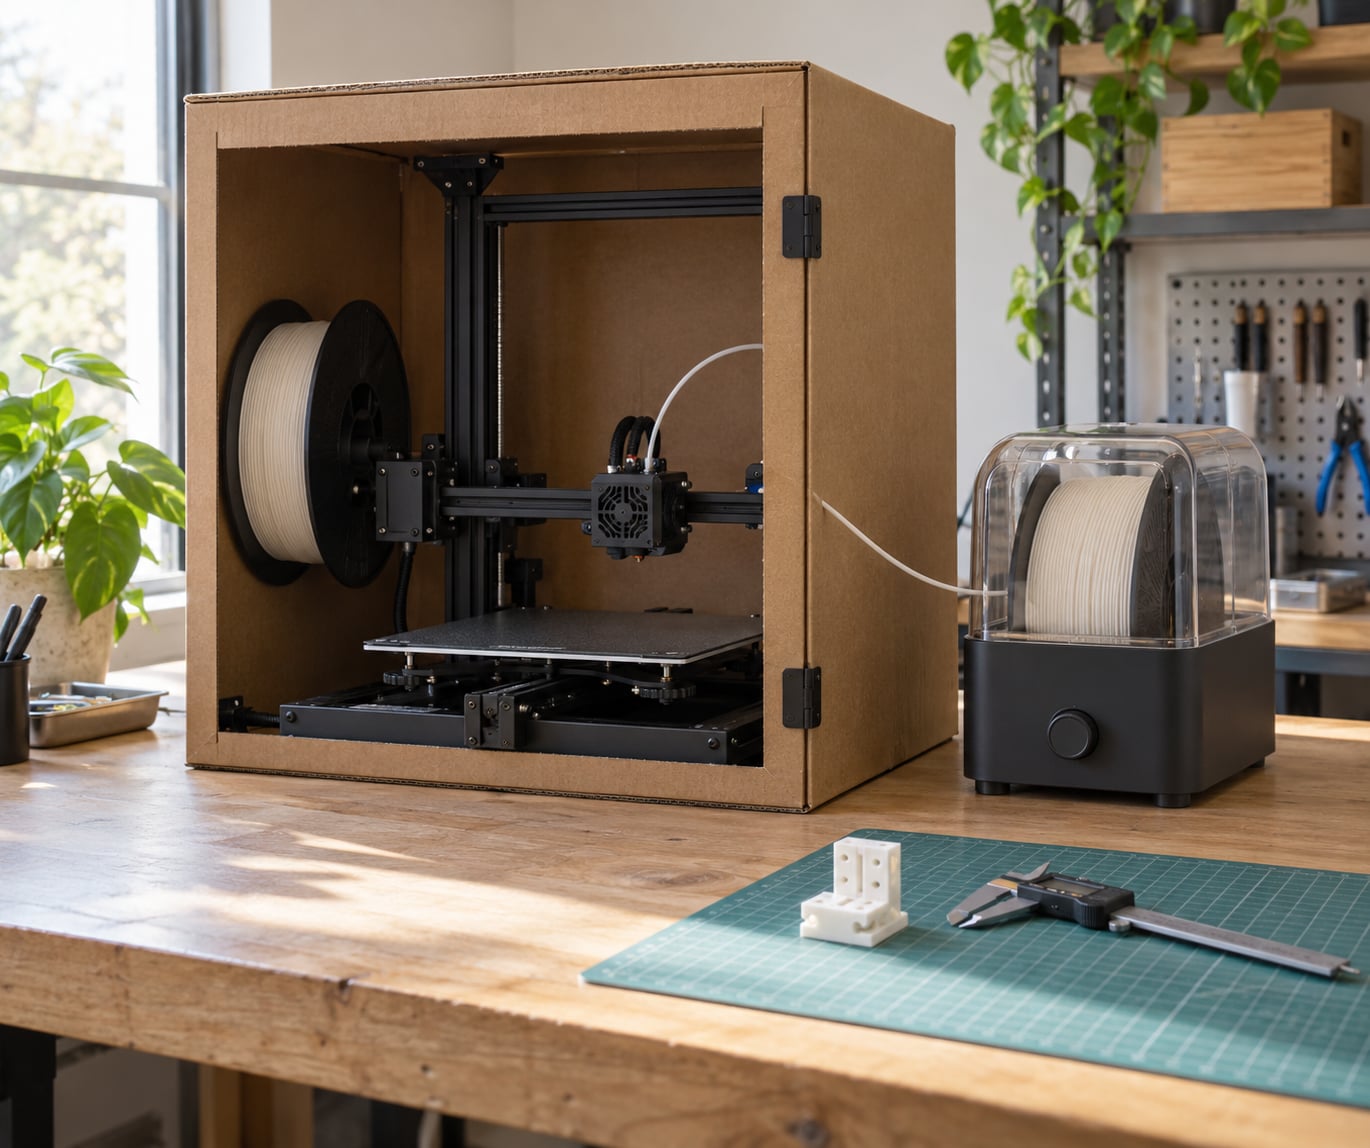
Heat containment. A chamber sitting between 35C and 45C is the target. If your printer has a heated chamber, set it. If it does not, an enclosure is the honest answer, and a cardboard box with a shower curtain does more than most people expect.
Filament handling. You also want a dry box with fresh silica gel for storage between prints, and a drying method before each spool goes in. Nylon reabsorbs moisture in a few hours in a typical room, which is why repeat nylon printing without a dry box goes badly.
Storage containers and printing surfaces are worth getting right before your first spool. If you have not chosen a build plate yet, our guide to printing materials covers how different surfaces behave with different polymers.
Step-by-Step
How to Print Nylon on a Desktop Printer: Check the Machine
Run the inspection before you unspool anything. Confirm the hotend reaches 265C and holds there for ten minutes without smoking or the heater block cooking the cable loom. Check the motion system for play, because nylon runs cooler and slower than PLA and it will happily ride up a worn V-wheel or a slack belt instead of laying down flat.
Look at the bed. A warped or dented plate will kill a large nylon part no matter how good the profile is. Print a flat test coupon and check it against a known-good surface if you suspect anything.
Check the extruder path: a clean drive gear, no tension that will grind the filament, and a path with no sharp turns. Long prints feed for hours, and a marginal extruder shows up at hour six.
Success check: the machine holds 265C for ten minutes, the bed reaches 80C, and the hotend has no PTFE in the melt zone. If any of those three fail, stop here.
Dry the Nylon Before Printing
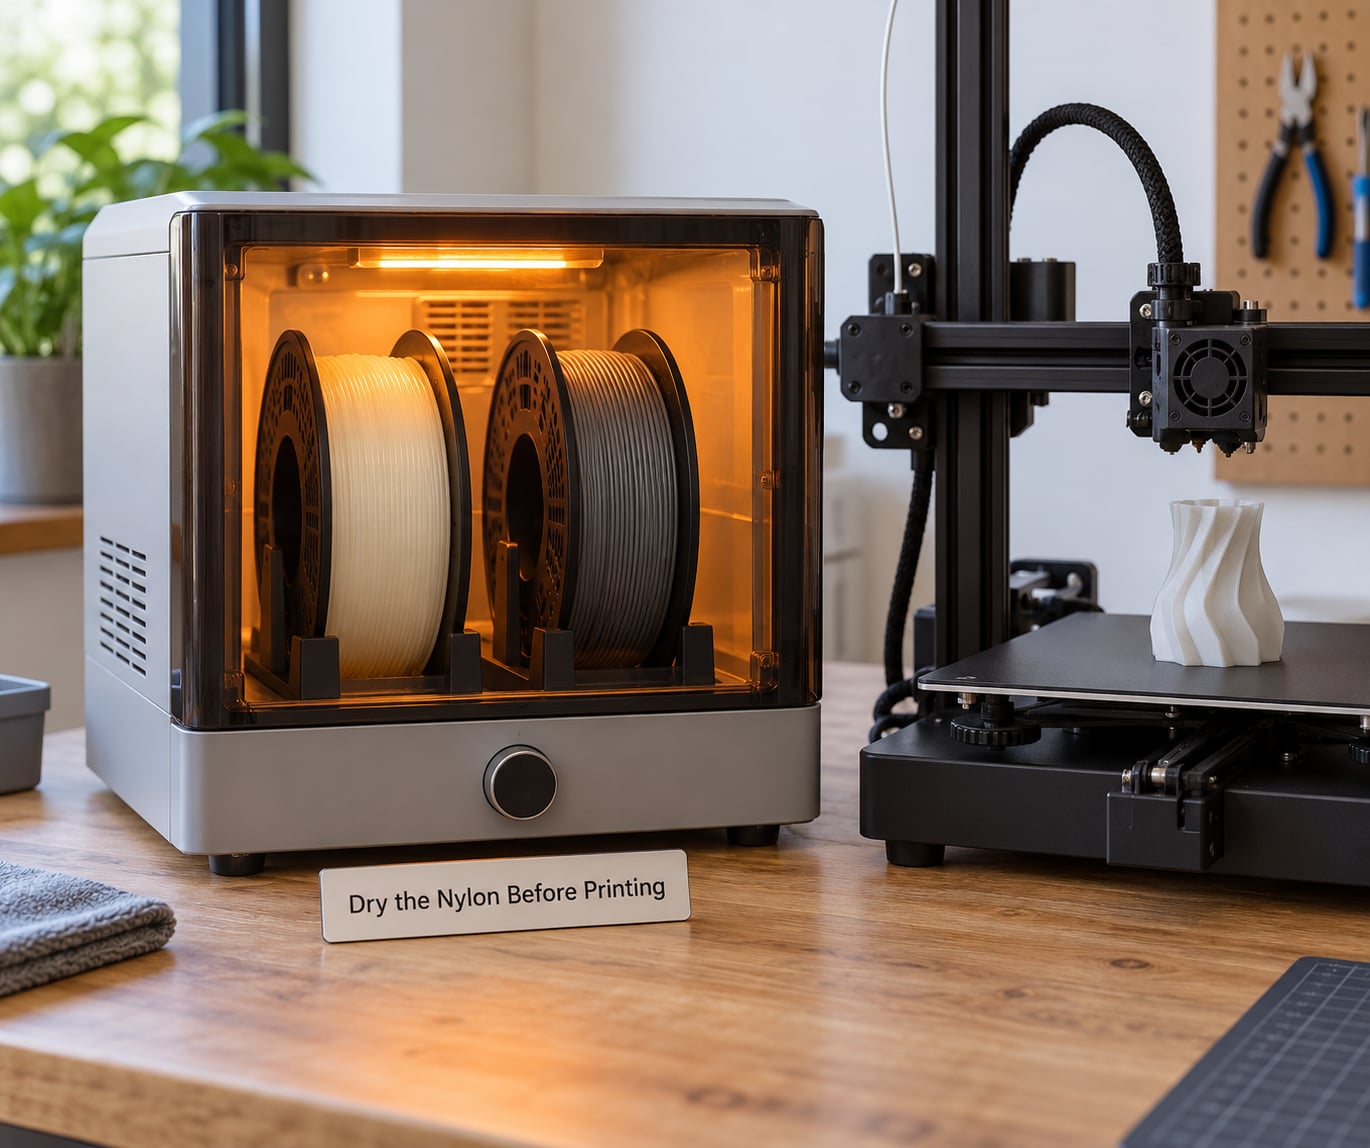
Moisture is the number one cause of nylon failure. Wet filament fizzes at the nozzle, spits, strings badly, and gives you a surface that looks matte and grainy instead of smooth. It also destroys layer bonding, so a part printed from damp filament can look fine and still snap in half under load.
Drying is not a suggestion. Forum users across r/3Dprinting and the Prusa forum consistently report that drying alone fixes a large share of their nylon problems before any slicer tuning happens.
A solid starting point is 70-80C for 8 to 12 hours. That range sits safely below the melting point of the polymer and comfortably below the glass transition region where you risk crystallising the spool and changing its diameter.
| Drying method | Temperature | Time | Notes |
|---|---|---|---|
| Dedicated filament dryer | 70-80C | 8-12 h | Most reliable, handles two spools |
| Food dehydrator | 70-80C | 8-12 h | Works well, watch it closely |
| Kitchen oven | 70-80C | 8-12 h | Works, but keep the door shut and monitor |
| Dry box with desiccant | Ambient | Continuous | Storage between prints, not drying |
The signs the filament is ready: steady extrusion, no popping, no steam haze at the nozzle, and strands that come off the plate without a stringy mess between them. Feed it straight into the extruder within an hour or two. Open it back up in a humid room and you are back where you started.
Success check: a five-minute test extrusion at 240C on scrap filament shows a consistent, slightly glossy bead with no crackle.
Prepare the Build Plate and Chamber
Clean the plate with isopropyl alcohol and a lint-free cloth. Nylon grabs dust and skin oils, and any of it under the first layer becomes a weak spot that lifts later.
Then pick a surface deliberately.
| Surface | How it performs | Notes |
|---|---|---|
| Glue-coated smooth PEI | Best all-round adhesion | Reapply glue every few prints |
| Textured PEI with adhesive | Strong, easy to release | Follow the plate maker’s guidance |
| Garolite lite sheet | Very strong grip | Part may fuse; use a release layer |
| Bare glass with PVA glue stick | Works, less consistent | Most common garage fix |
Level the bed while it is hot. Heat changes geometry, and a plate level cold at 25C can sit a hair low at 80C. Verify the mesh with the plate heated and the chamber closed.
Close the door. If you do not have an enclosure, this is where the shower curtain goes. Cover the frame and the top, leave the front flap alone so you can watch the first layers, and block the gap where the bed cable enters.
Success check: with the machine at temperature and the door closed, hold your hand just above the bed. Warm air, not cool room air.
Create and Test a Slicer Profile
Start from the values in the table at the top and build one profile you will reuse. Add a second layer of perimeters and keep infill moderate, since nylon prints slowly and a dense part on a desktop machine turns into an all-weekend job.
Set the part cooling fan to zero for the first three layers so the first layer can melt into the surface, then 20-40%. Nylon wants less cooling than PLA.
Give it an 8-12 mm brim. That footprint matters more than most people expect: it is the extra material holding the corners down while the part shrinks.
Set flow to 0.95-1.0 and tune from there. Extrusion multipliers that worked on PLA tend to run heavy on nylon because the melt zone is longer and pressure builds differently.
Keep speeds modest. 30-50 mm/s is the working range, and slower prints genuinely produce stronger parts because each layer gets more time under the nozzle before the next one lands.
Success check: the preview shows a solid footprint with no infill gaps and the brim fully on the plate.
Run a Calibration or Small Test Print
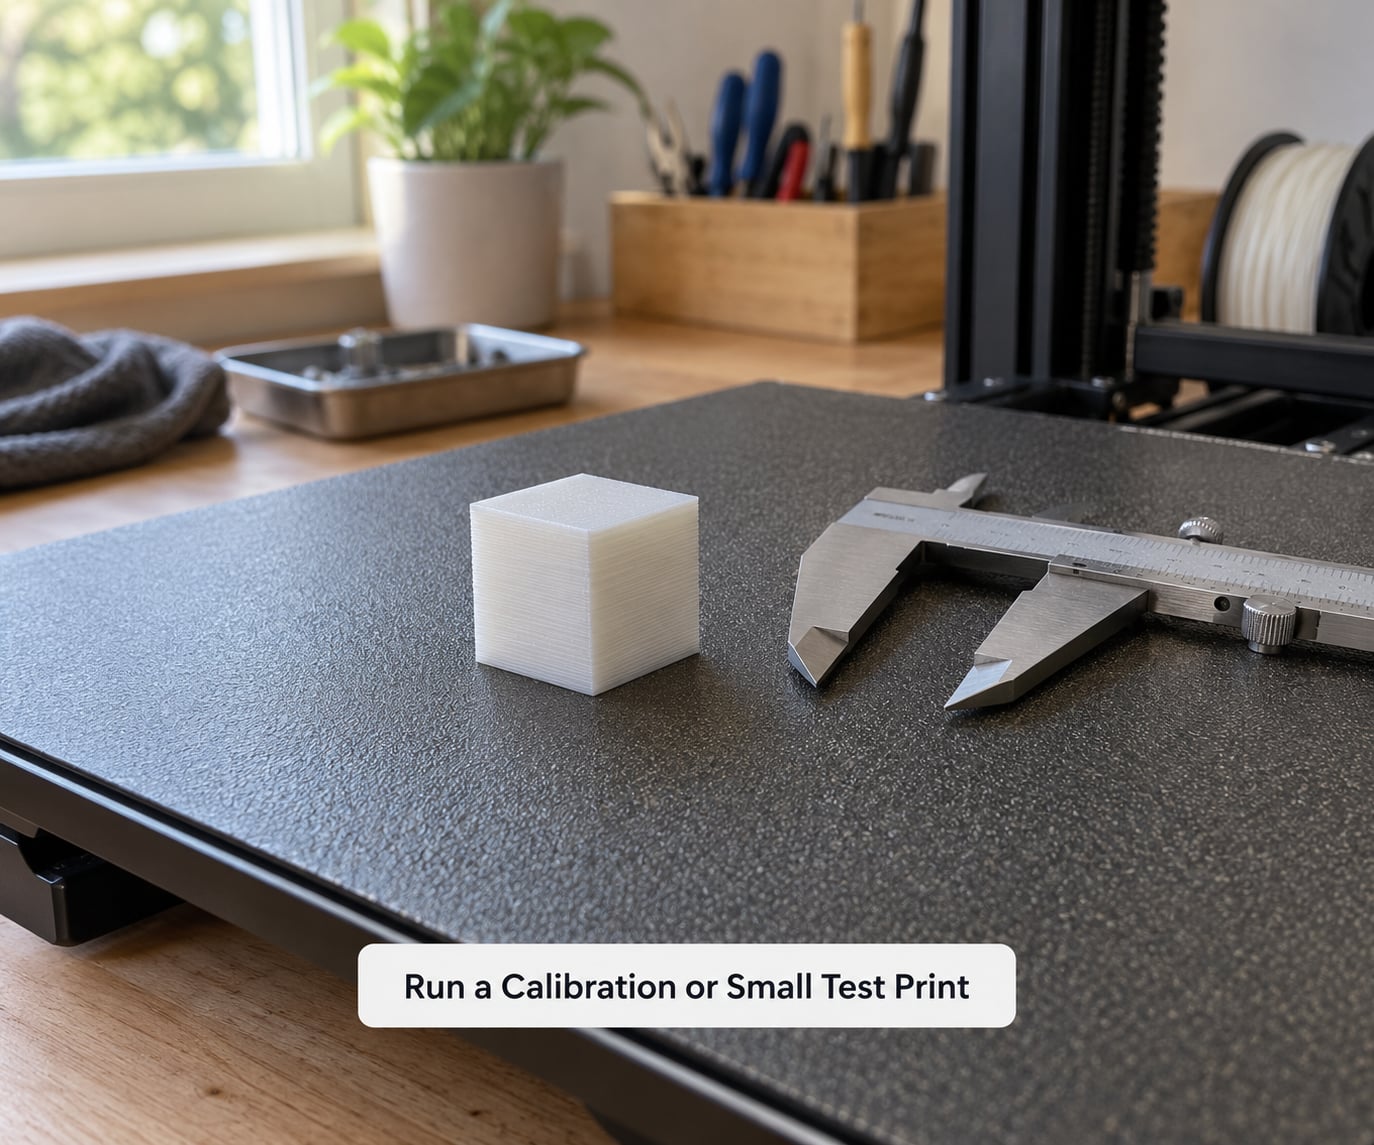
Before you commit to a 30-hour part, print something that tells you the truth in 40 minutes. A temperature tower with a stringing test on it works well. A small geometry coupon with sharp corners and a thin tower is better if you also want to see how the material handles corners.
Read the result properly. Lines that are heavy and blobby point to too much flow or too little retraction. Thin, broken-looking walls with rough surfaces point to wet filament or a cold chamber. A coupon whose corners lift off the plate points straight at bed adhesion, which is the single most reported nylon complaint in print forums.
Try snapping the coupon. If it snaps cleanly at a layer line, the bonding is bad. If it deforms and holds, your profile is good.
Success check: corners flat on the plate, walls smooth, and the part does not snap at a layer boundary.
Start the Full Print and Monitor the Layers
Watch the first three layers. Not the video, the actual nozzle. The bead should look slightly squished against the surface, dark and glossy, with no gaps between passes. If you see a single fat line and then nothing on the return, drop the Z-offset before the print goes any further.
Keep the chamber closed once printing starts. Every time you open the door you dump warm air into a cold chamber, and that temperature swing is what curls corners.
Expect a slow first hour and a long night. A moderate nylon part that would take three hours in PLA often takes fifteen in nylon. That is normal, not a fault.
Know when to stop. If the part has lifted at a corner in the first 30 minutes, stop it. If extrusion has already gone stringy, stop it. Continuing only wastes filament.
Success check: the part is still attached and flat at the one-hour mark, and the chamber feels consistently warm.
Common Mistakes
| Symptom | Likely cause | Fix |
|---|---|---|
| Corner peeling mid-print | Bed too cold, chamber losing heat, brim too small | Raise bed 5-10C, add an 8-12 mm brim, stop opening the door |
| Popping and fizzing at the nozzle | Wet filament | Dry 8-12 h at 70-80C and store in a dry box |
| Heavy stringing | Retraction too low, nozzle residue, wet filament | Raise retraction 0.5 mm at a time, drop temperature 5C, clean the nozzle |
| Rough, grainy walls | Moisture or cold chamber | Dry again, close the enclosure, raise chamber temperature |
| Part snapping at layer lines | Damp filament, too much cooling, too fast a print | Dry properly, cut fan to 0-20%, slow to 30 mm/s |
| Corners separating as it grows | Shrink stress with no adhesion to resist it | More bed temperature, larger brim, slower cooling |
| Inconsistent extrusion, feed jams | Drive gear tension, chunked filament, heat creep | Clean the drive gear, check tension, inspect the hotend cooling fan |
| Worn or deformed nozzle | Abrasive carbon or glass filled nylon | Fit hardened steel and replace every few hundred hours of filled printing |
A note on unfilled versus filled nylon. Plain nylon is kinder to a brass nozzle. Carbon-filled and glass-filled PA6 are easier to print because the filler reduces shrinkage, but they wear nozzles quickly and they bond to each other less well, so tall parts come out noticeably weaker in Z. Use a hardened steel nozzle and a 0.4 mm or larger opening when you move to filled variants.
Ventilation is worth more thought than nylon gets. Nylon printing emits ultrafine particles and a faint burnt-plastic smell. Print in a spare room with the door closed, or in a garage, and never in a bedroom you sleep in. A single open window beats nothing.
Store the spool back in a dry box with desiccant the moment the print ends. That single habit does more for print consistency than any slicer setting on this list.
Frequently Asked Questions
Can a normal desktop 3D printer print nylon?
Yes, but not out of the box. Most factory desktop printers come with a PTFE-lined hotend that cannot hold nylon temperatures reliably. You need an all-metal hotend or a micro-PTFE tube, a bed that reaches 80C, a bed surface nylon grips, and ideally an enclosure. With those four pieces in place, common open-frame bed printers handle nylon fine.
Do I need an enclosure to print nylon?
You need stable heat more than you need a specific box. A heated chamber holding 35-45C is the goal. Without one, a shower-curtain or cardboard enclosure around the frame is enough to stop corner lifting on most printers. The two things that matter most are closing the door during the print and keeping the first three layers free of cooling fan.
What temperature should I print nylon at?
For plain nylon 6, start between 260C and 275C at the nozzle and 70-90C on the bed. Nylon 12 runs slightly cooler, around 255-270C. Chamber temperature matters as much as nozzle temperature, so aim for 35-45C inside an enclosure. Run a temperature tower on your own spool and adjust from there, since brands vary.
How dry does nylon filament need to be?
Dry enough that it stops popping. A good starting point is 70-80C for 8 to 12 hours in a dedicated dryer, food dehydrator, or monitored kitchen oven. You will know it is ready when extrusion is steady and glossy with no crackle. Nylon reabsorbs moisture within a few hours in a normal room, so keep the spool in a dry box with desiccant until you are ready to print.
Why does my nylon print pop, string, or separate between layers?
All three symptoms point at moisture first. Water in the filament flashes to steam at the nozzle, which causes popping, heavy stringing, rough walls, and layer separation at the same time. Dry the spool for 8 to 12 hours and store it in a dry box. If the problems persist on dry filament, look at retraction settings, cooling fan percentage, and how fast you are printing.
Conclusion
Four things decide whether how to print nylon on a desktop printer works for you. Confirm the hardware can do it: an all-metal hotend holding 265C, a bed reaching 80C, and a chamber you can keep closed and warm.
Then dry the filament for 8 to 12 hours at 70-80C and keep it in a dry box between prints. Prepare the plate with an adhesive surface and an 8-12 mm brim. Run one small test print and read it honestly, because a failed coupon costs an hour and a failed part costs a night. Only then start the real job, and leave the door shut.