To print ABS without warping, print inside a closed chamber sitting at 40–55 °C, set the bed to 100–110 °C, and turn the part cooling fan off. Warping is not a defect in the filament — it is the part contracting unevenly as it cools, and those three settings remove most of the reason it happens.
ABS shrinks as it cools, and a layer only bonds properly to the one below while that layer is still above its glass transition temperature of roughly 105 °C. Cool the bottom faster than the top and the stress between them has nowhere to go but up, which is why corners curl first and long flat pieces bow in the middle. Keeping the whole part warm and evenly cooled is the whole game, and everything below is just the mechanics of doing that.
The setup below works for any FDM machine. Printers that reach a genuine 40 °C chamber on their own will get there faster than an open frame draped in a cardboard box, but both work if you give them the same time.
Table of Contents
- 1What You Need
- 2Step-by-Step
- 3Prepare the Printer and Build Plate
- 4Set Up an ABS-Enclosure Print
- 5Apply and Test the Adhesion Method
- 6How to Print ABS Without Warping Through Slicer Settings
- 7Control Cooling and Layer Bonding
- 8Print, Cool, and Remove the Part Safely
- 9Common Mistakes
- 10How to Print ABS Without Warping: Troubleshooting Checklist
- 11Frequently Asked Questions
- 12Why does ABS warp when 3D printing?
- 13Do I need an enclosure to print ABS without warping?
- 14What temperature should I use for an ABS build plate?
- 15Should I use a fan when printing ABS?
- 16Can I print ABS on a normal FDM printer?
- 17How do I remove an ABS part without breaking it?
- 18Conclusion
What You Need
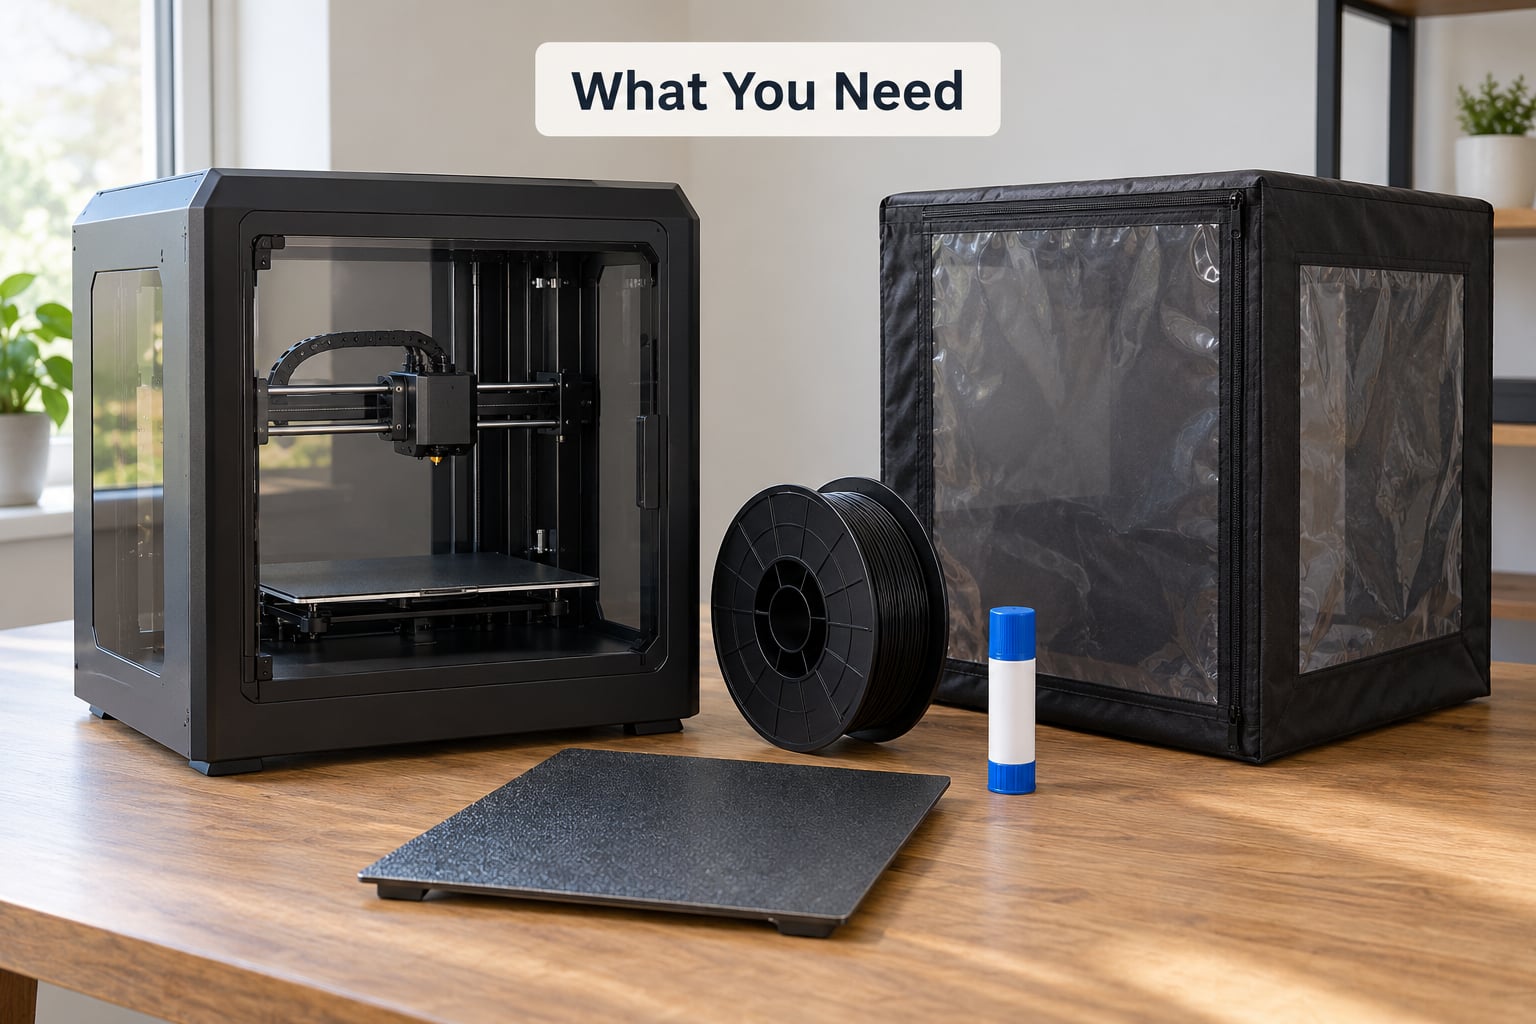
- An FDM printer with a heated bed that reaches 110 °C, and an all-metal or direct-drive hotend if your machine has the choice.
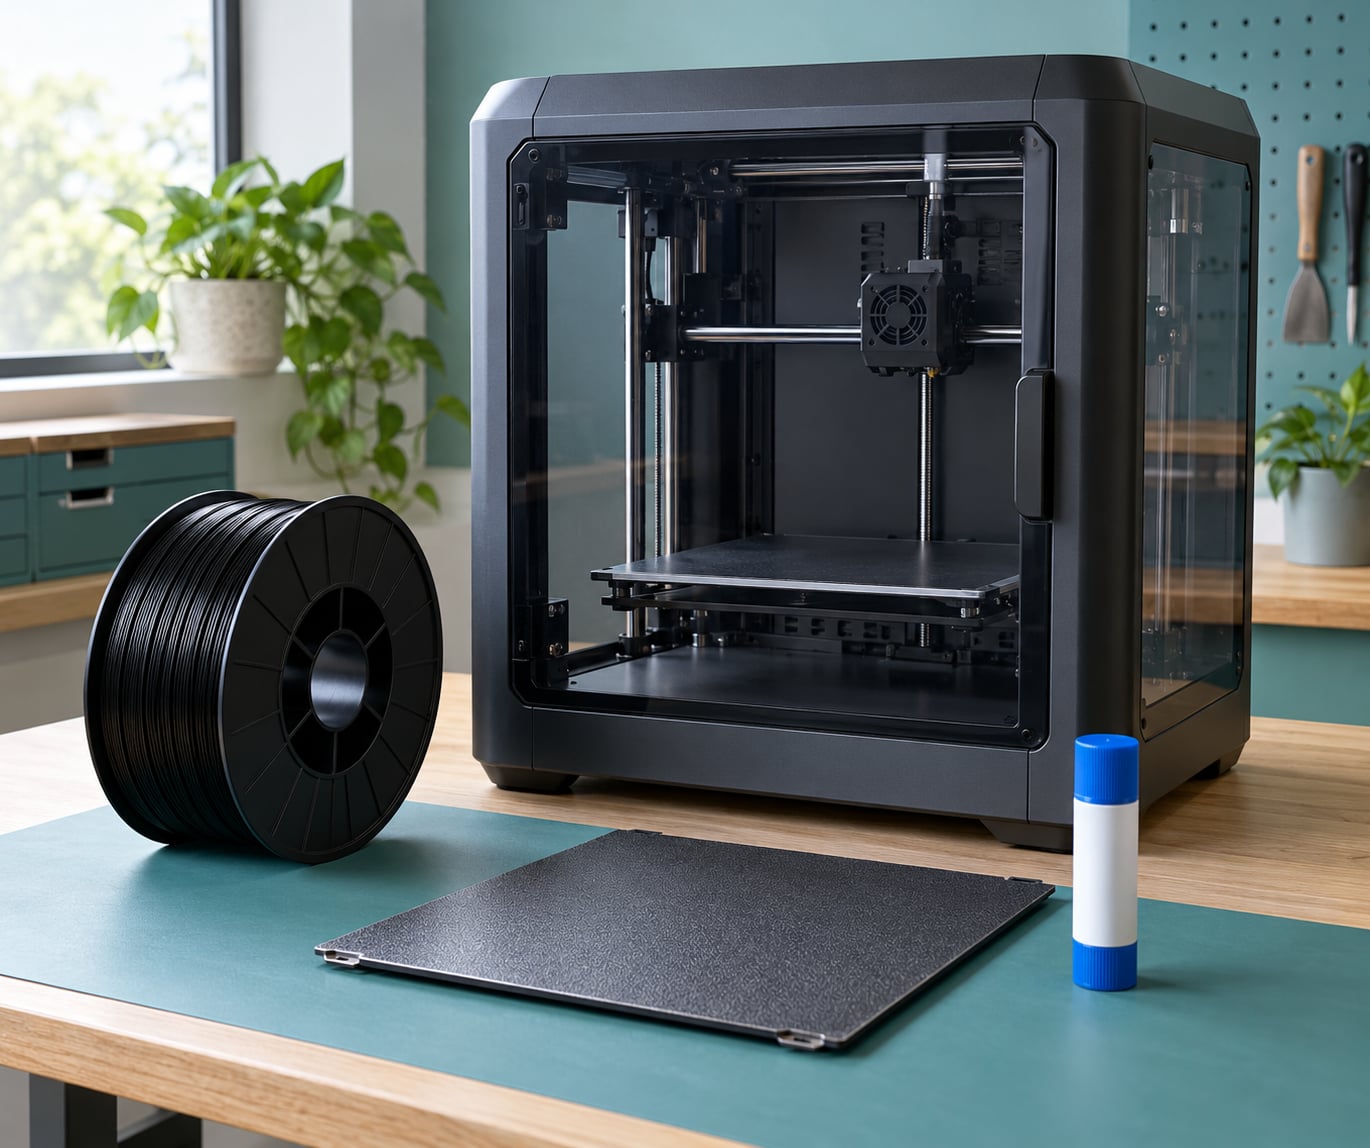
- A textured PEI sheet as your default ABS surface. Smooth PEI works too, and glass works if you plan to print with ABS juice.
- Dry ABS filament, kept in a sealed bag or dry box between prints. Popping, crackling and bubbles in the nozzle are moisture, not warping.
- A solvent-free glue stick, or ABS juice made from scrap filament and acetone.
- An enclosure — a proper one, a tent, a wardrobe with a reflective cover, or a cardboard box over the frame with the gaps taped.
- Fume extraction or a filtered outlet. Melted ABS off-gasses styrene, and that belongs in a ventilated room, not a bedroom.
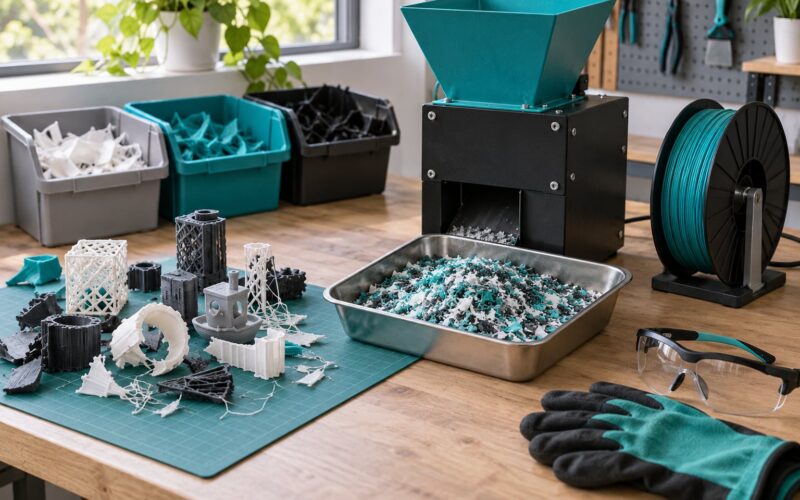
- A flush cutter for the brim and a plastic scraper for getting under the part once it has cooled.
None of this is specialist hardware. The item most people skip is the enclosure, and it is the item that decides whether a large ABS print succeeds on the first try or the fourth.
Step-by-Step
Prepare the Printer and Build Plate
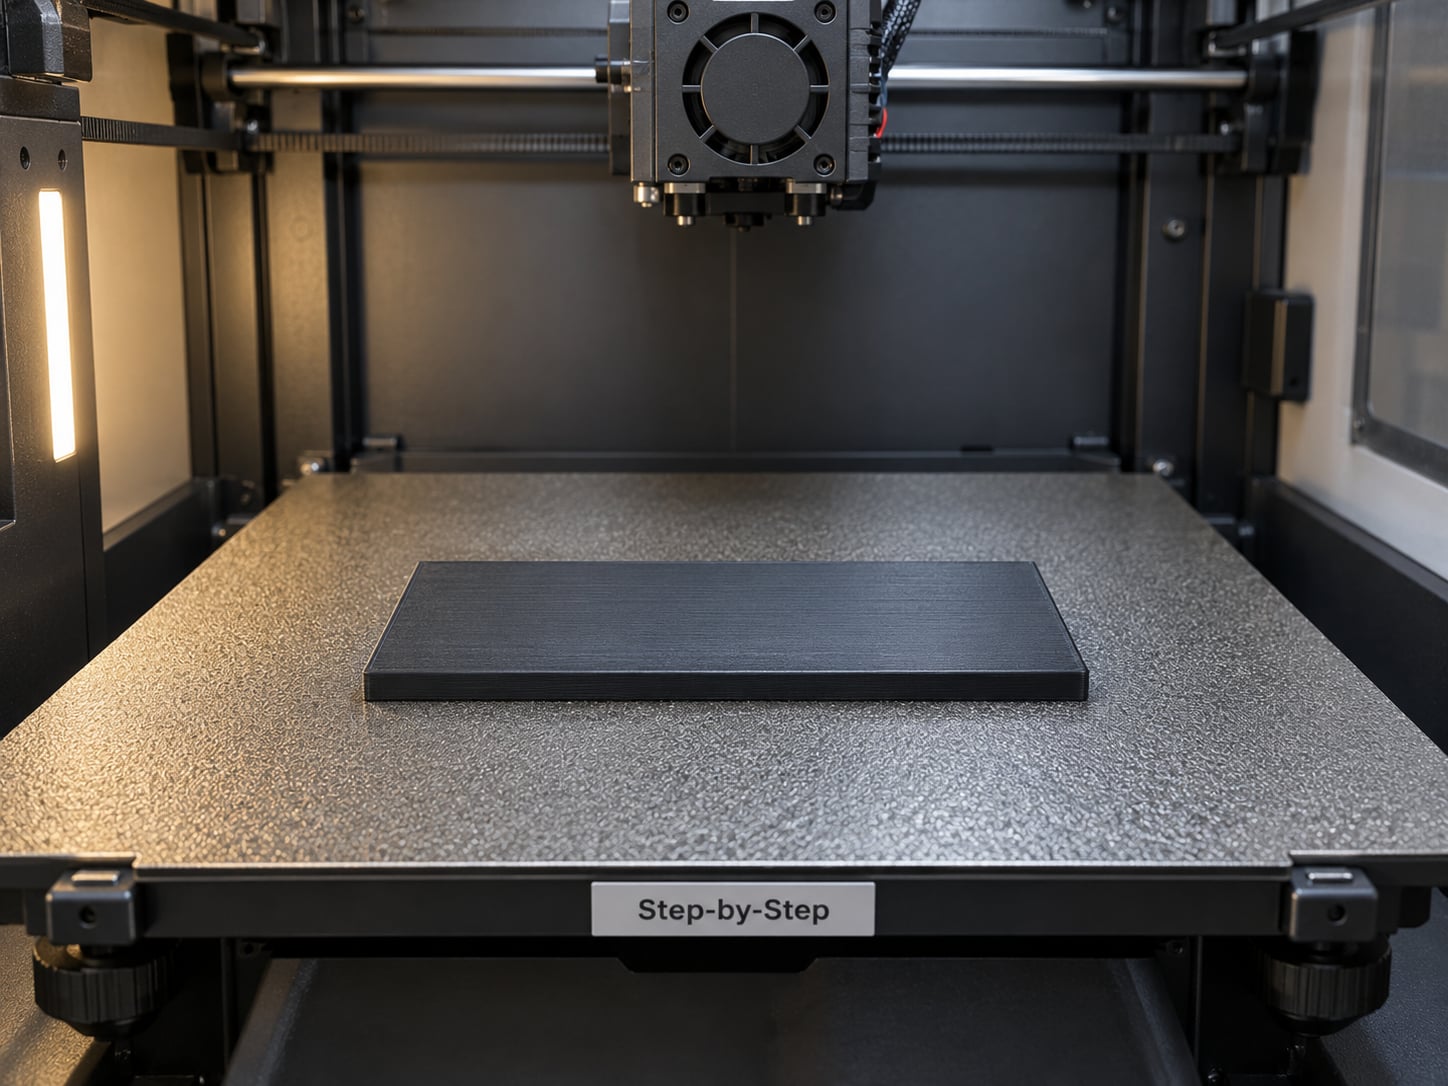
Clean the build plate properly before anything else. ABS plate surfaces are grippy, and grippy surfaces hold finger oil, and finger oil is exactly what the base of your part is trying to escape from. Wash the sheet with warm water and detergent, rinse, dry it fully, and avoid touching the print area afterwards.
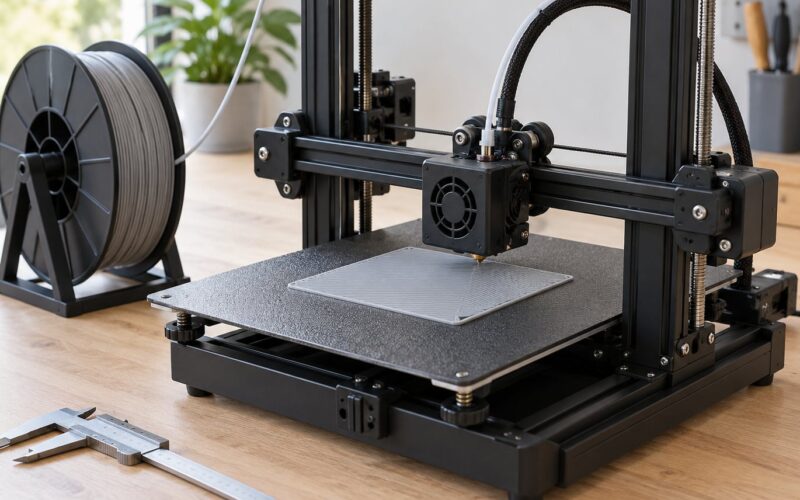
Run the bed levelling routine for the actual plate you are printing on, at the temperature you are printing at. A plate that is flat at room temperature and bowed at 105 °C will lift corners no matter what the slicer says. Check the first layer with a small square test, and adjust Z offset until the lines are squashed together without being pushed flat.
If you are getting a flared base, or elephant’s foot, while chasing a corner-lift problem, your Z offset is too tight or your bed is too hot for the part. Fix that before you start adjusting temperatures, or you will trade one failure for another.
Set Up an ABS-Enclosure Print
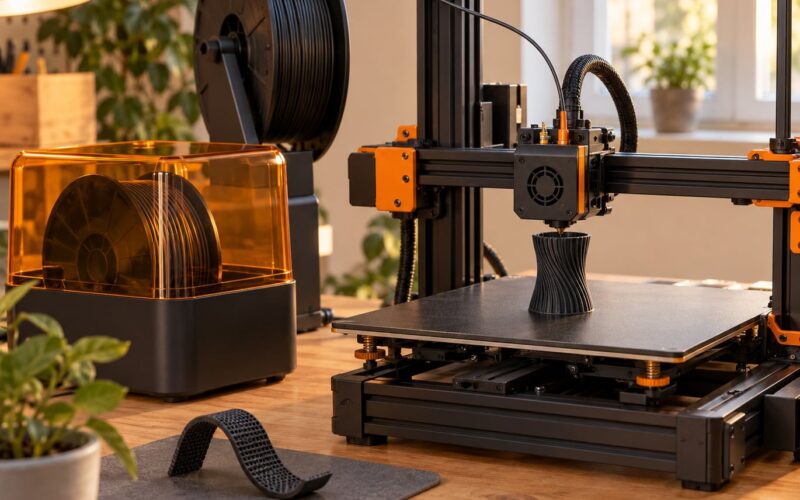
Set the chamber target to 40–55 °C and the bed to 100–110 °C, then wait. Consumer enclosed printers with a 100 °C bed typically land somewhere in the high 30s to low 40s in real life, which is lower than most guides claim but usually still enough. Heat soak for 15–30 minutes with the door shut so the air and the frame reach temperature before layer one starts.
Split the bed temperature if you want the strongest first-layer grip: 110 °C for the first layer, 105 °C for everything above it. Long-running community threads report that 120 °C first layer and 115 °C after gives a near-perfect success rate, but 120 °C is the ceiling of the PEI sheet and running there permanently ages the surface. Treat it as a rescue setting, not a daily one.
Set the nozzle between 230 and 250 °C. Some premium ABS blends are printed at 260 °C, but if your hotend is PTFE-lined, sustained temperatures above 250 °C degrade the tube in the cold zone and eventually the filament softens before it reaches the nozzle — that is heat creep, and it causes clogs and stringy blobs, not warping. An all-metal hotend removes the ceiling.
Set the part cooling fan to 0% for the first three to five layers, then no more than 25% for the rest. On a tall or slow print, keeping it off entirely is better.
Close every door and drawer. Gaps around a front door and around a filament drawer are where your 45 °C chamber quietly becomes a 28 °C one, and a puff of air across the top of the part is the single most reliable cause of a part that curls on one side only. Packing tape along the door seams is the cheapest fix there is.
Apply and Test the Adhesion Method
On a clean textured PEI sheet, plain ABS usually grips on its own at 100 °C or above. Many people never use an adhesion promoter and never see a lift.
If you do want a promoter, ABS juice is easy to make: dissolve 5–10 g of scrap ABS in 100 ml of acetone, stir until it thickens, let it settle, then brush a thin coat onto cool glass or a smooth sheet and let it dry to a matte finish before heating. A solvent-free glue stick also works — apply it lightly, since puddles of glue lift off as their own layer later.
Advice on this genuinely conflicts. Some makers run every ABS and ASA print through glue, others report that promoters made adhesion worse for them. The difference is usually plate surface and cleanliness rather than the promoter itself. Test a small coupon and decide from your own machine.
Run one 40 mm test square before a big job. Check the corners with your fingernail and press the centre; if any corner moves at all, fix the layer height or the bed temperature before spending twelve hours on the real part.
How to Print ABS Without Warping Through Slicer Settings
| Setting | Recommended value | Why it matters |
|---|---|---|
| Bed temperature | 100–110 °C (115 °C for large footprints) | Holds the first layers well above the 105 °C bonding threshold |
| Nozzle temperature | 230–250 °C | Weld strength between layers; 260 °C risks PTFE degradation in PTFE-lined hotends |
| Chamber temperature | 40–55 °C target, 15–30 minute heat soak | Keeps the whole part shrinking at the same rate |
| Part cooling fan | 0% for layers 1–5, then 0–25% | Fan cooling on ABS is the fastest route to layer cracking |
| Brim | 5–15 mm, inner and outer | Widens the footprint that has to hold the part down |
| First layer speed | About 20 mm/s, or 20–30% slower | Slow, welded first lines grip far better |
| First layer height | 0.25–0.30 mm | Enough squish to fuse into the plate texture |
| Layer height | 0.20–0.30 mm | Fewer, taller layers mean fewer welds and less accumulated stress |
| Outer wall speed | 40–60 mm/s | Slower visible walls release heat more evenly |
| Infill speed | 60–80 mm/s | Interior heat is not the problem, so do not slow the whole job for it |
| Walls | 3–4 walls | Thin shells curl far more than boxy sections |
| Infill | Gyroid or honeycomb, 20–40% | Distributes residual stress across the footprint |
Two of those numbers surprise people. Taller layers warp less than thin ones, which is the opposite of the instinct to print at 0.12 mm for a better-looking finish. And the first layer is the whole ballgame, so it gets the slowest speed and the most brim while the rest of the model gets your normal quality settings.
At model level you have two more levers. Adding relief cuts, or cutting a model into sections with deliberate breaks, removes the long continuous sections that store the most bending stress. Some slicers also offer an option to use a single wall on the first layer, which changes the bottom footprint and measurably reduces corner lift on large plates.
Control Cooling and Layer Bonding
Every layer needs to arrive while the layer beneath is still above 105 °C. That is the only condition that matters, and chamber temperature, bed temperature and fan speed all exist to protect it. An ABS part sitting in a 45 °C chamber has plenty of thermal mass to hold its own heat; the same part on an open frame in a 21 °C room does not.
Drafts matter as much as the average temperature. An air conditioner, an open window, a door left ajar, or your own hand reaching in to remove a support will all cool one side of the part and leave the other side alone. Keep the chamber closed and still for the entire print.
There is a ceiling. Chasing a chamber hotter than about 60 °C on a PTFE-lined hotend brings heat creep problems that look nothing like warping but end the print just as surely. If your machine cannot reach 40 °C naturally, a small chamber heater or a well-sealed box gets you there without touching the hotend.
Print, Cool, and Remove the Part Safely
When the print finishes, leave the enclosure closed for at least 20 minutes. The part is still shrinking as it cools, and pulling it off the bed warm or opening the door early lets the top cool faster than the base — which undoes the whole routine at the last second. Cooled parts also unstick far more easily.
Open the door only once the hotend has parked and the chamber has had its time. Break the brim off with a flush cutter rather than levering it, then slide a thin plastic scraper under one edge and work it around slowly. If the part resists, it is still warm — wait another five minutes rather than bending a corner.
Common Mistakes
- Raising the bed temperature when the chamber is cold. Going from 45 °C to 100 °C bed while the air stays at 22 °C changes nothing. Heat the chamber first.
- Leaving the part cooling fan on. The default profile from a PLA print is wrong for ABS and causes layer cracking and curl in the lower third.
- Calling an adhesion failure warping. A part that lifts because the first layer never gripped is a first-layer problem. Watch the first three layers on the screen instead of the finished part.
- One corner lifting and only one. That is level or cleanliness, not temperature. Re-level at print temperature and clean the sheet.
- Running a closed chamber with no ventilation. Styrene builds up faster than you notice. Filtered extraction or a filtered vent keeps the air safe and lets you keep the door shut.
- Blaming the filament for popping and crackling. That is moisture. Dry the spool and put it back in a dry box.
- Opening the chamber to remove supports mid-print. Possible to do, but expect corner lift on the sections that got the cold air.
How to Print ABS Without Warping: Troubleshooting Checklist
When warping persists, work down this list in order rather than changing three settings at once.
- Clean the build plate and re-level it at print temperature.
- Check the first layer. Slower speed, 0.25–0.30 mm height, a brim of 5–15 mm.
- Confirm the chamber is actually hot. Read the real chamber temperature, not the setpoint, and give it a 15–30 minute soak.
- Set bed to 100–110 °C, with 105 °C for upper layers, and nozzle to 230–250 °C.
- Cooling fan to 0% for the first five layers, 25% maximum afterwards.
- Check for drafts and tape any door or drawer gaps.
- Look at the part’s footprint. Large flat bases, thin shells and few walls need a brim, taller layers or model-level relief cuts.
- Cool inside the closed chamber for 20 minutes before opening.
If you can tell which failure you are actually looking at, the fix is usually shorter than the checklist. This table separates the four that get mixed up constantly.
| Symptom | Most likely cause | Fix |
|---|---|---|
| Corners lift, centre stays flat | Differential cooling across the footprint | Brim 10–15 mm, brim closer to the part, chamber soak |
| Edges curl upward like a bowl | Fan on, or a cold room cooling the top of the part | Fan to 0–25%, enclosure, warmer chamber |
| Layers split apart along one line | Delamination from under-extrusion or too much cooling | Nozzle +10 °C, slower outer walls, fan off |
| Part comes loose or pops off | First layer never gripped | Clean plate, add an adhesion promoter, re-check Z offset |
| Base flares outward, dims off | Elephant’s foot from high bed temp or Z offset too low | Drop bed 5 °C, raise Z offset slightly |
| Popping, bubbles, stringing | Wet filament | Dry the spool, store sealed with desiccant |
Frequently Asked Questions
Why does ABS warp when 3D printing?
ABS shrinks as it cools, and each layer only welds properly to the one below while that layer is still above its glass transition temperature of roughly 105 °C. When the bottom of a part cools faster than the top — because of a draft, a cold chamber, or the cooling fan — the two halves shrink at different rates. That difference stores bending stress, and it releases as corner lift or a bowed middle.
Do I need an enclosure to print ABS without warping?
For anything large, yes. An enclosure holds the chamber in the 40–55 °C range where layers stay above their bonding temperature. Small parts can succeed on an open frame in a still, warm room, and a cardboard box or even a plastic bag taped over the frame works surprisingly well for a first try. The box only works if you soak it for 30 minutes and leave it sealed for the whole print.
What temperature should I use for an ABS build plate?
Start at 100 °C and raise it to 110 °C if the footprint is large. A common refinement is 110 °C for the first layer and 105 °C for the layers above, which grips hard without ageing the plate. Going to 115 °C is reasonable for big flat parts. 120 °C is the ceiling of a PEI sheet and is better kept for rescue prints.
Should I use a fan when printing ABS?
No, not really. Run it at 0% for the first three to five layers so the base stays hot, then keep it below 25% for the rest of the print, or off entirely on tall parts. Fan cooling on ABS pulls heat out of the fresh layer before it bonds, which shows up as a split between layers near the bottom or a part that curls as it cools.
Can I print ABS on a normal FDM printer?
Yes, as long as it has a heated bed that reaches 100 °C. An open-frame printer works for small parts, and an enclosed one handles large flat panels reliably. Two things matter more than the printer: keep the chamber still and warm, and keep styrene out of the room with extraction or a filtered vent. Print times will be long, so watch the cost in filament before committing.
How do I remove an ABS part without breaking it?
Wait. Leave the printer closed for at least 20 minutes after the print finishes so the part reaches room temperature and finishes shrinking. Then cut the brim away with a flush cutter instead of levering it, slide a thin plastic scraper under one edge, and work around the part slowly. If it resists, it is still warm — give it another five minutes rather than forcing a corner.
Conclusion
Start at the cheap end. Clean the build plate, re-level it hot, and run a small test coupon with a 10 mm brim to prove first-layer grip before anything else. Then set the chamber to 40–55 °C, soak it 15–30 minutes, bed to 100–110 °C, nozzle to 230–250 °C, and cooling fan off. That short sequence is how most people learn how to print ABS without warping.
Most warping stops there. What is left usually comes down to the part itself — a large flat footprint, thin walls or a model with long unbroken sections — and that is a brim, a taller layer height or a relief cut away. Expect a couple of attempts on any new model; the numbers above just cut the number of wasted ones down.