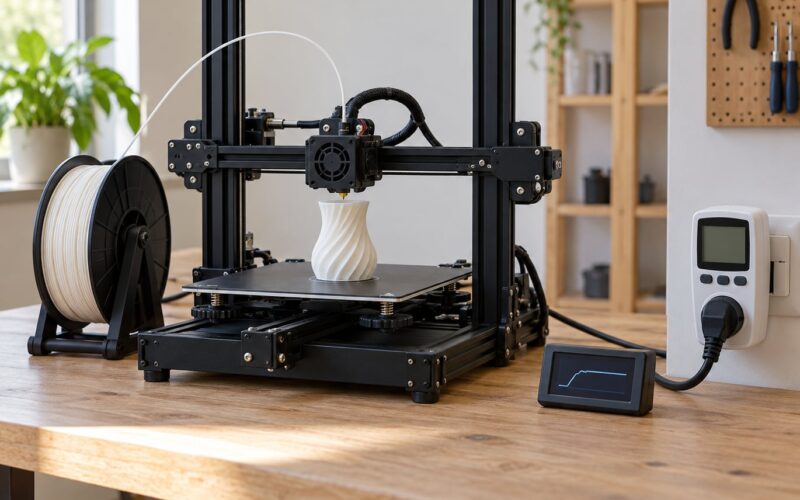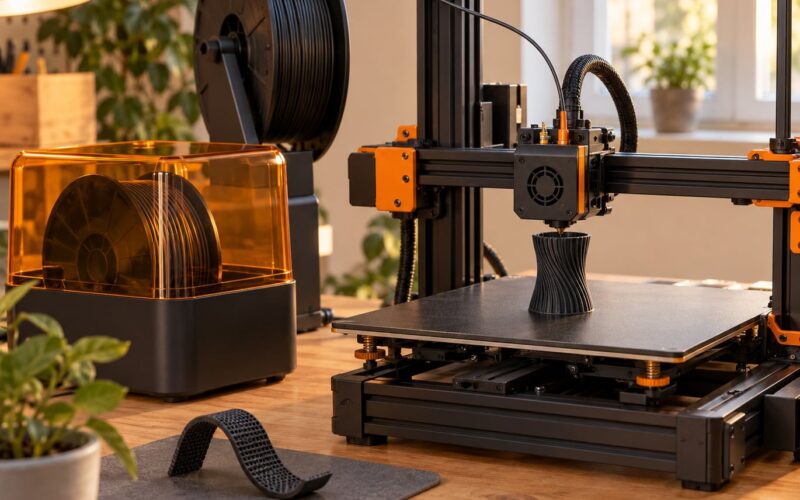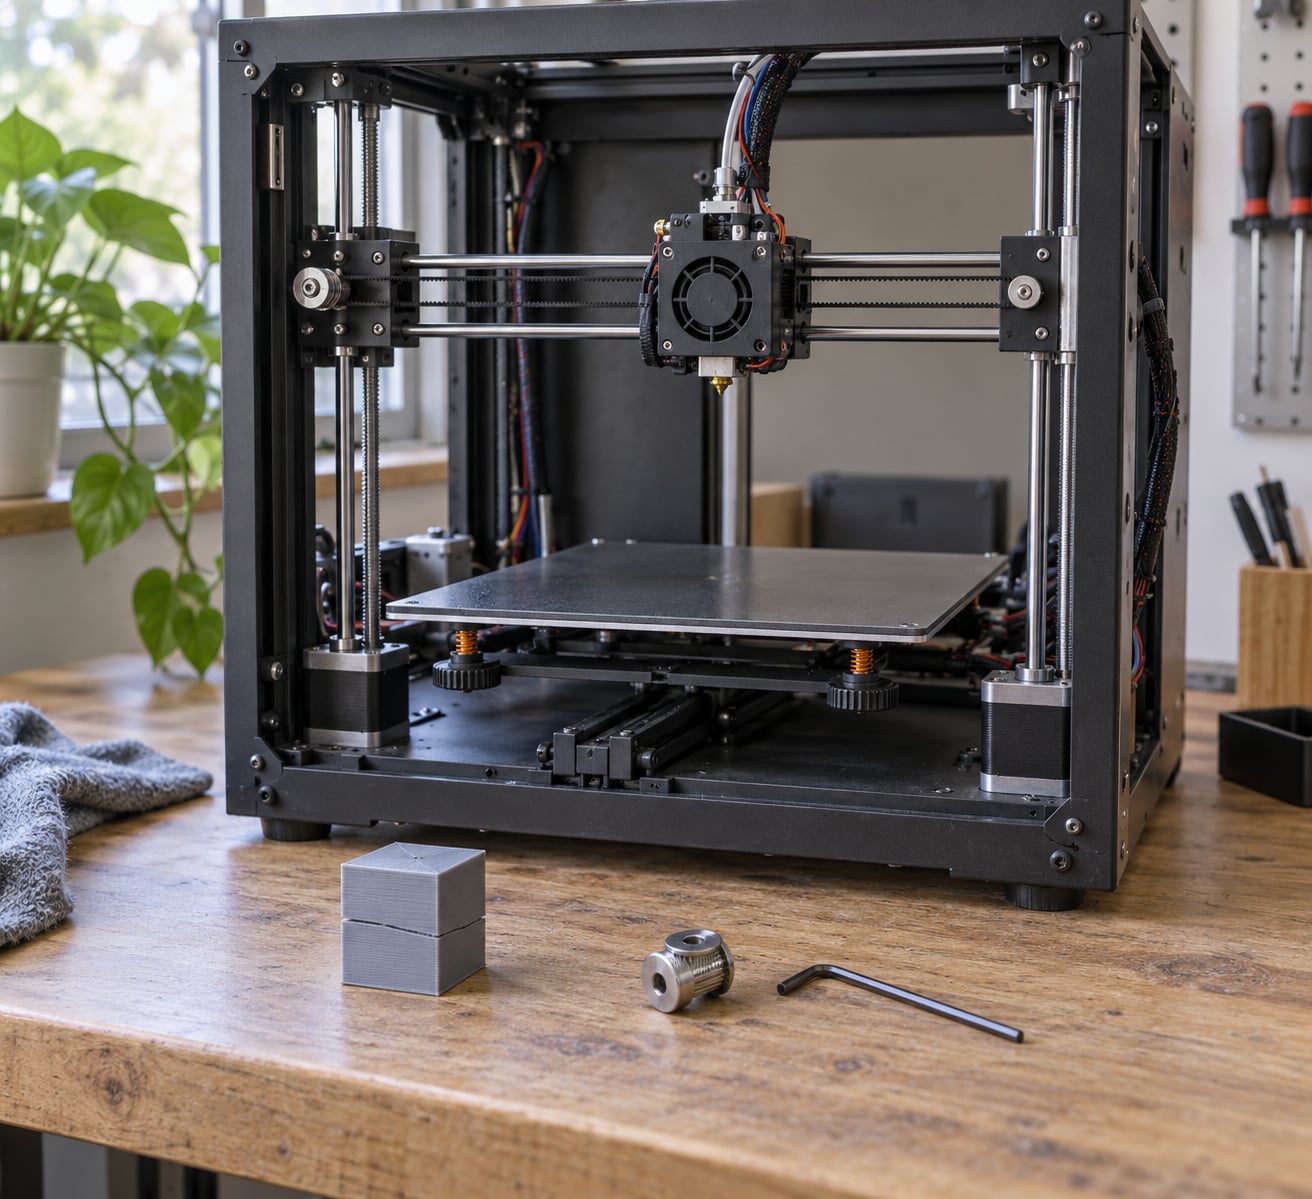
Layer shifting means one axis lost its position partway through the print, so every layer after that point is printed out of register. In most cases the fix is mechanical and takes under 15 minutes: find the height where the shift starts, clear any obstruction, then check belt tension and pulley set screws before you touch anything in the slicer. If you learn how to fix layer shifting on a 3D printer by diagnosis rather than guesswork, you stop swapping parts that were never the problem.
It helps to know what you are actually chasing. A 3D printer moves its toolhead blind: the firmware counts the steps it commands and assumes they happened. Anything that stops an axis completing a move, a loose belt, a pulley that slips, a nozzle that catches a corner, a motor that gets too hot, causes the motor to skip steps. The firmware has no idea, so the print carries on from the wrong coordinate, gouging a furrow into the part.
There is one other failure people mix this up with. Layer shifting moves the whole part sideways, so the wall is out of line. Layer adhesion failure keeps the part in place but splits it: a horizontal crack between two layers, usually at a change in temperature or where the nozzle lifted. If the layers stayed stacked and the crack runs between them, that is adhesion, not shifting.
What the failed print shows tells you where to start looking:
- A shift at the same height on every print. Usually a snag at that Z height, a curled corner, or a fastener poking into the travel path. Check nozzle clearance, gantry height, and the build plate surface first.
- Small random offsets during fast travel. Acceleration or jerk set beyond what the axis can deliver. Look at the slicer speed and acceleration limits.
- The print twisted diagonally toward one corner. Loose gantry hardware or a frame joint working loose. Inspect the X and Y gantry rails and the frame screws.
- Offset only on large or tall prints. A belt that is too loose, or a hot stepper driver on long moves. Check belt tension and driver and board cooling.
- The part displaced as one block, with layers above still aligned. A loose pulley set screw on that axis. Check the pulley hubs and the motor shaft clamp.
Table of Contents
- 1What You Need
- 2How to Fix Layer Shifting on a 3D Printer, Step by Step
- 31. Identify Where the Layer Shift Begins
- 42. Pause the Print and Check for an Obstruction
- 53. Inspect and Tension the Belts
- 64. Check Pulleys, Motors, and Axis Motion
- 75. Verify the Gantry, Frame, and Build Surface
- 86. Check Filament Feed and Extruder Grip
- 97. Confirm Temperatures and Slicer Settings
- 108. Run a Small Test Print and Confirm the Fix
- 11Common Mistakes That Make Layer Shifting Worse
- 12Frequently Asked Questions
- 13Why does my 3D printer keep shifting layers?
- 14Should I increase belt tension to fix layer shifting?
- 15Can a collision cause layer shifting on a 3D printer?
- 16How do I know whether a layer shift came from the bed or the motion system?
- 17Why does my printer shift layers only during fast or tall prints?
- 18When should I replace a belt, pulley, or motor after a layer shift?
- 19Conclusion
What You Need
You do not need a parts order to start. Almost every layer shift comes down to tension, a set screw, or a collision you can see once you look properly.
- The printer manual, opened to the belt tension and gantry section. Exact tension values are machine-specific, so the manual beats any generic number.
- Your original slicer profile, so you can undo anything you change while testing.
- Hex keys in the sizes that fit the frame and pulley hardware.
- A straightedge or small spirit level for the gantry and build plate.
- A clean brush, compressed air, and a flashlight for the filament path and the drive gears.
- Spare items worth keeping on hand: a new belt, a set of pulley set screws, and threadlocker for fasteners that keep backing out.
Power the machine off and unplug it before any mechanical work. Do not reach near the gantry while it is homing, and do the same for the hot end once you have started heating it. Step through the diagnostic sequence below in order, and change one thing at a time.
How to Fix Layer Shifting on a 3D Printer, Step by Step
1. Identify Where the Layer Shift Begins
Start with the failed part, not the printer. The height of the first shifted layer is the single most useful clue you have, and it takes about a minute to read.
Look at the first layer where the surface steps sideways, and note whether the offset is on the X side, the Y side, or on a diagonal. A shift that only affects X means the X axis slipped, and the same for Y. On a CoreXY machine both belts pull the same carriage, so direction alone is less decisive there, but a regular height still matters.
Then check whether the height repeats across prints. A shift that always lands at the same Z height is almost never random; it points to something the nozzle hits at that elevation, such as a lifted or curled corner, a blob from a previous run, or a bracket that was installed proud. A shift at a different height every time points instead to motion: tension, acceleration, or a hot motor.
2. Pause the Print and Check for an Obstruction
A collision stalls the axis, and a stalled axis is a shifted axis. If the printer is still running, stop it properly through the control screen or host software rather than hitting the power switch, then let the machine come to a full stop before you put hands near the gantry.
Walk the nozzle along the full travel of the print and look for anything the nozzle or the fan shroud could catch: a purge line from an earlier print stuck to the bed, a corner of the part that lifted and curled upward, a cable tie loose on the gantry, a loose fan screw, a bed clip under the plate. Check that the belt is not twisted and that the gantry can travel its full range by hand, with the power off, without a hard stop anywhere.
3. Inspect and Tension the Belts
Loose belts are the most common cause in practice. A belt that is too loose lets the pulley skip teeth under load, and it usually only shows up on longer or faster moves, which is why a small test print can look perfect while a full plate fails.
Press the middle of the belt with a finger and try to twist it. It should resist and not roll more than a few degrees. Look at the pulley teeth and the belt teeth for a wear pattern, and confirm the belt is seated fully on the pulley with no teeth standing proud. Glazed or rounded tooth edges mean the belt has stretched or hardened and needs replacing rather than tightening.
On printers with an eccentric tensioner, loosen the lock nut and turn the tensioner until the belt has the firmness you want, then retighten the lock nut and mark its position so you can back it out later if the axis feels too stiff. On machines that tension with motor mount slots, loosen the mount screws, slide the motor to take up slack, and retighten evenly. Follow the tension figure in your printer manual if it gives one, and stop tightening the moment the belt stops slipping, since a belt that is too tight raises bearing load and shows up as skipped steps in the other direction.
4. Check Pulleys, Motors, and Axis Motion
Next, find out whether the pulley is turning with the motor. Many printers that shift layers have a set screw on a pulley that backed off a fraction of a turn, which lets the pulley spin on the motor shaft and the axis lose its position with no visible sign of a problem.
Watch the pulley while you command a manual move. It should turn in one direction for a forward move and the same direction again for a repeat move; if it drifts or sits still, the set screw is loose. Check the coupler between the motor and the lead screw on any axis that moves on screws, and make sure nothing is sheared or rounded. Move each axis by hand at constant speed and feel for a step, catch, or gritty spot. On a CoreXY or other specialized motion system, follow the manufacturer’s own procedure for belt access and any pairing or tension procedure it specifies rather than improvising.
5. Verify the Gantry, Frame, and Build Surface
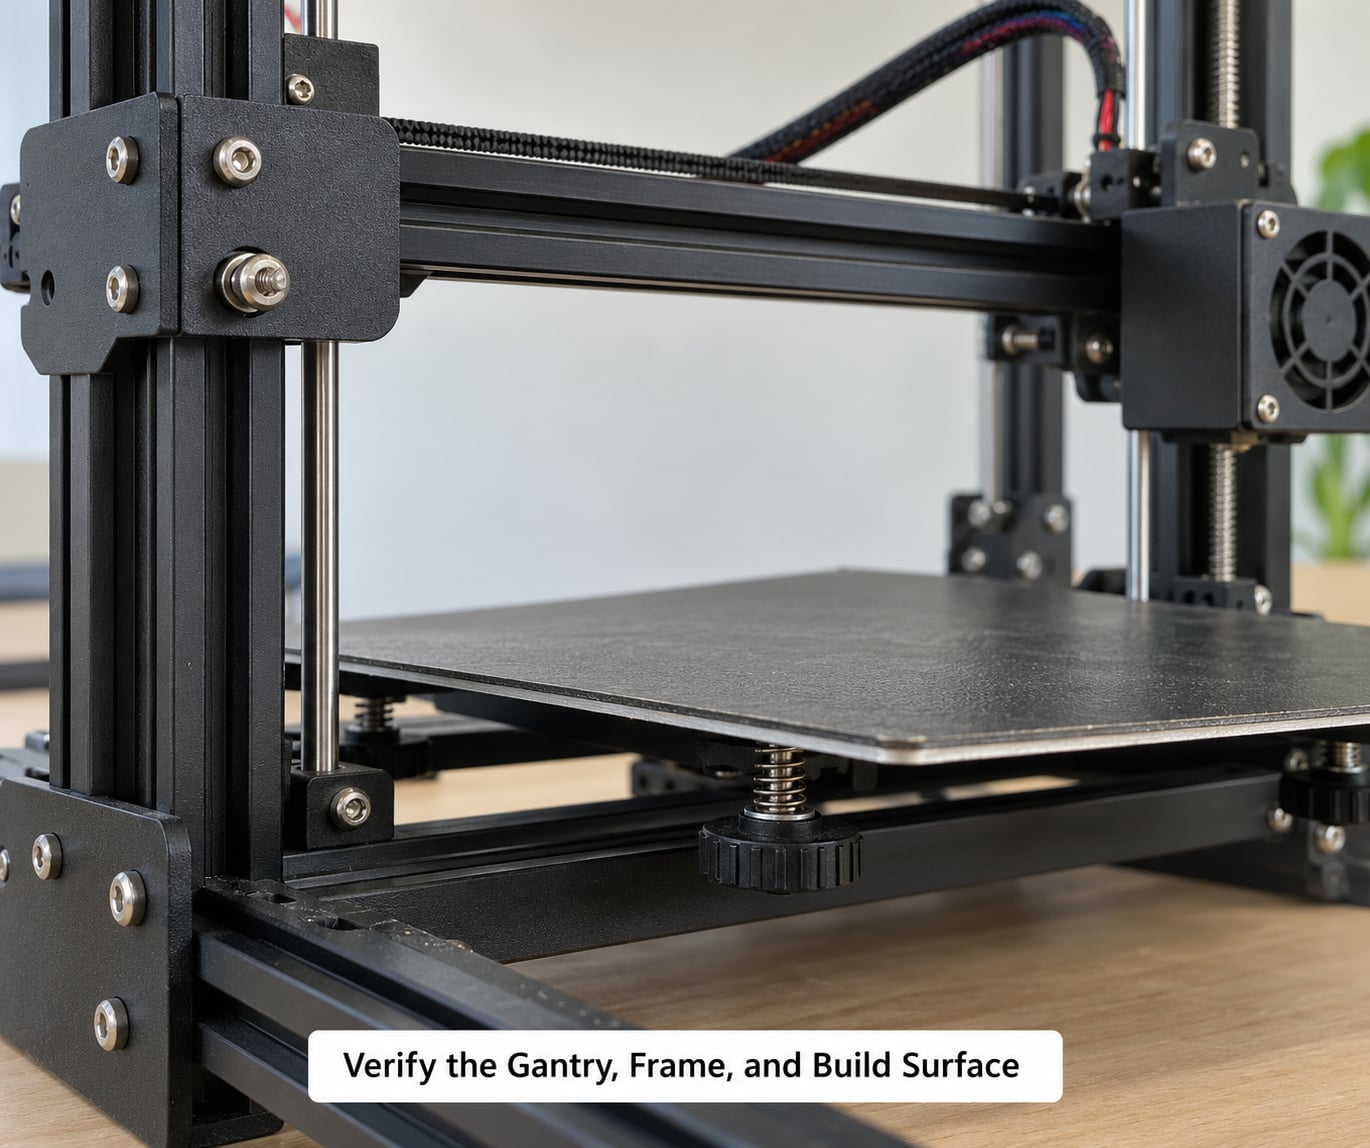
Two loose screws can produce a spectacular shift. Check that the gantry rails and the uprights they ride on are tight, that the frame joints at the corners have not worked loose, and that the whole machine sits flat on the table with all feet bearing weight.
Place a straightedge on the gantry beam and look for a visible twist, then confirm the build plate is level and firmly attached. A tilted or flexing plate makes the nozzle height vary across the bed, which produces a shift at a consistent Z height and a first-layer problem at the same time. Run a mesh or bed leveling routine and re-check the Z offset after any change.
6. Check Filament Feed and Extruder Grip
Sometimes the axis is not slipping at all; the extruder is stalling and the printer loses track of its position. Pull the filament out and inspect the path for tangles, knots, or a spool that is rubbing on the holder, and check the drive gear for worn or missing teeth.
Look at the idler side for the pressure needed to grip the filament, and confirm the extruder motor can push through the normal force at temperature, which drops as the filament softens. Check that the nozzle is not partially clogged, since a sudden rise in extrusion pressure shows up the same way. If the feed skips, the motion system is usually fine and you should be looking here instead.
7. Confirm Temperatures and Slicer Settings
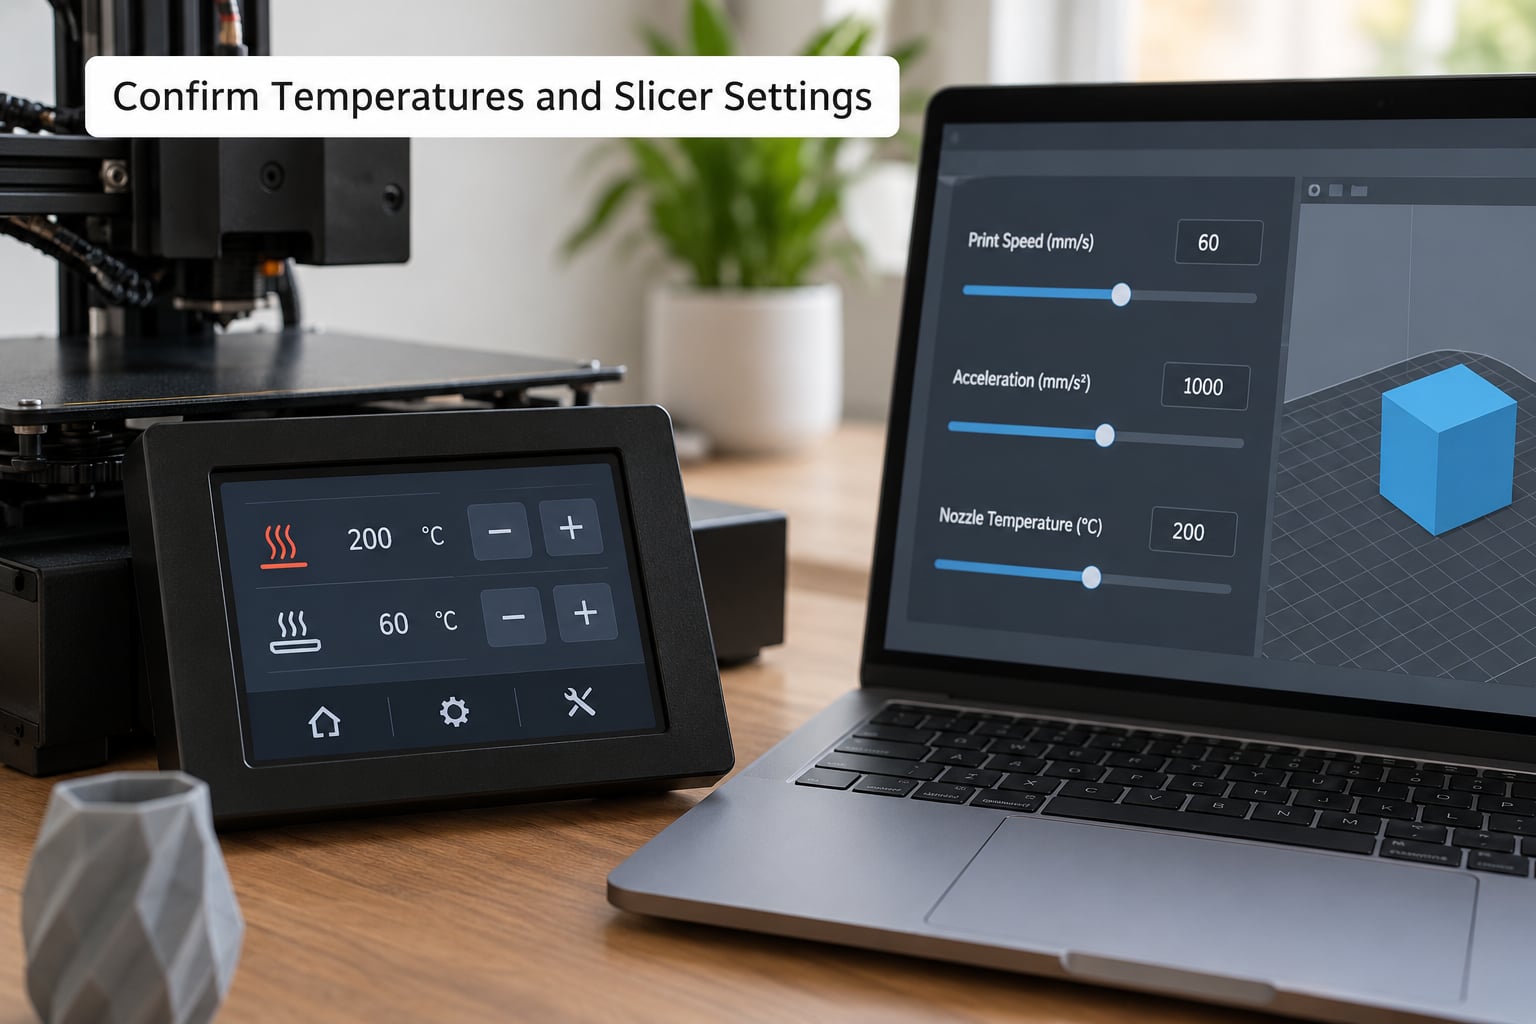
Only after the mechanics check out should you change settings. Most of the time, the fix is to lower what you are asking the machine to do rather than to tighten something else.
Reduce print speed and travel speed into the 40 to 60 mm/s range as a diagnostic test, and cut acceleration and jerk by 10 to 20 percent. A larger layer height makes each move shorter, which reduces the load that causes a skip, so raising it slightly is a useful trial. On machines with a power mode setting, switching from a silent mode to normal mode gives the motors more torque on long moves; on Bambu Lab firmware, enabling step loss recovery makes the printer detect and re-home after a shift rather than continuing from the wrong place. If the electronics run hot, check that the mainboard fan spins and that airflow over the stepper drivers is not blocked.
Change one variable, run a short test, and only then move to the next. On a fast CoreXY machine, the firmware features that manage ringing and extruder pressure are worth calibrating properly, but they will not rescue a loose belt.
8. Run a Small Test Print and Confirm the Fix
Verify the repair with something small and fast: a calibration cube or a Benchy, sliced with the same profile and the same speed settings you plan to use. If the fault was height-specific, print a short model that reaches the Z height where the shift appeared, since a 20 mm cube will never reach it.
Once the test comes out clean, run the original model again before you call it solved. Then record the final settings somewhere you will find them, whether that is a note in your slicer profile or a comment in the model description, so the next shift has a known-good baseline to compare against.
Common Mistakes That Make Layer Shifting Worse
Almost every long troubleshooting thread online starts with one of these. Recognizing them saves the whole afternoon.
- Tightening belts until they ring. A belt that is too tight loads the bearings and the motor, and the machine starts skipping steps under fast moves. Tighten until it stops slipping, then stop.
- Changing slicer settings before checking the mechanics. Slowing the print hides a loose pulley without fixing it, and the shift simply reappears when you speed the profile back up. Mechanics first, settings second.
- Treating skipped steps as a motor problem. A skipped step is a symptom of resistance, inertia, or insufficient torque. Before adjusting motor current, remove every mechanical cause you can find.
- Loosening leveling screws while inspecting. Touching the bed or gantry hardware changes your Z offset, and now you are debugging two problems. Re-run mesh leveling and re-check the offset after any adjustment.
- Declaring victory without a test print. The last 20 layers printing cleanly proves nothing. Run the same model far enough to pass the height where the shift used to occur.
A weekly check of belt tension, pulley set screws, and visible filament damage catches most problems before they start. Monthly, wipe the rods or rails, check that the board fan spins, and re-run the leveling routine. Once you know the smell of a failing driver or the feel of a stretched belt, you will recognize the fault the first time it appears.
Frequently Asked Questions
Why does my 3D printer keep shifting layers?
A layer shift means an axis lost steps mid-print, usually from a loose belt, a loose pulley set screw, a nozzle collision, or acceleration set above what the motors can deliver. Start by noting the height where the shift begins. If it repeats at the same height every print, look for an obstruction or a curled corner. If the height varies, check belt tension and pulley set screws first.
Should I increase belt tension to fix layer shifting?
Only if the belt is genuinely loose. Press the middle of the belt and try to twist it; a small amount of resistance is right, and it should not roll freely. Over-tightening loads the bearings and motor, which causes skipped steps in the opposite direction. Follow the tension value in your printer manual, tighten only until slipping stops, and mark the tensioner position so you can back it out.
Can a collision cause layer shifting on a 3D printer?
Yes, and it is one of the most common causes. When the nozzle snags a lifted corner, a purge line, or a loose fan screw, the axis stalls, the motor loses steps, and every layer above prints out of register. If your shift always appears at the same Z height, that pattern points to something physical at that elevation rather than to a tuning problem.
How do I know whether a layer shift came from the bed or the motion system?
Look at the first shifted layer. If the part is in place and layers above are still aligned to each other but offset from the part, the axis slipped. If the offset appears on both axes at a diagonal, check the gantry and frame for loose hardware. If the shift always occurs at the same height, inspect the build plate for a tilted or curling edge that the nozzle can catch.
Why does my printer shift layers only during fast or tall prints?
Long moves and rapid direction changes put the most load on the belts and motors, so a marginal setup only fails under those conditions. A belt that is slightly loose or a pulley set screw that is a fraction loose will hold for a short, slow test print and slip on a full plate. Test with a small model at reduced speed, and if the fault disappears, tighten and inspect before returning to your normal profile.
When should I replace a belt, pulley, or motor after a layer shift?
Replace a belt when its teeth look rounded, glazed, frayed, or shiny, or when tensioning it no longer gives a solid grip. Replace a pulley when the teeth are hooked or worn, or when it spins on the motor shaft even with the set screw fully tightened. Motors rarely need replacing on their own; suspect a driver only after every mechanical cause is ruled out and the driver is running hot.
Conclusion
Learning how to fix layer shifting on a 3D printer is mostly a matter of order. Find the first shifted layer and read its height and direction, clear the nozzle path of anything it could catch, then check belt tension and pulley set screws on the affected axis. Only once the mechanics are firm should you reduce speed, acceleration, or jerk to confirm the repair with a test print that reaches the height where the shift used to occur.