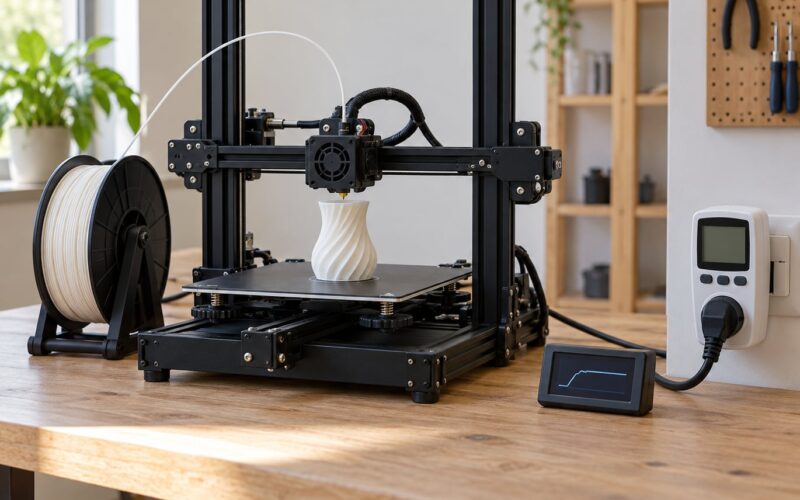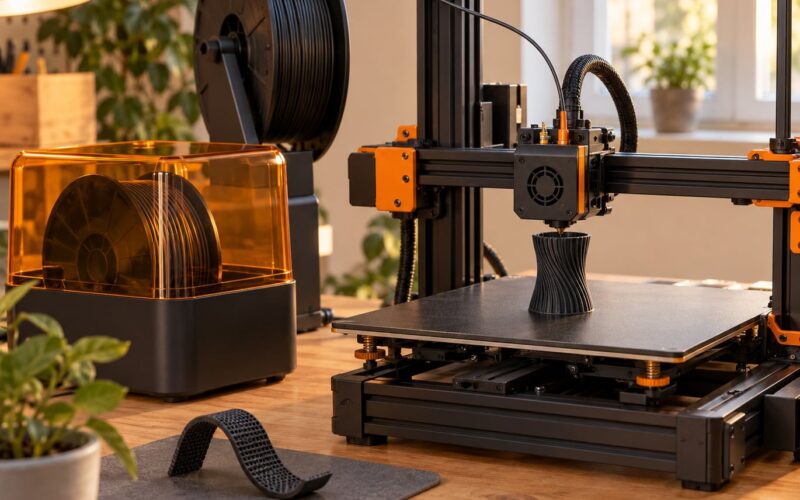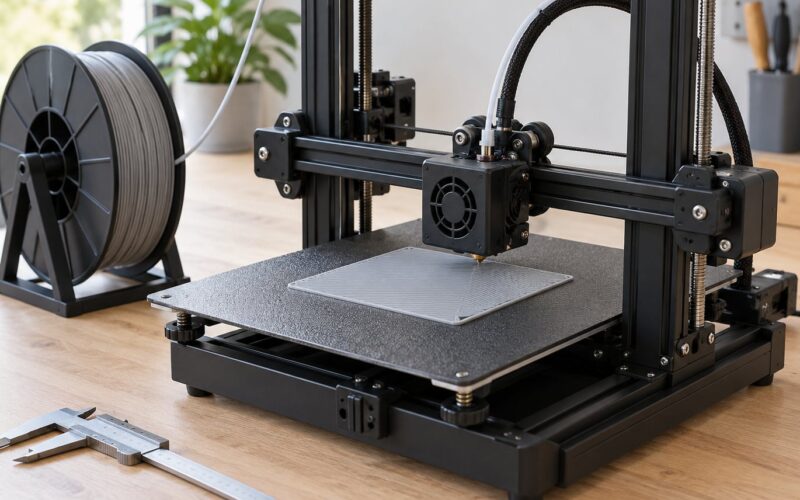
Yes, failed 3D prints can be recycled, but not through your curbside bin. The workable route is sorting by polymer, washing and drying the plastic, then either melting it into a new object in a silicone mold or shredding it into feedstock for a desktop filament extruder. Resin and filled filaments are the exceptions, and neither belongs in a home melting setup.
That answer hides a lot of detail, so this guide walks through how to recycle failed 3D prints at home end to end: what to gather, the step-by-step process, what each material can and cannot handle, and the mistakes that ruin a batch. Most of it is cheap kit and about an hour of work per batch.
Worth saying up front, because a lot of makers discover this late: closed-loop recycling works, but the filament you get back is not as good as factory-spun plastic. Treat recovered material as useful for decorative prints, draft prints and parts you would not mind sanding.
Table of Contents
- 1What You Need
- 2Step-by-Step
- 3How to Recycle Failed 3D Prints at Home by Material
- 4PLA and PLA-Based Filament
- 5PETG, ABS, and ASA
- 6TPU and Flexible Filament
- 7Resin Prints and Mixed-Material Waste
- 8Common Mistakes
- 9Frequently Asked Questions
- 10Can failed 3D prints go in curbside recycling?
- 11Can PLA be remelted at home?
- 12Are resin prints recyclable at home?
- 13How do I remove supports before recycling a print?
- 14What should I do with mixed-material waste?
- 15Is home filament extrusion worth the cost?
- 16Start With the Material Label
What You Need
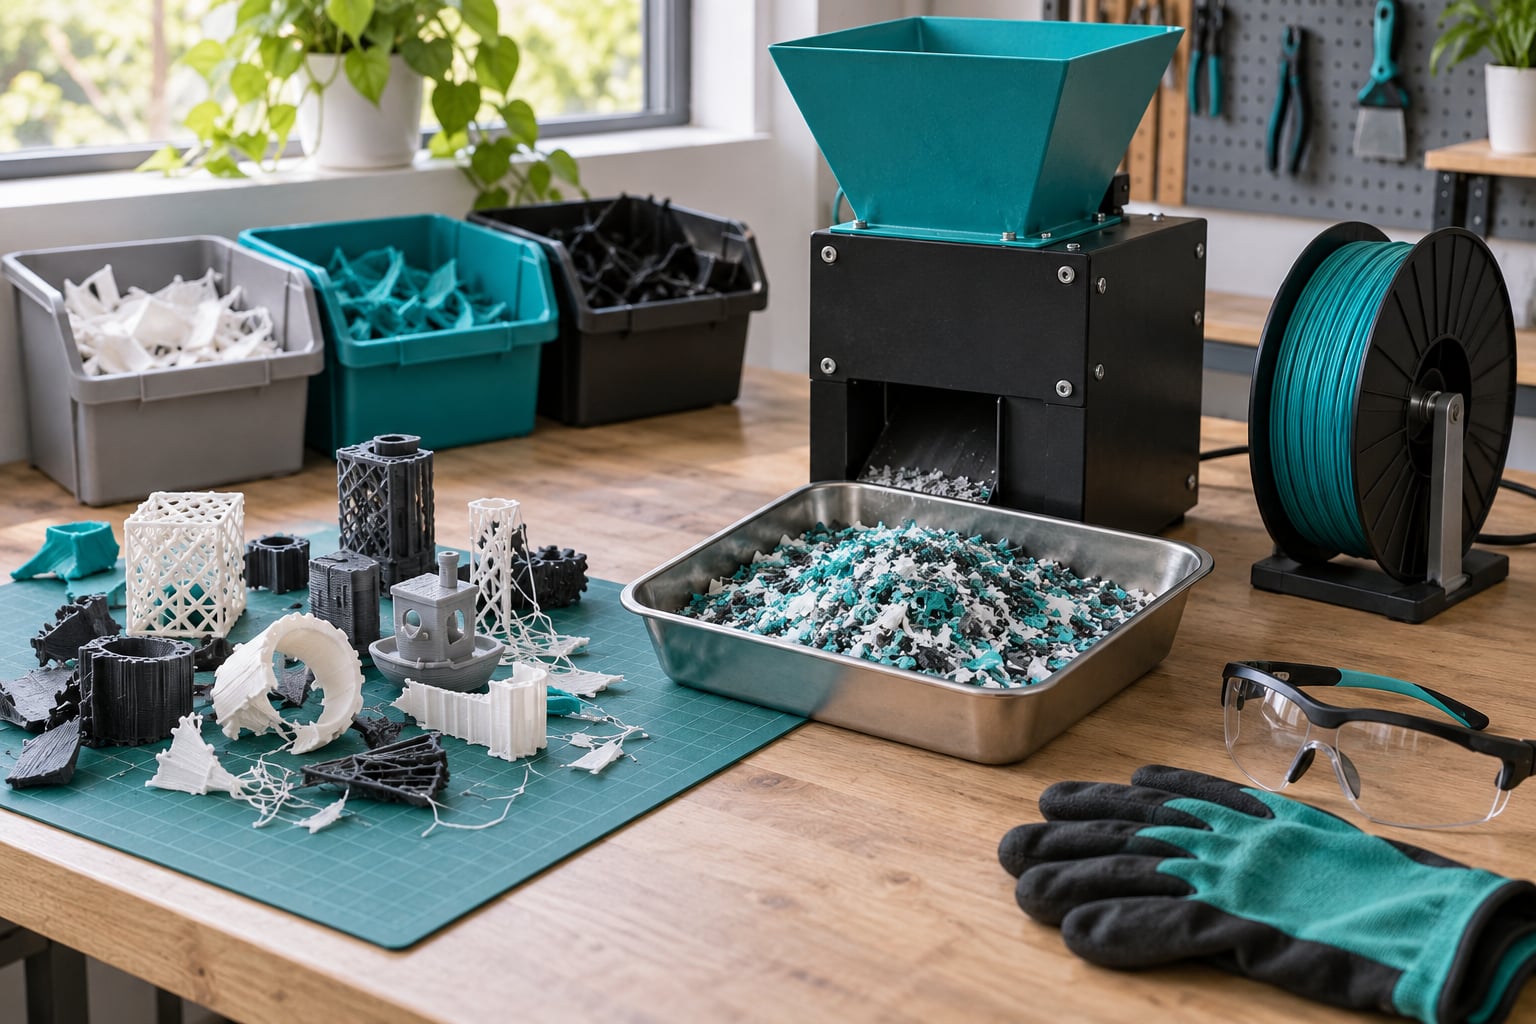
Most of the kit is safety gear and storage, not machinery. Collect these before you touch a pile of scrap.
- Nitrile gloves and safety glasses. Shed supports cut into fine shards, and a snapped layer line can throw flakes.
- A ventilated workspace. A garage, shed or open window with a fan across it, not a closed bedroom. This matters the moment you heat ABS, ASA or PETG.
- Four or five labeled bins. One per polymer and one for metal, so sorting happens as prints come off the bed rather than in a heroic weekend session later.
- Scissors, snips and a scraper. Support removal is easier with flush cutters than with a knife, and safer.
- Warm water, a brush and mild detergent. For washing prints before they go anywhere near heat.
- A drying box or heated chamber. Any enclosure that holds a steady temperature and keeps moisture out. Household filament dryers work well for this.
- A shredder or heavy-duty grinder. Only if you plan to re-extrude. Never a blender or food processor; people have destroyed both with plastic and the shards come out of the drive.
Heat gloves and a heat gun or dedicated craft oven belong on this list too, but only for the molding route. Keep every appliance that has touched food out of this workflow permanently.
Step-by-Step
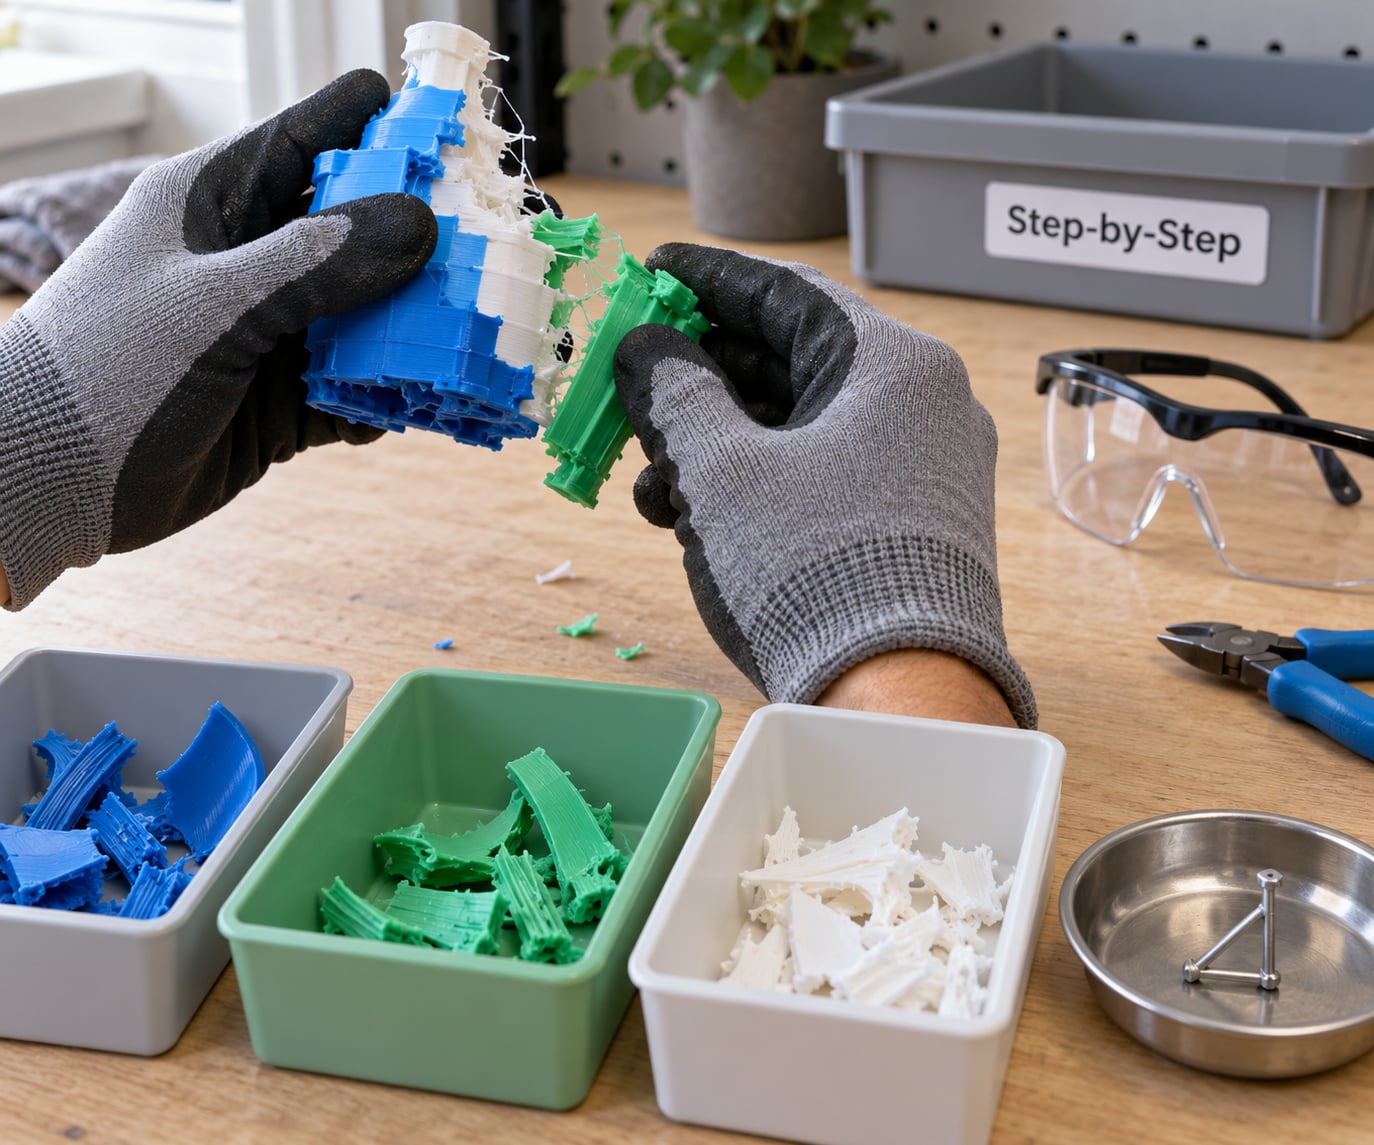
Work in this order every time. Skipping a step is how a clean bin of scrap turns into a grainy, inconsistent spool.
How to Recycle Failed 3D Prints at Home by Material
Step one is sorting, and it decides whether the rest of the process works at all. Read the spool label first, then check the print itself for anything that does not match.
A quick reference for the materials most home printers actually use:
| Material | Melts at home | Fumes | Home extrusion | Realistic route |
|---|---|---|---|---|
| PLA and PLA+ | Yes, easy | Low, sweet smell | Viable | Mold into objects, or shred and extrude |
| PETG | Yes, higher heat | Noticeable, ventilate | Difficult | Mold carefully, or donate clean scrap |
| ABS | Yes, but hot | Strong styrene, ventilate | Difficult | Weld and bond rather than re-extrude |
| ASA | Yes, but hot | Strong styrene, ventilate | Difficult | Weld, bond, or donate clean scrap |
| TPU | Avoid direct heat | Varies by formulation | Poor, clogs | Cut and granulate, usually donate or dispose |
| Resin | No | Skin irritant | No | Local specialty or hazardous waste route |
| Filled filament | No, abrasives damage tooling | Varies | No | Specialty collection only |
Here is the sequence in full. Step two is stripping anything that is not the polymer: metal supports, brass nozzles, magnets, inserts and any printed text that came out with the waste.
Step three is washing. Rinse prints in warm water with a little mild detergent and scrub off layer-line grit and any finger oils. Grime and pigment left on the surface get baked into your next spool and cause feed problems.
Step four is drying, and skipping it is the single most common reason homemade filament breaks. PLA and PETG are hygroscopic, meaning they pull moisture from the air. Dry shredded feedstock thoroughly in your dryer box before any heat touches it, because wet plastic in an extruder bubbles and jams.
Step five is shredding to a consistent size. Feeds that mix big chunks with fine dust jam feeders unevenly. Aim for pieces roughly the same size, roughly a centimeter or so across.
Step six is choosing a route, which is where most guides stop being useful. Five options cover almost everything:
- Melt into a silicone mold. Cheapest, no new hardware, and it turns marbled scrap into coasters, dice or planters.
- Plastic weld with a soldering iron. Repairs cracks and joins large parts back together.
- Bond with a solvent slurry. ABS and ASA only, where dissolved plastic in acetone fills seams and reinforces joints.
- Shred, dry and re-extrude. Real closed-loop filament, at the cost of diameter consistency and your afternoon.
- Donate or mail it back. Schools, art programs and community recycling schemes absorb scrap you cannot process.
PLA and PLA-Based Filament
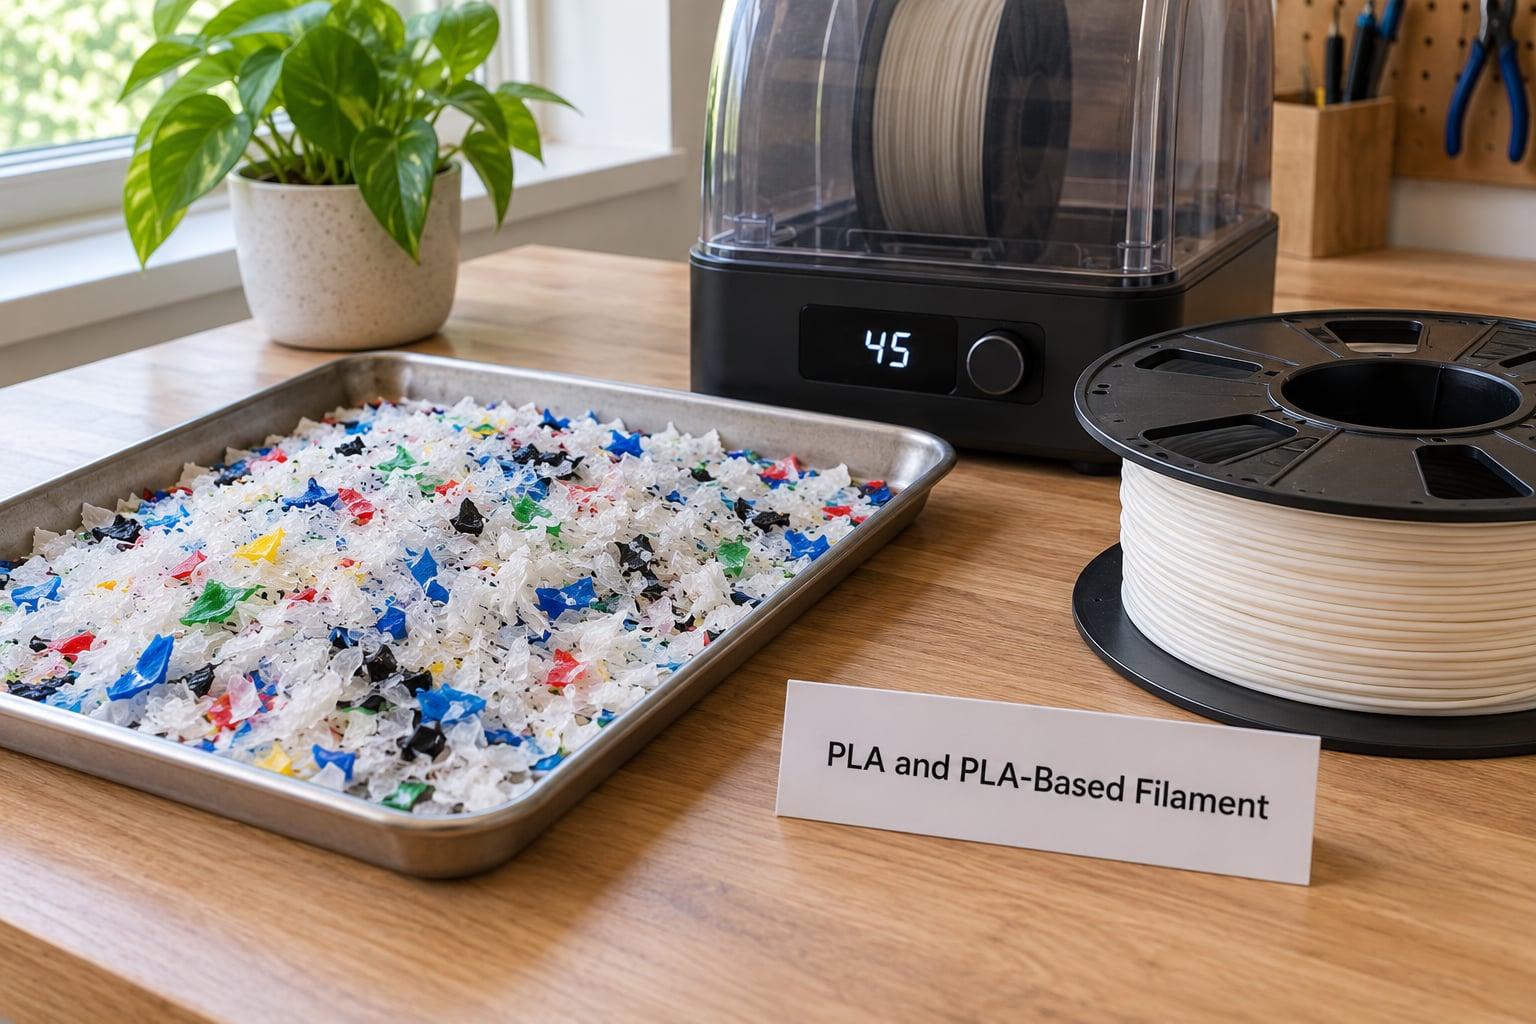
PLA is the friendly one. It softens at a modest temperature, smells faintly sweet rather than chemical, and extrudes in a small desktop machine without drama.
For the molding route, fill a silicone mold with shredded PLA and heat it with a heat gun or a dedicated craft oven until it slumps and levels out. Stirring once helps even out the colors. Two-tone and three-tone scrap gives you a marbled result that looks deliberate rather than like a mistake.
For the filament route, dry the flakes until they stop taking on moisture, then run them through a desktop extruder and a winder. Aim for 1.75mm with a tight tolerance, because printers dislike variation. Anything above roughly 0.05mm off nominal causes under-extrusion and a rough surface finish.
Two honest warnings. Do not put PLA in curbside recycling unless your local program explicitly accepts it, because most compaction equipment and sorting lines are not set up for it. And do not compost it. PLA is often labeled compostable, which is true for certified industrial composting facilities and not for a garden compost heap at home.
PETG, ABS, and ASA
These three share one rule: they need proper ventilation. Heated PETG gives off a noticeable odor, and ABS and ASA release styrene, which is the reason experienced makers work outdoors with extraction whenever handling them hot.
PETG is hygroscopic to a greater degree than PLA, so drying is not optional here. Wet PETG in an extruder produces sizzling, bubbles and a diameter that swings wildly across the spool. Molding PETG takes more heat than most people expect, and it tends to stick aggressively to silicone molds, so use a release agent.
ABS and ASA are tougher and more useful for repair work than for re-extrusion. Make a slurry by dissolving ABS offcuts in acetone to a thick paste, then use it to fill seams and strengthen printed parts. That bonding technique is the genuinely popular use for these scraps among makers.
Check your local disposal rules before processing any of them. Melting is legal almost everywhere, but what counts as acceptable waste handling varies by region and by what your collection accepts.
TPU and Flexible Filament
TPU is the material that punishes impatience. It is elastomeric, it grips metal, and it will happily seize a small extruder throat or barrel if you heat it and leave it sitting.
The realistic option is cold preparation: cut clean TPU waste into small pieces or granulate it with a purpose-built machine. Beyond that, most home setups should hand it to a specialist or a manufacturer take-back program instead of pushing it through a hot extruder.
Do not feed TPU into equipment built for rigid plastics unless that equipment explicitly supports flexible material. A blocked throat usually means dismantling and cleaning the machine.
Resin Prints and Mixed-Material Waste
Resin is where the rules change completely. Never pour uncured liquid resin down a drain, never rinse it into household plumbing, and never place resin-contaminated waste in your curbside recycling.
Cured resin is a thermoset, which means it will not melt. There is no home route back into usable material. Handle uncured resin with gloves, work in a ventilated area, and cure pieces fully before handling them.
For mixed-material waste, separate metal supports and any printed inserts first, then split plastics by base polymer. Sorting errors are the real blocker in all of this. One ABS support tree dropped into your PETG bin will degrade that batch, because the two cannot be separated once mixed. Keep the bins labeled and honest, and accept that a mixed bin is a disposal pile rather than feedstock.
Common Mistakes
Each of these has a straightforward fix, and each one is common enough that you will probably hit at least one.
- Recycling an unknown or mixed pile. Fix: label every spool before it enters the bin, and date the bin. Unlabeled scrap goes to disposal, not extrusion.
- Melting without temperature control. Fix: use a thermostat or a temperature-controlled oven, not a guessed timer. Overheating darkens the plastic and gives off heavy fumes.
- Ignoring fumes and ventilation. Fix: open a window and run a fan whenever you heat anything other than PLA.
- Shredding in kitchen equipment. Fix: use a dedicated shredder or heavy multi-function cutter rated for plastic, and wear eye protection.
- Contaminating feedstock with non-plastic bits. Fix: pull magnets, brass and steel parts before drying, and strip any printed labels or rubber feet.
- Assuming curbside programs accept it. Fix: check your local waste provider’s accepted materials list before you put a single print in the bin.
- Expecting factory colors back. Fix: embrace the marble. Mixed colors in a mold make attractive decorative pieces, which is a better outcome than binning them.
Frequently Asked Questions
Can failed 3D prints go in curbside recycling?
Usually not. Most local programs only accept rigid containers and packaging in specific resin codes, and 3D printing plastic is usually not among them. Check your waste provider’s accepted materials list before binning anything. In the meantime, sorting, melting or donating keeps the material out of landfill and in circulation.
Can PLA be remelted at home?
Yes. PLA softens with heat and hardens as it cools, so shredded pieces can be melted into silicone molds or fed through a desktop extruder to make new 1.75mm filament. Dry the feedstock first, because moisture causes bubbles and diameter variation. Always melt in a dedicated appliance or with a heat gun, never in anything used for food.
Are resin prints recyclable at home?
No. Resin is a thermoset, so it will not melt back into usable material, and uncured liquid resin is a skin irritant that must never reach drains or curbside bins. Cure pieces fully, wear gloves, and take contaminated waste and liquid resin to a local hazardous or specialty collection point. Keep resin out of the filament recycling workflow entirely.
How do I remove supports before recycling a print?
Break the part off the bed first, then use flush cutters or snips on supports close to the surface and work outward to avoid gouging the model. Water-soluble support material dissolves in warm water with detergent. For grinding, snip support trees into pieces rather than trying to peel them, and wear gloves and eye protection against fine shards.
What should I do with mixed-material waste?
Sort it by base polymer first, because mixed polymers cannot be separated once they are mixed. Pull out metal supports and inserts, keep ABS and ASA away from PETG, and treat anything unlabeled as disposal rather than feedstock. If a bin is already contaminated, it is not worth extruding; send it to a specialty collection instead.
Is home filament extrusion worth the cost?
For most hobbyists, no. Shredding, extruding, winding and drying takes time, and the recovered filament varies in diameter and color, so it suits decorative and draft prints more than precision parts. It becomes worthwhile when you generate a steady pile of single-polymer scrap, or when you want the filament experience for its own sake.
Start With the Material Label
The first action is small and takes ten seconds: find the filament label and put that print in the bin for its base polymer. Everything after that depends on it, and sorting errors cannot be undone once scrap is mixed.
From there, work through the loop in order. Strip the metal, wash the plastic, dry it properly, shred it evenly, and then pick the route that matches your equipment and your tolerance for fumes. Most scrap is perfectly reusable; a good share of it just needs the right bin and ten honest minutes.
Last updated: October 2026