Starting a 3D printing business from home takes one working printer, a spare room, and a narrow product focus, and the first paid order can land within a few weeks. Most beginners stall because they buy a second printer before anyone has asked them for anything, so the work is really about picking a niche, pricing the whole job instead of the filament, and running a small operation that survives contact with real customers.
The path is three stages, in this order:
- Prepare your workspace and equipment. A temperature-stable room, one printer you trust, a way to dry and weigh filament, and a proper exhaust or enclosure if you plan to use resin.
- Choose what to sell. Research demand before you design anything, then narrow to one niche where you can beat the copies on quality, speed or customization.
- Set up sales and fulfillment. Write your policies, price in every real cost, photograph your samples properly, and ship or hand off on a schedule you can actually keep.
The rest of this guide walks through each stage in order, with the numbers you need to make it work.
Table of Contents
- 1What You Need
- 2Step-by-Step
- 3Step 1: Choose a Profitable 3D Printing Niche
- 4Step 2: Calculate Your Equipment and Time Costs
- 5Step 3: Set a Simple Pricing System
- 6Step 4: Build a Safe and Professional Home Workflow
- 7Step 5: Create Proof and a Simple Sales System
- 8Step 6: Find and Validate Your First Customers
- 9Step 7: Test the Business With Real Orders
- 10Step 8: Grow Without Overloading the Home Setup
- 11Common Mistakes
- 12Tips
- 13Frequently Asked Questions
- 14Can I start a 3D printing business with one home printer?
- 15Do I need a business license to print products for customers?
- 16How much can I make from home-based 3D printing?
- 17Should a home printing service offer same-day or rush delivery?
- 18How do I separate personal and business finances and taxes?
- 19Conclusion: Start With One Paid Service and One Workflow
What You Need
The list below is the minimum viable setup for selling finished prints, not a wish list. Buy the first two items, and you can start testing a niche this week.
- A printer you actually know. One machine you have run for a few hundred hours beats three new ones you are still learning. Standard FDM printers handle PLA and PETG fine, which covers most beginner niches.
- Filament plus a dryer. Moisture is the number one cause of failed prints. A filament dryer box and a sealed storage bag with desiccant cost far less than reprinting a batch of parts.
- A digital scale. You cannot calculate cost per print without weighing the finished part.
- A heat gun and basic hand tools. Removing supports, straightening a part and cleaning brims all take minutes per piece and are easy to price wrongly if you forget them.
- Ventilation. An enclosure with an exhaust fan for PLA and PETG. If you ever run resin, this becomes a safety requirement, not a comfort feature, and you also need gloves, a nitrile-rated mask and a wash station.
- Slicing and design software. A slicer such as PrusaSlicer, OrcaSlicer or Cura, plus a design tool if you are making original models. Tinkercad is free and browser-based, Fusion 360 and Blender cover more advanced work.
- Record keeping. A spreadsheet of every order: filament used, machine hours, post-processing time, failure, and what you charged. Without it you are guessing whether you are profitable.
- A separate payment route and business registration. Keep business money apart from household money from day one, and check what your local authority requires before you sell.
- Packaging materials. Bags, boxes, and protective padding sized to your product. Fragile or flat items need more padding than you think.
Two home-specific checks matter as much as the hardware. First, noise: a printer running overnight is a conversation with your neighbors or your lease, so find out what your building or landlord allows before you commit to long prints. Second, electricity: a typical FDM machine pulls somewhere around 100 to 400 watts depending on the hotend and heated bed, so a week of heavy printing adds a few kilowatt-hours a day to your bill rather than nothing.
Step-by-Step
Step 1: Choose a Profitable 3D Printing Niche
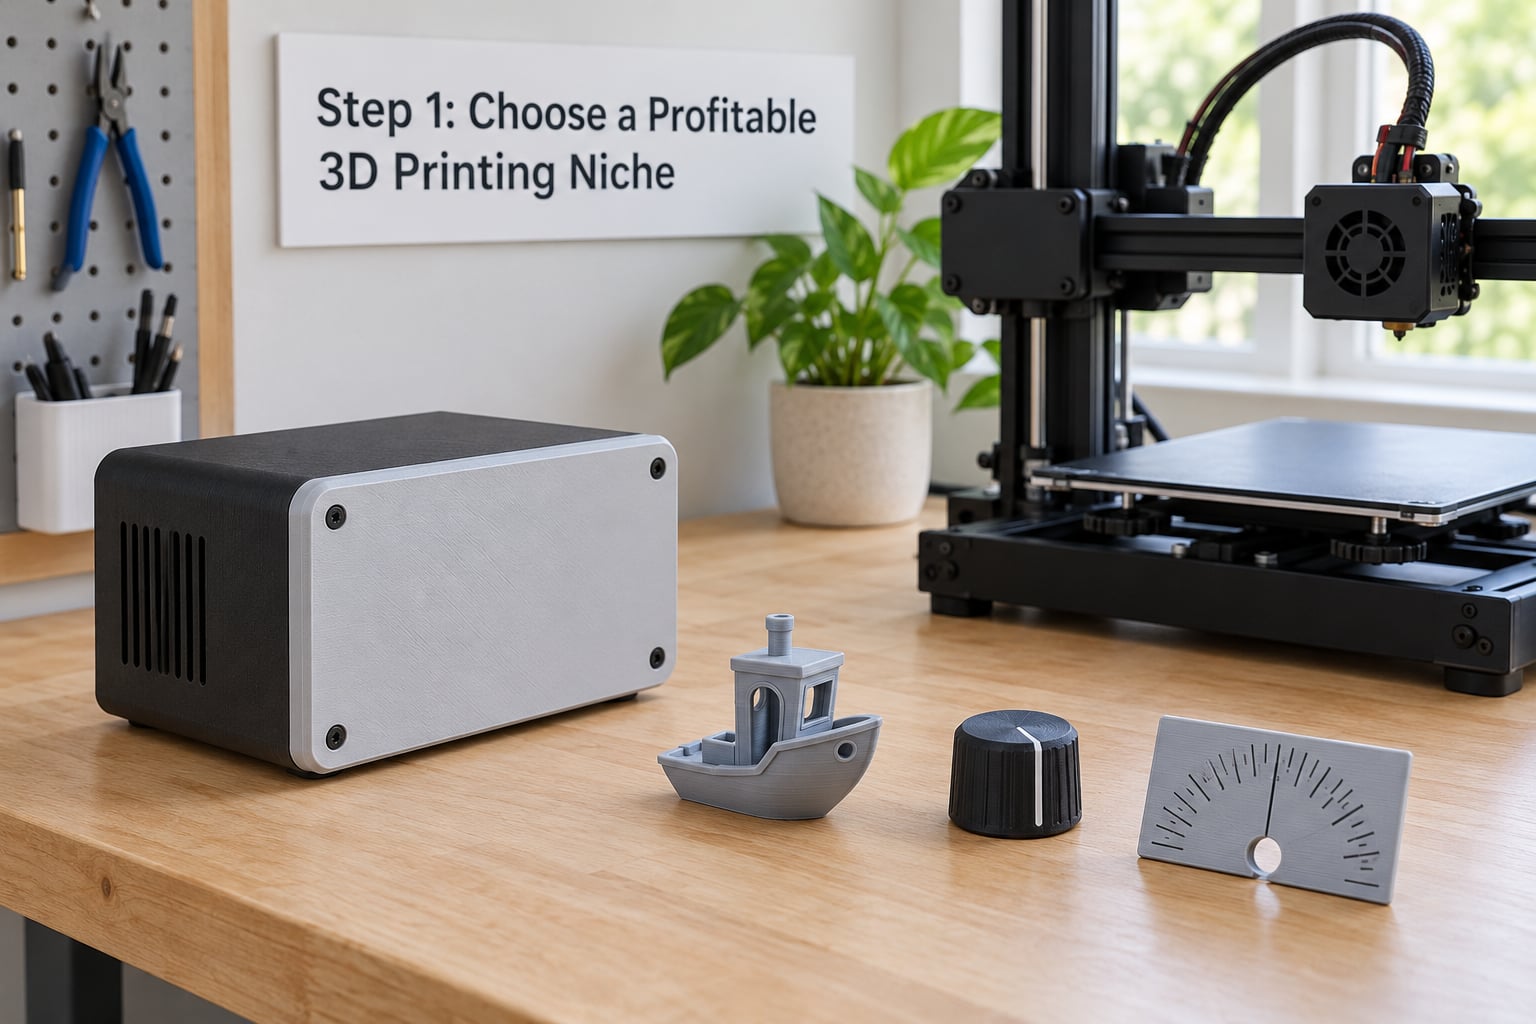
The most reliable way to pick a niche is to compare five things across ten candidate products before you print anything: how often people buy them, how crowded the listings already are, what material and tolerances they need, how heavy and fragile they are to send, and how easily you can customize them.
Customization is where home printers win. A marketplace full of near-identical models means buyers with a specific need go unserved, and that is your opening. Sellers in r/3DprintEntrepreneurs report that the shops that survive tend to be the ones selling original designs in one defined category rather than a wide catalogue of whatever prints quickly.
| Product type | Typical print time | Typical filament weight | Customization potential |
|---|---|---|---|
| Keychain or small clip | 15 to 40 minutes | 4 to 10 g | High, names and logos |
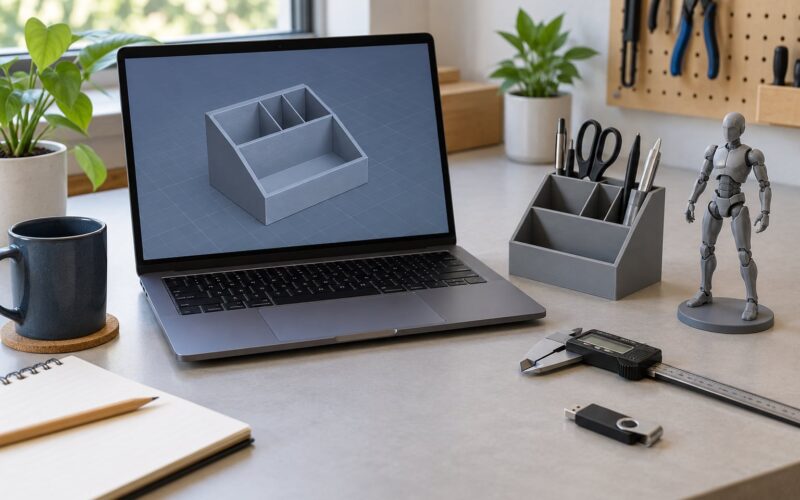
| Phone stand or desk organizer | 2 to 5 hours | 60 to 140 g | Medium, layout and color |
| Gaming terrain set | 6 to 20 hours | 200 to 500 g | Low to medium, faction based |
| Replacement part for a household item | 1 to 4 hours | 30 to 90 g | High, fits a specific model |
| Board game piece or token set | 3 to 8 hours | 80 to 200 g | High, full set completion |
One seller described a tiny item that used 4 to 5 g of filament and about 20 minutes of machine time as one of their best performers, because it solved a specific problem. Volume is not the goal. Fit is.
Step 2: Calculate Your Equipment and Time Costs
Cost per print is the number every other decision rests on, and most beginners get it wrong by counting filament only. A workable calculation has six lines.
- Material. Weigh the finished part, add roughly 20 percent for infill, supports, brim and purge, then multiply by your per-gram rate from your filament invoice.
- Machine time. Multiply print hours by your effective hourly machine rate, which is what you need to earn per hour of printer time, not just what the machine costs to run.
- Electricity. Take average wattage times print hours to get kilowatt-hours, then apply your utility rate. Dryers and a heated bed add to this, and a filament dryer running all day is not free either.
- Failure rate. Track what percentage of prints you bin or reprint in the first ten orders. Until you have data, assume one in five and adjust.
- Labor. Count slicing, support removal, sanding, cleanup, quality checks, packaging and message handling for every single order. On a small part this can exceed the print time.
- Overhead per order. Divide monthly consumables, spare parts and platform fees by the number of orders that month.
Run this for your actual products in a spreadsheet before you list anything. If the total lands below what you need to earn per hour, the product is priced wrong or the niche is wrong, and both are cheaper to discover now.
Step 3: Set a Simple Pricing System
Price on material plus labor plus machine time plus overhead plus your margin, then add a fee buffer for marketplace and payment charges. Keep the rule simple enough that you can quote from your phone while a print runs. This is the step where most guides to how to start a 3D printing business from home get vague, and vagueness here is what turns a busy hobby into a business that quietly loses money.
A workable pricing policy looks like this:
- A base price per item, calculated with the method above.
- A minimum order value, so nobody occupies three hours of machine time for a tiny top-up.
- A setup or design fee for custom work, quoted before you start. Custom jobs get quoted, never guessed.
- A rush fee for anything that cuts into your queue or means printing overnight.
- Quantity breaks, so bulk runs reward larger orders instead of eating your capacity.
- A deposit on commissions above a set threshold.
Two rules save most of the trouble. Quote large commissions from hours required, not from a guess, because a multi-kilogram resin model can consume a full week of machine time. And write your lead time into your policy, then tell customers about delays before they ask.
Step 4: Build a Safe and Professional Home Workflow
A home workshop becomes a business when it has repeatable habits. Ventilate the room and keep resin work in a sealed enclosure with exhaust; fumes and uncured resin are a real health issue, not a nuisance. Watch your electrical load, since heated beds, dryers and a computer on the same circuit are how trips happen. Store filament sealed and dry, and keep finished parts away from direct sunlight and heat.
Set a maintenance rhythm: a weekly clean of the nozzle and bed, a monthly check of belts, pulleys and rails, and a log of what you replaced and when. Run the printer with a camera or smart plug if you can, so a failed print at 2 a.m. does not cost you the whole night.
Handle customer files carefully. Keep the source file and a dated version, agree on ownership in writing, and delete files after the agreed period. Move customer money into a separate account, keep receipts for every business expense, and record sales for tax from the first transaction rather than trying to reconstruct them later.
Know your fire basics too. Keep filaments and solvents away from heaters, keep an extinguisher within reach, and never leave a printer running unattended in a space you cannot check.
Step 5: Create Proof and a Simple Sales System
People buy pictures, and mediocre photos hide good work. Photograph your samples in daylight against a plain background, take one shot in situ, and show scale. Include a short video of the part moving or being used; it settles doubts about strength and finish better than any description.
Then write the boring documents that prevent most disputes:
- A service policy covering revisions, failed prints, color choices, lead times and what happens if you cannot deliver.
- A standard intake form: dimensions, material, color, quantity, deadline, and who owns the original file.
- A quote template with material, machine time, labor, fees and total on one page.
- A file check routine. Confirm scale, wall thickness and fit before slicing, because a part that arrives 2 mm too big is scrap regardless of print quality.
Reusable slicer profiles and a saved checklist per product type turn this from an art into a process. That is the difference between a hobbyist and a shop that can promise Thursday’s dispatch on Monday.
Step 6: Find and Validate Your First Customers
Validation comes before inventory. Research demand on the marketplaces where you plan to sell: look at how many results a keyword returns, what price band sellers are holding, and how many reviews the established listings have. If the top ten listings are all identical copies with thousands of reviews, that category will be hard on a newcomer and is worth skipping.
Low-risk ways to reach buyers include local maker groups and craft fairs, niche communities around the product itself, and direct outreach to local businesses that could use branded items or small custom runs in volume. B2B work tends to pay better and repeat more reliably than one-off consumer orders, and small shops with a couple of printers usually survive on customization, bulk runs and fast local handoff rather than commodity volume.
Do check the marketplace rules before you invest. Etsy has tightened its rules around mass-produced and resold goods, and sellers in r/3Dprinting have discussed listings being removed as a result. Selling a model you downloaded from a file-sharing site without a commercial license is the fastest way to lose a shop and the income attached to it. Original design, or a properly licensed model, is the safer route.
Since learning how to start a 3D printing business from home online means building a second revenue path too, digital files are worth considering: buyers pay once and can reprint. It costs no material and no postage, though it needs the same originality discipline.
Step 7: Test the Business With Real Orders
Run a paid pilot rather than a free one. Take three to five real orders at your intended prices, then track the actual numbers: hours spent per order, filament used, failures, fees, and what customers asked for. Compare them to your Step 2 estimate and fix the gap before scaling.
Ask each buyer two questions: what would you have paid, and what would you change. The answers tell you whether your niche is right faster than any amount of guessing.
| Days | Focus | Done means |
|---|---|---|
| 1 to 30 | Research and setup | Niche chosen, costs calculated, five samples finished and photographed |
| 31 to 60 | First listings and outreach | Shop or site live, ten listings published, first three paid orders |
| 61 to 90 | Validate and tighten | Real costs recorded, prices adjusted, one repeat customer |
If margins do not clear after honest labor accounting at this stage, changing the niche is cheaper than buying another printer.
Step 8: Grow Without Overloading the Home Setup
Scale in the order that hurts your quality least. First raise prices on proven sellers, then narrow the range and specialize in the one category that pays best, then consider a second printer only when the first one is genuinely saturated for months, not one bad week.
Outsourcing to a service bureau is the underrated option at low volume. When your order is one prototype or a short run of complicated parts, a bureau may deliver faster and cheaper than setting up for it yourself, and sellers in r/3DprintEntrepreneurs regularly weigh their own printers against exactly that trade.
Before you grow further, put the boring things in place: capacity limits so lead times stay realistic, consistent quality checks so a bigger batch does not turn into a complaint, business insurance appropriate to what you make, and proper tax handling. Rules vary by country and state, so confirm the local requirements with your own authority rather than copying someone else’s setup.
Common Mistakes
- Buying equipment before finding customers. A second printer produces more hours of unsold capacity.
- Pricing by filament weight. You lose money on labor, failures and fees while the work feels busy.
- Ignoring post-processing. Support removal, sanding and cleanup are real minutes, and skipping them is how cheap listings get made.
- Competing on price with high-volume sellers. You cannot match a factory-run price on labor and overhead. Sell customization and speed instead.
- Running without ventilation. PLA and PETG need airflow; resin needs containment and protection.
- Having no written policy. One vague delivery promise turns into a dispute and a bad review.
- Leaving taxes and fees unmanaged. Marketplace charges and local sales tax quietly consume thin margins.
- Reselling unlicensed models. It risks your shop and is the most common reason listings disappear.
- Promising rush work by default. Overnight prints mean overnight failures you never saw.
Tips
- Keep one saved profile per product type so quality does not depend on the day of the week.
- Version customer files with dates, because revision disputes are almost always about what changed and when.
- Log maintenance and failures in one sheet; patterns show up fast, usually in the same nozzle or the same filament roll.
- Use a standard intake form so no order starts with six messages of clarification.
- Offer an upgrade path, such as a two-tone finish or a matching set, at a higher tier than the base item.
- Position by niche, not by product. Buyers search for a problem, not for your catalog.
- Recalculate profit after labor every month and adjust prices before volume grows.
Frequently Asked Questions
Can I start a 3D printing business with one home printer?
Yes, and most successful home shops started that way. One printer running consistently with good profiles can support a steady low-volume order flow in a narrow niche such as replacement parts, organizers or custom tokens. Add a second machine only when the first is reliably busy, and consider outsourcing large or complex runs to a service bureau instead of expanding your floor space.
Do I need a business license to print products for customers?
It depends on where you live. Some places require local business registration, a tax identifier or a permit before you sell goods, and some home associations and landlords restrict commercial activity in residential units. Rules differ by country, state and city, so check your local authority and your lease or HOA rules before taking the first order. Keep records and receipts from day one.
How much can I make from home-based 3D printing?
Income depends on niche, margins and how many orders your machine can complete per week, not on hours online. Shops that reach steady income usually combine repeat customers, custom work and bulk orders rather than relying on high-volume cheap items. Work out your real cost per item including material, machine time, electricity, failures, labor and marketplace fees, then price above it and measure actual monthly results.
Should a home printing service offer same-day or rush delivery?
Only for a fee, and only when you have spare capacity. Rush work usually means printing overnight, and overnight prints fail without anyone watching them, which turns a premium into a reprint and a delay. Publish a standard lead time you can reliably keep, add a rush option with a clear surcharge, and leave a little slack in the queue.
How do I separate personal and business finances and taxes?
Open a separate account for business money, pay yourself a fixed amount rather than taking whatever is left, and keep every receipt from the first transaction. Record each sale as it happens instead of reconstructing it later. Which registrations, thresholds and sales tax rules apply varies by country and state, so confirm the details with your local tax authority or an accountant.
Conclusion: Start With One Paid Service and One Workflow
Pick one niche, calculate the true cost of one item, and get proof of your work in the form of five photographed samples. Then run three to five paid orders through a written workflow and measure what actually happened. Anyone learning how to start a 3D printing business from home gets further by pricing honestly, keeping records, and adding capacity only after demand proves it. Do those three things first and the rest of the plan writes itself.