Elephant’s foot is the flare where the bottom one to three layers of an FDM print spread wider than the part sitting on top of them. To fix elephant foot on first layer you work in a fixed order: clean and level the plate, raise the Z-offset in 0.02 mm steps, trim nozzle and bed temperature, then add slicer compensation. Most people are done inside half an hour.
The reason it happens is simple. A 0.4 mm wide extrusion line squeezed into a 0.2 mm first layer has nowhere to go but outward, so the base gains width. A hot bed makes it worse, because the first layers stay soft while everything printed above presses down on them.
If you only print decorative models, under 0.1 mm of bulge is invisible and you can ignore it. If the part has to slot, snap or press into something else, the bulge is a dimensional problem and it has to go.
Table of Contents
- 1What You Need
- 2Step-by-Step: How to Fix Elephant Foot on First Layer
- 31. Inspect the First Layer and Identify the Problem
- 42. Clean and Re-level the Build Plate
- 53. Adjust the Z-Offset or First-Layer Height
- 64. Reduce Nozzle and Bed Temperature If Necessary
- 75. Improve Slicer First-Layer Settings
- 86. Run a Test Print and Verify the Correction
- 9Common Mistakes
- 10Frequently Asked Questions
- 11Should elephant foot compensation be positive or negative, and how much should I set?
- 12Why is my first layer fine but layers 2 through 5 are wider than the rest?
- 13Does a raft or brim fix elephant foot?
- 14Is elephant foot worse in PETG than PLA?
- 15Is a 0.1 mm elephant foot worth fixing?
- 16Conclusion
What You Need
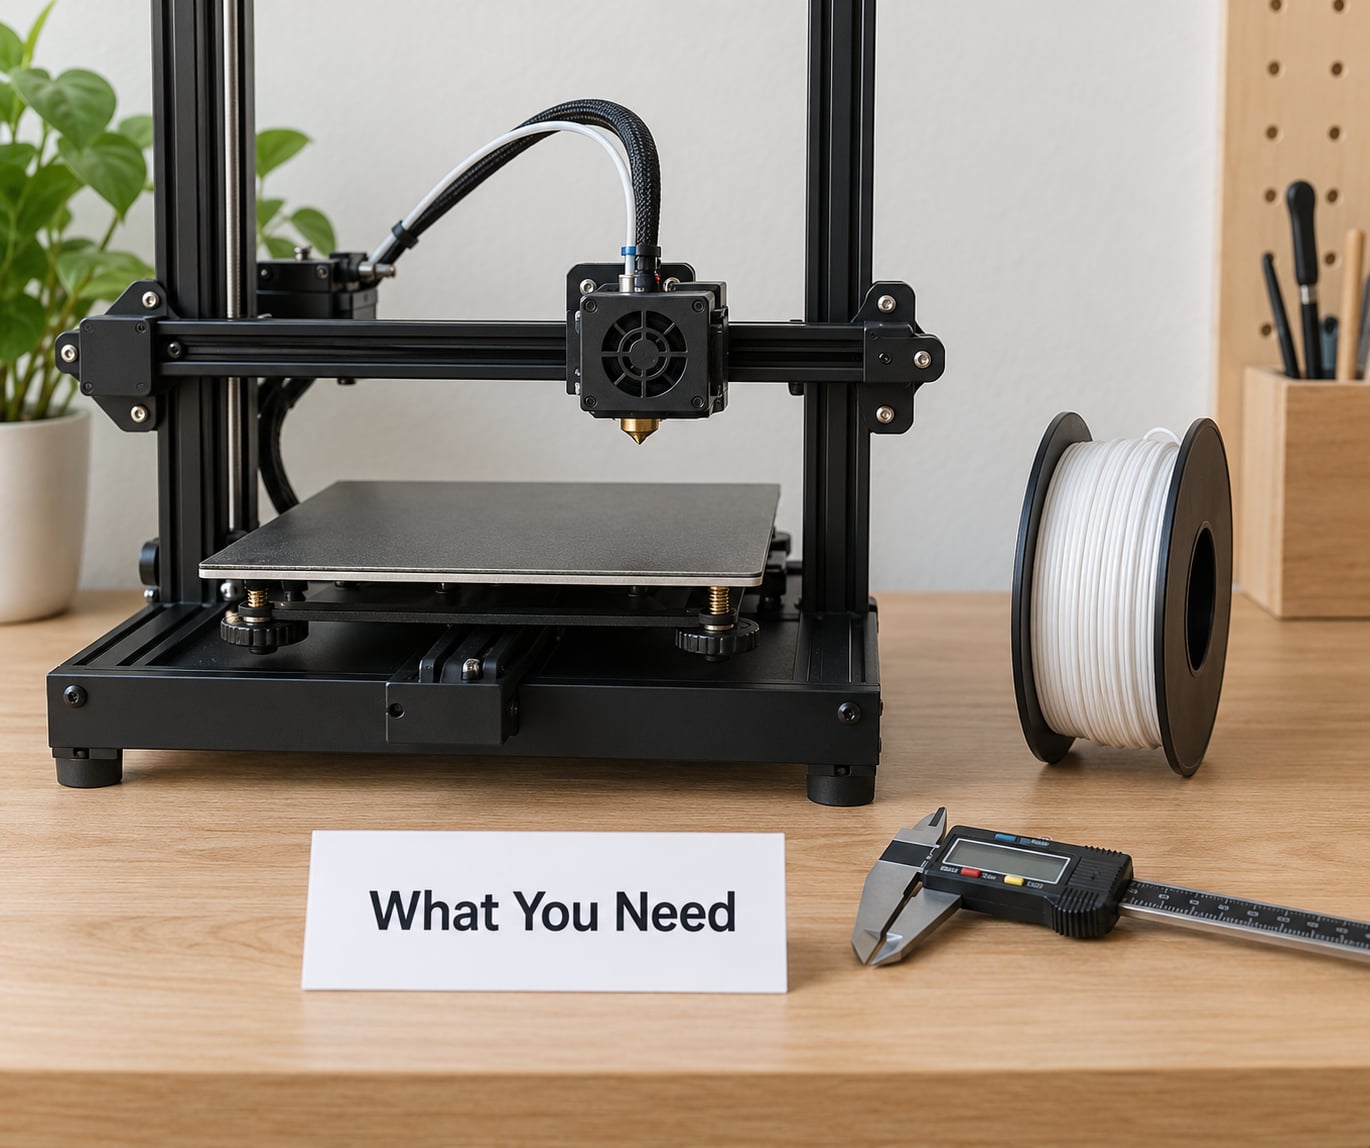
You do not need a new printer or a specialty tool for this. Everything below is either already on your desk or cheap to buy.
- Your printer, at a known-good state — recent first layer that actually stuck, so you know the machine is not the variable.
- Your slicer — Cura, PrusaSlicer, OrcaSlicer or Bambu Studio. All four have a first-layer compensation setting under a different name.
- A 20 mm calibration cube — the single most useful measuring tool for this job, because the base is exactly the surface that flares.
- Digital calipers — anything reading to 0.01 mm. The measurement, not the guesswork, is what tells you whether a fix worked.
- Isopropyl alcohol and a clean microfiber cloth — for the build plate and the nozzle tip.
- A thin sheet of paper — for the leveling check, plus a feeler gauge set if your printer uses one.
- Your normal filament — fix the problem with the same material and colour you actually print in, since temperature and cooling advice is material-specific.
Step-by-Step: How to Fix Elephant Foot on First Layer
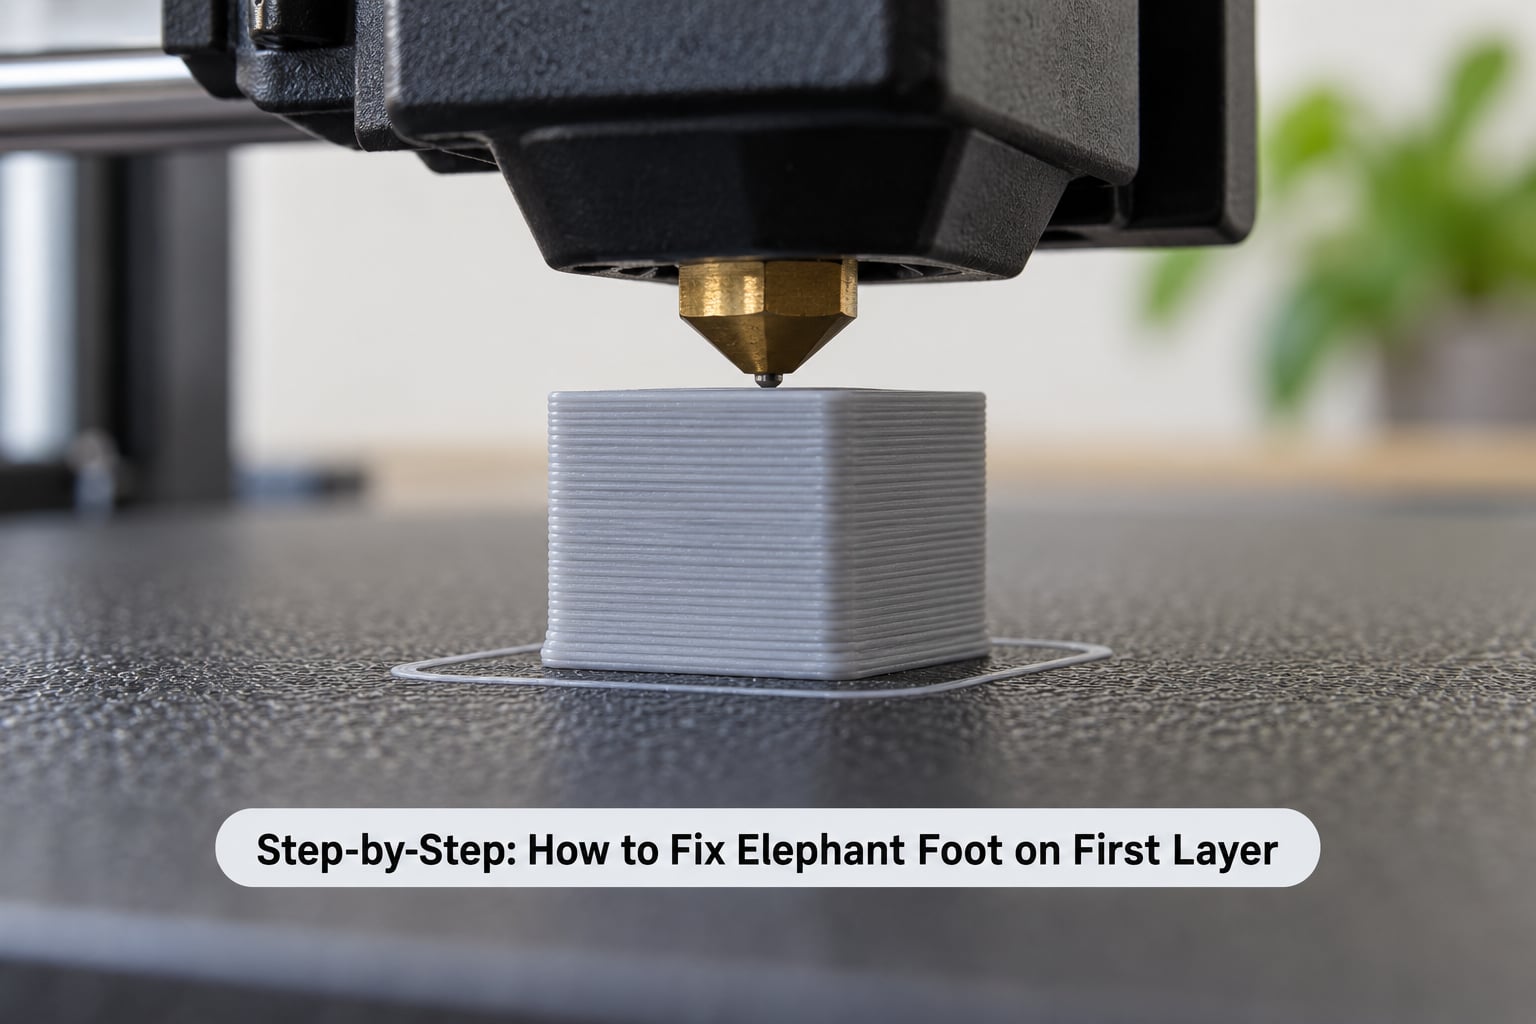
Run the steps in order and change one thing at a time. If you drop bed temperature and Z-offset together and the print improves, you will never know which one mattered, and you will re-break the fix the next time you change a profile.
1. Inspect the First Layer and Identify the Problem
Elephant’s foot is a bulge on the bed-facing layer only, caused by compression or heat. Before you touch a setting, confirm you are looking at that and not something else.
| Symptom | What it actually is | Where to fix it |
|---|---|---|
| Base wider than the part above, one side bulges more | Elephant’s foot | Z-offset, then bed temperature, then compensation |
| Every dimension oversized, including the top and the holes | Flow rate or over-extrusion | Flow multiplier, filament diameter, extrusion width |
| Flare only on one corner or one edge | Bed not level, or a warped plate | Re-level and re-tram the plate |
| Layer 1 looks correct, layers 2 to 5 flare | Compression propagating up plus an expanded early layer | Z-offset, plus compensation covering more than layer 1 |
| Even horizontal ripples on every layer | Z-axis play or a loose lead screw | Tighten the Z hardware before anything else |
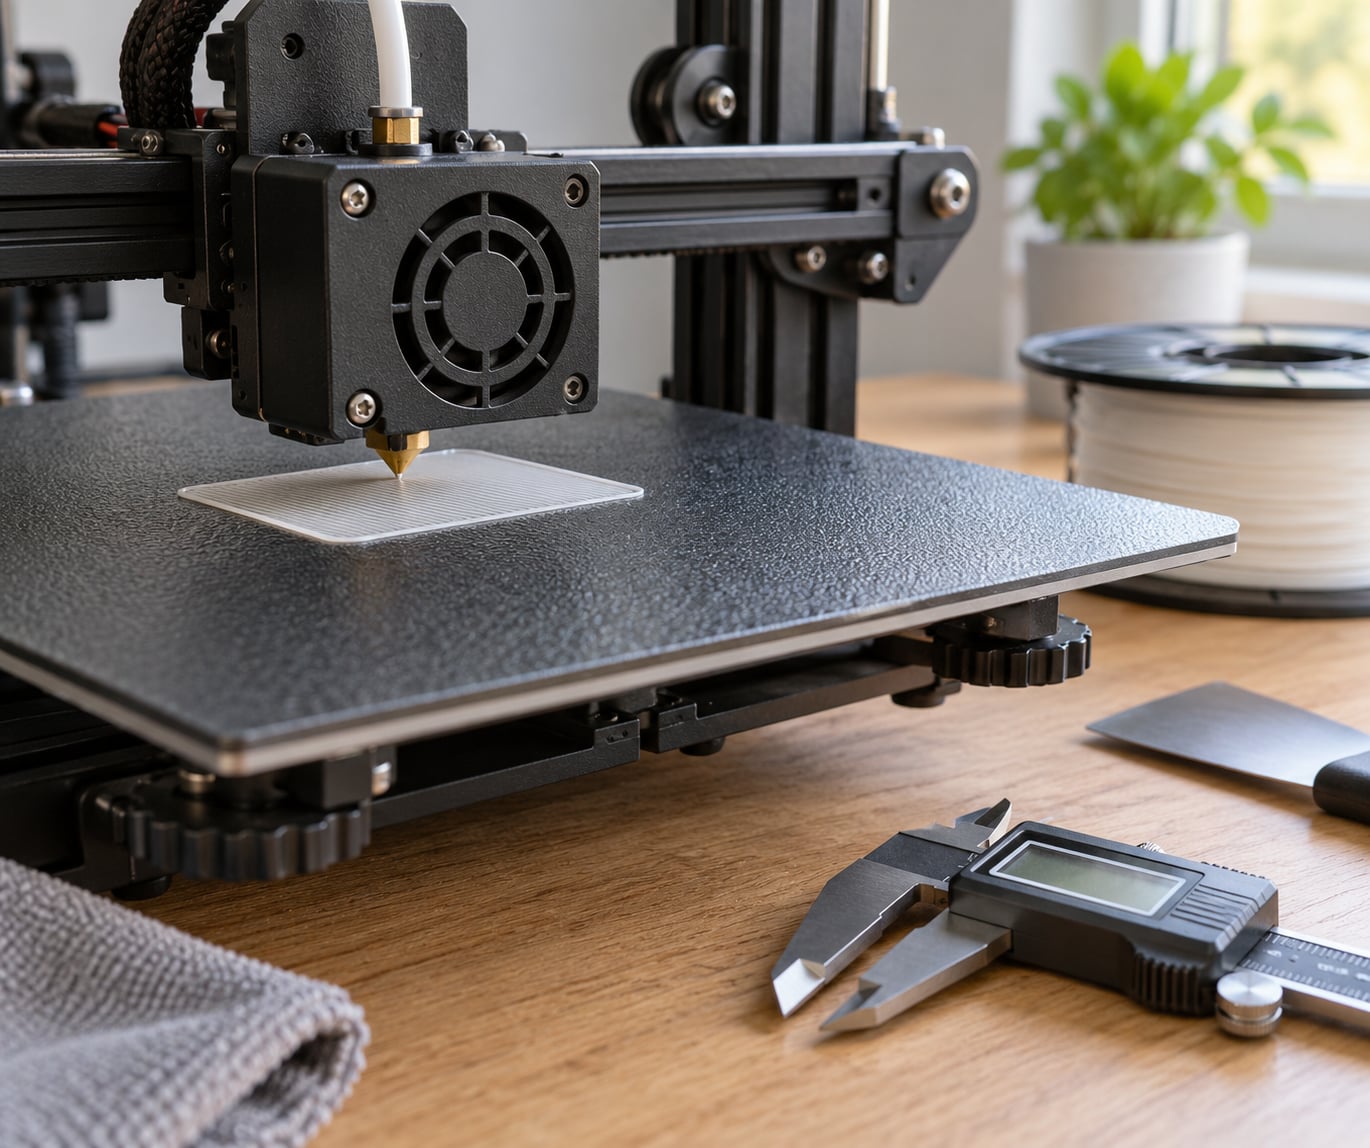
Now measure. Print a 20 mm cube, let it cool, pop it off, and measure the base with calipers. A correctly sized base reads 20.0 to 20.2 mm. Anything over 20.2 mm on the bed side means you have work to do.
2. Clean and Re-level the Build Plate
A dirty or greasy plate forces you to set the nozzle closer to get adhesion, and a closer nozzle is the main cause of the flare. Clean the plate with isopropyl alcohol and wipe it dry before you level anything.
Re-level with the usual paper method, then tighten the bed screws. Turn the screws only a quarter turn at a time and re-check the paper drag at four corners plus the centre. The nozzle should just kiss the paper and the paper should still move with a light push — if you have to lean on it, you are too low.
Wipe the nozzle tip with a cloth while it is hot. A build-up of burnt plastic on the tip widens the deposited line and fakes an elephant’s foot that no slicer setting can remove.
3. Adjust the Z-Offset or First-Layer Height
Raising the Z-offset is the fix that solves most cases, and it works because it reduces the compression rather than hiding it. Use the printer’s own calibration routine (Bilinear, Z-offset wizard, or the first-layer calibration menu) if it has one, and follow the on-screen paper or sensor check.
If you do it by hand, raise the nozzle in 0.02 mm steps and reprint the cube each time. Stop when you can still see distinct line boundaries in the first layer but the bead no longer flattens and smears into the second.
Know the trade-off before you start. Push the nozzle too high and you lose adhesion, and the part pops off mid-print. A first layer printed at 0.2 mm with a 0.4 mm nozzle already has very little room to move upward, which is exactly why compensation is usually the practical lever on that combination.
4. Reduce Nozzle and Bed Temperature If Necessary
Too much heat keeps the lower layers semi-molten, so the weight of everything above presses them outward. Drop the bed temperature in 5 degree steps, staying near 55 to 60 degrees for PLA and 75 to 80 degrees for PETG, and re-test.
The nozzle temperature matters too. If your profile runs far above the manufacturer’s range, lower it in 5 degree steps toward the middle of that range. Long first-layer cooling time or a slow part cooling fan at layer 1 lets the plastic stay soft, so giving the fan a short head start helps on some machines.
Do not chase this too far. Once the bed is too cool, the first layer loses adhesion and you get warping — corners lift, the base ripples, and the problem looks different but is worse.
5. Improve Slicer First-Layer Settings
Once the root cause is handled, compensation cleans up the last fraction of a millimetre. It insets the first-layer perimeter inward by the value you set, and it is the same feature under a different name in every slicer.
- PrusaSlicer — Print Settings > Advanced > Elephant foot compensation. Start at 0.1 mm, treat 0.3 mm as the ceiling.
- OrcaSlicer — the same Print Settings > Advanced panel, same values.
- Bambu Studio — under the filament or quality profile, where it defaults to about 0.15 mm on layer 1 only.
- Cura — Initial Layer Horizontal Expansion, set negative (around -0.1 mm) because Cura treats outward as positive.
Then tune the first layer itself. Keep the initial layer height at or above 0.2 mm for a 0.4 mm nozzle, set the first layer line width near the nozzle diameter, slow the first layer to 15 to 20 mm/s, and trim the first-layer flow to around 95 percent if adhesion allows it. Layer 1 does not need to look pretty — it needs to hold.
6. Run a Test Print and Verify the Correction
Reprint the 20 mm cube and measure the base again. Target 20.0 to 20.2 mm at the bed-facing side, with the same measurement on all four edges — a consistent 20.1 mm is a healthy first layer, not a defect.
Check the corners and edges visually too. They should be square, with no glossy squeezed ridge around the base, and the part should release from the plate without force. If it needs a spatula to pry off, the layer is still over-compressed even if the numbers look close.
Common Mistakes
Almost every long thread on this topic ends the same way: someone changed four settings, made the base worse, and blamed the printer. These are the specific things that go wrong.
- Lowering the nozzle to improve adhesion. The instinct when a first layer lifts is to bring the nozzle down, which is the exact cause of the flare. Fix adhesion with bed temperature, cleaning, brim or a raft instead.
- Adding a raft as the first response. A raft stops the bulge on the bed-facing layer but does nothing for layers 2 to 5, and it leaves a rough, dimpled underside. People using it for puzzle fit tests complain about the texture constantly.
- Pushing compensation to 0.5 mm or more. Past roughly 0.3 mm the inset line becomes too thin to bond, and you trade a dimensional problem for a part that will not stay on the bed. Users on the Prusa forums report exactly this after over-correcting.
- Dropping bed temperature 20 degrees in one move. You will lose adhesion and get warping, then conclude the fix did not work. Five degrees at a time.
- Only correcting layer 1 when the bulge starts at layer 2. Most slicers apply compensation to the first layer alone, so layers 2 to 3 stay flared. Add flow reduction or a wider correction window rather than assuming the setting is broken.
- Blaming the slicer for a mechanical fault. Worn V-wheels, a loose eccentric nut, a bent gantry or Z-axis sag all produce a fake elephant’s foot that no G-code setting touches. If the flare changes as the bed moves, stop adjusting software.
Frequently Asked Questions
Should elephant foot compensation be positive or negative, and how much should I set?
It depends on the slicer, because the sign convention is not standardized. PrusaSlicer, OrcaSlicer and Bambu Studio inset the first layer inward with a positive value; Cura’s Initial Layer Horizontal Expansion moves outward with a positive value, so you set it negative instead. Start at 0.1 mm and raise it in 0.05 mm steps until the base measures correctly, with 0.3 mm as a practical ceiling before adhesion suffers.
Why is my first layer fine but layers 2 through 5 are wider than the rest?
This is the most common variation and it is not really the bed-facing layer failing. Compression at layer 1 keeps pushing material outward, so the distortion carries up into the early layers, and some slicer profiles add a small first-layer flow boost that makes it worse. Raise the Z-offset by 0.02 mm, trim the first-layer flow toward 95 percent, and check whether your profile is expanding more than one layer.
Does a raft or brim fix elephant foot?
A raft hides the first layer entirely, so the base dimension stops being wrong, but the root cause is still there and layers 2 to 5 can still flare. It also leaves a dimpled, rough underside that matters for anything resting on the base surface. A brim is the better compromise because it extends the footprint without adding thickness underneath. Treat both as mitigation, not as a fix.
Is elephant foot worse in PETG than PLA?
Yes. PETG runs hotter and stays softer for longer, so the lower layers have more time to spread under load, and a good PETG bed temperature of 75 to 80 degrees is well above anything PLA needs. That extra heat is exactly what keeps the base soft under the weight of the layers above. If you print both, expect to tune the Z-offset and bed temperature separately for each spool.
Is a 0.1 mm elephant foot worth fixing?
Usually not. Under about 0.1 mm of extra width on the base is inside normal variation for most processes and is difficult to see or feel. You only need to chase it when the part has a tolerance that matters, such as a lid that must seat, a press-fit joint, a slot another part slides into, or a calibration model where the dimensions are the point. Otherwise, enjoy the print.
Conclusion
Start by measuring, not by guessing: print a 20 mm cube and put calipers on the base. Then clean the plate, re-level it, and raise the Z-offset by 0.02 mm per test print until the line boundaries are visible again. Once the root cause is gone, add 0.1 mm of slicer compensation to clean up the remainder, and keep the bed temperature high enough that the part still sticks.