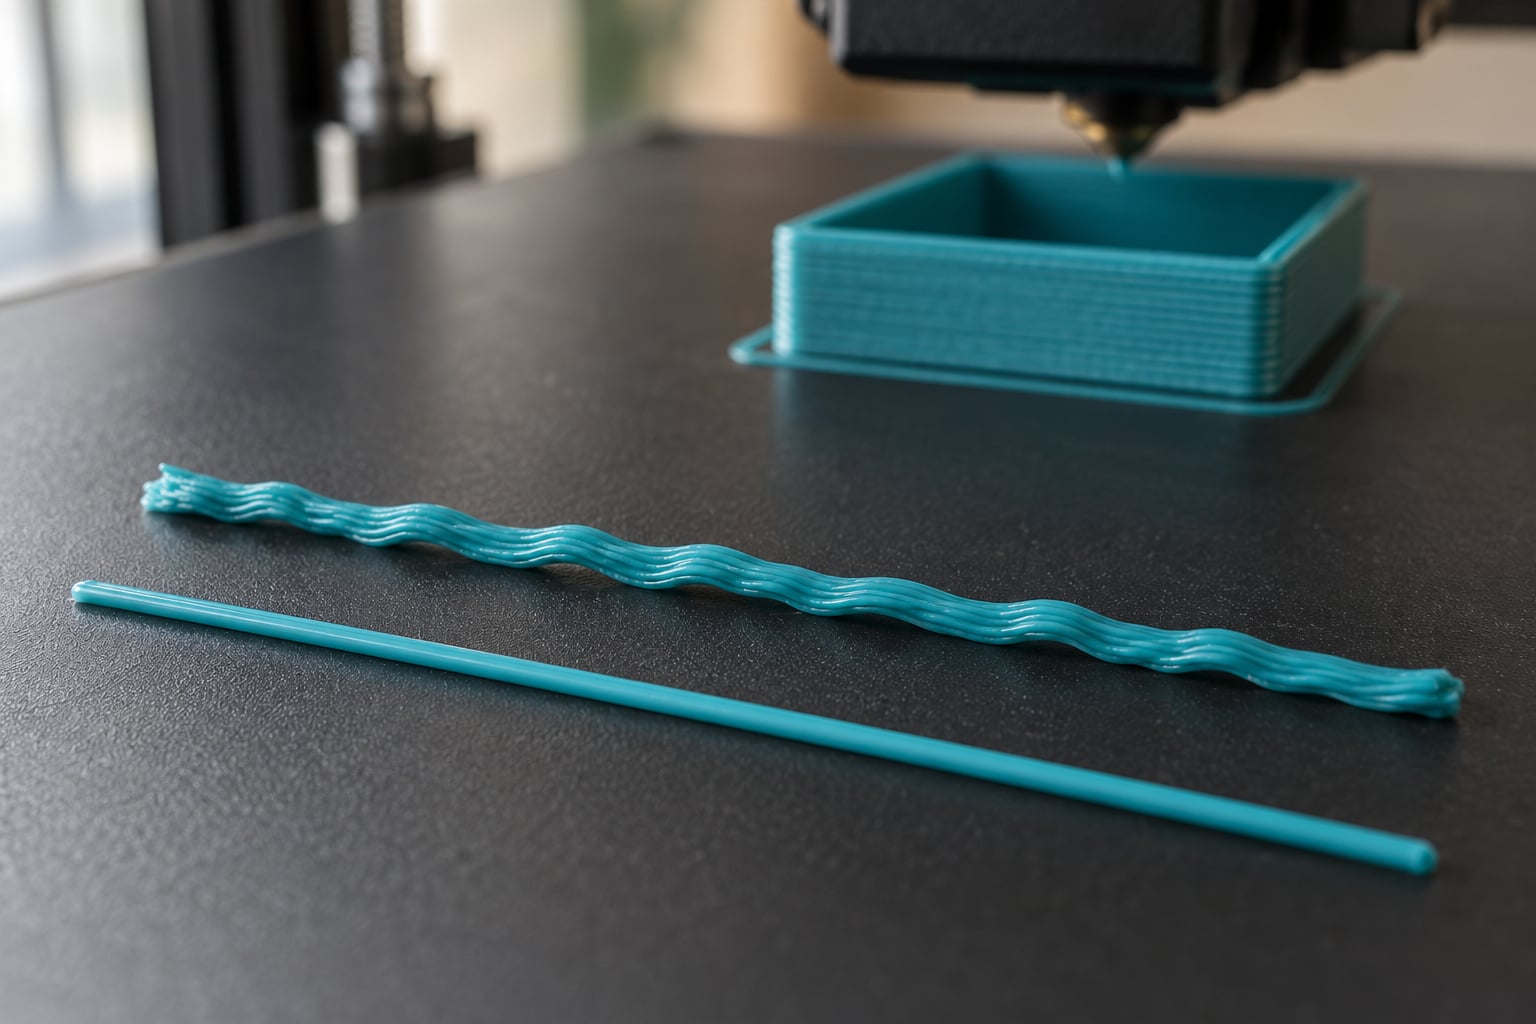
A wavy first layer is almost always one of six things: a Z-offset that is too low, a flow rate or extrusion width that is too high, a bed that is not flat, a first-layer speed that is too fast, part cooling fan blowing at layer 1, or play in the Z mechanics. The bead looks the same in every case, so the fix depends on which pattern you have.
Start by photographing the failed layer and looking at the ripples. Direction and position tell you more than any amount of re-leveling will.
Table of Contents
- 1What Causes a Wavy First Layer?
- 2Why is my first layer wavy when the bed is level?
- 3How to Tell Whether the Problem Is Z-Height, Flow, or Movement
- 4How to Fix a Wavy First Layer
- 5How to Fix Wavy Lines Caused by Z-Offset or an Uneven Bed
- 6How to Fix Wavy Lines Caused by Temperature or Material Flow
- 7How to Keep the First Layer Stable During the Print
- 8A Simple First-Layer Troubleshooting Checklist
- 9Frequently Asked Questions
- 10Is a wavy first layer normal?
- 11Why are there ripples in the first layer of my Bambu 3D print?
- 12Why is my first layer peeling off when I 3D print?
- 13Are wavy first layers the same as wavy top surfaces?
- 14Should I replace my nozzle to fix a wavy first layer?
- 15Can a wavy first layer be fixed without reprinting?
- 16What to Fix First
What Causes a Wavy First Layer?
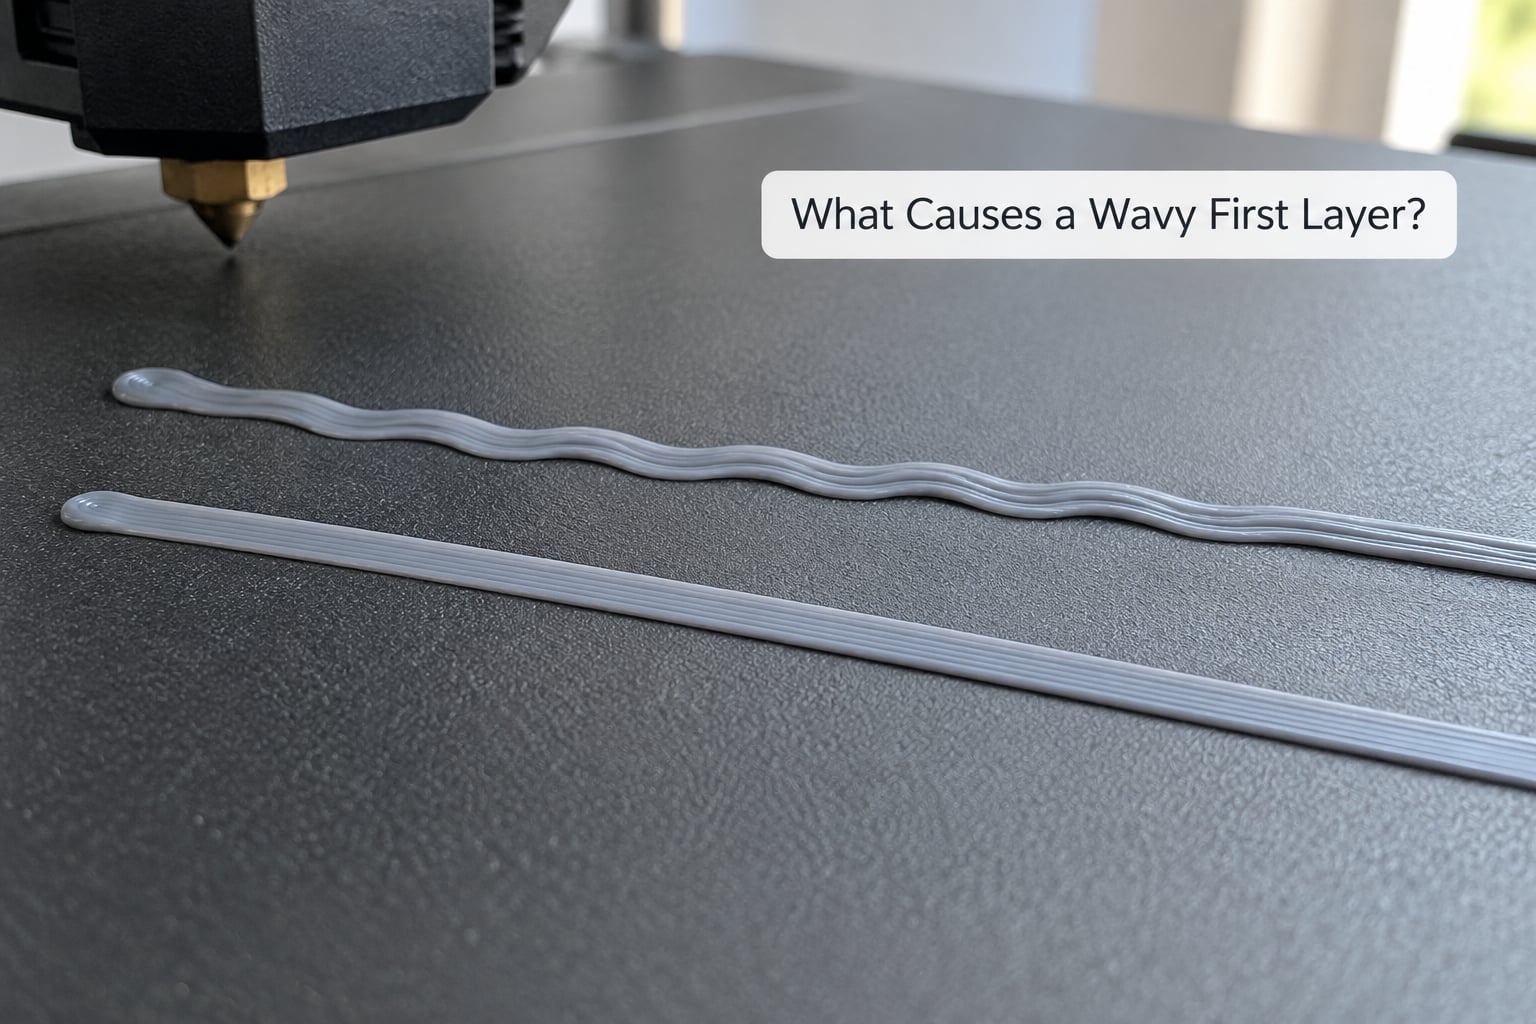
The nozzle pushes a bead of molten plastic along the bed. Wavy lines appear when the bead is squashed flat, when too much plastic piles up in front of the nozzle and folds backward, or when the nozzle-to-bed gap changes while the head is moving.
- Z-offset too low — the nozzle rides on the bead and drags it, leaving a ridge it pushes ahead of itself. Visible as ripples or a torn, grooved line with plastic pulled loose from the nozzle tip.
- Over-extrusion or a narrow extrusion width — more plastic arrives than the line width can hold, so it folds into a wave. Visible as ripples perpendicular to the travel direction, often with rounded edges.
- Bed not flat or not level — the gap varies across the plate. Visible as a wavy line in the same spot on every print, worse toward the corners and edges, and worse on large footprints than small ones.
- First layer speed too high — the extruder cannot keep up with the motion, so the bead thickness pulses. Visible as regular ripples at a consistent spacing across the whole layer.
- Part cooling on layer 1 — the fan freezes the bead before it can level out. Visible as a rough, gritty surface around otherwise smooth ripples.
- Mechanical Z play — loose lead screws, worn belts, gantry sag, or the printer sitting on an unsteady desk. Visible as ripples running along the travel direction rather than across it.
Why is my first layer wavy when the bed is level?
Because leveling is only one candidate. A perfectly level bed still produces waves when the flow is slightly too high, when the plate surface grips the plastic more than the nozzle height was set for, or when the nozzle drags. A large part spanning 134 by 220 mm also exposes flatness error that a 40 mm cube never will, which is why small test prints look clean and big prints do not.
People on the Bambu Lab forum reported identical ripples across five different patterned build plates in the same locations, while a smooth textured plate printed almost perfectly. That pattern points at flow, not at the bed.
How to Tell Whether the Problem Is Z-Height, Flow, or Movement
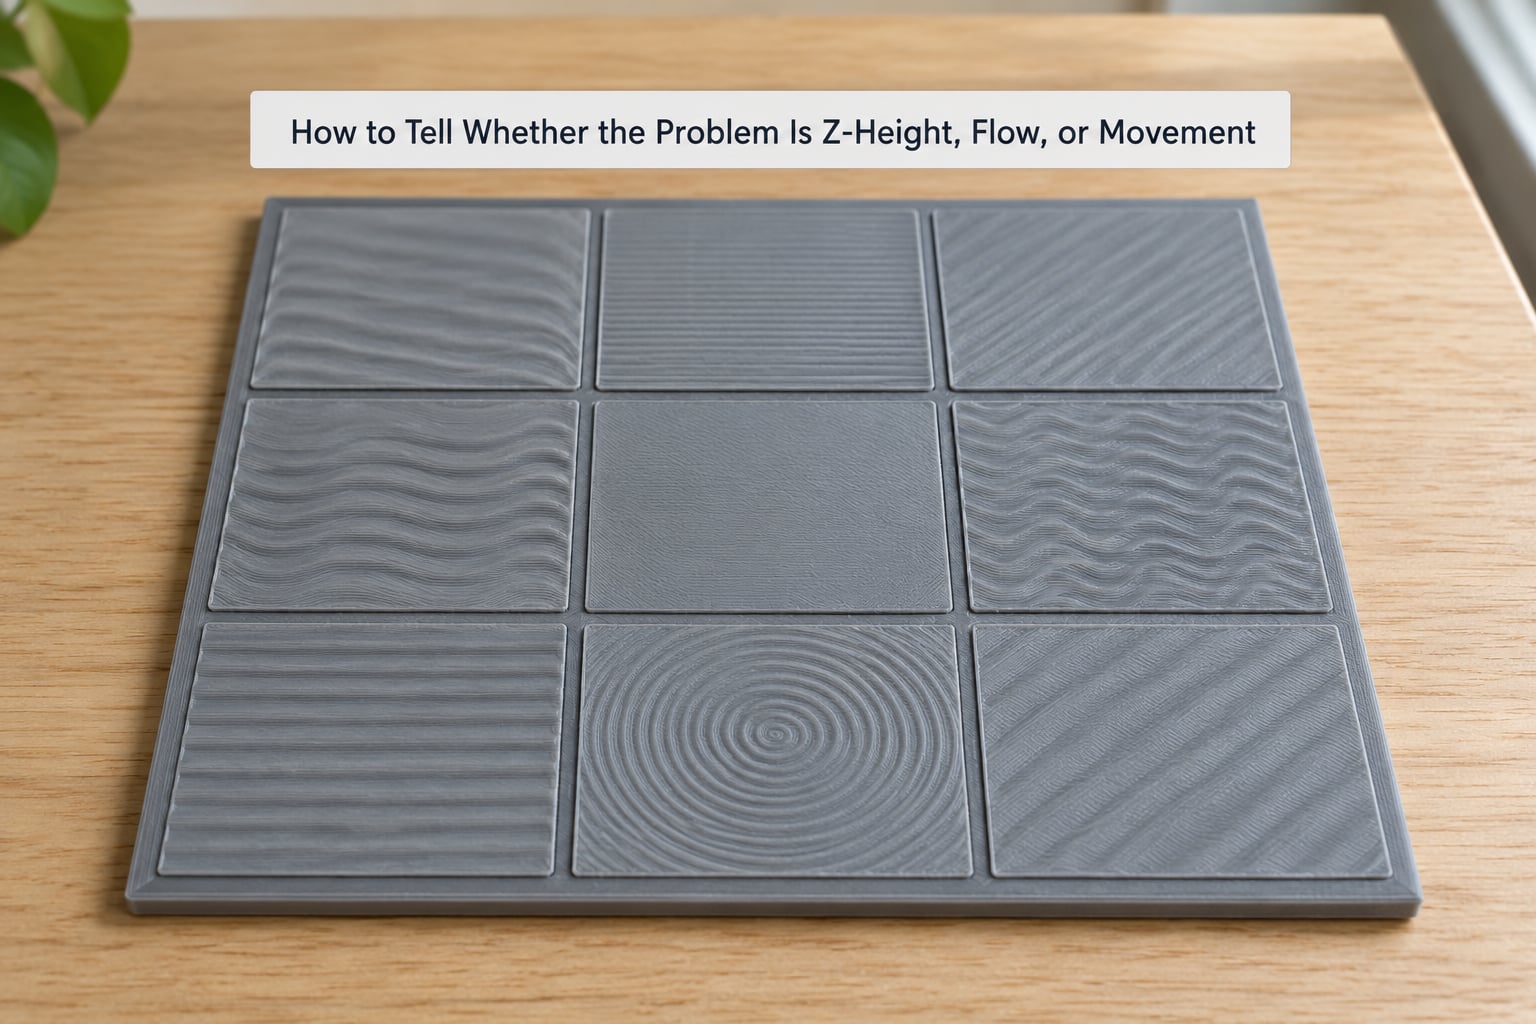
Ripples perpendicular to the direction the nozzle is traveling mean flow or nozzle drag. Ripples running along the travel line, parallel to it, point at the Z axis or bed flatness. Ripples that appear in the same spot on every print are geometry, not settings.
| What you see | Likely cause | First thing to change |
|---|---|---|
| Ripples across the line, uniform everywhere | Over-extrusion or extrusion width too narrow | Drop flow ratio by 0.02 to 0.04 |
| Torn, grooved line, plastic pulled off the tip | Z-offset too low, nozzle dragging | Raise the nozzle gap |
| Waves in one identical spot every print | Bed or plate not flat there | Re-level, then inspect the plate |
| Ripples that run along the travel direction | Z lead screw or belt play, gantry sag | Check Z fasteners and frame squareness |
| Smooth waves surrounded by a rough, gritty surface | Part cooling fan active on layer 1 | Set fan to 0 percent for layer 1 |
| Flat edges, blobby over-squished rim | Elephant’s foot, not the same fault | Raise Z-offset slightly or chamfer the edge |
| Gaps between lines, lines not touching | Under-extrusion or too little flow | Raise flow ratio or widen extrusion width |
Roughness surrounding the waves is a useful tell. Waves alone usually mean flow or Z. Waves plus a gritty surface usually mean cooling is adding to whatever else is wrong.
How to Fix a Wavy First Layer
Work in this order and change one thing per test print. Changing three variables at once is why so many threads end with people saying they leveled the bed and nothing improved.
- Clean the plate. Wipe with isopropyl alcohol and let it dry fully. Fingerprints and skin oil stop the bead from spreading.
- Confirm the plate is seated and unwarped. A textured PEI sheet that has been heat-cycled can bow at the corners.
- Level the bed while the machine is hot. Thermal expansion moves the bed after it warms up.
- Check the Z-offset. On Bambu printers this is the Z Offset field on the calibration menu; in Cura it is Z Offset, in PrusaSlicer it is Z offset.
- Set first-layer flow deliberately. Start at 1.00 and adjust from there rather than inheriting a profile value.
- Slow layer 1 down and stop cooling. 20 to 30 mm/s with the fan at 0 percent.
- Run a single-layer test print. A 5 by 5 mm square or a thin-wall pattern prints in a couple of minutes and shows the fault before you commit to a long job.
If the single-layer test is flat and the real print still waves, the fault is in the model or the plate surface, not the machine.
How to Fix Wavy Lines Caused by Z-Offset or an Uneven Bed
Level with a piece of standard paper on a machine without an automatic sensor. Home the nozzle, move to roughly the middle of the plate, and slide the paper under the tip until it drags with light resistance. That gap works out to roughly a quarter of the nozzle diameter, so about 0.1 mm on a 0.4 mm nozzle. Check at least three points, front-middle-back and both sides.
On a printer with a BLTouch, capacitive, inductive or hall-effect sensor, run the built-in mesh bed leveling and then re-run it, because the first pass often settles things enough to change the second. Keep the nozzle warm during the process.
If waves still appear in the same region, check the frame. A loose gantry bolt or a bed that rocks when pressed changes the gap during the print. Loosen lead screws and Z belts on a bedspring machine like the Ender 3 can also let the head drift mid-line, and an unsteady desk amplifies that drift with every carriage move.
Elephant’s foot looks similar but is a separate fault. The outer rim of the first layer bulges because the gap is too small or the flow too high, while the middle of the layer is fine.
How to Fix Wavy Lines Caused by Temperature or Material Flow
Flow problems are fixed with numbers, not guesses. Bambu slicers call it Flow Ratio, Cura and PrusaSlicer call it Flow or Flow Multiplier. If waves appear on a patterned or etched plate but not a smooth one, drop the flow ratio to 0.96, then 0.94 if ripples remain; on one Bambu forum thread that change alone removed the waves entirely, with a small residual disappearing under layer 2.
Set the initial layer height to 0.2 mm on a 0.4 mm nozzle, roughly 110 percent of your normal layer height, and set the initial layer extrusion width to about 120 percent of the nozzle diameter. Narrow first-layer lines leave gaps that later layers fill unevenly and read as waves.
Temperature matters as much. Run the nozzle 5 to 10 °C above the material’s normal range for layer 1 so the bead stays molten while it spreads, and keep the bed at 60 to 65 °C for PLA on layer 1, then drop it once the first layers are down. Moist filament extrudes inconsistently and bubbles read as ripples, so dry PETG and TPU before blaming the printer.
Retraction matters too, though less often people expect. A partially clogged or badly tuned retraction leaves a start-of-line blob that the nozzle then pushes into a wave a few millimetres later.
How to Keep the First Layer Stable During the Print
Once the layer is flat, keep it that way. A brim or raft adds material and slows the head over the footprint. Position large parts away from the plate edges where flatness error is largest. Keep the enclosure closed for ABS and ASA so drafts do not cool the bead unevenly.
If the head is dragging, stop the print. A dragging first layer tears plastic out of the nozzle and can damage the hot end, not just the print. Users on r/FixMyPrint reported a first layer that started tearing and dragged so hard it wrecked the assembly.
Do not replace the nozzle first. It is the reflex, and it is usually wrong: nozzle wear changes a gap you set deliberately, but waves that appear on one plate and not another, or that follow the travel direction, are mechanical and flow issues.
A Simple First-Layer Troubleshooting Checklist
- Clean the build plate and confirm it is seated flat.
- Run bed leveling with the machine hot.
- Check the Z-offset against the paper-drag feel.
- Confirm nozzle and bed temperature for your filament.
- Inspect the filament for moisture, kinks and bubbles.
- Set flow ratio deliberately and adjust in steps of 0.02.
- Print a single-layer test square and judge it before the real job.
Frequently Asked Questions
Is a wavy first layer normal?
A slightly textured first layer is normal. Visible repeating ripples are not. Most machines show some line marking from the nozzle, but waves you can feel with a fingertip mean the bead is being squashed, dragged, or supplied unevenly. Check the first-layer flow ratio and the Z-offset before anything else.
Why are there ripples in the first layer of my Bambu 3D print?
On Bambu machines the most common cause is flow set for a smooth plate running on a patterned or textured one. Drop Flow Ratio to 0.96 and then 0.94 in the filament settings, keep the part cooling fan at 0 percent for layer 1, and check the Z Offset value on the calibration menu. Flow correction alone solved this for many owners.
Why is my first layer peeling off when I 3D print?
Peeling and waviness usually arrive together when the bead cools before it bonds. Raise the bed temperature for layer 1, add a brim, clean the plate with isopropyl alcohol, and keep the enclosure closed for ABS and ASA. If it peels only at the corners, add a small chamfer or fillet to the model.
Are wavy first layers the same as wavy top surfaces?
No, and the fixes are close to opposite. First-layer waves come from flow, Z-offset, or bed flatness. Wavy top surfaces on an otherwise clean print usually come from insufficient cooling, too high a temperature, or not enough top perimeter loops. Fixing the bed will not help a top surface problem.
Should I replace my nozzle to fix a wavy first layer?
Rarely as a first step. A worn nozzle changes the gap you carefully set, so replacing it can hide the real fault or create a new one. Confirm flow ratio, Z-offset, and bed flatness first. Replace the nozzle only when you can see a damaged tip, a persistent blockage, or filament that has been run dry.
Can a wavy first layer be fixed without reprinting?
If the model uses a chamfer or fillet on the bottom edge, yes. Raise the nozzle gap slightly and add a brim so the existing first layer sits lower in the build. If the waves are severe enough to shift the whole part, printing on the same machine without fixing it will repeat the fault.
What to Fix First
For most people asking why is my first layer wavy, the answer is flow rather than leveling. Set the flow ratio deliberately at 1.00, drop the first layer to 20 mm/s, set the fan to zero for layer 1, and print a single-layer test square. If waves remain, add a brim and run a slow flow test starting at 0.96 before you touch anything mechanical.