If your printer is laying down less plastic than the slicer asked for, there are four families of causes: a restricted filament path, a hotend that cannot melt fast enough, wrong flow settings, or damaged filament. The order matters, because most under-extrusion is a partial nozzle clog or a feeder that is not gripping properly, and neither gets better by raising the flow multiplier. Work the printer from spool to nozzle, change one thing at a time, and print a small test after each fix. The 3D printer under extrusion causes and fixes below are ordered by how certain and how cheap each check is.
Under-extrusion shows up as gaps between adjacent lines, small holes and pitting in walls, thin or incomplete infill, weak layer bonding, and often a clicking or grinding sound at the extruder. It is not the same as a seam artifact (a small ridge where the perimeter loop closes), Z-banding (regular ripples across the whole height), over-extrusion (raised, blobby lines), or a first-layer problem caused by bed leveling. Ten minutes of diagnosis usually finds the real fault; guessing at slicer settings rarely does.
Table of Contents
- 1What You Need
- 2Step-by-Step
- 31. Confirm that the Printer Is Actually Under-Extruding
- 42. Check for a Filament Tangle or Spool Problem
- 53. Clear a Clogged or Blocked Nozzle
- 64. Resolve Heat Creep and Cold Pulling
- 75. Check the Filament Diameter
- 86. Verify Nozzle Temperature and Material Compatibility
- 97. Inspect the Extruder Gears or Drive Mechanism
- 108. Check PTFE or Tube Friction
- 119. Inspect the Filament Path for Swell, Brittleness, or Damage
- 1210. Calibrate Extrusion Multiplier or Flow
- 1311. Review Retraction and Travel Settings
- 1412. Isolate Firmware, Slicer, and Mechanical Faults
- 15Common Mistakes
- 16Frequently Asked Questions
- 17Why does under-extrusion get worse toward the end of a long print?
- 18Does raising the nozzle temperature fix under-extrusion?
- 19When should I replace the nozzle?
- 20How can I test flow without running a full print?
- 21When should I suspect the feeder rather than the nozzle?
- 22Conclusion
What You Need
You do not need specialist equipment for this, but you do need a few basics before you start pulling things apart. Gather these first so a mid-diagnosis stop does not turn into a lost evening.
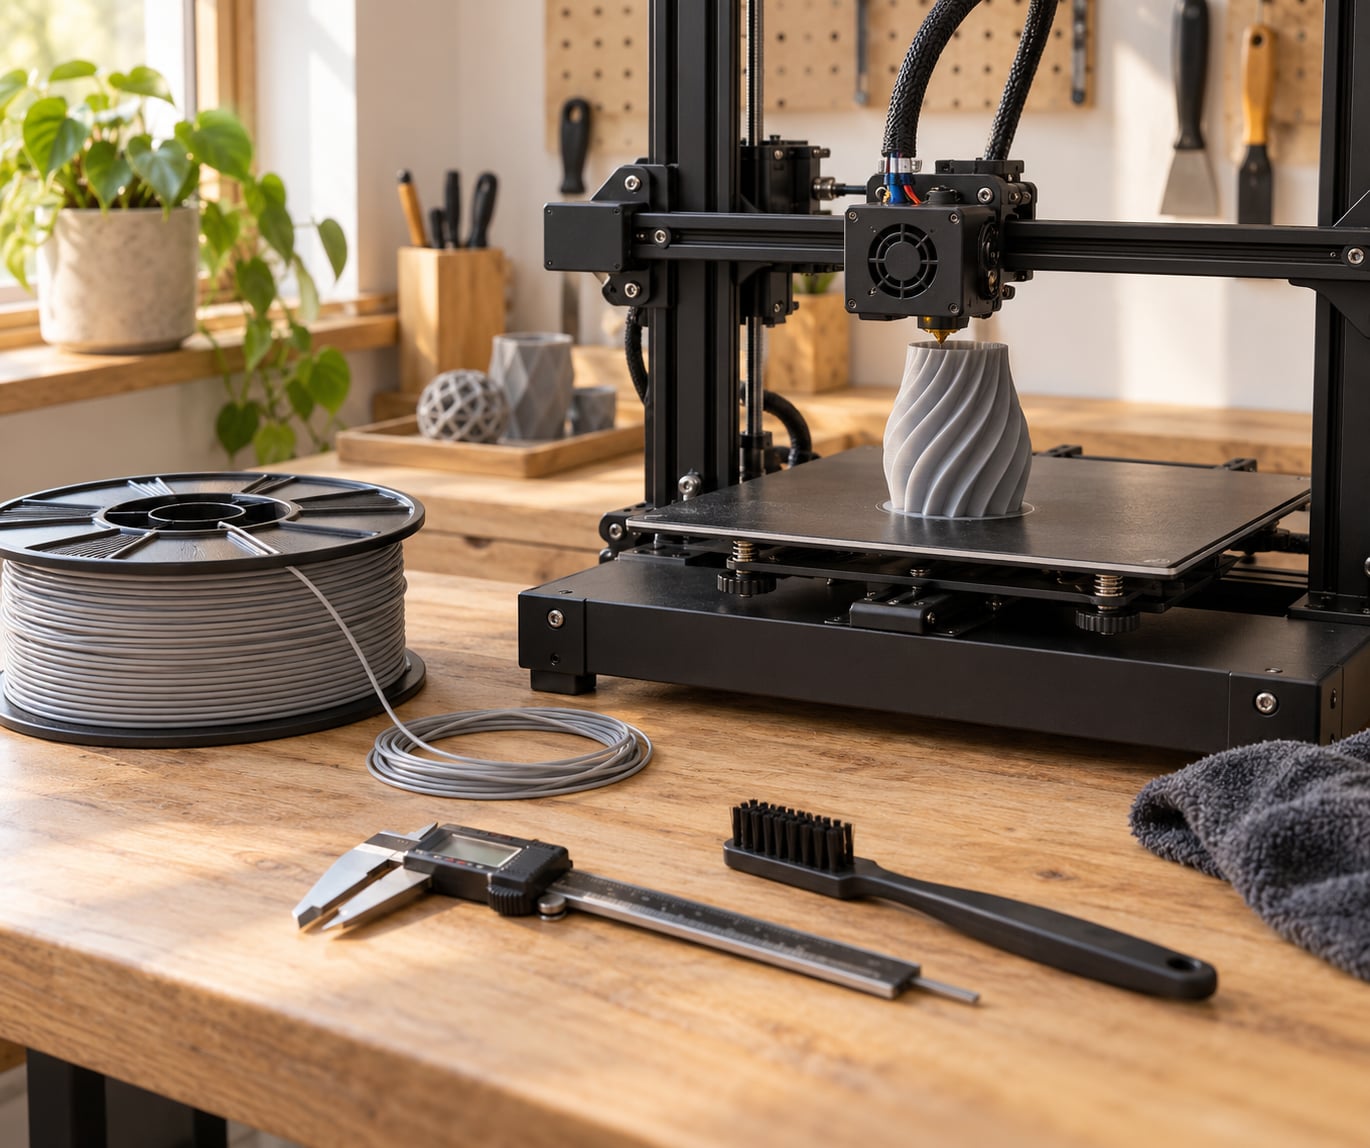
- Digital calipers to measure filament diameter at three or four points along the strand.
- Needle nose pliers and the hex keys that came with your printer for extruder and hotend work.
- A soft brass or stainless cleaning brush and isopropyl alcohol for nozzle cleaning.
- Cleaning filament, plus a spare nozzle and a spare PTFE coupler if your machine uses one.
- A filament dryer or a heated drying box, or a warm, low-humidity storage container.
- A small test model — a 20 mm cube wall, a single-wall calibration print, and a temperature tower for the material you use.
Add a cheap borescope if you print often; a 20 mm USB camera lets you look down the nozzle without removing it. Keep a small notebook or a notes file for every test. The whole method only works if you record what you changed and what happened.
Step-by-Step
These twelve causes are ordered the way a diagnosis should run: cheap and certain checks first, settings and firmware last. Each step says what to do and what tells you it worked. Do not skip ahead because a later step sounds like the answer — a slightly hot nozzle and a partial clog look almost identical from the outside, and only the first few steps separate them.
1. Confirm that the Printer Is Actually Under-Extruding
Start by proving the defect rather than trusting it. Print a 20 mm single-wall calibration square at the temperature and flow your normal profile uses, then measure two wall thicknesses with calipers. If the walls read about 0.40 mm on each side of the line, extrusion is fine and the problem is somewhere else — usually retraction, pressure advance, or layer bonding.
If the walls measure 0.32 mm instead of 0.40 mm, the machine really is short of plastic by roughly 20 percent. That number becomes your baseline for every change you make. Log it, because a fix that moves the wall from 0.32 mm to 0.38 mm is progress, while a fix that moves it from 0.32 mm to 0.60 mm has created a new problem.
| Symptom | Likely cause | Check first |
|---|---|---|
| Gaps between every adjacent perimeter line | Partial nozzle clog or debris on the nozzle | Cold pull or needle clean (step 3) |
| Small holes and pitting in walls, spongy feel | Wet or contaminated filament | Dry the filament, then purge (step 9) |
| Clicking or grinding at the extruder, divot in the strand | Feeder too loose (slips) or too tight (grinds) | Extruder tension and gear teeth (step 7) |
| Good at the start, thin toward the end of a long print | Heat creep or a cooling fan failure | Fan spin test at 60 °C (step 4) |
| Thin walls but solid infill | Flow multiplier too low, or E-steps wrong | 20 mm wall test (step 10) |
| Under-extruded corners and seam only | Pressure advance / linear advance miscalibrated | Corner sharpness test (step 11) |
| Fine at slow speeds, thin at high speed | Hotend at its volumetric flow ceiling | Speed test (step 12) |
| First layer only, upper layers perfect | Nozzle too close or bed not level | Z offset and mesh leveling |
| Started after a jam and never recovered | Damaged PTFE coupler or deformed Bowden tube | Feed path inspection (step 8) |
| Popping and bubbles while printing | Moisture in the filament | Dry before anything else (step 9) |
2. Check for a Filament Tangle or Spool Problem
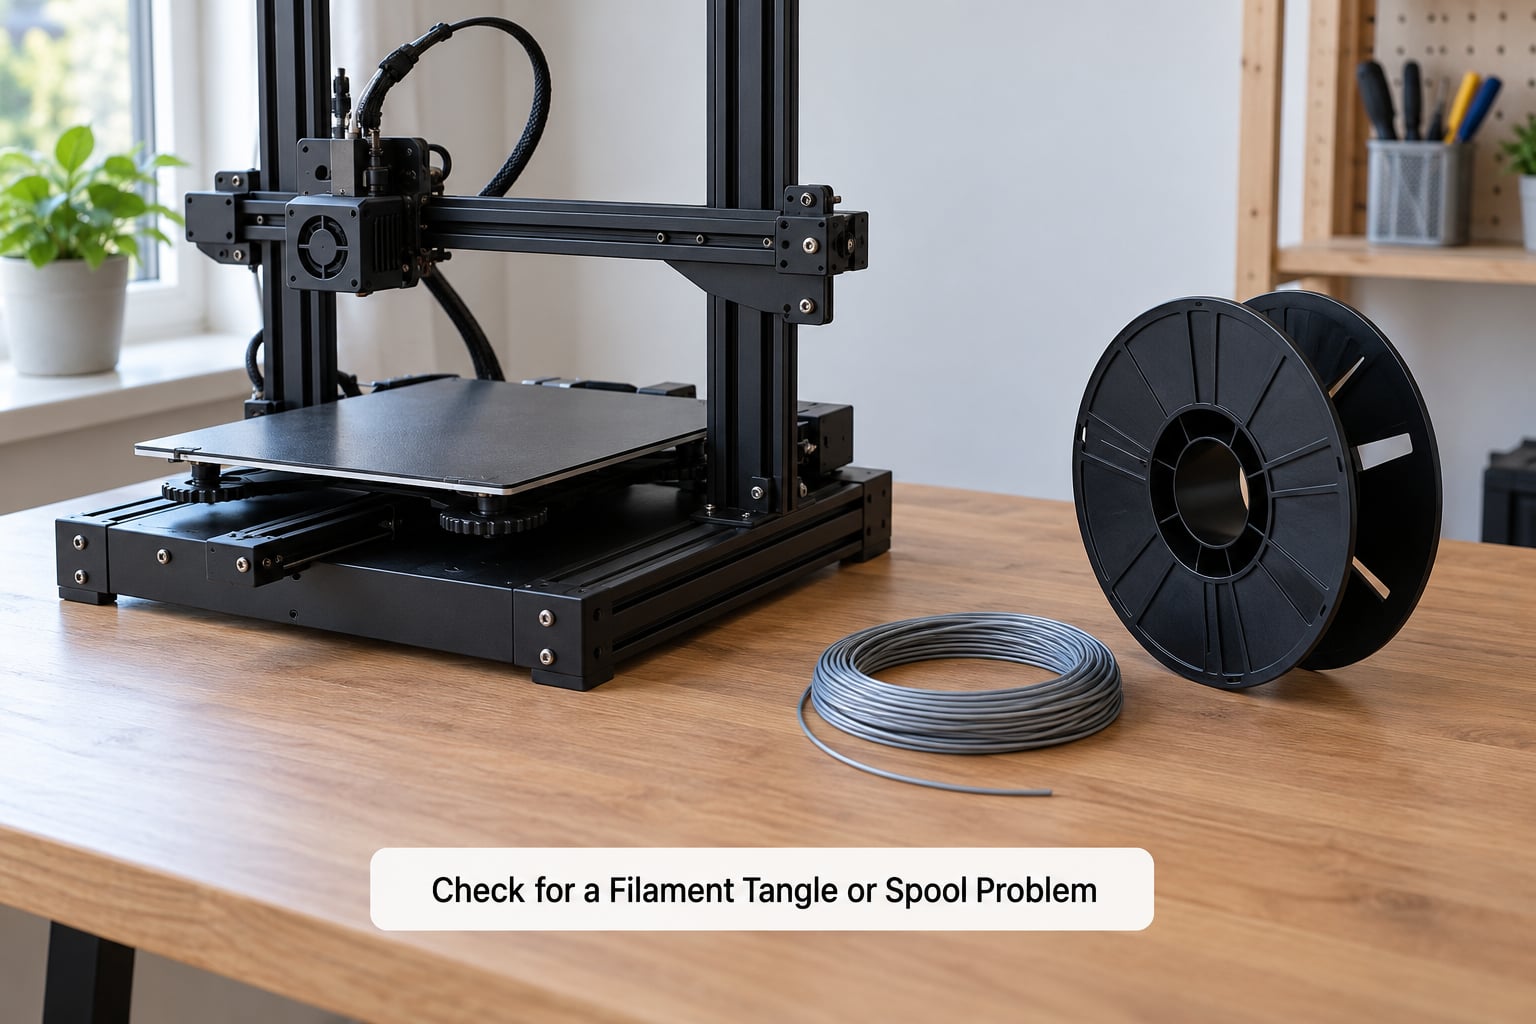
Pull the strand out of the extruder and inspect it end to end under good light. You are looking for a knot, a crossed-over loop, a flat oval section, a brittle chalky strand, or a section the spool has crushed against the flange. Any of those can feed for a while and then stall.
Rewind the spool if the layers are uneven, and let the filament hang off the side rather than pulling straight off the top of the coil, which adds drag at the spool. While it is out, spin the spool by hand. It should turn smoothly with no heavy spot and no scraping. If the filament is kinked, cut back past the kink before reloading — reloading a kink just moves the blockage closer to the hotend.
When you reload, push filament by hand from the extruder toward the hotend until it meets resistance from the nozzle. Consistent delivery looks like an even, steady push with a light gritty feel, not a sudden stop. If it stops dead in the middle of the Bowden tube, that is the blockage and steps 3 and 8 apply.
3. Clear a Clogged or Blocked Nozzle
A partial clog passes filament but restricts it, and it usually curls the strand to one side as it exits the nozzle. The community test is quick: heat the nozzle to a temperature that melts the loaded material, then push filament through by hand. A straight strand means the path is clear, a curled or flattened strand means a partial clog, and no movement at all means a full block.
For a partial clog, do a cold pull. Heat the nozzle to roughly 200 °C for PLA so the melt is fully liquid, remove the filament, let the hotend cool to around 60 °C so the melt solidifies, reinsert the filament so it catches on the solidified plug, then pull it out as one piece. Repeat as needed and clean the nozzle tip with the brush. Follow your printer’s manual for the exact temperatures your hotend supports.
Never probe a hot nozzle with a needle, screwdriver or anything metal. The nozzle is soft brass or stainless steel, the tip is fragile, and a slip punctures it. If you use a needle at all, use a 0.4 mm cleaning needle only when the nozzle is cold, and never unscrew the nozzle while it is hot — the thread can strip. The sign it worked is a 20 mm wall measuring 0.40 mm and no visible gap between lines.
4. Resolve Heat Creep and Cold Pulling
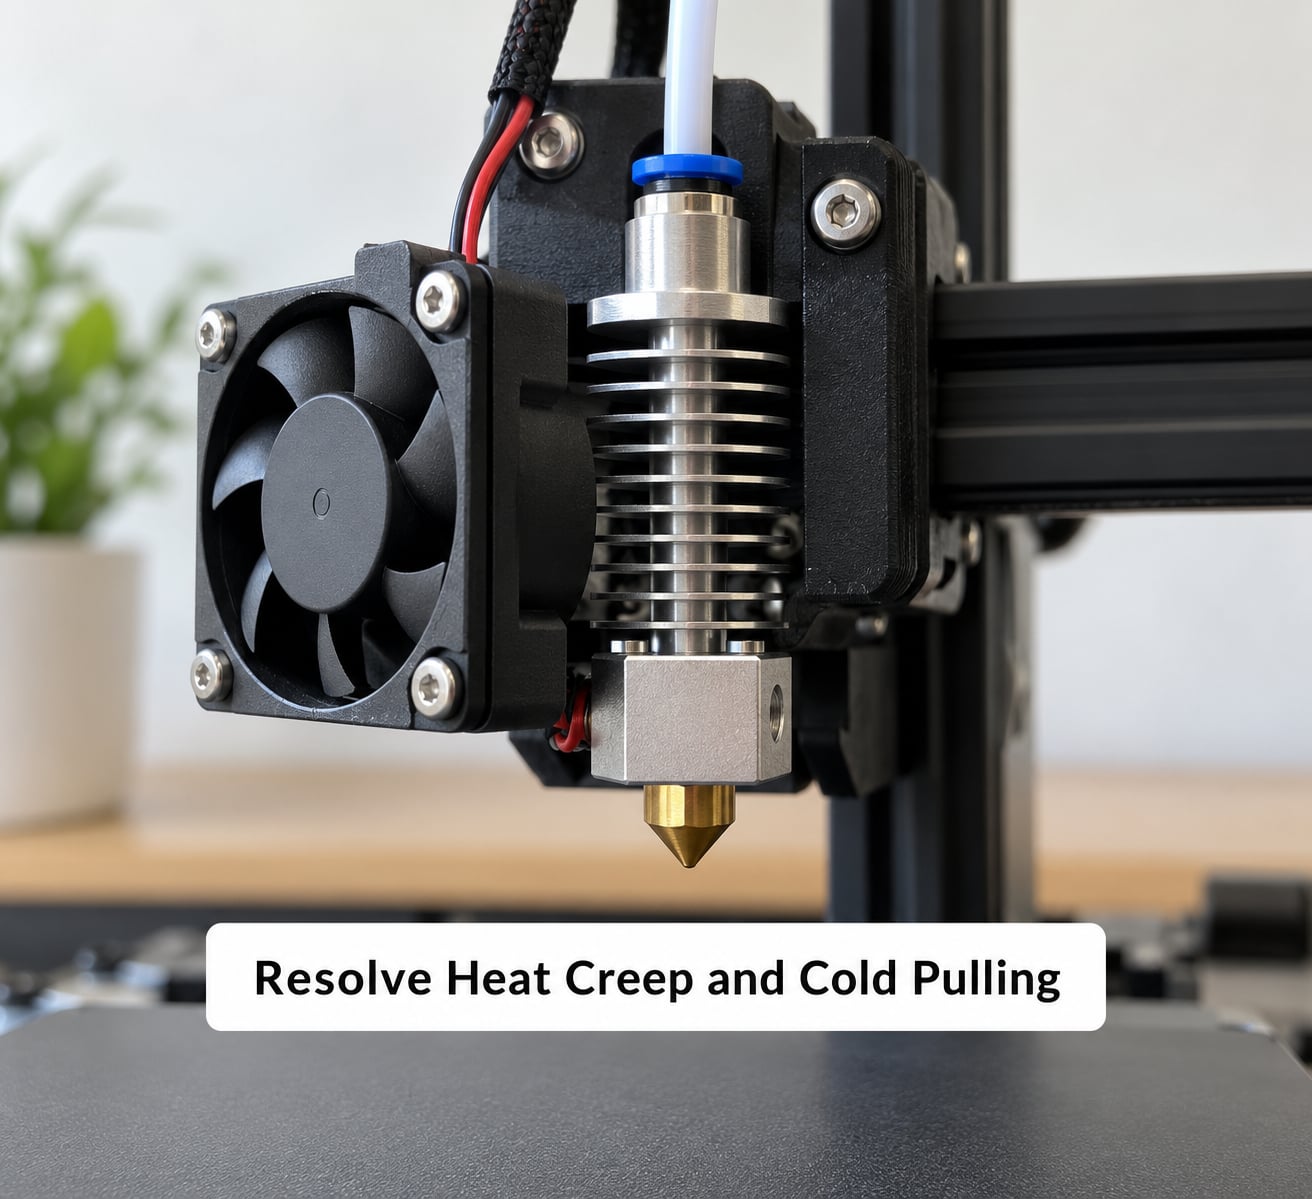
Heat creep is heat travelling up from the hotend into the filament path, softening the strand before it reaches the melt zone. The filament swells, loses grip, and the feeder either stalls or grinds it into a flattened mess. On an open-frame machine it usually shows up as stutter and uneven flow after the first hour; on an enclosed printer it can start within minutes.
Test the hotend cooling fan without any printing: set the nozzle to 60 °C, which keeps the filament solid, and switch the fan on. Hold a scrap of tissue against the duct and it should flutter hard. A fan that spins but pushes weak air means a blocked duct — lint, dust, and a strand end that got sucked in all do this. Clear it with a brush while the machine is cold.
If the fan is healthy, improve airflow around the hotend. On an enclosed machine, opening the front door or removing the rear panel is the remedy people actually use, and a desk fan aimed at the back of the printer works nearly as well. Check the heatsink and fan mount for dust every three months, and make sure the heat break inside is assembled to your printer’s specification. Cold pulling leaves a plug in the cold end, so clear that with a cleaning rod after any failed cold pull.
5. Check the Filament Diameter
Nominal 1.75 mm filament that is actually 1.80 mm gives the extruder more plastic per step than the firmware expects, and 1.70 mm gives it less. Either way the walls come out wrong, and no amount of flow tuning fixes it cleanly because the error compounds along the whole strand.
Measure with calipers in at least four places: near the outer edge of the spool, in the middle of the wound coil, and a couple of times along the strand right before the extruder. Squeeze the calipers until the jaws just touch, without squeezing the filament flat. If the readings spread more than about 0.03 mm, replace the spool — cheap filament with an oval cross-section will never calibrate properly.
If the average is off, set the measured value in the firmware or slicer filament diameter field rather than editing the extrusion multiplier to compensate. A correct diameter with a 0% flow setting is the honest fix; it also survives a filament change. When the measurement is right, walls should return to 0.40 mm without any flow change at all.
6. Verify Nozzle Temperature and Material Compatibility
If the nozzle is cooler than the material needs, the filament never fully melts and the melt pressure drops, so lines come out narrow and corners starve. If it is hotter than needed, the melt is too fluid, oozes at the tip, and partial clogs build faster. Temperature also has to be stable — a heater that cycles widely produces inconsistent width layer to layer.
Confirm the real temperature instead of trusting the set value. Print a temperature tower, a stepped tower of short walls at rising temperatures, and pick the temperature where the walls measure 0.40 mm and the corners are crisp. If you want a fast reading without printing, put a spare thermocouple against the nozzle while the machine heats.
| Material | Typical range | Usual under-extrusion cause | Fix |
|---|---|---|---|
| PLA | 200–220 °C | Partial clog from dust or stringy ooze | Cold pull, keep the nozzle clean, brush after every print |
| PETG | 230–250 °C | Retraction too long, or too cold for high flow | Shorten retraction to 3–5 mm at 25–40 mm/s, raise temp in 5 °C steps |
| TPU | 220–235 °C | Filament binding in the Bowden tube or sharp bends | Straighten the feed path, add a guide tube, slow the outer wall to 20–30 mm/s |
| ABS / ASA | 240–260 °C | Heat creep in an enclosed chamber | Add airflow to the hotend, run a chamber temperature check |
| CF / GF / glow-in-the-dark | Material specific, often +5–10 °C | Abrasive wear in the nozzle and drive gear | Raise temperature slightly, replace brass nozzles early, clean the feeder often |
Stay inside the range your filament manufacturer states, and use your printer’s own calibration procedure rather than third-party values. Exceeding a hotend’s maximum is how you get a permanently damaged heater block.
7. Inspect the Extruder Gears or Drive Mechanism
Too loose and the drive gear skips, which sounds like clicking and shows up as gaps that come and go with print acceleration. Too tight and the same gear shreds the filament, leaving a flat divot or a chewed strand that then jams later. Both are common on extruders where the spring tension has loosened or the idler has drifted out of alignment.
Check for debris first: lay down paper, extrude about 50 mm, and see what prints on it. Plastic dust, pet hair, and old broken filament fragments are all visible this way. Then inspect the drive gear teeth under a light. Missing teeth, a shiny worn flank, or a shiny flat on the gear means it needs replacing, and no tension change will bring those teeth back.
Reset the tension to your extruder’s specification. On an eccentric-nut extruder, loosen the nut fully, then tighten until the filament feeds with a firm, even push and no clicking, and check against the printer’s manual. On a spring-loaded pinch roller, loosen both screws, set the gap to the manufacturer value, and retighten evenly. The sign it worked is a manual push that feels like firm resistance all the way, with no slip and no divot in the strand after 50 mm.
8. Check PTFE or Tube Friction
A feed path can restrict flow without being blocked. The common culprits are a sharp bend just before the extruder, a kinked Bowden tube, a tube that has gone soft and oval from heat, and a PTFE coupler whose inner bore has been eaten away by heat creep. All four let filament through but add drag, and the feeder responds by slipping.
Unload the filament and look through the coupler bore with a light. A clean, round, smooth bore is what you want; scoring, discoloration, or a visibly widened opening means replace the coupler. Check the tube from extruder to hotend for flat spots and kinks, and look at the entry point for a bend tighter than the tube’s own diameter. Follow your printer’s manual for tube routing and length — cutting a tube too short or routing it around the gantry cable chain is a common cause.
Reassemble and push filament through by hand. The sign it worked is steady resistance through the entire path with no sudden jumps, and 100 mm of feeding that feels identical at the extruder gripper and at the hotend entry. On Bowden machines, tensioning the tube so the spool turns without stalling on retraction is a separate, final step.
9. Inspect the Filament Path for Swell, Brittleness, or Damage
Damp filament fails quietly at first: bubbles pop, the melt is inconsistent, and layers separate. Brittle filament cracks in the feeder. Both reduce the material that actually reaches the melt zone. If you hear popping, see bubbles in the melt, or notice stringy bridges and rough surfaces, dry the filament before touching anything else.
Dry at the temperature and duration your filament manufacturer specifies — typically 45–60 °C for 4–6 hours for PLA and PETG, and lower for materials that soften or degrade. A food dehydrator with a temperature control works well. Then purge the nozzle at the lower end of your normal range and inspect the strand going in, which should be smooth and glossy, not frosted, bubbled, or full of lint.
Replace anything with a kink, a flat oval section, or a visibly rough surface. A rough strand abrades the nozzle bore and blocks it faster. Feed test with cleaning filament: the extruder should push it through smoothly with the spool turning freely. If the strand comes out clean and the 20 mm wall measures 0.40 mm, moisture was the cause.
10. Calibrate Extrusion Multiplier or Flow
Flow multiplier is a slicer correction factor, sometimes called extrusion multiplier or flow ratio depending on the software. It tells the slicer to push more or less plastic for every millimetre of extrusion, without touching the printer at all. Firmware flow (E-steps or a flow percentage) does the same job one level lower, by changing how much the extruder rotates.
Use the 20 mm single-wall test. Measure the wall at three spots and take the average. If the average is 0.36 mm against a nominal 0.40 mm, the wall is 90 percent of target, so set the multiplier to 100 ÷ 90 = 1.111, or about 1.11. Change it in steps of 1 to 2.5 percent, reprint the test, and repeat. Avoid large corrections: if you need more than roughly 10 percent, the cause is almost certainly mechanical, not calibration.
Search results for 3D printer under extrusion causes and fixes tend to blame flow first, because flow is the easiest slider to find. It is usually the last suspect, not the first. Work in one direction only: chasing the value back and forth across several prints means you are measuring inconsistent walls, not correcting an error. Before adjusting flow, make sure steps 1 through 9 are clean; a partially clogged nozzle or a slipping feeder can be hidden by a 10 percent flow increase for weeks, then the gear wears out.
11. Review Retraction and Travel Settings
Retraction pulls filament back to prevent oozing during travel. Too much retraction, or too fast, pinches the filament or leaves it curved, and the next move feeds a thinner sliver. Too little, and stringing appears. Both show up as under-extrusion that appears only after travel moves rather than across a whole wall.
For direct-drive machines, typical starting values are 3–5 mm at 25–40 mm/s. For Bowden machines, 5–8 mm at 40–60 mm/s. Adjust by 1 mm on distance and 5 mm/s on speed, one at a time. If you hear a squeal during retraction, back the distance down immediately.
Long travel moves and seam placement create the corner-specific version of this defect. Keep the seam on a back corner rather than the front of the part, enable wipe or ironing features if your slicer has them, and check that retraction is enabled consistently for all feature types. If corners and seams look thin while flat walls measure 0.40 mm, the fix is pressure advance, not flow — calibrate the K value or linear advance using your slicer’s guide and then fine-tune in small steps.
12. Isolate Firmware, Slicer, and Mechanical Faults
Run a controlled comparison before deciding the printer is faulty. Load a known-good generic profile for your printer, set the manufacturer default temperature and flow, and print the same single-wall test. If that profile measures 0.40 mm and your profile does not, the problem is in your slicer settings. If both are off by the same amount, the problem is in the machine.
Next, run a cold extrusion test: with the hotend at room temperature, command 100 mm of extrusion from the printer’s own control menu or firmware. The feeder should push steadily with no clicking. If it grinds or stalls, the fault is mechanical and above the hotend. If the cold push is perfect, recheck the hotend end of the path.
Finally, print one controlled model — the single-wall test plus a small functional part at normal settings — and log the wall thickness, temperature, flow, and speed. If walls stay consistent across a full print and the defect does not return, you have isolated the cause. If under-extrusion still appears mid-print at consistent wall measurements, the remaining suspects are heat creep during long prints and the hotend’s volumetric flow ceiling at high speed.
That ceiling is worth explaining, because it is the one cause you cannot fix by cleaning. A 0.4 mm nozzle on a small single-screw hotend commonly tops out around 8–11 mm³/s of melted plastic, and a larger melt zone buys you more. If walls are perfect at 50 mm/s and thin at 150 mm/s, the extruder is asking for more melt than the hotend can deliver. Either slow down, raise the temperature in 5 °C steps, or keep external walls slower than infill.
Common Mistakes
The fastest way to waste a day is to change four settings at once and then argue about which one fixed it. Every diagnostic step here produces one number you can compare against the last, and that number only means something if nothing else moved.
- Testing with the hotend cold. A manual push with the nozzle at room temperature tells you about the feeder and the tube, and nothing about the nozzle. Heat it first.
- Forcing a clogged hotend repeatedly. Repeatedly forcing filament into a blocked nozzle grinds filament into the melt zone and can push debris further down. Clean it properly instead.
- Compensating for a clog with flow. Raising flow to fill the gaps a partial clog leaves behind hides the clog, thickens the slicer numbers, and leaves the real fault in place until the nozzle fails completely.
- Ignoring the material’s temperature range. Printing PETG at PLA temperatures, or ABS on a machine with no enclosure and no airflow, produces under-extrusion that no calibration will touch.
- Adjusting flow before measuring filament diameter. If the strand is 1.80 mm instead of 1.75 mm, a flow correction will fight the error on every print.
- Suspecting bed leveling for a flow problem. A bed issue shows up on the first layer. If layers two through forty are thin, the bed is not the cause.
- Skipping the log. Record the wall measurement, the change, and the result every time. Without it you cannot tell a fix from a coincidence.
Frequently Asked Questions
Why does under-extrusion get worse toward the end of a long print?
Heat builds up in the chamber over hours. On an enclosed printer the hotend can start losing heat creep control once the chamber sits above the filament’s softening point, which stalls or grinds the feeder. Test the cooling fan at 60 degrees C, then add airflow to the hotend or open a door or rear panel. Heat creep also shows up as flow that drops after an hour rather than immediately.
Does raising the nozzle temperature fix under-extrusion?
Sometimes, and only when the cause is slow melting rather than a restriction. If walls are correct at low print speeds and thin at high speed, a hotter nozzle adds melt capacity, so raise it in 5 degree C steps inside your material’s recommended range. If you already have gaps at slow speed, more heat will just ooze and worsen a partial clog.
When should I replace the nozzle?
Replace it when cleaning has stopped helping, when the tip is visibly deformed or the bore is scraped, and on a schedule after abrasive filaments. Brass nozzles wear quickly with carbon fibre, glass fibre and glow-in-the-dark fills and typically last a few weeks of heavy use, while stainless steel handles those materials far longer. A swap every few months on plain PLA is unnecessary.
How can I test flow without running a full print?
Print a 20 mm single-wall calibration square, which takes minutes and is the single most useful test you have. Measure two walls with calipers against your nozzle size. For the machine itself, use your printer’s control menu or firmware to command 100 mm of extrusion cold, then again hot, and watch whether the feeder pushes steadily or grinds.
When should I suspect the feeder rather than the nozzle?
Suspect the feeder when the defect follows speed and acceleration changes, when you hear clicking, or when the filament shows a flat divot or a chewed section. A nozzle problem produces steady gaps at every speed. If the feeder skips, the fix is tension and gear condition; if the drive gear teeth are worn or missing, replace the gear instead of adjusting it.
Conclusion
Start with a 20 mm wall test so you have a number instead of an impression. Then check filament delivery from spool to extruder, run the straight-versus-curled push test and clean the nozzle, and test the hotend cooling fan for heat creep. Measure filament diameter and confirm the nozzle temperature is inside your material’s range. Only once those are clean should you touch the flow multiplier, and then move in 1 to 2.5 percent steps while logging every result. Most 3D printer under extrusion causes and fixes turn out to be a filament or nozzle problem rather than a settings problem.