If your prints have lumpy arms, collapsed roofs or droopy faces, the fix usually takes about five minutes in your slicer. Learning how to add supports in a slicer for beginners means finding one Support tab, switching on auto support, and previewing the result before you commit four hours of filament. No advanced modelling or CAD background needed.
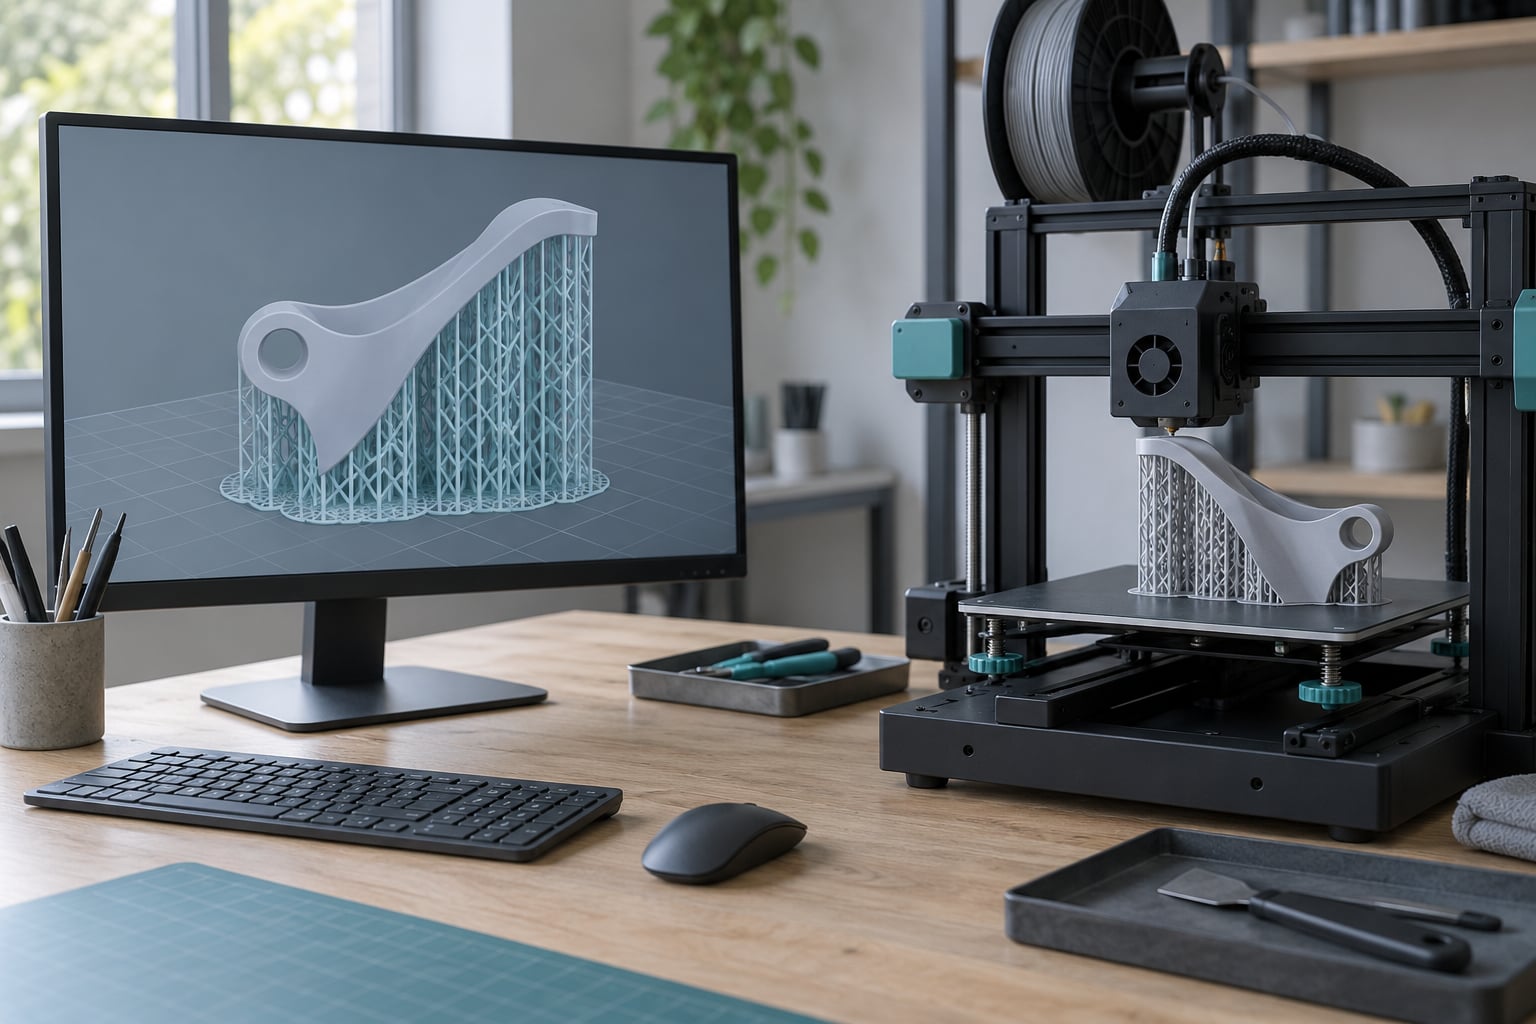
Supports are temporary structures your slicer generates underneath steep overhangs, so the nozzle always has something to lay the next layer onto instead of extruding into thin air. Print the model, then snap, cut or peel the supports away. The trick most beginners miss is that rotating the part by 15 degrees often removes the need for supports altogether.
This guide covers the same workflow across the slicers people actually own: Cura, PrusaSlicer, OrcaSlicer, Bambu Studio, Lychee, Creality Slicer, Flashforge and Simplify3D. Menu names shift between releases, so treat the paths as a map and check your own version’s documentation if a label is missing.
Table of Contents
- 1What You Need Before You Add Supports in a Slicer
- 2Step-by-Step
- 31. Open the Model and Check Its Orientation
- 42. Find the Support Option in Your Slicer
- 53. How to Add Supports in a Slicer for Beginners
- 64. Choose a Support Structure
- 75. Set Support Density, Pattern, and Z Height
- 86. Set the Build Plate Contact and Offset
- 97. Preview the Sliced Supports Before Printing
- 108. Print, Remove Supports, and Adjust
- 11Common Mistakes
- 12Tips for Cleaner and Easier-to-Remove Supports
- 13Frequently Asked Questions
- 14What should my support overhang angle be?
- 15How do I add manual supports to a Creality slicer?
- 16How do I make supports easier to remove in the slicer?
- 17What is the best setting for tree supports?
- 18What is the best way to remove supports from a 3D print?
- 19How do I print supports with a different filament?
- 20Conclusion
What You Need Before You Add Supports in a Slicer
You need three things and a vocabulary. The model file (an STL or 3MF, already repaired if it came from a marketplace), a slicer, and a printer whose build plate and first layer are already working.
If your first layer is not sticking, fix that before anything else. Supports sitting on a plate that is not level will lean and fail, and you will blame the wrong setting.
Five terms show up on every support screen:
- Overhang – any surface that faces downward instead of straight up. A roof, the underside of an arm, a chin on a bust.
- Overhang angle (or overhang threshold) – the steepness, measured from vertical, at which the slicer decides a surface needs help. 45 degrees is the common starting point.
- Support density – how solid the support material is, usually a percentage. 15 to 20 percent gives a breakable lattice instead of a solid block.
- Z height, or Z distance – the vertical gap between the support and the surface above it. Top Z holds the overhang off its support, bottom Z holds the support off the build plate.
- Support placement – automatic generation, manual painting, or both. Manual means you choose exactly where material lands.
Why does 45 degrees matter? A deposited bead is round and slightly soft for a moment, so it needs the layer beneath it to hold most of its width. Past roughly 45 degrees from vertical, each new layer has too little contact underneath and the bead droops into the gap. A user on the Prusa forum described cutting the threshold to 30 degrees after laying a part down like a bowl, and the supports collapsed into a single tidy ring under the base instead of filling the whole interior.
Step-by-Step
1. Open the Model and Check Its Orientation
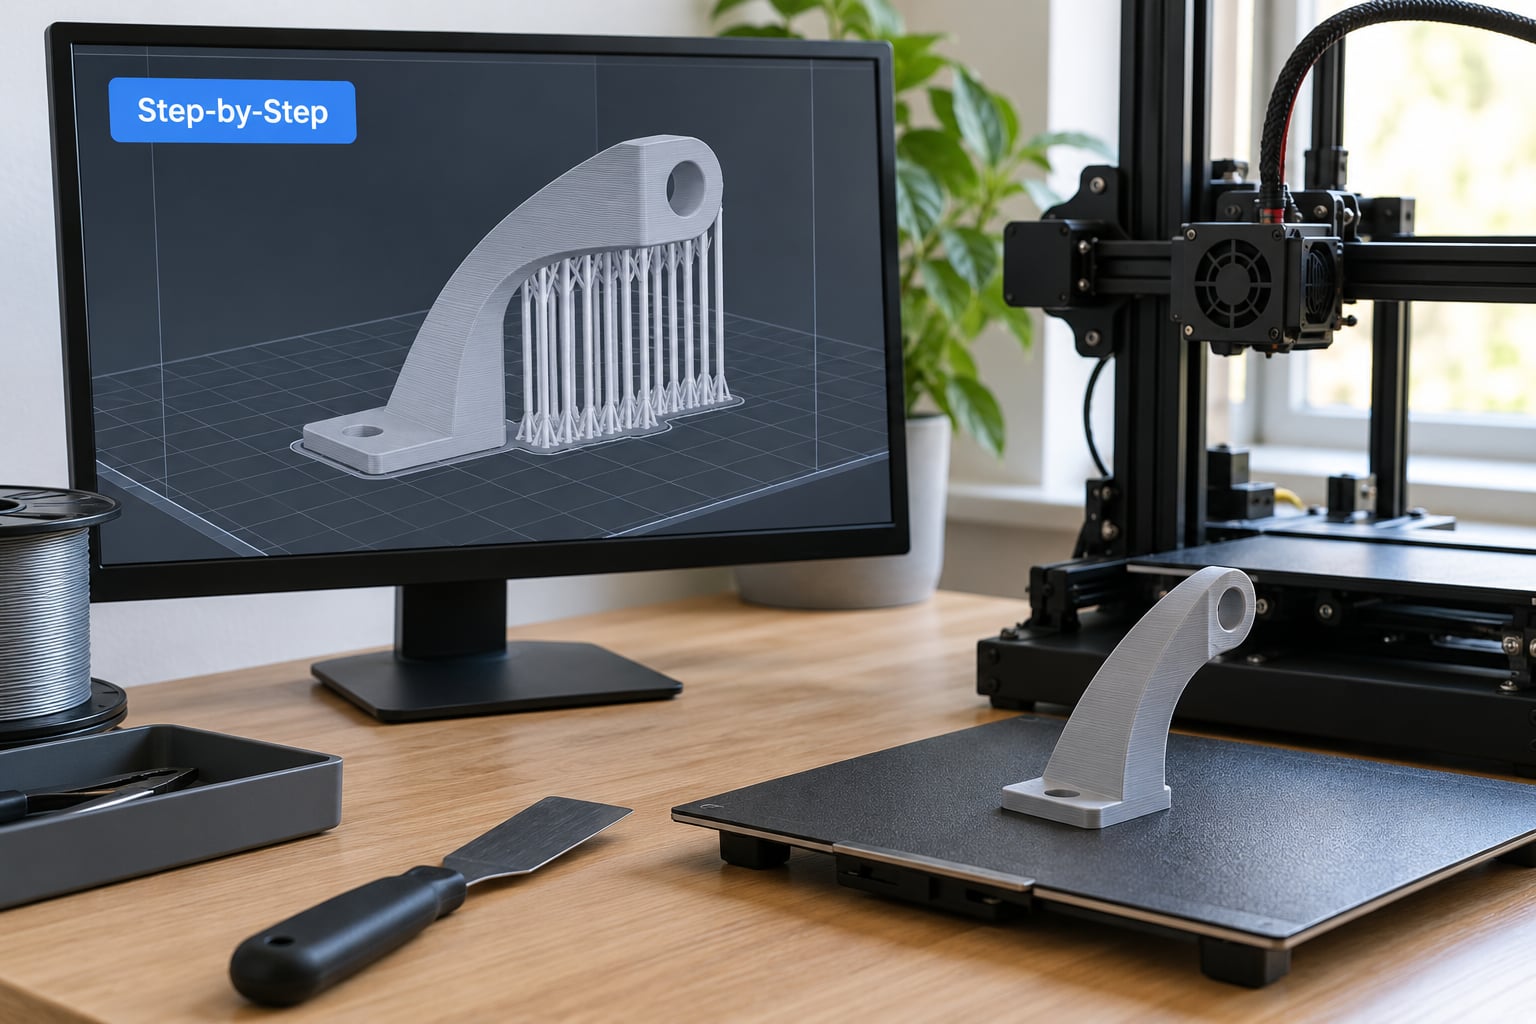
Load the file, then look at it before touching any support setting. Turn the part over and tilt it. Ask which face is the most important surface, because that is the face that should sit flat on the plate with the least layer lines on it.
Then find the overhangs. In most slicers you can hover the cursor over a surface or switch on a colour view, but a slow rotation in the model view is enough for a beginner. A chin, an outstretched arm, a roof, anything pointing down at more than 45 degrees is a candidate.
Before supporting, try rotating. Tilting a part 15 to 20 degrees on X or Y often turns a 60-degree overhang into a 40-degree one that prints unsupported. Rotating 15 degrees is the single most common fix recommended on r/3Dprinting, and it saves filament every time. The trade-off is that the part may no longer sit flat, so check the heightmap first and add a small brim if the first layer will be compromised.
2. Find the Support Option in Your Slicer
Every slicer puts supports somewhere different, which is why beginners think the feature is missing. The fastest route in Cura, OrcaSlicer, Bambu Studio and Lychee is to type “support” into the search box at the top of the settings window. PrusaSlicer keeps a Support Material tab on the right sidebar, and Simplify3D lives on its own toolbar.
| Slicer | Where supports live | Auto support toggle | Overhang threshold field | Manual support tool |
|---|---|---|---|---|
| Cura | Settings, search “support” | Generate Support Structure | Support Overhang Angle | Paint Supports, Prepare tab toolbar |
| PrusaSlicer | Right sidebar, Support Material tab | Generate support material | Overhang threshold | Support Painter, plus the Support Enforcer modifier |
| OrcaSlicer | Prepare tab, Support panel | Auto generate support | Support overhang angle | Paint support, Prepare tab |
| Bambu Studio | Prepare tab, Support panel | Auto generate support | Support overhang angle | Paint support, Prepare tab |
| Lychee Slicer | Prepare tab, Support panel | Generate support | Support overhang angle | Paint support, Prepare tab |
| Creality Slicer | Prepare tab, Support generator | Generate support structure | Support overhang angle | Paint supports, button along the top of Prepare |
| Flashforge slicer | Prepare tab, Support panel | Auto generate support | Support overhang angle | Paint support, Prepare tab |
| Simplify3D | Support toolbar, Edit G-code view | Support material, Automatic placement | Support overhang angle | Add new support structures |
Two honest warnings. PrusaSlicer’s Support Painter only works once supports are enabled, and the Support Enforcer modifier needs support generation switched on with auto supports switched off, set to build plate only, then a right click on the model to drop a pillar where you want one. And in any slicer, changing support material from a different filament needs the interface layers count set above zero, or the two materials will never be told apart.
3. How to Add Supports in a Slicer for Beginners
This five-step sequence works in every slicer on the table above. Menu labels differ, the order does not.
- Turn on support generation. Tick Generate Support Structure in Cura, Generate support material in PrusaSlicer, or the equivalent checkbox in your slicer’s Support panel.
- Set the overhang threshold. Start at 45 degrees. Raise it to 50 or 55 to cut the volume of support material, lower it to 35 or 40 if you print fast, use a thin wall, or load filament that sags easily.
- Set the support type. Normal builds a lattice under the overhang. Build plate only stops supports from growing over the top of the part. Tree, where your slicer has it, branches upward instead.
- Slice and preview. Look at where the support actually landed before printing anything.
- Paint extras where automatic support missed. Turn off auto support or use the paint tool, and add pillars under the spots the generator ignored.
That last step is where beginners separate from people shipping decent parts. Auto support is good at big roof overhangs and bad at a thin arm sticking out sideways, or the underside of a hand, or a small nose on a scale figure. Painting a single pillar under a hand takes ten seconds and saves a lumpy thumb.
4. Choose a Support Structure
Normal supports are the safe default. They cost the most material, take the most time, and leave the most surface scarring, but they work with every printer and every material.
| Support type | Best for | Material and time | Removal | Watch out for |
|---|---|---|---|---|
| Normal / grid | Everything, especially your first support print | Highest | Cut and peel, leaves a rough surface | Roughness on the supported face |
| Build plate only | Large flat-bottomed parts, vases, simple shapes | Low | Easy, supports are all below | Nothing if the overhang is high up |
| Tree / organic | Miniatures, figures, busts, anything with fine detail | Lowest | Snaps off, small contact patch | Trunks lean if the plate adhesion is poor or branch angle is too steep |
Tree supports grew out of miniature printing and are now in most mainstream desktop slicers. A trunk starts on the plate and branches outward as it rises, so only a small footprint touches the part. For a 32mm figure that difference is the whole post-processing experience. The risk is a trunk that tips over during the first layers, so check your first-layer adhesion and keep the branch angle around 40 degrees to start.
5. Set Support Density, Pattern, and Z Height
These four numbers decide whether supports snap off cleanly or weld themselves to the model. Here is where most beginners should start, and why.
| Setting | Beginner value | What it does when you get it wrong |
|---|---|---|
| Support density | 15 to 20 percent | Too low and supports tear off in pieces. Too high and you drill material out of the model. |
| Support pattern | Lines or zigzag | Grid is dense and hard to remove. Lines waste less and break cleaner. |
| Top Z distance | 0.2 mm, then raise to 0.3 or 0.4 if it fuses | Too low drags and deforms the overhang surface. Too high and the overhang droops again. |
| Bottom Z distance | 0.1 mm | Too low glues the support to the build plate. Too high leaves a gap that wrecks bed adhesion. |
| Support interface layers | 2 | This is the surface that touches the part. Zero means no clean break at all. |
| XY or horizontal distance | 0.2 to 0.4 mm | Too tight fuses. Too loose leaves the overhang unsupported in a thin edge. |
| Support pillar resolution | 1 to 2 mm, or 4 to 6 mm for normal supports | Fine values suit miniatures. Coarse pillars are faster and stiffer for big parts. |
Do not raise top Z distance too far. Someone on the Snapmaker forum described it perfectly: more Z distance makes the supports stick less, but push it too far and there is not enough support left. The window is narrow on a 0.4 mm layer height and wider on a 0.2 mm one, so if you cannot find a value that works, change layer height before you change Z distance.
If a print sticks to its support, users on r/3Dprinting usually reach for higher density or connected support lines first. That fixes the break, but it makes removal harder. Raising top Z distance by a tenth of a millimetre is the better move, and you can do both over two prints.
6. Set the Build Plate Contact and Offset
Bottom Z distance is the gap between your support’s first layer and the plate. Keep it at 0.1 mm. Some slicers expose an “initial layer line width” or “support foot” for the trunk or base of a tree support, and raising it makes the contact patch wider without adding height.
Check where supports actually touch the model in the preview, not just the plate. Supports that merge into a wall halfway up, or a pillar that runs straight through an arm, come from an overhang threshold that is too low or from supports placed with build plate only when they needed the over-the-top type.
If you have a two-material printer, this is where the biggest quality jump is. Assign a second extruder to the support material interface and print PLA parts with PETG supports, or the reverse. Same-brand materials of the same type will not separate, but cross-type pairs break apart almost on their own. A Bambu Lab forum thread from September 2026 described pairing PLA parts with PETG supports to good effect for exactly this reason.
7. Preview the Sliced Supports Before Printing
Slicing takes seconds. Skipping the preview costs hours. This is the step almost every beginner cuts, and it is where you catch the problems that ruin a long print.
Work through the preview like this. Use the layer slider to find the first layer and confirm the supports and the model both have solid contact area, not a hairline. Then step up through the layers and look for three things:
- Support towers the model does not use. Auto support loves to fill concave pockets and the insides of arms. Excess support is the main reason a print takes far longer than expected.
- Unsupported islands. Look for a flat chunk of the model with nothing under it and nothing joining it to the rest at that layer.
- Contact scars. In a colour-coded preview, the surface the support touches is the part you will be cleaning up afterwards.
Remember that the preview pillars you see are not always the final geometry. Simplify3D, for instance, previews simple pillars and then prints a back-and-forth webbing network between them, which surprises a lot of first-time users. Check the estimated time and filament length in the preview and compare them with a run without supports. If supports triple the time, that is usually because the threshold is too low or auto support is filling space it does not need.
8. Print, Remove Supports, and Adjust
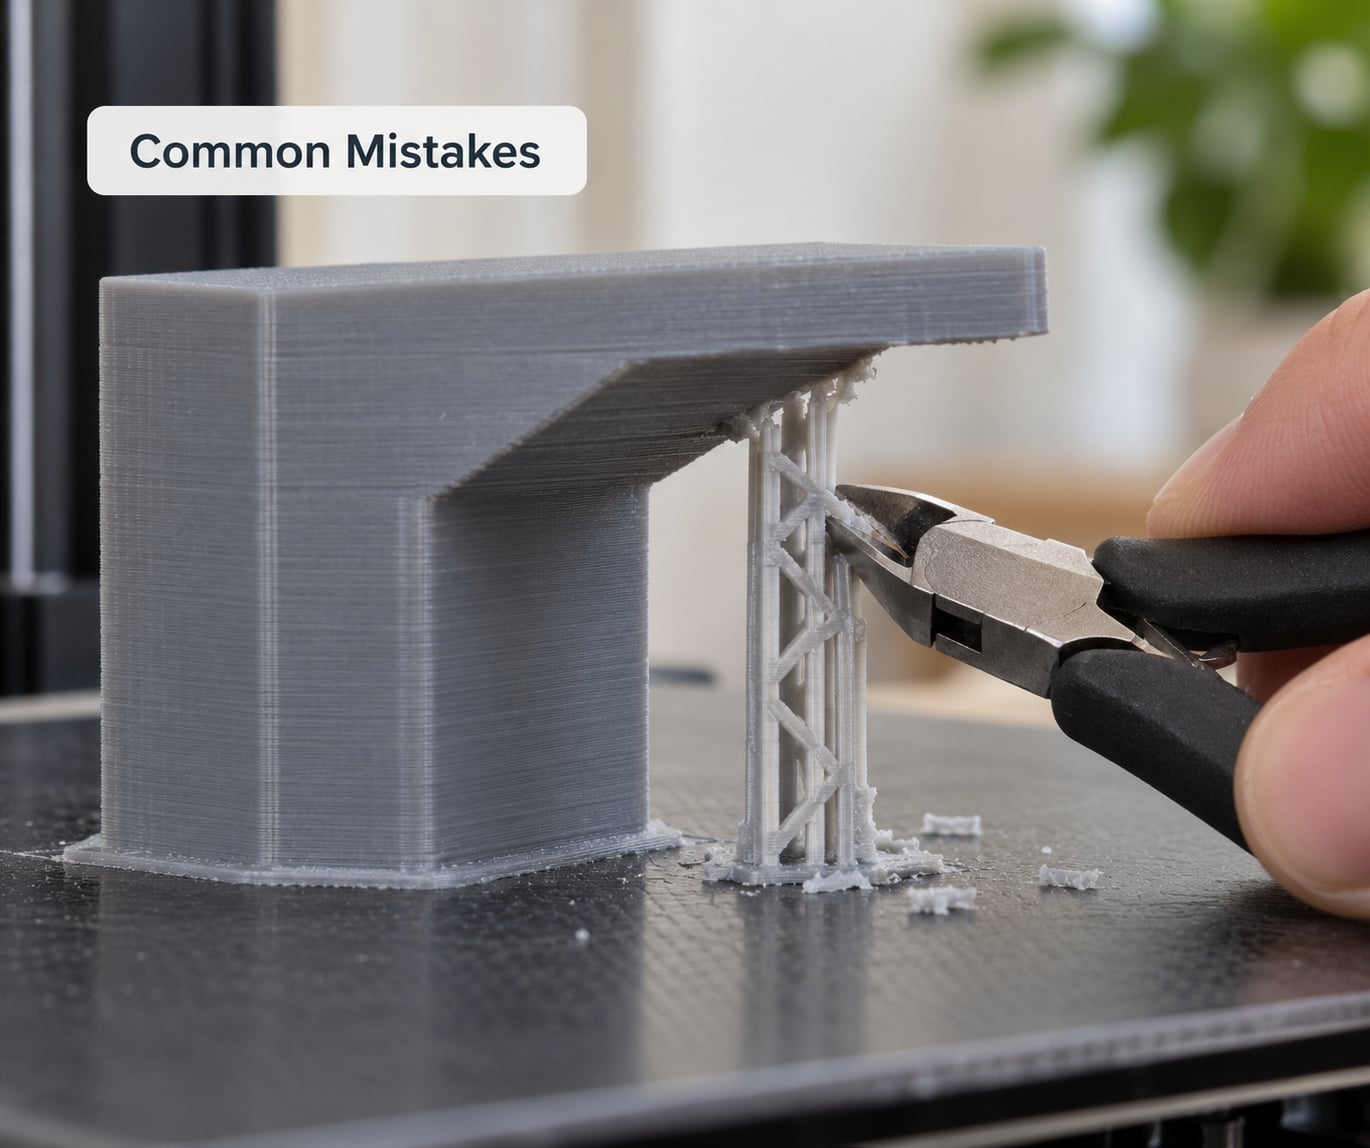
Let the part cool fully before touching it. Warm PLA and PETG are flexible and forgiving; cold ones snap. Then start at a corner or a foot and work along the support line with flush cutters or a knife, cutting the support away rather than levering it. Pulling sideways drags the surface underneath.
For a lattice, snapping a branch off the trunk usually works and leaves the best surface. A thin nozzle or a flush cutter gets you into tight corners without marking the part.
Then make exactly one change before the next print. Supports that fused to the surface means top Z distance is too low, so add 0.1 mm. Supports that fell over means bed adhesion or branch angle. Overhang that still drooped with support under it means the threshold is too high or the support never reached. One variable per print, or you will never know which fix did what.
Common Mistakes
Almost every support problem is one of five things, and each has a specific fix. Here is the whole list, so you can match your symptom instead of guessing.
| Symptom | Likely cause | Fix |
|---|---|---|
| Supports fused to the part, and the surface tears when you pull | Top Z distance too low, or support interface layers set to zero | Raise top Z distance to 0.3 or 0.4 mm and set interface layers to 2 |
| Overhang still droops with support underneath it | Top Z distance too high, or threshold too high | Lower top Z distance in 0.1 mm steps, drop the overhang threshold to 40 |
| Tree supports lean or collapse on the first layers | Poor plate adhesion, or branch angle too steep | Clean the plate, add a brim, lower branch angle toward 40 degrees, widen the foot |
| Support material deformed or the pillar wall looks lumpy | Support pillar resolution too coarse for the nozzle and layer height | Drop pillar resolution to 1 to 2 mm for fine parts |
| Part surface gouged or scored after removal | X/Y distance too tight, or the support was cut into the surface | Raise horizontal distance to 0.3 mm, cut away from the part, not into it |
| Support will not stay attached to the overhang | Density too low, pattern too sparse | Raise density to 20 percent or switch the pattern to connected lines |
| Support sits on the plate but will not stick | Bottom Z distance too high, or no first-layer contact area | Drop bottom Z distance to 0.1 mm and check the first layer in the preview |
| Print takes far longer than expected | Threshold too low, or supports filling concave interiors | Raise the threshold to 50, switch to build plate only, or paint supports manually |
One structural limitation worth knowing early: slicers build supports from the build plate upward, so they cannot create a support floating inside a trapped cavity. If a model’s internal roof is enclosed, the answer is to change the model or to accept the droop. Designers on v1e.com and other forums handle this by modelling intentional breakaway sprues into the file, so the geometry is support and part in one. That is a modelling problem, not a slicer problem.
Tips for Cleaner and Easier-to-Remove Supports
Run an overhang calibration test once and stop guessing. Print a test model with a series of ledges at 30, 35, 40, 45, 50 and 55 degrees and find the steepest one your machine holds up cleanly. That number is your real threshold, and it is often 10 degrees better or worse than 45 depending on how well your printer is tuned.
Pair materials across types when you can. PLA parts with PETG supports, or ABS parts with PLA supports, break apart far more easily than matching pairs, and this one change removes most of the scraping work.
Use build plate only for anything that is basically flat-bottomed. It cuts material and time, and there is no support scarring to clean up on the upper surfaces.
Save your working settings as a profile. When a print comes out well, write down the threshold, density, top Z and interface layer count. The second version of the same model should be better than the first, and that only happens if you remember what worked.
Set support density lower than feels right, then only raise it when a support actually fails. The instinct to make supports solid is backwards; a support only has to hold itself up.
Frequently Asked Questions
What should my support overhang angle be?
Start at 45 degrees, which is the default in almost every slicer. It is the steepest angle most well-tuned FFF printers hold unsupported. Raise it to 50 or 55 to reduce support material, and lower it to 35 or 40 if you print fast, use a wide nozzle, or load filament that sags. For a truer number, print an overhang calibration test once and use the steepest angle your machine holds up cleanly.
How do I add manual supports to a Creality slicer?
In the Creality slicer, go to the Prepare tab and make sure support generation is enabled, then switch the placement mode to manual. A paint supports button sits along the top of the Prepare toolbar. Click it, and every click or drag on the model drops a support pillar from the build plate up to that point. Turn auto support off first, or the painted pillars fight the generated ones. The same approach works in OrcaSlicer, Bambu Studio and Lychee.
How do I make supports easier to remove in the slicer?
Raise the top Z distance in small steps, from 0.2 mm toward 0.3 or 0.4 mm, and set the support interface layers to 2 rather than 0. Lower support density to 15 or 20 percent and switch the pattern to lines or zigzag, which break cleanly instead of shattering. On a two-material printer, assigning a different filament type to the support interface makes the break almost automatic. Nudge one setting at a time or you will not know what worked.
What is the best setting for tree supports?
For a beginner, set the branch angle near 40 degrees, the branch density around 1 to 1.5 percent, and the trunk diameter wide enough to stay stable through the first layers. Tree supports are the right choice for miniatures and figures because only a small trunk touches the model. If the trunk leans, the problem is bed adhesion or a branch angle that is too steep, not the support density. Clean the plate and add a brim first.
What is the best way to remove supports from a 3D print?
Let the part cool completely, then start at a corner or a foot and work along the support line. Use flush cutters or a knife and cut the support away from the model rather than levering it sideways, which drags the surface underneath. Lattice and tree supports usually snap off along the trunk. If a support is welded on, a warm water bath softens PLA slightly, and a nylon or metal nozzle light touch finishes tight corners.
How do I print supports with a different filament?
You need a printer with a second extruder and two materials from different families, such as PLA and PETG. In PrusaSlicer, set the support material interface extruder under the multiple extruder settings, and make sure the support interface layers count is above zero, or the slicer never tells the two materials apart. In other slicers, look for the support material or support interface slot assignment. Same-brand materials of the same type will not separate cleanly.
Conclusion
Start with the orientation, not the Support tab. Rotate the model, find any surface steeper than 45 degrees that still points downward, then switch on support generation, set the threshold to 45, and slice to see what the slicer decided before it printed a single layer.
After that print, change one setting at a time and write down what happened. People who get good results in a month are not the ones who found a magic configuration, they are the ones who knew which knob to turn next.