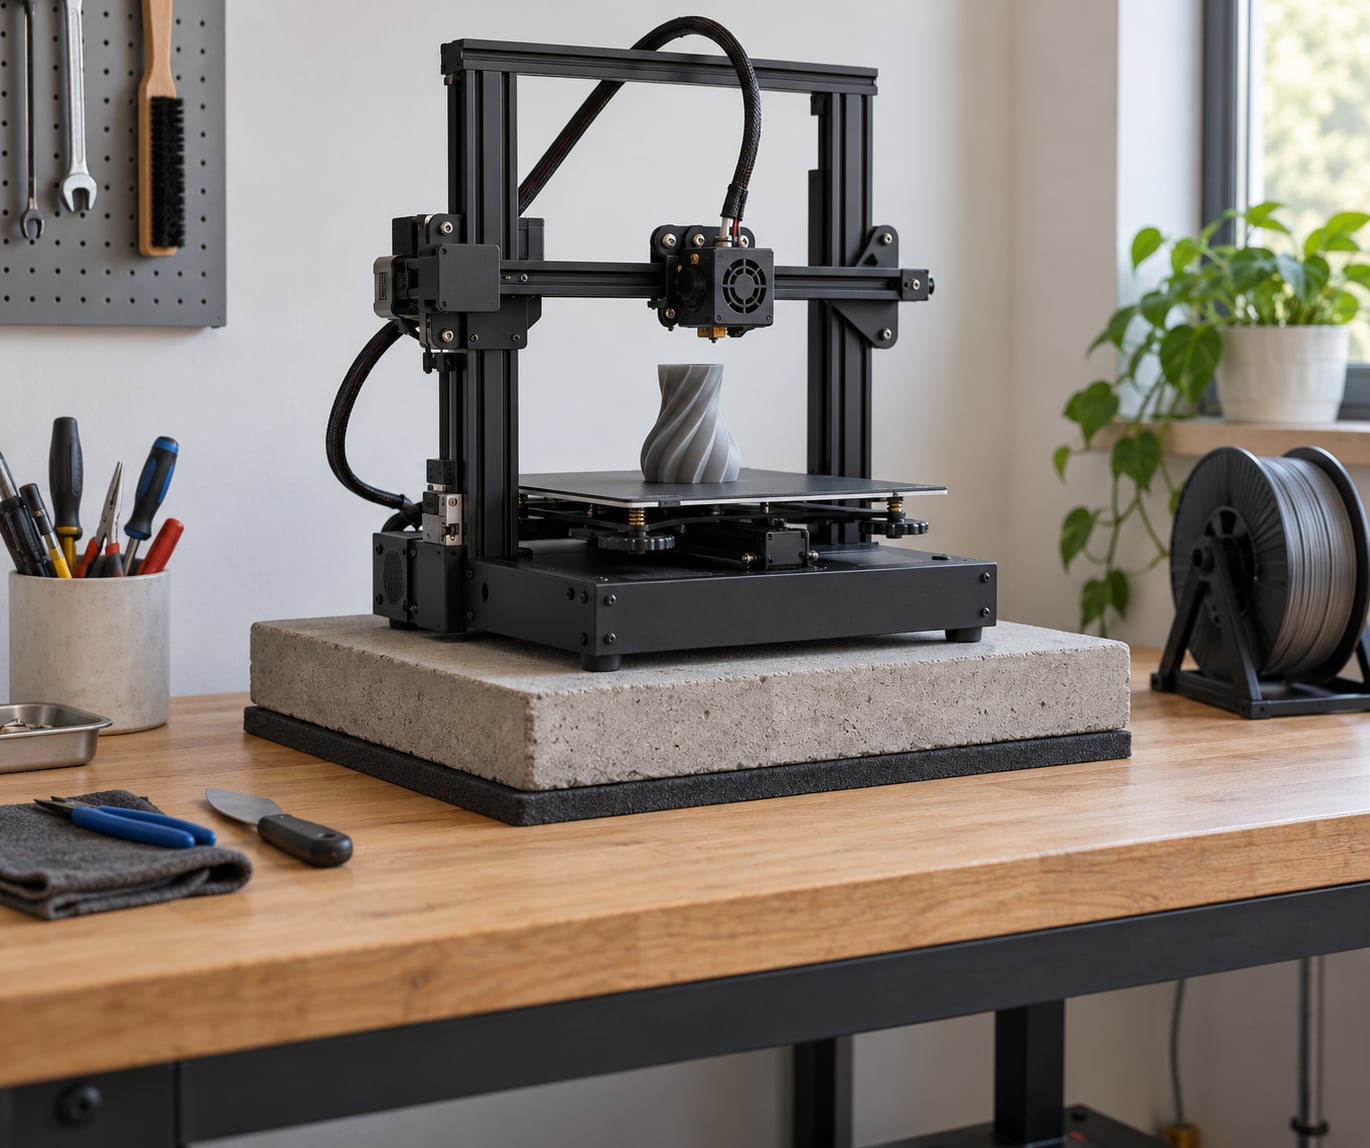
If your printer sits on a desk or a lightweight stand, the fix is a three-part sandwich: dead mass on the bottom, something soft in the middle, and solid furniture underneath. Vibration isolation for a 3D printer table means adding those layers so stepper torque and belt movement stop travelling into your walls.
Before you spend anything, work out where the movement actually starts. A printer on a solid, heavy table that nobody can hear through the floor does not need isolating. A printer on a particleboard desk where you can see the surface ripple during a travel move does.
This guide walks through the diagnosis first, then the materials, then the install. Where the community has real measurements, I have included them. Where the evidence is thin — print quality, mostly — I will say so rather than pretend.
Last updated: October 2026
Table of Contents
- 1What You Need
- 2Step-by-Step: Vibration Isolation for a 3D Printer Table
- 31. Identify Where the Vibration Starts
- 42. Check the Table and Printer Setup
- 53. Choose the Right Isolation Approach for a 3D Printer Table
- 64. Install the Isolation Components
- 75. Test Print Quality and Fine-Tune the Setup
- 8Common Mistakes
- 9Frequently Asked Questions
- 10What is the best material to put under a 3D printer?
- 11Do anti-vibration feet help a 3D printer?
- 12Should a 3D printer sit on rubber or foam?
- 13How do I stop a 3D printing table from shaking?
- 14Will a granite or concrete table reduce 3D printer vibration?
- 15Why does my 3D printer ring or ghost even with a solid table?
- 16Conclusion
What You Need
Gather this before you touch the table. Most people skip straight to buying a mat and end up damping the wrong thing.
- Printer weight and footprint. Check the spec sheet or weigh the machine. Roughly 10 to 15 kg is typical for a bedslinger, more for enclosed models. This decides whether cheap feet are adequate or you need a structural base.
- Table type and construction. Solid wood, MDF or plywood top with solid legs, or particleboard desk, often an IKEA Lack. Look at the underside — hollow or thin panel construction is the usual reason isolation feels ineffective.
- Two measurements: the usable flat area of the tabletop, and the printer footprint including feet. The slab needs to be wider than the base so the printer cannot tip onto the edge.
- Floor type. Concrete and upstairs bedrooms transmit far more than carpet in a workshop.
- A glass of water. Sounds silly, genuinely useful. More on that in step 1.
- Materials, depending on route: anti-vibration feet or Sorbothane pads, a concrete paver or granite offcut, an inflated bike tube, or a purpose-built inertia frame.
- Tools: a spirit level, a torque driver for frame screws, a spanner for the feet, and low-tack double-sided tape or adhesive if a layer has to stay put.
Step-by-Step: Vibration Isolation for a 3D Printer Table
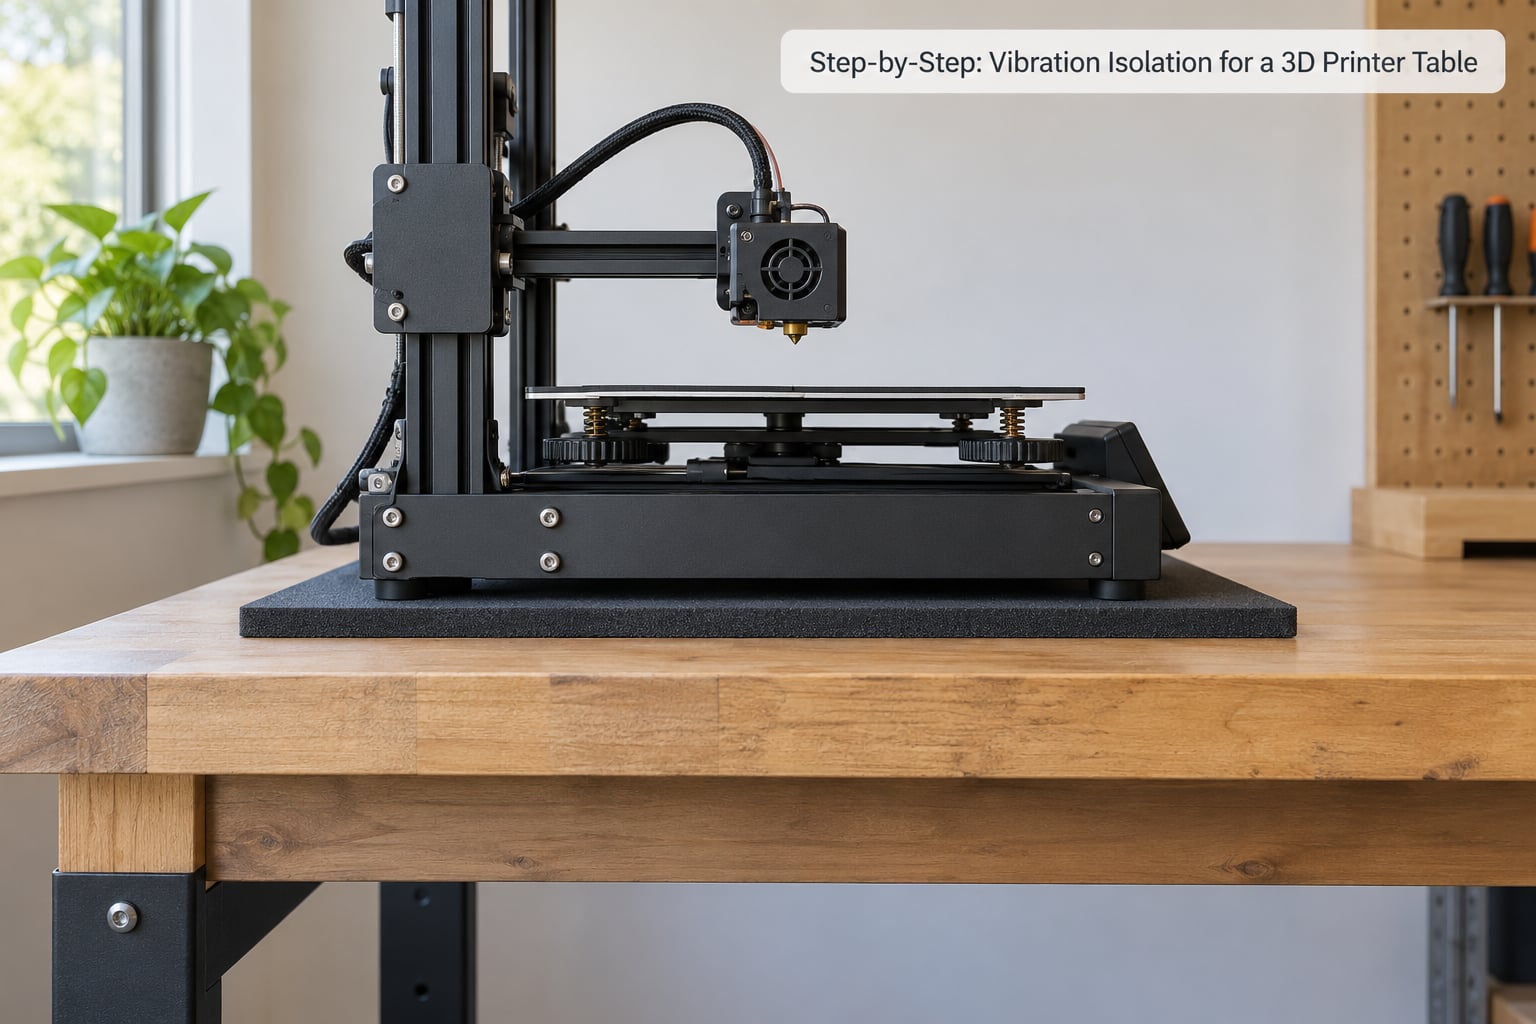
Follow these five steps in order. The method works because it separates four different problems that get confused with each other: printer-to-table movement, table flexing, noise entering the room through the furniture, and the printer physically walking across the surface.
1. Identify Where the Vibration Starts
Put a glass of water on the table and run a fast travel move. If the surface ripples, the table is the problem. If the water is still but you can hear a low hum in the furniture, the table is still passing structure-borne sound even if the movement is small.
Then lay a hand flat on the tabletop during a print. Vibration you feel in your palm is travelling through the table, not through the air. Next, mark the printer’s position with a piece of tape before a long print and check it afterwards — if the tape is off, the machine has walked or ratcheted, which is a static friction and foot-stiffness problem.
Finally, ask whether someone in the next room can hear it. Airborne noise from the fans and motors needs a different fix than structure-borne noise from the table, and mixing the two up wastes money.
2. Check the Table and Printer Setup
Level the table first. An unlevel surface means the printer rocks on one edge and every isolation layer underneath has to fight that. Confirm all four feet are actually touching, then re-level the bed and save the calibration.
Tighten the frame screws and the feet themselves. Pre-tensioned frame members and a taut lead screw spread load evenly. Loose feet are the single most common reason an isolation setup seems to do nothing.
Route cable chains so nothing is pulling sideways on the gantry, and keep the toolhead cable from dragging on the bed. Check the spool holder: a filament spool hanging off the frame puts an unbalanced rotating mass on one corner, which shows up as uneven ringing and can push the printer into a slow walk. Moving the spool to a separate stand costs nothing and helps more than most people expect.
Now load a palm onto the middle of the tabletop and press down. A desk that deflects more than a few millimetres, or whose legs visibly rack, needs stiffening before any isolation layer is worth buying. Most slim desks, particleboard included, fall into this group.
3. Choose the Right Isolation Approach for a 3D Printer Table
Work down from cheapest to most involved. Most readers only need the first two rows.
| Material | Relative cost | Added mass | Isolation quality | Difficulty | Best for |
|---|---|---|---|---|---|
| Generic rubber or silicone feet | Very low | None | Low | Trivial | Stopping ratcheting and protecting feet from a hard surface |
| Sorbothane pads | Low | None | Medium | Easy | Soft decoupling where you want firmer contact than foam |
| 3D-printed isolator in FlexiblePLA | Very low | None | Medium | Easy | Custom footprints and omnidirectional self-aligning designs |
| Inflated bike tube | Very low | None | High | Easy | Decoupling a heavy slab from a flexible top |
| Concrete paver or patio block | Low | 8 to 20 kg | High | Easy | The general-purpose fix for most printers |
| House foundation block | Low | 10 to 18 kg | High | Easy | Same role as a paver, with flat faces |
| Granite or marble offcut | Low to moderate | 20 to 40 kg | High | Moderate | Heavy flat mass plus a damped surface that resists ringing |
| Full inertia frame | High | Framed | High | Hard | Multi-printer shops, CNC benches, shared enclosures |
On the physics, keep three relationships in your head. For a constant excitation force, vibration amplitude is inversely proportional to total mass, so weight on top reduces movement. Transmitted force is directly proportional to the stiffness of the isolation layer, so a softer layer passes on less force — but only while the printer’s operating frequencies sit above the system’s natural frequency. And a spring on its own creates a resonant system that can amplify movement near resonance, which is why a damper in the layer matters. Practitioners aiming for real decoupling target a system resonance around 2 Hz or below, and a bike tube under a heavy slab is the usual way to get there.
One caveat that surprises people: rubber in compression is deceptively stiff at low frequencies. Cheap hollow rubber feet can behave almost like a solid block under a heavy machine, which is why a ten-dollar pad sometimes appears to do nothing. A viscoelastic polyurethane such as Sorbothane, or an inflated tube with an air spring, deforms with much more give.
For foam mats, skip them for anything heavy. They feel soft but they bottom out under load, then the printer rocks.
4. Install the Isolation Components
For feet and pads, set the printer down on all four points first, then check that all four make contact and that the frame sits level. Nothing should be lifted at a corner. A self-aligning foot that stays upright under load handles the small out-of-level desks most people have.
For a paver or block on feet, keep the four supports close to the corners of the slab so the load path is short, and leave enough tabletop for stability. If a stone is undersized for the printer footprint, use an MDF panel as a spreading layer between the stone and the feet — that distributes load and stops the rubber from concentrating on one edge.
For the bike tube version, lay the inflated tube on a flat surface, set the slab on top, then set the printer on the slab. Keep the tube fully inflated so the air spring does not collapse. Route the tube in a shallow loop rather than a sharp bend, and make sure the printer’s own feet sit on flat stone, not across the tube.
Keep cables loose. A cable in tension bridges the isolation layer and shorts it out. If the printer needs to sit far from the socket, use a slack loop rather than a run.
5. Test Print Quality and Fine-Tune the Setup
Run the same ringing-prone model before and after, at the same speed and temperature, and compare the corner on the same flat face. A thin-walled cube with an overhang-free upper section makes ringing easy to see. Test noise separately with a phone decibel app held at a fixed spot, roughly a metre away, since the readings are noisy but the difference is obvious.
If ringing is unchanged and bed level drifts, expect that outcome. Ghosting is usually driven by belt tension, gantry stiffness and acceleration limits, not by what the printer sits on. Bed level retention can improve on a compliant base, so that is the second thing to look at.
If the printer rocks, you went too soft. Stiffen the layer, add a wider foot, or tighten nothing at all — rocking alone destroys first-layer adhesion. If nothing changes, you probably went too hard, or the problem is in the table’s frame rather than the surface.
Common Mistakes
Using soft foam under a heavy printer. It compresses fully, the machine rocks, and first layers start failing. Use a firm layer and get compliance from an air spring or Sorbothane instead.
Adding mass to a flimsy table. A 15 kg slab on a hollow-core desk does little, because the desk legs and panel are the weak link. Stiffen with cross-bracing, an MDF top, or by moving to a solid frame first. Bracing the underside of a Lack-style desk with timber offcuts is the most common fix and costs very little.
Ignoring the furniture entirely. A printer can be perfectly isolated from a table that then transmits the vibration to the floor and neighbouring rooms. Leveling feet and decoupling the table from the floor is a separate layer of the problem, and worth doing once the printer-to-table fix is in.
Tightening belts to fix noise. Belt noise rises with tension, but so does bearing load and frame stress. If the belt was set by the manufacturer, leave it alone unless a tension gauge says otherwise.
Running cables under tension. A taut cable restrains the printer and transmits movement straight to the table. Add slack and never wedge a printer against a wall.
Over-isolating an already heavy table. If the surface does not visibly move and nobody can hear the printer through it, adding another layer buys nothing and can introduce rocking.
On noise specifically, quieter firmware settings, slower speed profiles, input shaping on modern machines, TMC drivers with a microstep correction curve, and a closed enclosure door all reduce sound. They reduce it at the source, so they are worth doing before any isolation spend.
Frequently Asked Questions
What is the best material to put under a 3D printer?
For most printers, a dense slab on a soft layer: a concrete paver, patio block or granite offcut sitting on rubber feet or an inflated bike tube. Granite and concrete add mass and pass on less movement than the table underneath. If the printer weighs under about 10 kg and the table already feels dead, plain rubber or silicone feet are enough to stop walking and protect the surface.
Do anti-vibration feet help a 3D printer?
They help most with ratcheting, uneven load and surface protection, and they cut some structure-borne sound. They are less impressive than advertised for large movements, because hollow rubber feet behave stiffly in compression under a heavy machine. Feet are a good first cheap step and a poor only step; real isolation needs added mass above a soft decoupling layer.
Should a 3D printer sit on rubber or foam?
Viscoelastic pads such as Sorbothane are the safer choice. Foam mats compress fully under a printer weighing more than about 10 kg, which lets the machine rock and ruins first-layer adhesion. If foam is all you have, use it only under a light printer, check the machine sits level on all four corners after fitting, and never wedge it into place.
How do I stop a 3D printing table from shaking?
Work outward from the source. Level the table, tighten the printer’s frame and feet, move a filament spool off the frame onto a separate stand, and let cables hang slack. Then stiffen the table with cross-bracing or an MDF top. Only after that add mass and a soft layer between printer and surface. Isolating the printer while the table keeps flexing moves the problem rather than fixing it.
Will a granite or concrete table reduce 3D printer vibration?
A heavy top helps for a specific reason: for a constant excitation force, vibration amplitude falls as total mass rises. Granite also has high internal damping, which works against surface ringing. It does not remove airborne fan and motor noise, and it does not change how a thin steel gantry behaves, so the print-quality benefit remains limited.
Why does my 3D printer ring or ghost even with a solid table?
Ringing is usually mechanical, not structural. Bell-shaped curves after a corner come from frame resonance and are shaped by belt tension, gantry stiffness, input shaping and acceleration limits. A heavier, better-isolated base will not flatten that wave. Check belt tension, retune input shaping, lower acceleration, and add gantry bracing or a heavier moving mass on the axis instead.
Conclusion
Do the free checks first: level the table, tighten the feet and frame, move the filament spool onto its own stand, and slacken the cables. If the surface still visibly moves or hums, stiffen the furniture, then drop a concrete paver or granite offcut on feet, or an inflated bike tube if you want the softer decoupling layer. That layered approach is what vibration isolation for a 3D printer table actually means in practice. Expect a large drop in table noise and a stop to any walking. Expect very little change to ghosting — that lives in the gantry, not the table.