Fire safety for 3D printers running overnight is preparation, not luck. A modern FDM machine running PLA or PETG, standing on a stable non-flammable surface, with thermal runaway protection switched on and a working smoke alarm in the same room, carries a genuinely low risk — but never zero. The failures that actually matter, a failed thermistor, a cheap power supply, a loose terminal, a print that stops and melts everything below it, all happen in the hours nobody is watching. Run the checks below before you walk away, every single time.
Table of Contents
- 1What You Need
- 2Essential
- 3Depends on your setup
- 4Filament changes the picture
- 5Step-by-Step
- 6Step 1: Check the Printer and Workspace
- 7Step 2: Choose Materials and Set Safe Limits
- 8Step 3: Set Up Power and Airflow
- 9Step 4: Install Monitoring and Alerts
- 10Step 5: Run a Short Test Before Leaving
- 11Step 6: Prepare the Overnight Exit Plan
- 12Common Mistakes
- 13Frequently Asked Questions
- 14Is it safe to run a 3D printer overnight?
- 15Can a 3D printer run while everyone is asleep?
- 16Does a 3D printer enclosure reduce fire risk?
- 17Is an air purifier enough for safe overnight 3D printing?
- 18What should I do if a 3D printer starts smoking overnight?
- 19Conclusion
What You Need
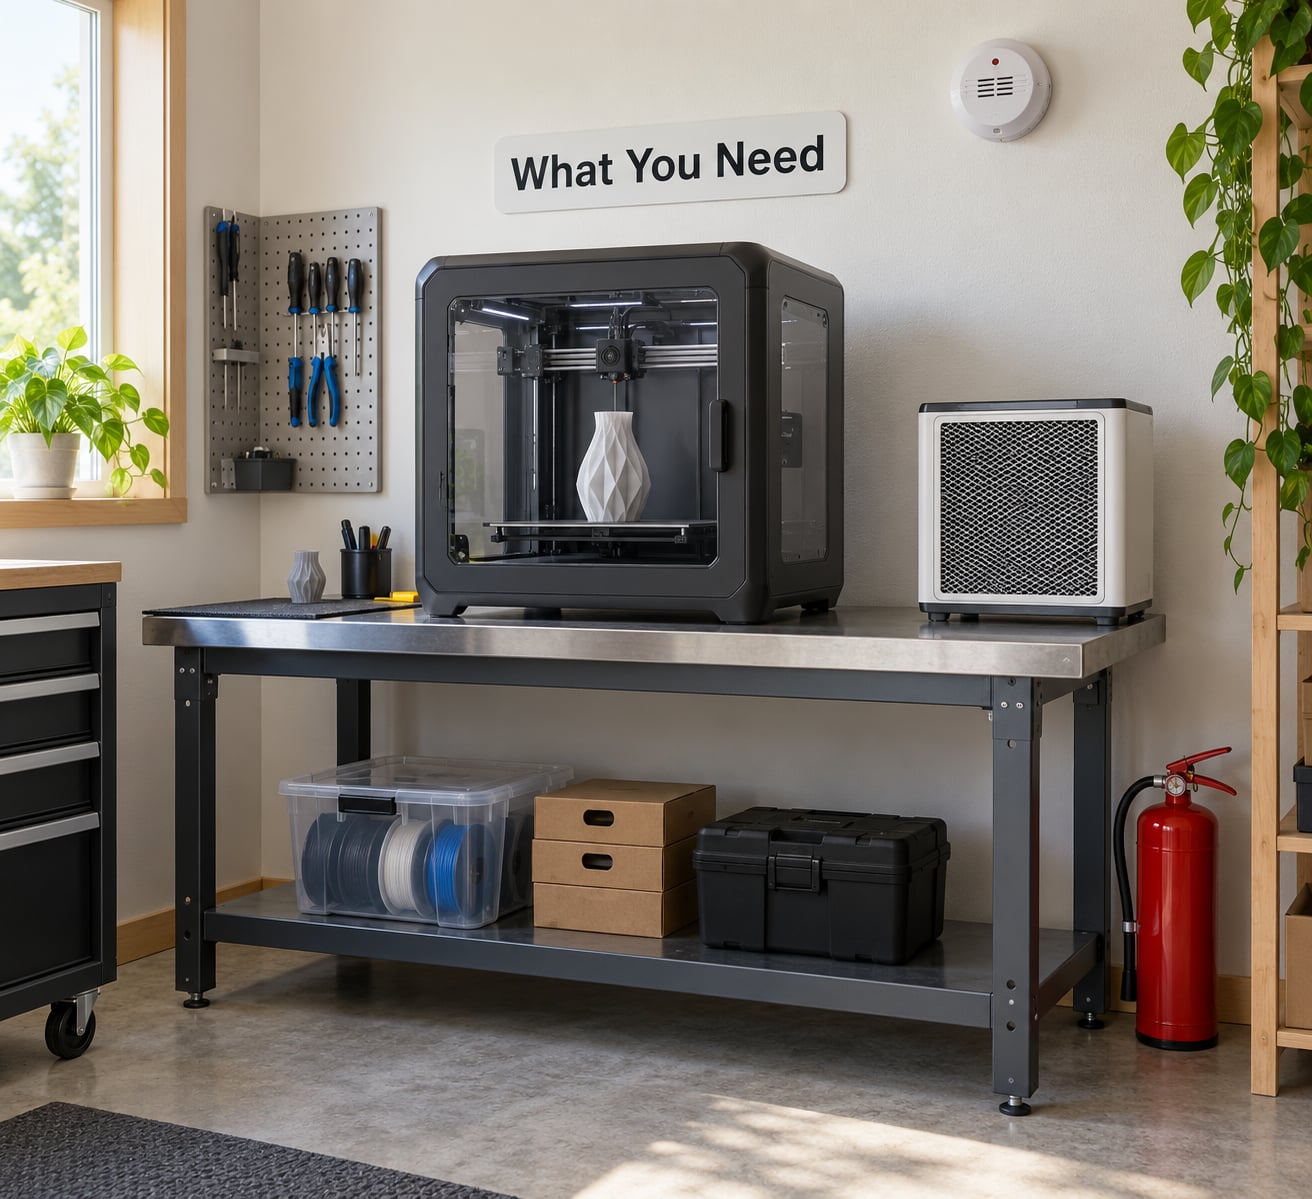
You need four things before a print runs while you sleep: hardware you trust, materials the manufacturer supports, detection and suppression in the same room, and a way to hear about a problem while you are unconscious. Some of the list is essential. The rest depends on your printer and the room it lives in.
Essential
- The manufacturer’s instructions. The manual states the printer’s own limits for unattended operation. Some manufacturers permit it, some forbid it, and that wording decides how much of the rest of this list you need.
- Firmware with thermal runaway protection enabled. The heater is supposed to stop when the temperature sensor fails. Verify the feature is switched on, and test that you get an alert.
- Filament you recognise. Dry, from a known manufacturer, stored away from sunlight. Unlabelled spools and wet filament are how a nozzle leak turns into a melted mess on the build plate.
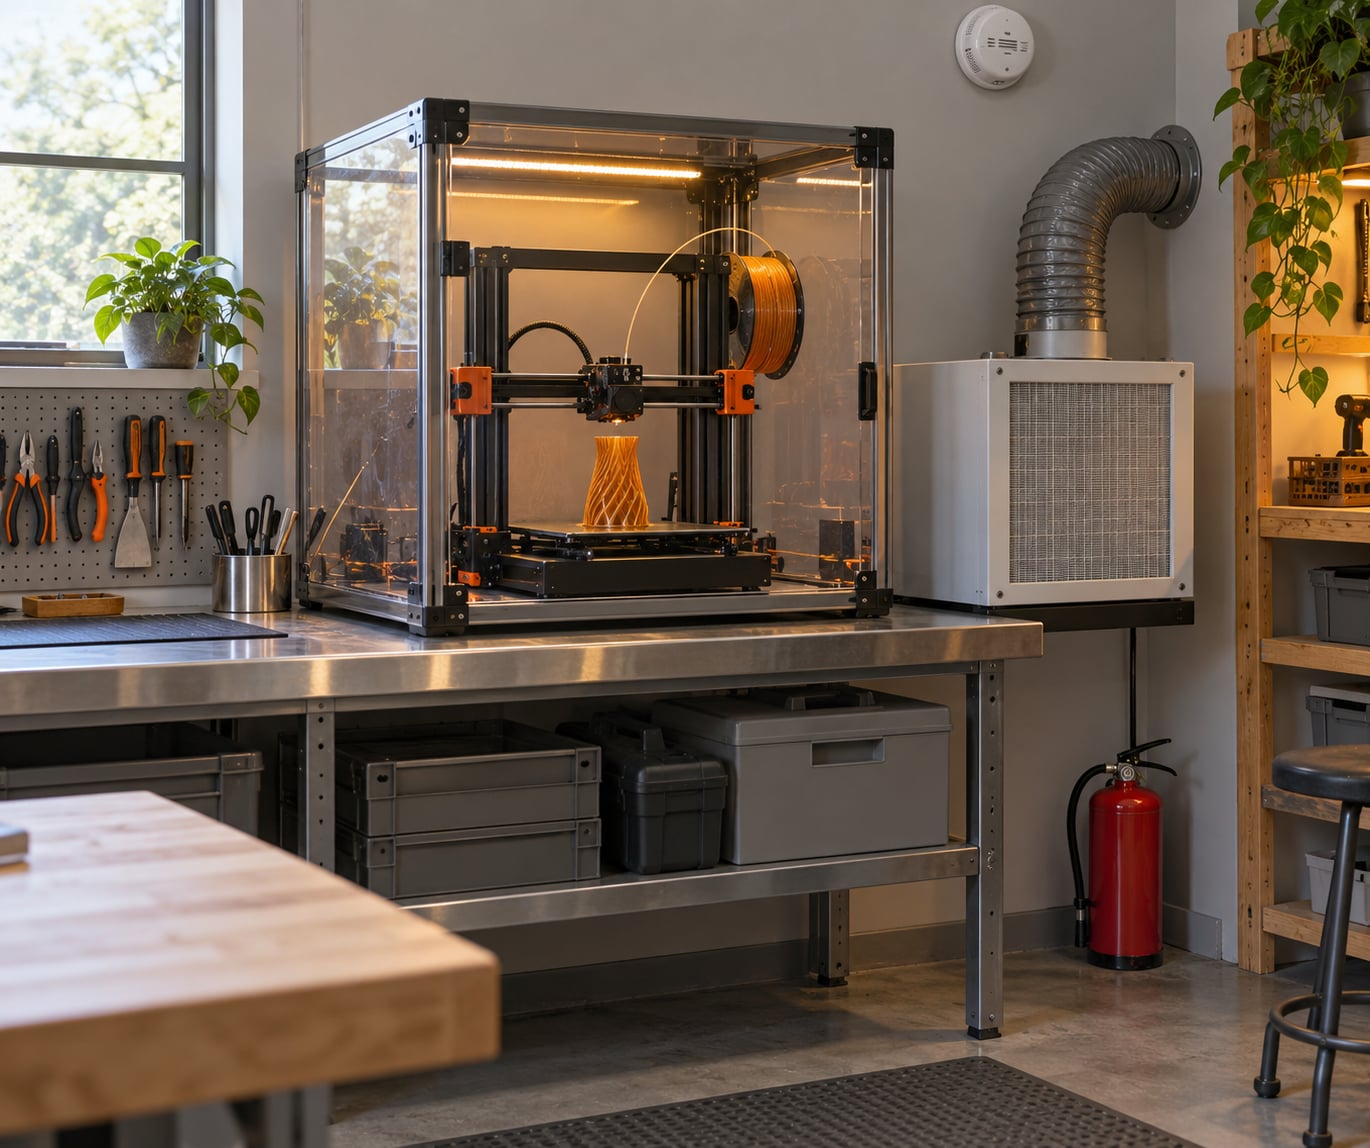
- A working smoke alarm in the same room. Test the button before you press start. Not in the hallway, not downstairs — same room, high on a wall or ceiling.
- An extinguisher you can reach without passing the printer. A dry chemical ABC unit, or CO2, mounted near the door rather than on the bench next to the machine.
- An intact power cord and a wall socket. No extension leads, no power strips daisy-chained together, no adapters. If the cord or plug is cracked, discoloured or warm, the print waits.
Depends on your setup
- Ventilation. A vented or filtered enclosure moves fumes and heat out of the air, especially with ABS or nylon. Run the exhaust away from people, bedding, walls and anything that can spark.
- A monitoring layer. Printer-status notifications, a temperature alert, a camera feed, or a smart plug that reports energy use. At least one of these has to reach a phone you carry.
- Surge protection or a dedicated circuit. Worth it in a workshop with other high-draw equipment. Follow local electrical guidance for anything beyond a plug-in device.
- Containment. A fire-retardant enclosure or tent slows flame spread and buys you seconds. Automatic aerosol suppression inside the enclosure is mostly for multi-printer or 24-7 setups.
- A second person or a plan. If nobody in the house will hear an alert, the honest answer is that the print is not ready to run overnight yet.
Filament changes the picture
Material is the one variable most makers ignore when planning an unattended run. Lower temperatures and lower emission profiles mean less energy in the hot end for longer hours, and a smaller amount of plastic to melt if something fails.
| Material | Overnight behaviour | What to do |
|---|---|---|
| PLA | Lowest nozzle and bed temperatures of the common filaments, lowest emission profile of the group | Preferred choice for unattended runs; keep a dry box or sealed bag if the room is humid |
| PETG | Moderate temperatures, low emissions, strings and ooze more than PLA | Fine for overnight work; watch for a wet spool popping in the hot end |
| TPU | Low emissions, but soft and prone to ooze and stringing | Retraction and flow matter more than usual, or a leak becomes a blob |
| ABS | High chamber temperatures, styrene and butadiene in the fumes, warps if airflow is poor | Enclosure plus exhaust to outside, or skip overnight entirely |
| Nylon | Highest temperatures of the group, moisture-sensitive, caprolactam in the fumes | Dry box required, aggressive filtration, best run when someone is awake |
Step-by-Step
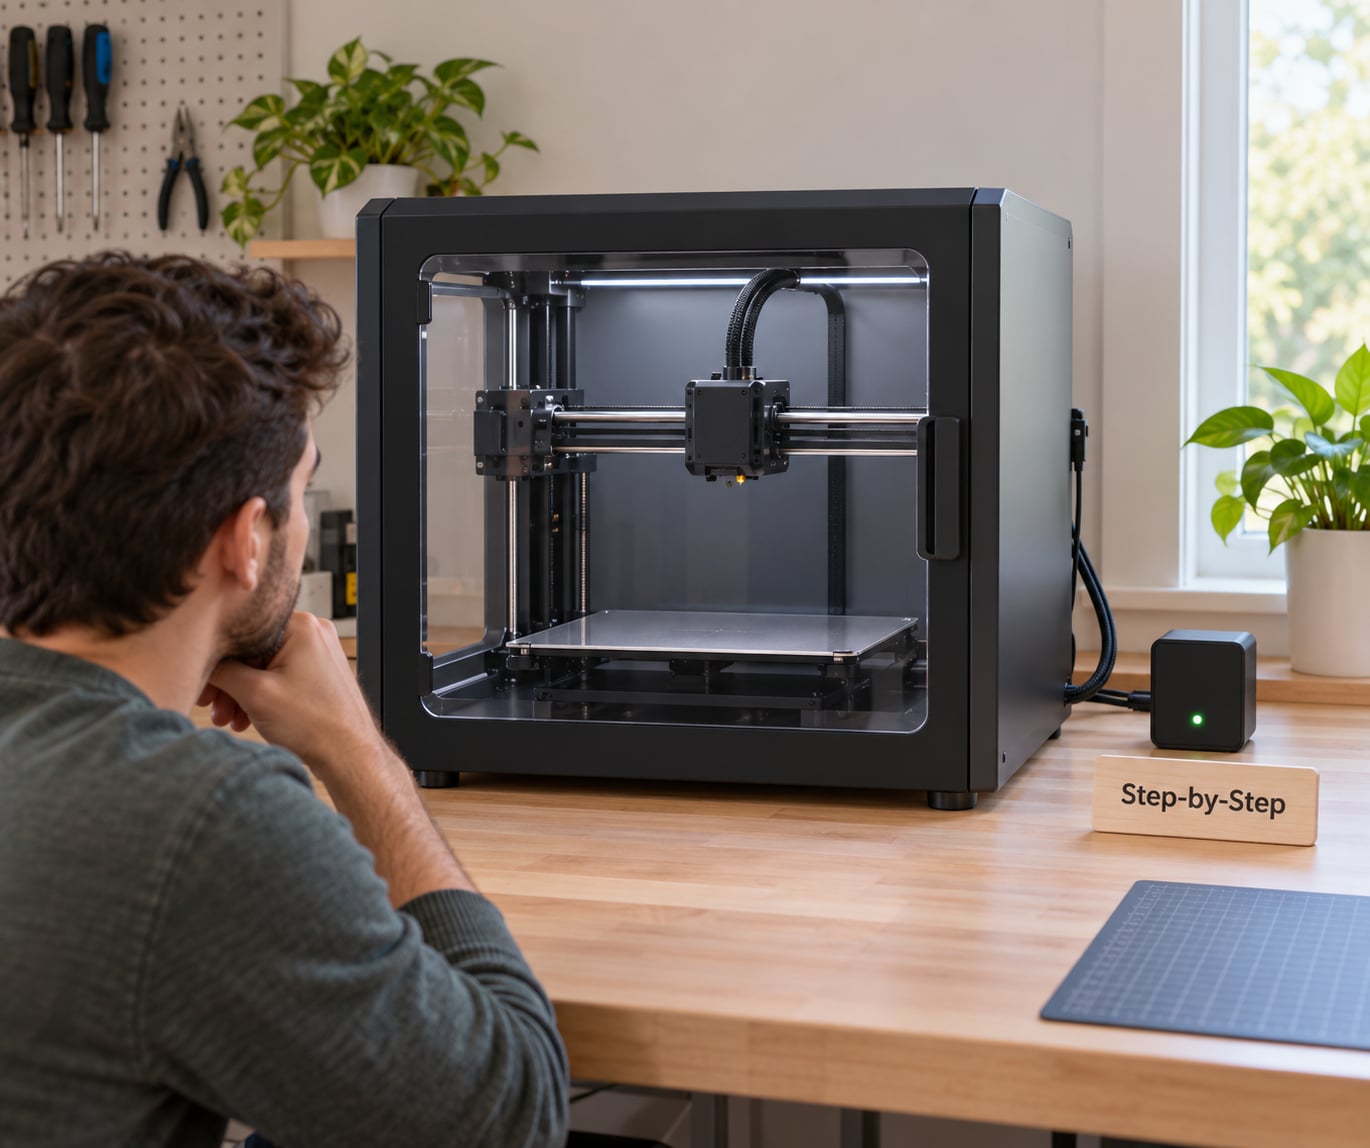
The order matters more than the individual checks: hardware, then material, then power and air, then detection, then a real test. Work down the list and each step is confirmed before the next one starts.
Step 1: Check the Printer and Workspace
Look at the frame, the heated bed, the hot end, the wiring loom, the power cord and the build surface before anything else. You are hunting for scorch marks, melted insulation, a bed that rocks, a cable that has been pinched by a Z axis or a drawer, and a layer of dust on the heatsink and cooling fan.
It worked if the printer sits flat on a hard, non-flammable surface with a metre of clear space around it, and the hot end area is free of old plastic. A small, tidy, dedicated corner is safer overnight than a large shared room full of paper, solvent, foam and wood.
Warning signs: any browning or melting near the connectors, a fan that does not spin, a bed surface that flexes, or a printer parked next to a paper storage box. Fix it tonight, print tomorrow.
Step 2: Choose Materials and Set Safe Limits
Unknown or unsupported filaments raise the odds of smoke, particles and print failure, all of which get worse over ten hours. Use what the printer and filament manufacturers support, and use the conservative end of the recommended temperature range rather than the top of it.
It worked if the profile you selected is a known, tested profile for that filament and the temperatures sit inside the manufacturer’s published range. If you are printing something you have run once, that is not enough — run it a few times first.
Warning signs: a temperature above the printed limit, a profile you edited by hand right before bed time, or a spool that has been open for months in a humid room.
Step 3: Set Up Power and Airflow
Plug the printer straight into a wall socket on intact wiring, with the cord routed so no chair wheel, pet or door can catch it. Add surge protection where the rest of the room has heavy loads. Extension arrangements, adapters and modified wiring should follow local electrical guidance and the manufacturer’s specification, not forum advice.
Ventilation has a separate job: it moves hot exhaust away from people and ignition sources. Point the outlet away from where you sleep, not into a bedroom, not at a wall, and not at the smoke alarm. A filtered enclosure feeding into the room is better than nothing for fumes, but it does nothing for an electrical fault.
It worked if you can feel clean air moving away from the printer, no ducting is kinked, and every vent on the printer itself is clear and unobstructed. Warning signs: warm or loose plugs, a faintly burnt-plastic smell from the outlet, air recirculating back into the machine.
Step 4: Install Monitoring and Alerts
Monitoring is the layer that turns a fire into a nuisance instead of a loss. Turn on printer status alerts, temperature warnings and finished-print notifications, and add a camera if you have one. A smart plug with energy monitoring gives you a second signal: a printer that is drawing far less than the job needs has stopped mid-print, and one drawing far more than the job needs may be running away.
Send the alerts to a phone that is on and not silenced. Test them by pulling the nozzle sensor or triggering a pause from the interface while you watch the phone. A notification you have never seen arrive is not a notification.
It worked if you received a test alert, and if the printer’s own instructions can be met — some machines expect to be within earshot or otherwise continuously supervised. Where the manual says supervised, follow the manual.
Step 5: Run a Short Test Before Leaving
Do a short test on the real filament and the real settings. Watch the first layers, confirm the toolpath is doing what you expect, check that temperatures hold steady rather than creeping, confirm airflow is doing its job, and make sure monitoring notifications arrive while you are still awake.
A successful short test does not remove the risk and it does not override the manufacturer’s instructions or your local fire codes. It removes the avoidable causes: a clogged nozzle, a bad first layer, an unstable bed, a profile that was never validated. It worked if the test finished clean and the alert fired.
Step 6: Prepare the Overnight Exit Plan
Before you go to bed, know the route out. Keep the door and the electrical disconnect reachable from the doorway side of the room, keep the extinguisher on that side too, and keep a phone by your bed.
Agree in advance on the response. If you wake to smoke, a burning smell, crackling, or a fault notification, you cut power at the wall or the breaker first, then use the extinguisher on a small incipient fire from a clear exit path. Never use water on an electrical or molten-plastic fire, and never reach into the machine to pull a spool off a hot nozzle. If there is real heat, heavy smoke or spreading flame, get everyone out, close the door behind you and call emergency services.
Afterwards: do not touch the printer again until it is cool, photograph the damage, notify your insurer, and replace anything that got hot enough to melt rather than repair it.
Common Mistakes
| Mistake | The fix |
|---|---|
| Blocking or covering the printer’s vents to contain fumes | Never cover intake or exhaust openings; improve the exhaust routing instead |
| Extension leads, travel adapters or daisy-chained power strips | Direct wall socket on intact wiring; anything beyond that needs local electrical guidance |
| Printing beside paper, cardboard, foam, solvent bottles or fabric | Clear a metre of non-flammable surface around the machine |
| Running in a room nobody can hear, with alerts that go to a silent phone | Change the alert destination and test it, or postpone the print |
| One alert and no response plan | Write down the cutoff steps: unplug, then extinguish, then evacuate |
| Ignoring a hot-end warning, a bed that will not hold temperature, or repeated clogs | Treat any recurring fault as a reason not to run unattended |
| Assuming brand name means safety | Cheap aftermarket power supplies and thin cabling show up in most fire reports, regardless of the printer badge |
| Testing an enclosure by smelling the fumes | Filtration protects against particles, not against an electrical fault or runaway heater |
Three community myths worth clearing up. First, that a fire-retardant enclosure makes overnight printing safe on its own — it contains, it does not prevent. Second, that ventilation alone is enough — it handles fumes, not wiring. Third, that it has not caught fire yet, which is an argument about how long you have had one, not about whether the risk exists.
The forum consensus is more useful than the marketing. On r/ender5plus and r/3Dprinting the recurring pattern is that reported fires trace back to cheap power supplies, undersized or loose wiring, and thermal runaway on printers that had been modified or maintained late. A shared incident in the Anycubic owner community involved a Kobra 3 combo igniting during an overnight print, attributed to a loose nozzle and a PLA leak. People on the BambuLab forum have wired smart plugs so the outlet cuts power when their smoke alarm triggers — a pattern worth copying, not a substitute for detection.
If your printer runs in a bedroom or a small flat, add two things to the list: never seal an enclosure with no exhaust in a room where people sleep, and check whether the smoke alarms in your building are interlinked. A vented printer that trips an alarm in a rental can cost more than the print.
Frequently Asked Questions
Is it safe to run a 3D printer overnight?
It is low risk but not zero risk, and only when the machine is set up for it. Check the printer and workspace, use manufacturer-supported filament and temperatures, keep thermal runaway protection on, provide ventilation and a working smoke alarm in the same room, and make sure alerts reach a phone. If the room cannot be prepared and monitored, run the print another time.
Can a 3D printer run while everyone is asleep?
It can, on a printer the manufacturer permits to run unattended, with detection in the same room and someone who will hear the alert. Households generally take a smoke alarm in the room as the minimum. Sleeping in the same room is a further step up in caution, and many makers keep the printer outside the bedroom for that reason.
Does a 3D printer enclosure reduce fire risk?
Partly. An enclosure slows flame spread and keeps fumes contained, which buys you more time to react and can stop a hot end from igniting nearby material. It does nothing about a failed thermistor, a short in the wiring or a failing power supply, and a sealed enclosure in a bedroom can trap fumes and heat. Enclosure plus detection is the useful combination.
Is an air purifier enough for safe overnight 3D printing?
No. A purifier with a HEPA and activated carbon filter reduces particles and many of the fumes from melting plastic, which matters for your air quality. It cannot stop thermal runaway, an electrical fault or a short circuit, and it does not replace a smoke alarm, an extinguisher or a proper workspace. Treat it as one layer, not the safety plan.
What should I do if a 3D printer starts smoking overnight?
Cut power at the wall or the breaker before anything else, if you can do that without passing the fire. Keep people and pets out, close the door, and call emergency services if there is heavy smoke, spreading flame or intense heat. Do not use water, and do not reach into the machine to save a print. Never reopen the enclosure until it is fully cool.
Conclusion
The safest first action is a slow look at the printer and the room, before anything is switched on. Fire safety for 3D printers running overnight rests on four things: hardware in good condition, materials and temperatures the manufacturer supports, ventilation plus reliable monitoring, and a shutdown route you have actually thought through.
If the workspace cannot be prepared, alerted and supervised according to the manufacturer’s instructions, skip the overnight print. A print that finishes at 2am is worth less than a printer, a room and a night of sleep.