Dyeing a nylon part is simpler than painting it: you heat a nylon-compatible dye bath to roughly 80-100 °C, submerge the cleaned part for 5-30 minutes depending on the process, then rinse and dry. The whole job takes about an hour including cooling, and the only real difficulty is staying patient enough to test a scrap piece first.
If you have ever printed with natural (clear) nylon filament, or your SLS or MJF parts come out of the powder bed grey, you already have the hardest part figured out. Nylon is a polyamide, and its slightly porous surface plus its chemically active amide groups let dye molecules diffuse into the outer layer and bond there rather than sitting on top. That is why the colour will not peel off later the way paint does.
A word of caution up front: not every dye on the shelf bonds to polyamide. Read the What You Need section first so you do not waste a part and a pot of dye water on a product that was never going to take.
Table of Contents
- 1What You Need
- 2How to Dye Nylon 3D Printed Parts Step by Step
- 31. Confirm the Material Is Nylon
- 42. Clean and Prepare the Printed Parts
- 53. Choose and Mix the Dye
- 64. Heat the Dye Bath and Dye the Parts
- 75. Rinse, Dry, and Protect the Color
- 8Common Mistakes
- 9Dyeing Versus Painting: When Dye Is the Wrong Choice
- 10Safety Notes Worth Taking Seriously
- 11Frequently Asked Questions
- 12Can you dye any type of nylon 3D printed part?
- 13What is the best dye for nylon 3D printing?
- 14Does dyeing nylon change its mechanical properties?
- 15How do you prevent nylon parts from becoming brittle after dyeing?
- 16Can you dye glass-fiber-filled or carbon-fiber-filled nylon parts?
- 17How long will the dyed color last on a nylon part?
- 18Conclusion
What You Need
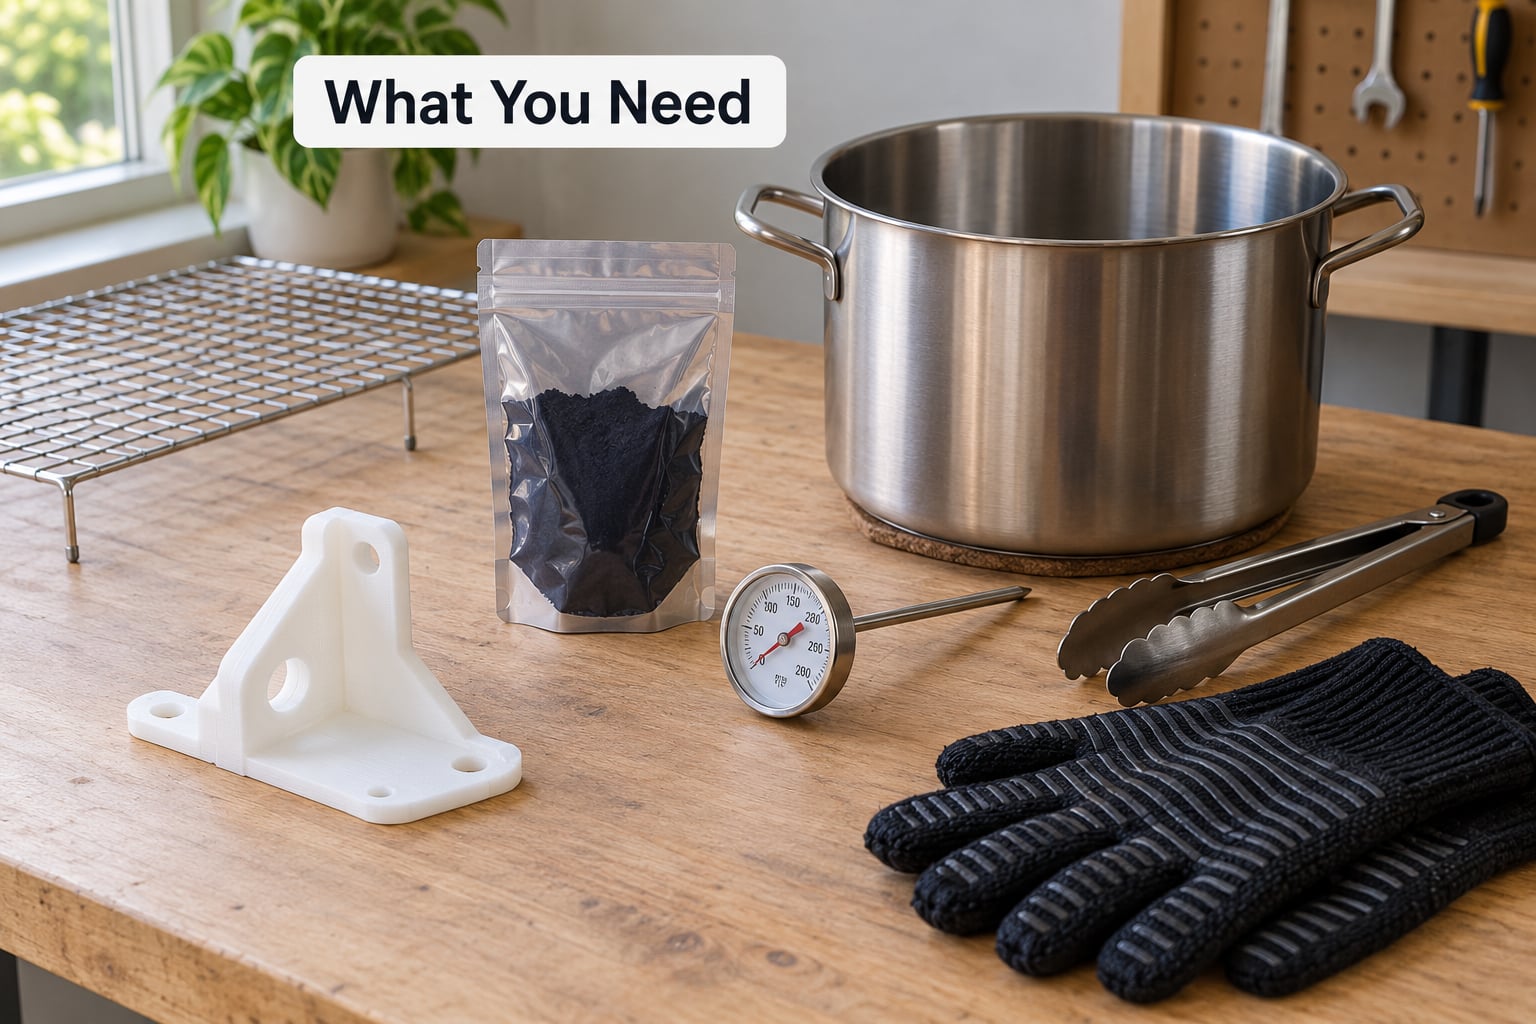
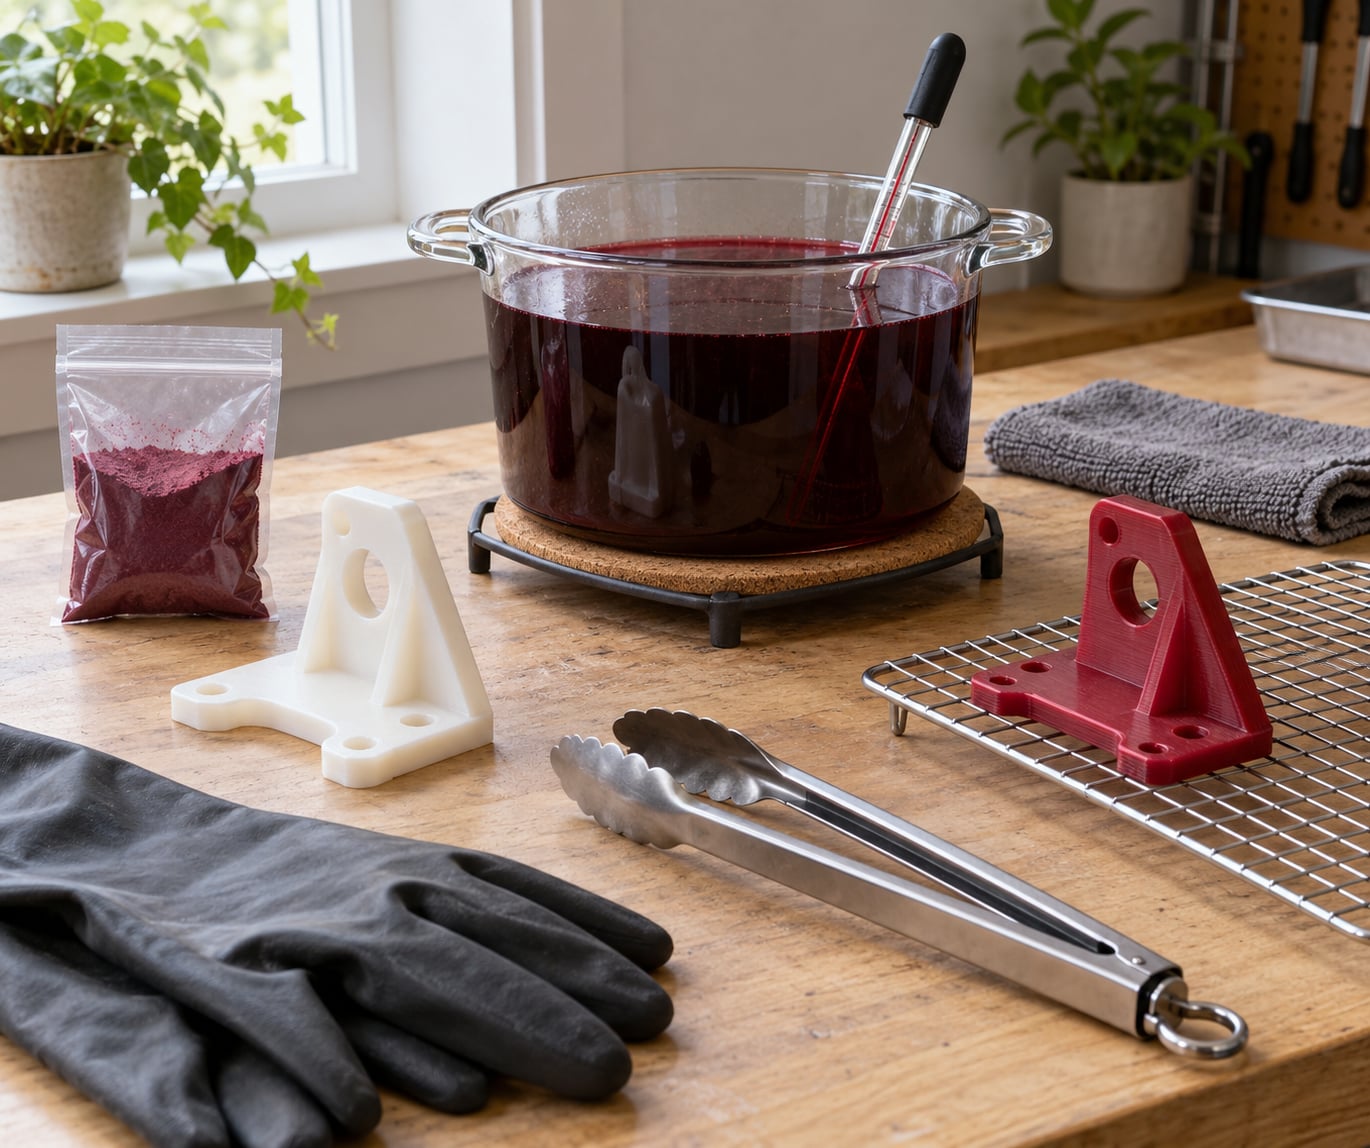
Here is the short list for dyeing nylon 3D printed parts at home or in a small shop:
- Nylon filament in natural/clear form, or finished printed nylon parts in white or grey
- A dye formulated for nylon, polyamide or wool
- A heat-safe pot or stainless steel container big enough to submerge the part with room to move
- A thermometer that reads to at least 100 °C
- Tongs, nitrile gloves and a rinse tub of cold water
- Ventilation: an open window, a fume extractor or a well-ventilated garage
- A drying rack or hook, plus a neutralising rinse for after the dye bath
The dye is the item worth being careful about. An acid dye, an aniline dye, or a clothing dye whose label lists nylon or wool will bond to polyamide. A dye listed only for polyester or cotton will wash straight back out, because those fibres use different bonding chemistry. The simplest reliable test is to read the packaging rather than the colour on the front.
Salt, soda ash or a small amount of vinegar may appear in a manufacturer’s directions depending on the dye class, so have plain table salt on hand and follow the ratio printed on your specific product. Use the manufacturer concentration rather than guessing; too much dye is a waste of powder, too little gives a washed-out result.
How to Dye Nylon 3D Printed Parts Step by Step
1. Confirm the Material Is Nylon
Check the spool label, your slicer profile or the supplier’s page before you heat anything. Natural nylon filament and PA12 printed parts dye well. PETG, PLA, ABS and TPU will not behave the same way at all: some barely tint, others go blotchy or deform long before nylon would.
Fillers change the outcome. Glass-fiber-filled and carbon-fiber-filled nylon dye unevenly, because the exposed fibre ends resist dye and stay lighter than the surrounding matrix. Unfilled nylon gives you the most uniform result, and if you must dye a filled part, expect a speckled, slightly metallic-looking finish. That finish is not necessarily bad on a rugged tool, but it is not a clean flat colour.
2. Clean and Prepare the Printed Parts
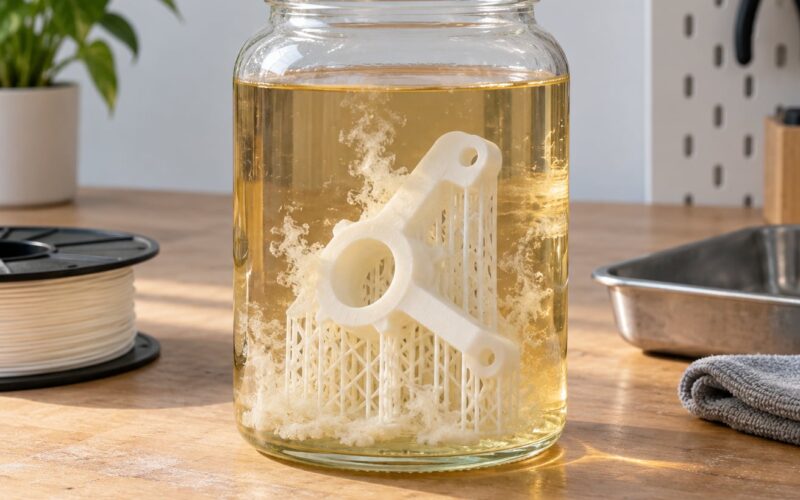
Dye will not stick to grease. Wash the parts in warm water with a drop of dish soap, rinse them thoroughly, and let them dry completely before they touch the bath. For powder-bed parts, shake and brush out loose powder first, and blow out internal channels with compressed air so trapped powder does not contaminate the bath.
Look at the part while it is still wet. Layer lines, sharp corners and internal channels are where dye pools, and those are exactly the places blotchy results come from. Note them so you know where to look after the soak. Dry parts also absorb differently than damp ones, which is another reason not to skip the drying step.
3. Choose and Mix the Dye
Fill your pot with the volume of water the dye manufacturer specifies, bring it to the working temperature, and stir in the dye powder until nothing is left on the bottom. Never dump powder straight onto a part; it clumps and leaves hard spots that never rinse out.
Always dye one small scrap coupon first. A 20 mm square of the same filament, printed at the same settings, tells you in ten minutes whether your dye class bonds, how strong the bath needs to be and what shade you will get. It costs almost nothing and saves the finished part.
4. Heat the Dye Bath and Dye the Parts
Heat the prepared bath to the temperature listed on the dye packaging, typically between 80 and 100 °C for nylon. Keep the water in that range rather than letting it boil, and keep it gently moving so dye cannot settle against the part and print a darker patch there.
Lower the parts into the bath with tongs and let them soak completely. Short soaks suit dense FDM filament parts, where colour only needs to reach the surface. Porous SLS and MJF parts usually want a longer soak, commonly around 10 minutes at working temperature, because the dye has further to travel through the porosity.
| Part type | Bath temperature | Soak time |
|---|---|---|
| Dense FDM nylon filament print | 80-90 °C | 5-10 minutes |
| SLS PA12 or PA11 part | 90-100 °C | 10-15 minutes |
| MJF part on a grey base | 90-100 °C | 10-15 minutes |
| Glass or carbon-filled nylon | 80-90 °C | 5-10 minutes, accept mottling |
Pull one part out at the end and rinse it immediately under cold water. If the colour is rich and even you are done; if it looks weak, put it back and soak longer rather than reaching for more dye powder. How well it worked tells you what the whole batch will do.
Never leave the bath unattended, and never heat it with the lid sealed. Steam burns are the most common injury in this process, not the dye itself.
5. Rinse, Dry, and Protect the Color
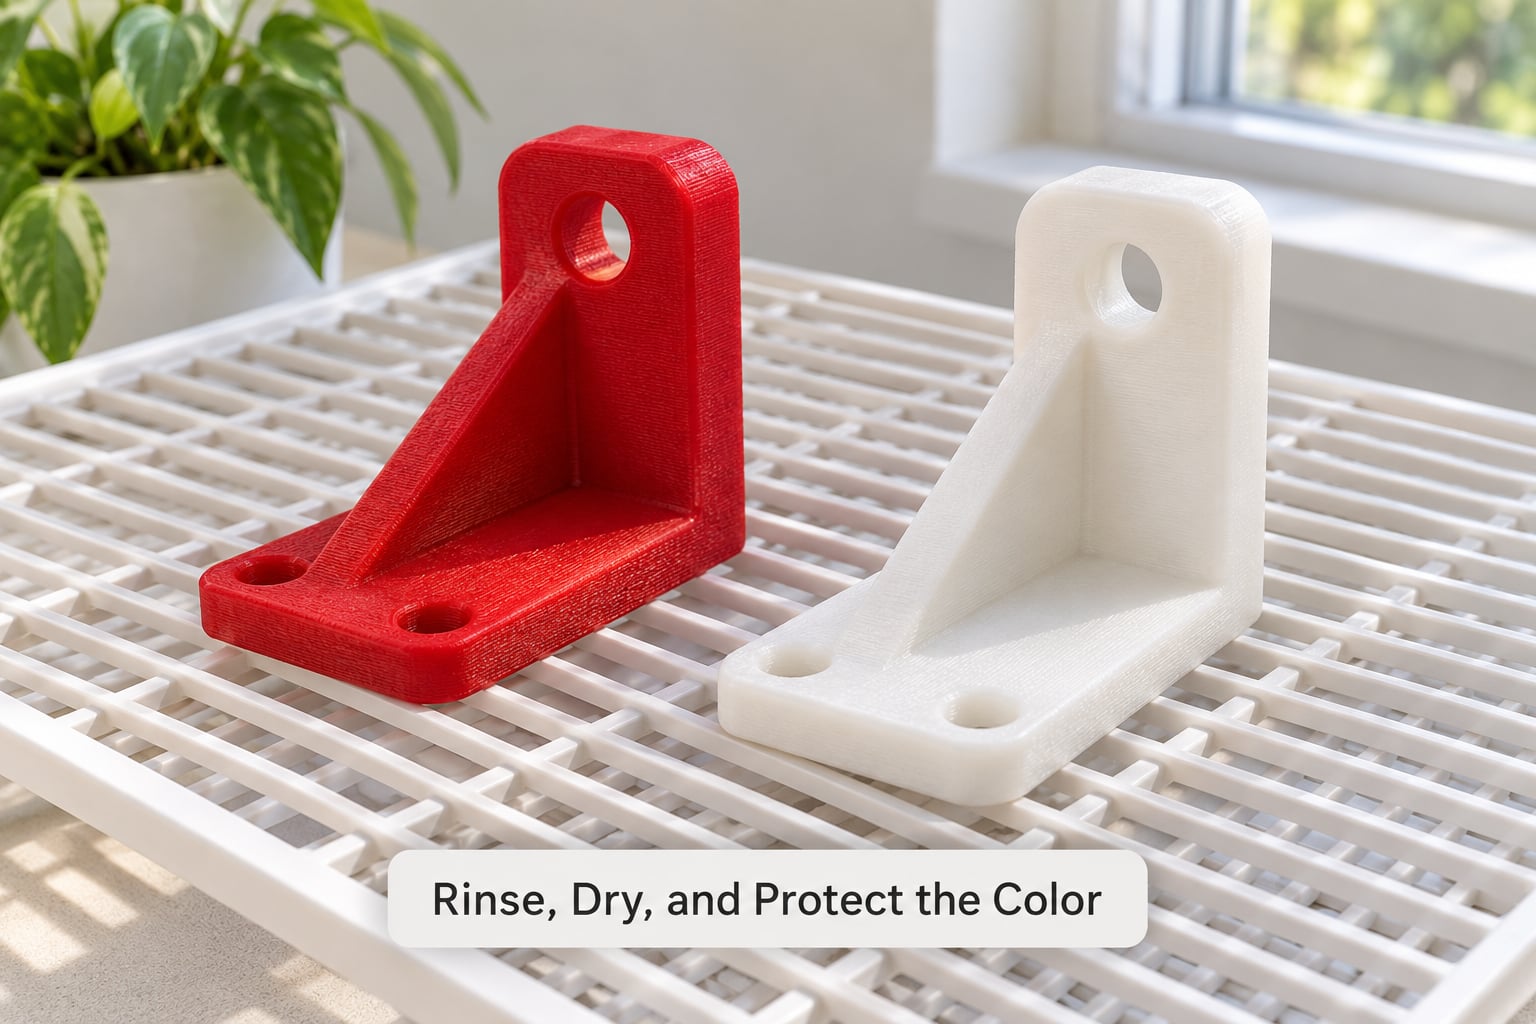
Rinse under cool running water until the water runs clear, moving the parts around so trapped dye in channels and lattices comes out. A mild detergent wash after the dye is gone helps clear what is left. Then rinse with a neutralising solution if your dye maker calls for one, and dry at room temperature with good airflow.
Do not wring nylon parts to speed things up. Air drying takes hours and that is fine; heat can set dye unevenly. If the finished part needs to handle abrasion or UV exposure, a clear matte sealer or a thin lacquer coat adds a layer of protection over the colour and improves how the surface feels in the hand.
Common Mistakes
Most disappointing results trace back to one of five causes, and all of them are fixable on the next attempt.
| What you see | Likely cause | Fix |
|---|---|---|
| Blotchy or patchy colour | Dye settled against the part, or dirty/greasy surface | Stir the bath gently, keep the part moving, wash parts thoroughly before dyeing |
| Colour is weak or pale | Wrong dye class, or bath too cool, or soak too short | Use an acid or aniline dye, hold temperature at the specified level, extend the soak |
| Colour washes out on the first rinse | Dye formulated for polyester or cotton | Switch to a dye listing nylon or wool; the wrong class will not bond at any temperature |
| Part is warped or distorted | Bath too hot, or part left in far too long | Drop to the lower end of the temperature range and pull the part out earlier |
| Part feels brittle or stiff | Repeated reheating, or drying at high heat | Dry at room temperature and avoid re-dyeing an already dyed part |
| Dye collects in corners and channels | Capillary action pulling dye into recesses | Dilute for a second, shorter dip; rinse quickly and thoroughly to stop pooling |
Two more habits worth naming. Dye baths should be used once and discarded rather than reused for a second batch, because contamination from the first part ruins consistency. And keep dyeing and printing areas separate: a stained bench is a small problem, but loose dye powder near an open filament printer is a contamination risk.
Dyeing Versus Painting: When Dye Is the Wrong Choice
Dyeing wins on parts that need colour without bulk. It does not change dimensions, it cannot peel, and a batch of parts takes the same bath cost whether you dye one or twenty. It is also the only practical option for getting a specific colour on a grey MJF part that no primer-and-paint workflow handles well.
Painting wins where you need a specific colour with complete control, an opaque finish over dark base colours, or extra abrasion resistance on a part that gets handled hard. The trade-off is thickness: paint and primer add material on every surface, which shows up at tight fits and around moving joints.
If you only need to prove a colour concept, priming and spraying one small part beats setting up a hot dye bath every time. If you need twenty functional parts in the same shade, dye it is.
Safety Notes Worth Taking Seriously
A nylon dye bath is hot, mildly acidic and easy to splash. Wear gloves and eye protection, work with the pot on a heat-safe surface, and keep windows open or run an extractor. Do not inhale dye powder, and do not eat or drink near the pot.
Never pour a spent dye bath down a drain. Let it cool, then follow the disposal instructions on your dye packaging; in most cases that means taking the liquid to a household hazardous waste facility rather than the sink. Rinse water that has no visible dye can usually go down the drain with plenty of cold water.
For parts that will touch skin, sit against skin for long periods, or hold food, check that the specific dye is certified for that use before finishing the job. Some pigmented dyes are not.
Frequently Asked Questions
Can you dye any type of nylon 3D printed part?
Unfilled nylon takes dye best, whether it is natural FDM filament, SLS PA12 or MJF PA12. Filled nylons with glass or carbon fibre dye unevenly and come out mottled, because exposed fibre ends resist the bath. Grey or black powder-bed parts need to be dyed light rather than dark, since a dark base colour cannot be lifted out.
What is the best dye for nylon 3D printing?
An acid dye or an aniline dye formulated for nylon and wool gives the most reliable bond with polyamide. Household all-purpose dyes work inconsistently and often rinse out, while dyes listed only for polyester or cotton will not bond at any temperature. Check the packaging for nylon or wool on the fibre list before you buy.
Does dyeing nylon change its mechanical properties?
A single well-controlled dye bath at normal working temperatures does not meaningfully change tensile strength or stiffness. Repeated reheating and drying at high heat can gradually embrittle a part, and long soaks above the recommended temperature raise that risk. Keep the bath in its specified range and dry the part at room temperature.
How do you prevent nylon parts from becoming brittle after dyeing?
Keep the bath within the dye maker’s temperature range rather than boiling it, and take the part out as soon as the colour reaches the shade you want. Dry at room temperature with airflow instead of using a dryer or oven. If a part feels stiff after a soak, that usually means too much heat for too long, not a fault in the material.
Can you dye glass-fiber-filled or carbon-fiber-filled nylon parts?
Yes, but expect a speckled two-tone finish rather than a flat colour. The exposed fibre ends take very little dye and stay lighter than the surrounding matrix, which reads as mottling on the surface. These parts soak faster, so use the shorter end of the soak range and rinse promptly so dye does not pool in the texture.
How long will the dyed color last on a nylon part?
Dye sits roughly 0.2 mm into the surface, so it resists peeling and ordinary handling far better than paint. It will still fade with heavy abrasion, prolonged UV exposure or repeated washing with hot detergent. A clear matte sealer over the dried part adds abrasion and UV resistance and keeps the colour looking fresh longer.
Conclusion
Start by printing a small square of the same nylon you are using and dyeing that scrap piece first. Confirm the dye lists nylon or wool on its fibre content, follow its concentration and temperature, and you will have a repeatable result on the parts that matter.
As of 2026, the process has not changed much, but the advice on this page follows the dye manufacturer’s safety and temperature data rather than any single online recipe. Read the data sheet, ventilate the space, and let the part dry fully before you handle it hard.