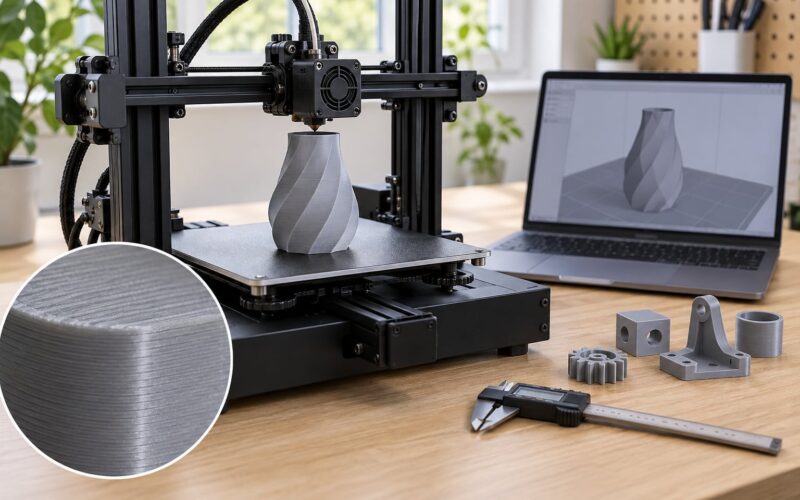
Tuning flow rate is how you tell your slicer how much plastic to actually push out compared with what the toolpath asks for. If that number is wrong, you get ridged scratchy top surfaces, gaps between wall lines, parts that will not fit, or a nozzle that drags on the layer below. The whole process takes about fifteen minutes of printing once your E-steps and temperature are already correct.
One note before we start. If you searched for this and landed on pages about lathe feed rates and tool marks, that is machining, not FDM. Feed rate in turning means how fast the cutter moves, and nothing in this guide applies there. Here, flow rate means an extrusion multiplier, a percentage applied to every extrusion move in the sliced file.
There is also a second meaning floating around, which is max volumetric speed, the limit of how much material per second your hotend can melt. Same phrase, completely different setting. We will come back to that in step 2.
Table of Contents
- 1What You Need
- 2Step-by-Step: How to Tune Flow Rate for Better Surface Finish
- 31. Establish a Clean Baseline
- 42. Set a Starting Flow Rate
- 53. Run a Flow-Rate Test
- 64. Calculate the Corrected Flow Multiplier
- 75. Validate the New Flow on a Printed Part
- 86. Save the Flow Rate by Profile
- 9Common Mistakes
- 10Tips for a Consistent Surface Finish
- 11Frequently Asked Questions
- 12What flow rate should I use for good surface finish?
- 13Is 100 percent flow rate always correct?
- 14How can I tell if my 3D printer is under- or over-extruding?
- 15Should I tune flow rate separately for every filament?
- 16Does changing flow rate fix rough top and bottom surfaces?
- 17Why does a flow test look good but my full print still looks bad?
- 18Conclusion
What You Need
A stable extrusion setup needs four things: the printer, the filament, a slicer, and a way to measure.
Start with a printer whose E-steps are already calibrated and whose nozzle temperature is dialed in for the material you are running. Flow rate cannot fix a nozzle that is grinding filament because the drive gear is worn, a partially blocked nozzle, or filament that is creased or knotted. Fix those first or your measurement will be garbage.
Next, a digital calipers. The cheap ones with 0.01 mm resolution are enough. A resolution of 0.1 mm is genuinely not enough here, because 0.01 mm on a 0.42 mm wall is more than two percent error in your final multiplier.
Then a slicer. OrcaSlicer, PrusaSlicer, Cura, Bambu Studio and Creality Print all support this, but they do not agree on the name. OrcaSlicer and PrusaSlicer call it Flow Ratio, Cura calls it Flow, Bambu Studio hides it inside a calibration menu instead of the print settings, and Creality Print labels it Extrusion Multiplier. Same control, four names. Know which one you are clicking before you start.
Finally, a clean, dry spool of the filament you actually intend to print with. Nominal 1.75 mm filament is a label, not a measurement. Real filament usually runs somewhere around 1.74 to 1.78 mm, and a 2 percent difference in diameter becomes a 2 percent error in your multiplier, which is the entire size of the adjustment you are trying to make.
If you have a micrometer, measure the filament itself and enter that value in your filament profile rather than trusting the box label. If you do not, keep the diameter setting at its default and just accept that your multiplier absorbs the difference.
Step-by-Step: How to Tune Flow Rate for Better Surface Finish
1. Establish a Clean Baseline
Reload the filament properly. Pull the old filament out, wipe the drive gear and the idler arm, feed the new spool in fresh, and purge roughly 200 mm at printing temperature so you clear whatever colour or material was in there before.
Then confirm three things before touching any flow setting.
- The filament diameter in your filament profile matches the material you loaded, including whether it is 1.75 mm or 2.85 mm.
- The printer profile matches the machine you are printing on, so nozzle diameter, max temperatures and speeds are right.
- The nozzle temperature is one you have already validated for this filament, not a value you guessed this morning.
This step is the one people skip, and skipping it is why two people can print the same model on the same machine and get different answers. If the baseline is not stable, every measurement after it is noise.
How to tell it worked: the purge line comes out smooth and even in colour, with no bubbles, no clicking from the extruder and no grinding. If you hear clicking during the print, stop and fix the filament path before continuing.
2. Set a Starting Flow Rate
The default starting point is 100 percent. Every mainstream slicer ships with that value, and for most printers with correct E-steps it lands within a few percent of correct.
Here is what the number actually does. Your slicer computes the volume of plastic needed for each line based on line width, layer height and filament area, then converts that into an E value in millimetres of filament. The flow multiplier scales that E value on every extrusion. So a flow of 103 percent means every extrusion move is pushed out 3 percent longer than calculated.
That is why a new flow value does not mean your E-steps are wrong or right. E-steps govern how many millimetres the firmware moves for a given E command. Flow governs what the slicer asks for. They are two separate layers, and changing one does not repair the other.
Nor does flow have anything to do with volumetric capability. If your hotend cannot melt plastic fast enough at high speed, raising flow to compensate produces thin, under-melted lines and a rough surface. The fix there is more temperature or a slower print, not more flow.
How to tell it worked: at 100 percent, a well-tuned PLA machine should give you a wall that measures within about 0.02 mm of your configured line width. Anything further out is what the next step measures properly.
3. Run a Flow-Rate Test
Generate a single-wall test model. In OrcaSlicer and PrusaSlicer it is a calibration object under flow ratio; in Cura, enable Spiralize Outer Contour with 1 perimeter, 0 infill, 0 top layers and 1 bottom layer on a 20 mm cube. Bambu Studio and Creality Print ship their own flow calibration gcode that does the same job.
Print it standing on its corner so you get one continuous vertical wall, not a stack of horizontal lines. Keep the nozzle size and layer height you normally use. If you calibrate at 0.1 mm layer height and then print at 0.28 mm, the result is a multiplier for a condition you do not have.
Use enough wall height that the measurement is not dominated by the rounded start and end. Roughly 40 to 50 mm tall is comfortable.
Now read the wall. Measure it at three points around the height, away from the seam, and average them.
| What you see | Direction | Do this now |
|---|---|---|
| Clean straight wall, lines merge with no ridge | Correct | Run the same test twice and confirm it repeats before you leave it alone |
| Visible V-shaped gaps between wall lines, sponge texture | Under-extrusion | Raise the multiplier in 2 percent steps and reprint |
| Raised ridge along the top of every line, wobbly wall | Over-extrusion | Lower the multiplier in 2 percent steps and reprint |
| Wall much thicker than line width, corner blobs | Over-extrusion | Check filament diameter setting is not set to 2.85 mm, then recalibrate |
| Wall thinner than line width even at 100 percent | Under-extrusion | Re-run E-steps first, then repeat the test |
| Top layer bumpy but walls clean | Usually not flow | Check cooling fan percentage and ironing settings before changing flow |
| Surface rough only near one side, seam area | Usually not flow | Align the seam or check retraction and wipe distance |
How to tell it worked: the wall reads within 0.02 mm of your line width, has no gaps and no ridge, and looks the same at the bottom, middle and top.
4. Calculate the Corrected Flow Multiplier
Here is the formula. Write it down, because most wrong multipliers come from arithmetic slips rather than bad tests.
New flow multiplier = (configured line width / measured wall thickness) x current flow multiplier
A worked example. Your configured line width is 0.42 mm and your current flow is 100 percent. You measure the wall at 0.45 mm. Corrected flow = (0.42 / 0.45) x 100 = 93.3 percent. Enter 93.3 and reprint the same test.
Another one in the other direction. Line width 0.42 mm, measured wall 0.40 mm, current flow 96 percent. Corrected flow = (0.42 / 0.40) x 96 = 100.8 percent. Set it, retest, and expect the new wall to land within 0.01 mm of 0.42.
Measure at least three points and average them, because that averaging is where people lose accuracy. A single reading taken over a seam or a rounded corner can shift your final multiplier by several percent. And let the part cool to room temperature before you measure it, because warm plastic reads noticeably thinner than cold plastic, and measuring hot is the most common reason a correct calibration gets undone.
Do not make repeated large jumps. If you are more than about 5 percent away from correct, change the number once, reprint, and measure again rather than estimating the final value in your head. Two clean measurements beat five guesses.
5. Validate the New Flow on a Printed Part
The single-wall test tells you about one line at one speed. A real part has corners, curves, solid infill and top surfaces, and those behave differently.
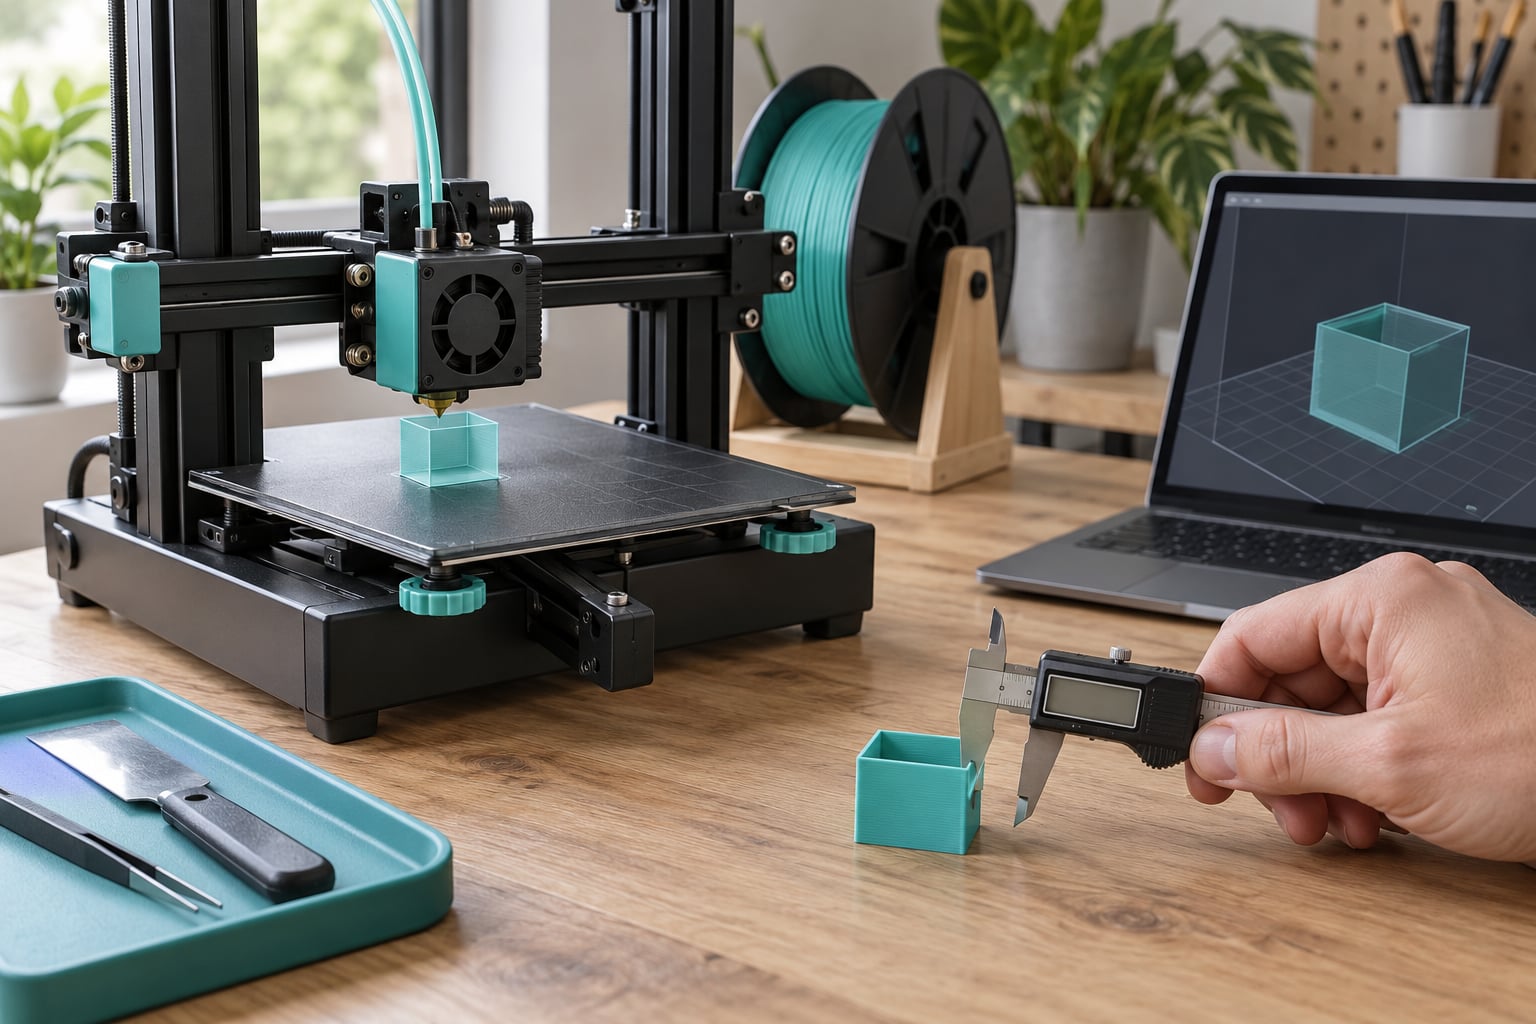
Print something small that has all of them. A calibration cube or a small bracket with sharp corners and a curved wall works. Set your normal layer height, your normal line width, and your normal speeds so the test reflects your actual slicing settings.
Look at four things. Dimensional accuracy, using the calipers on a dimension you care about. Layer consistency, meaning every line has the same width from bottom to top. Top surface, which should be flat and consistent with no ridges or blobs. And seam appearance, since a seam always shows a little but should not show gaps or a raised lip.
Then adjust in small increments only. If the walls are good but the top is still rough, do not drop the whole multiplier, because that will open up gaps in the walls. Change 1 to 2 percent and change one other setting at a time.
Keep other causes in mind while you judge the result. Nozzle temperature that is too low shows up as rough surfaces and weak layer bonding. Insufficient cooling leaves stringy or lumpy tops. Retraction problems create blobs at the seam. Z-axis or first-layer problems show up on the bottom of the part. None of those are fixed by flow.
How to tell it worked: walls match your line width, no gaps, no ridge, top surface flat, and printed dimensions within about 0.1 mm of the model on a 20 mm feature.
6. Save the Flow Rate by Profile
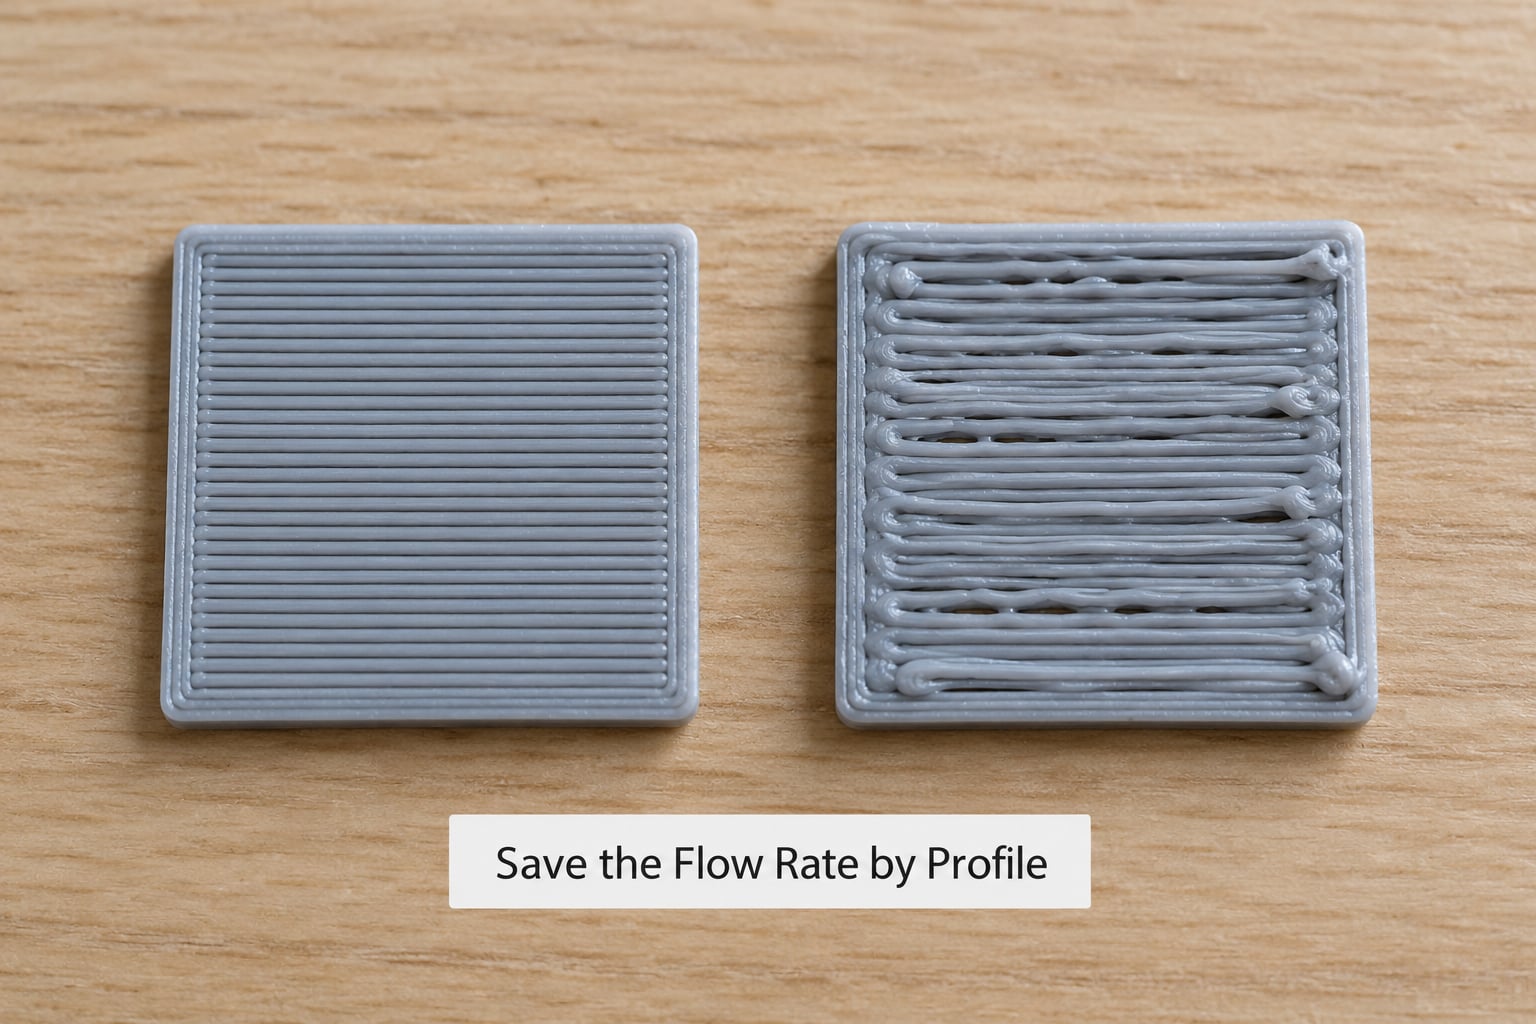
Put the tuned value in a named filament or material profile, not in the global printer profile. The moment you set it globally, it will follow you into a PETG profile and be wrong there.
Each slicer puts it somewhere different:
| Slicer | Setting name | Where it lives |
|---|---|---|
| Cura | Flow | Settings, Printer, Extruder, Flow |
| PrusaSlicer | Flow Ratio | Filament settings, custom G-code section, or right-click a filament preset to duplicate it |
| OrcaSlicer | Flow Ratio | Filament settings, or inside a filament profile customisation |
| Bambu Studio | Flow ratio | Calibration menu on the print screen, then written into the filament profile |
| Creality Print | Extrusion Multiplier | Filament settings for the active material |
Record the details alongside the number, in the preset name or a notes file: filament type and brand, spool batch, nozzle size, nozzle temperature, your measured filament diameter, the final multiplier, and the date you tested. Without those, a number sitting in a preset is meaningless six months later when you swap nozzles.
If your firmware supports it, M500 saves flow settings to EEPROM and M221 sets the flow percentage at runtime. Worth knowing when you want to nudge a running print, though the value you set with M221 does not rewrite the sliced file.
How to tell it worked: start a new print with the profile loaded, check the sliced preview, and confirm the flow value is present before you hit print.
Common Mistakes
- Tuning flow before E-steps. E-steps set how many millimetres the firmware moves per E command. Tune those first, every time.
- Measuring the filament at one point. Take three readings along a metre of filament and average. One spot is not a diameter.
- Leaving filament diameter at 1.75 mm when the material is different. A 2.85 mm filament left at the default will hand you a multiplier far outside any sane range.
- Misreading under-extrusion as a retraction problem. Gaps between wall lines are flow. Blobs and stringing at a seam are retraction. They look similar in a photo and are completely different fixes.
- Changing flow while chasing temperature or Z-axis faults. If the first layer is bad or layers are separated, no multiplier will help.
- Calibrating on a test pattern that does not match your printing. Calibrating at a layer height and speed you never use gives you a number for the wrong condition.
- Setting the value globally instead of per material. One PLA number does not transfer to PETG, ABS or a filled filament.
- Jumping in big steps. Change 2 percent at a time and reprint. Six percent corrections from one guess usually mean the baseline was wrong.
- Expecting one number per material family. Batches and brands vary. Your PLA at 97 percent says nothing about a different spool of PLA.
Tips for a Consistent Surface Finish
Once flow is right, a few habits keep it there.
- Change flow in 2 percent steps and reprint rather than adjusting by feel mid-print.
- Retest after any temperature change, new filament brand, new nozzle or nozzle swap.
- Keep slicer settings identical between the calibration test and real prints so the multiplier stays valid.
- Check nozzle consistency occasionally by watching the tip shape, because a partially blocked nozzle produces the same symptoms as bad flow.
- Keep the filament path clean and the spool dry, since moisture in PETG and nylon bubbles and ruins surfaces regardless of flow.
- Tune seam position and cooling after flow, not before. Both change how the surface looks without changing how much material goes down.
Ironing deserves one honest note. Community advice on ironing flow rates varies widely, often citing 20 to 30 percent flow at 30 to 60 mm/s as a starting point. Ironing works far better when your extrusion is already correct, because it re-heats and re-flows a consistent bead. On a wall with gaps, ironing smears the gaps into a flat smear instead of fixing them.
And be realistic about the ceiling. Correct flow gives you consistent dimensions and clean walls. It does not fix elephant’s foot, seam visibility, stringing or a dull finish caused by low cooling. Those are separate settings with separate fixes.
Frequently Asked Questions
What flow rate should I use for good surface finish?
Start at 100 percent, then correct from a measured single-wall test. Well-tuned PLA machines usually land between 92 and 98 percent, PETG between 95 and 100 percent, and TPU often needs 100 to 110 percent because it compresses in the feeder. Treat those as sanity checks only. Your own measured number for your filament, nozzle and temperature beats any table.
Is 100 percent flow rate always correct?
No. 100 percent is the factory default, not a physical constant. It assumes your E-steps are exact, your filament diameter is exactly nominal and the machine is mechanically sound. Small differences in any of those shift the correct value. Run the single-wall test once per filament and you will usually find you land a few percent away from 100 percent.
How can I tell if my 3D printer is under- or over-extruding?
Under-extrusion shows as visible gaps between wall lines and a sponge-like texture, with the wall measuring thinner than your line width. Over-extrusion shows a raised ridge along the top of each line, a wall measuring thicker than configured, blobs at corners and parts that come out too large. Both show up immediately on a single-wall test print.
Should I tune flow rate separately for every filament?
Yes, tune per filament rather than per material family. Different brands and batches vary in diameter and melt behaviour, and a filled or fibre-reinforced filament behaves differently again. Retune whenever you change filament type or brand, swap the nozzle, or move to a noticeably different nozzle temperature. Save each result in its own filament profile.
Does changing flow rate fix rough top and bottom surfaces?
Only sometimes. Flow affects top surface quality indirectly, because a top layer is infill lines melted together, so gaps and ridges show up there first. But rough tops are far more often caused by insufficient part cooling, a nozzle that is too cool, or poor seam placement. Fix flow first, then adjust cooling and seam before touching the multiplier again.
Why does a flow test look good but my full print still looks bad?
A single-wall test runs one line width at one speed, and most real prints change line width between perimeters and infill, use solid top layers, and print at higher volumetric demand. Defects from temperature, cooling, retraction, Z-axis consistency or seam placement will still appear on the full part. Confirm flow is right, then work through the other settings one at a time.
Conclusion
Start here: get a clean baseline with correct E-steps, a validated nozzle temperature and a known filament diameter. Print one single-wall test model, measure it at three points once it has cooled, and apply the formula once. Then verify on a small part with corners and a top surface before you save the value into that filament’s own profile.
That is how to tune flow rate for better surface finish without chasing your own tail for weeks. Accurate, repeatable extrusion is the foundation everything else sits on. Once walls match your line width and tops stop rippling, the remaining finish problems are cooling, temperature and seam work, and you will know exactly which knob to turn.