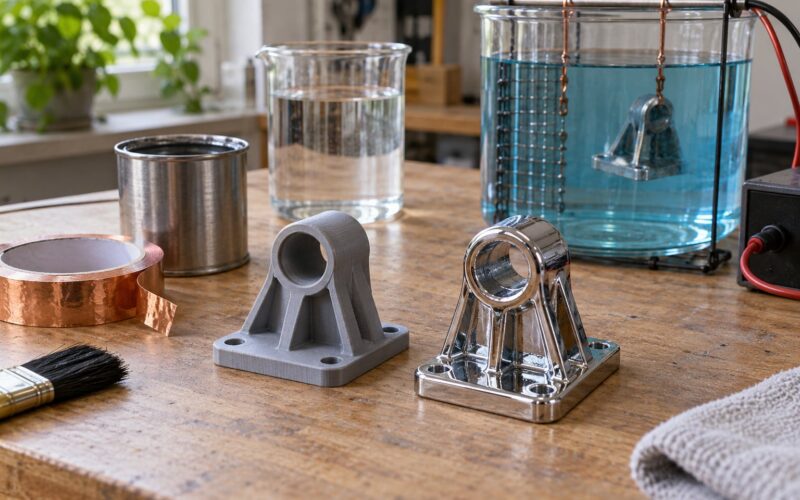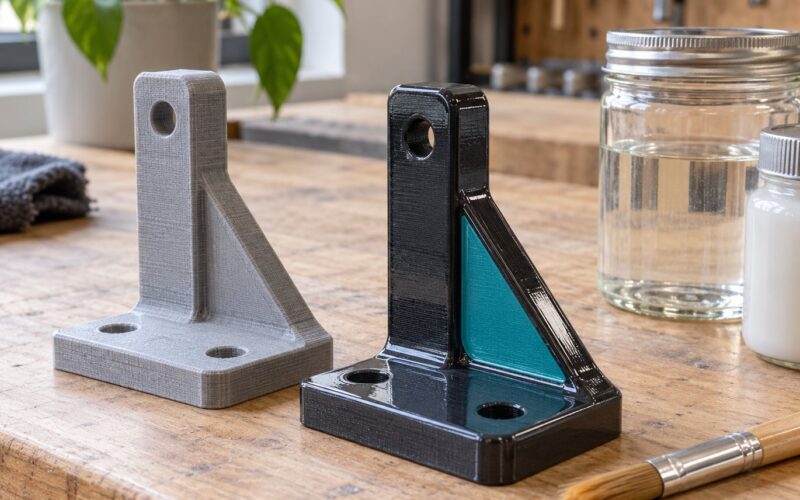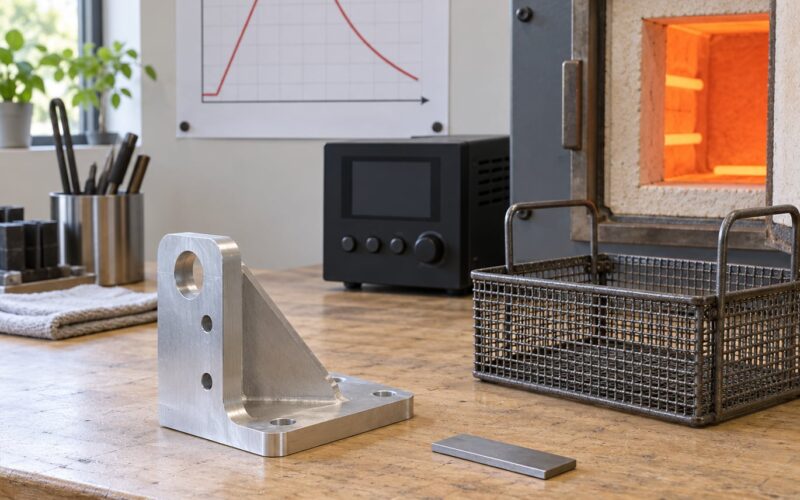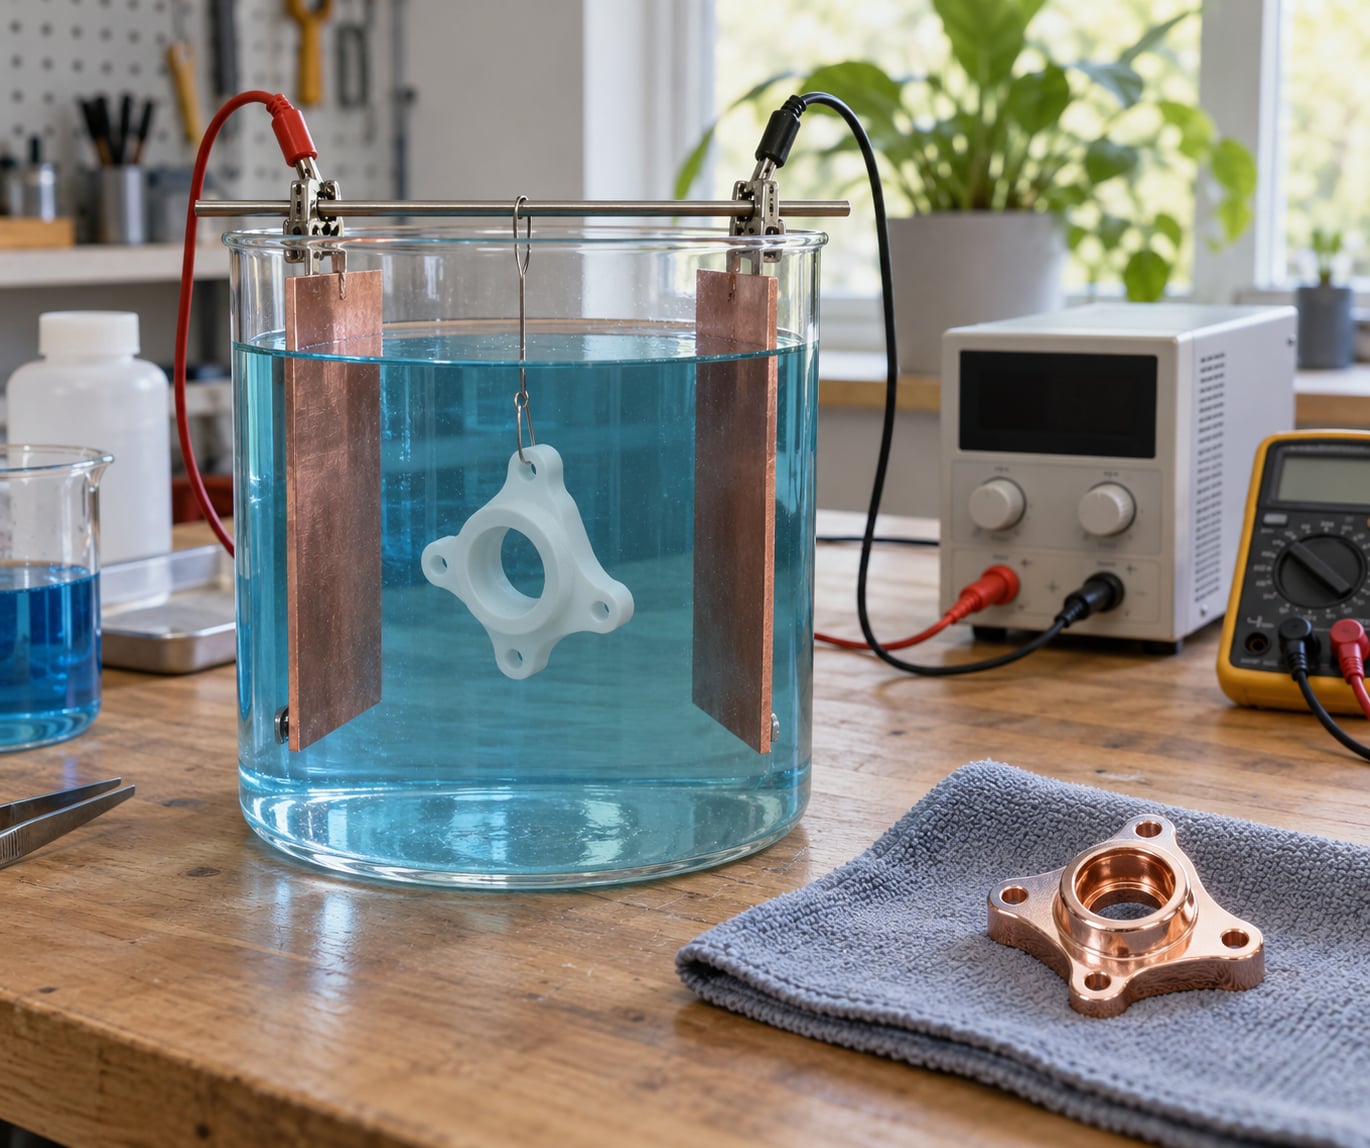
To electroplate a 3D printed part, you make the surface electrically conductive, wire the part to the negative terminal of a low-voltage DC supply, and submerge it in a bath of metal salts so current drives metal onto it as the cathode. How to electroplate 3D printed parts is mostly a preparation game: the plating itself takes hours in the bath, and the finish you get is decided before the part ever touches a solution.
Budget a full day for a first run, mostly unattended bath time. Expect the first attempt on a part you care about to be mediocre, which is why you plate test coupons first.
Table of Contents
- 1What You Need to Electroplate 3D Printed Parts
- 2Step-by-Step: How to Electroplate 3D Printed Parts
- 3Choose a Plating-Compatible Printed Part
- 4Prepare and Degrease the Surface
- 5Apply and Activate a Conductive Seed Layer
- 6Mask Non-Plated Features
- 7Set the Electrical Parameters for Electroplating 3D Printed Parts
- 8Plate the Part and Control Thickness
- 9Rinse, Dry, and Inspect the Finish
- 10Common Mistakes
- 11Nothing plates on the part
- 12The plating peels or blisters off
- 13The finish is matte, rough or dark
- 14Only part of the surface is coated
- 15Layer lines and scratches show through the mirror finish
- 16Uneven thickness and dark edges near the anode
- 17Salt haze, white spots or tarnish after drying
- 18Rack marks and wire imprints
- 19Safety and process control in one line
- 20Frequently Asked Questions
- 21Can all types of 3D printed parts be electroplated?
- 22Do I need electroless copper before electroplating a plastic part?
- 23What material and thickness are usually best for electroplating?
- 24How do I know if my printed part is conductive enough?
- 25Is it safe to electroplate 3D printed parts at home?
- 26How can I tell whether the plating is adhering properly?
What You Need to Electroplate 3D Printed Parts
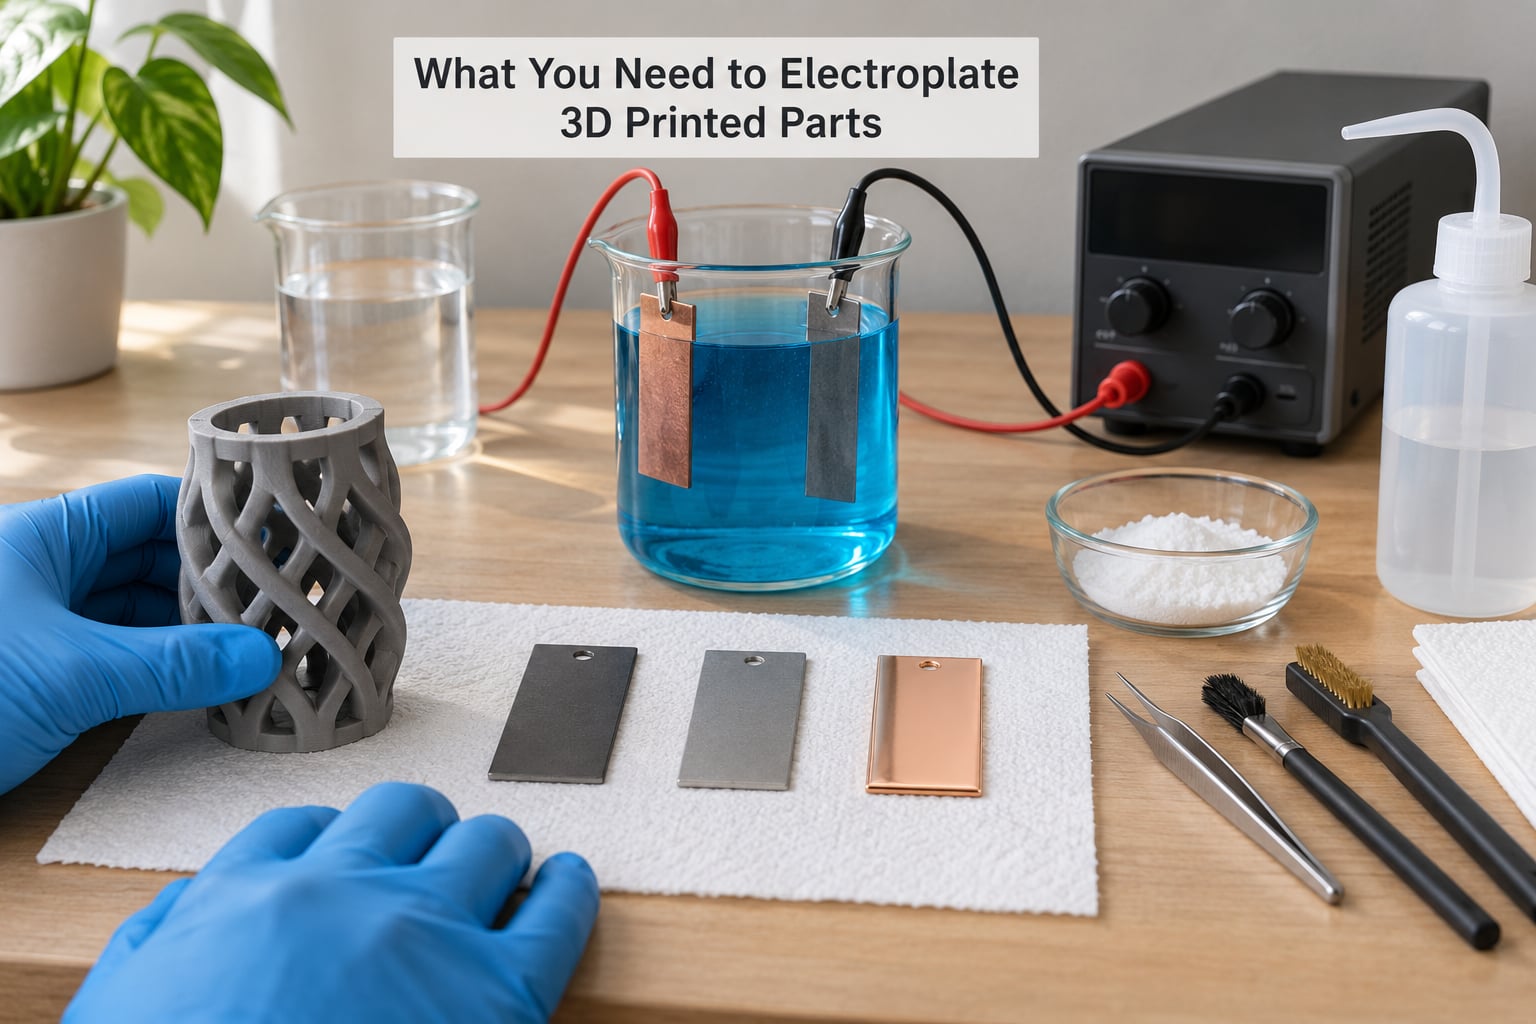
You need four groups of things: a way to make the part conductive, a way to clean it, an electrolyte bath with a power source, and the protective gear to handle acidic chemistry. Buying the kit as a bundle covers most of the list, but two items are easy to overlook and both cause failures later.
- The printed part plus a test coupon in the same material and orientation. Plating coupons costs almost nothing and protects the real part.
- Conductive surface system — copper conductive paint, graphite paint or a nickel conductive spray, plus thin brushes or an airbrush. Metal-filled filament is not a substitute; it is not continuous enough to plate reliably.
- Surface prep kit — sandpaper from roughly 800 to 2000 grit, filler primer or putty for FDM gaps, a plastic-compatible degreaser, and clean nitrile gloves you change often.
- Electrolyte bath and anodes — an acidic copper bath to start, pure copper anode plates, and a glass or plastic vessel large enough that the part hangs freely without touching the sides.
- Rectifier or control unit — a bench DC supply with a fine current control is easiest to tune. A printer power supply plus a step-up converter works and costs less, but the controls are coarser.
- Racks, wire and clips — titanium or stainless plating racks, heavy gauge wire for the part hanger, and alligator clips rated for the current you plan to draw.
- Measuring tools — a multimeter for continuity, a thermometer for the bath, a timer, calipers, and a thickness gauge or XRF probe once the deposit is thick enough to check.
- Ventilation and PPE — chemical-rated nitrile gloves, splash goggles, a half-mask respirator with acid gas and organic vapour filters, and a workshop extractor or fume hood. Never plate in a closed room without forced extraction.
- Waste handling — sealed acid-resistant containers, a spill kit, absorbent pads, and a route to dispose of spent electrolyte as hazardous chemical waste. Nothing from the bath goes down a drain.
A home workshop setup handles small decorative parts, jewellery and props in baths of a few litres. A controlled commercial setup adds fume extraction, a filtered bath, temperature-controlled plating lines and treatment of heavy metals, and it is what you use when parts need uniform thickness, tight tolerance or shielding performance you can certify.
Step-by-Step: How to Electroplate 3D Printed Parts
The order below matters. Every stage assumes the previous one was done properly, and skipping preparation is the reason most first attempts look dull and peel.
Choose a Plating-Compatible Printed Part
Material choice sets your ceiling on quality, so screen the print before you spend time prepping it. Dense, fine-layer prints plate better than coarse, porous ones, because metal nucleates on the seed layer and any void or gap becomes a defect that never fills.
SLA and polyjet resin prints usually give the smoothest result after sanding, since the surface has no visible layer lines to telegraph through a mirror finish. FDM prints are workable, but layer ridges must be sanded flat and any gap between layers filled, or the plating will bridge those valleys and exaggerate them.
Check three things: that the resin or filament resists the bath chemistry and the heat it reaches, that the part has no trapped voids or unsealed internal channels that can wick solution, and that any support scars are sanded away completely. Support marks are the single most common place plating lifts, because the scar is rougher than the surrounding surface and the seed layer thins over it.
Orientation matters as much as material. Print so that the highest surfaces face outward and any cavities stay shallow; solution has to reach every surface, and a deep recess plates unevenly no matter how long you leave the part in.
Prepare and Degrease the Surface
Sand the part progressively from about 800 grit up to 2000, working between grits to knock the layer lines down rather than just scratching them. Fill any remaining pits and gaps with a filler primer compatible with your plastic, sand it flush, then seal it.
After sanding comes degreasing, and this step decides whether plating sticks. Wash the part in a plastic-compatible degreaser, handling it only with clean gloves from that point on, then rinse thoroughly in clean water.
Dry the part fully before seeding. Moisture trapped under conductive paint later turns into pits and blisters, and it also disturbs the current path on the surface.
Apply and Activate a Conductive Seed Layer
Electroplating only happens on a surface that carries current, and plastic does not. You seed the part with a conductive coating, typically two or three thin coats of copper paint, graphite paint or nickel conductive spray, letting each coat flash off before the next.
Thin coats matter more than heavy ones. Thick conductive paint stays soft, blisters and peels in an acidic bath, which is exactly the failure long-time users on r/electroforming and r/custommadewatches describe when they report delamination weeks after plating.
Verify the coating with a multimeter set to resistance. Touch both probes to the part and read under about 1000 ohms between them for a part of this size; higher readings mean thin or discontinuous coverage. For functional or shielding parts, treat that as a hard gate rather than a rough guide.
Some seed systems need an activation or strike step in a mild acid or alkaline bath before electroplating, and the supplier’s data sheet will say so. Activation strips oxide and leaves the surface ready to accept metal, and skipping it is a common reason the first minute of plating deposits nothing.
Mask Non-Plated Features
Mask mating surfaces, threads, bearing seats, datum features and any area that must stay non-conductive or non-plated. Plating that grows into a thread or a press fit changes the part’s dimensions, and once metal is in a clearance you cannot get it back out.
Use a tolerant, fully cured masking material rated for the bath chemistry. Plating creeps under tape edges and across overspray, and a poorly cured mask can lift with the deposit attached, which takes your seed layer with it.
Attach the rack wire to a location you will later cut back, and count that spot as sacrificed surface. Terminals, lugs and small electronics housings can also be masked so plating does not bridge into contacts.
Set the Electrical Parameters for Electroplating 3D Printed Parts
Mount the part as the cathode on the negative terminal, and hang a pure metal anode on the positive side, facing the part with an even gap. The anode dissolves to replace the metal leaving the bath, so its surface area sets how fast the solution recovers.
Use an anode at least as large as the area you are plating, and often larger. A small anode becomes the bottleneck, the bath chemistry shifts, and you get burnt deposits on the part closest to it. Scrape or rinse anode oxide with a mitt between runs; a passivated anode stops feeding current properly.
Space the part far enough from the anode and from the bath walls that solution circulates freely, and agitate gently. Metal deposited closest to the anode receives the most current, which produces the burned, dark edge that experienced platers call anode shadow.
Set current by surface area rather than by habit. A typical starting point for an acidic copper bath is roughly 1 amp per square decimetre of plated area, then adjusted for the bath supplier’s validated settings, temperature and agitation. Follow the chemistry’s specified values; generic voltage numbers from the internet are the fastest route to a rough, matte deposit.
Plate the Part and Control Thickness
Start the run at a low current and ramp up, because a sudden high current burns the conductive paint and darkens the deposit. A common acidic copper ramp starts near 0.5 volts for the first hour, steps to around 0.7 volts for a second hour, then holds 1 to 1.2 volts for several hours.
Watch the bath rather than the clock alone. Gentle bubbling at the part is normal; violent fizzing or a dark deposit means the current is too high, and any haze in the bath usually means the bath wants treatment.
Keep the temperature steady and move the part periodically, which evens out the deposit on faces pointing at the anode. Expect roughly 25 to 50 microns per hour of copper in a typical acidic bath at normal settings; four to five hours is a normal run for a part that needs a durable shell, and thicker deposits take far longer than hobbyists expect.
Nickel runs are much shorter. Many people start near 2 volts and increase until bubbles appear at the part, plating for five to ten minutes to build a barrier layer. Measure the result with a thickness gauge on a scrap coupon, since the coupon and the part may not deposit at exactly the same rate.
Rinse, Dry, and Inspect the Finish
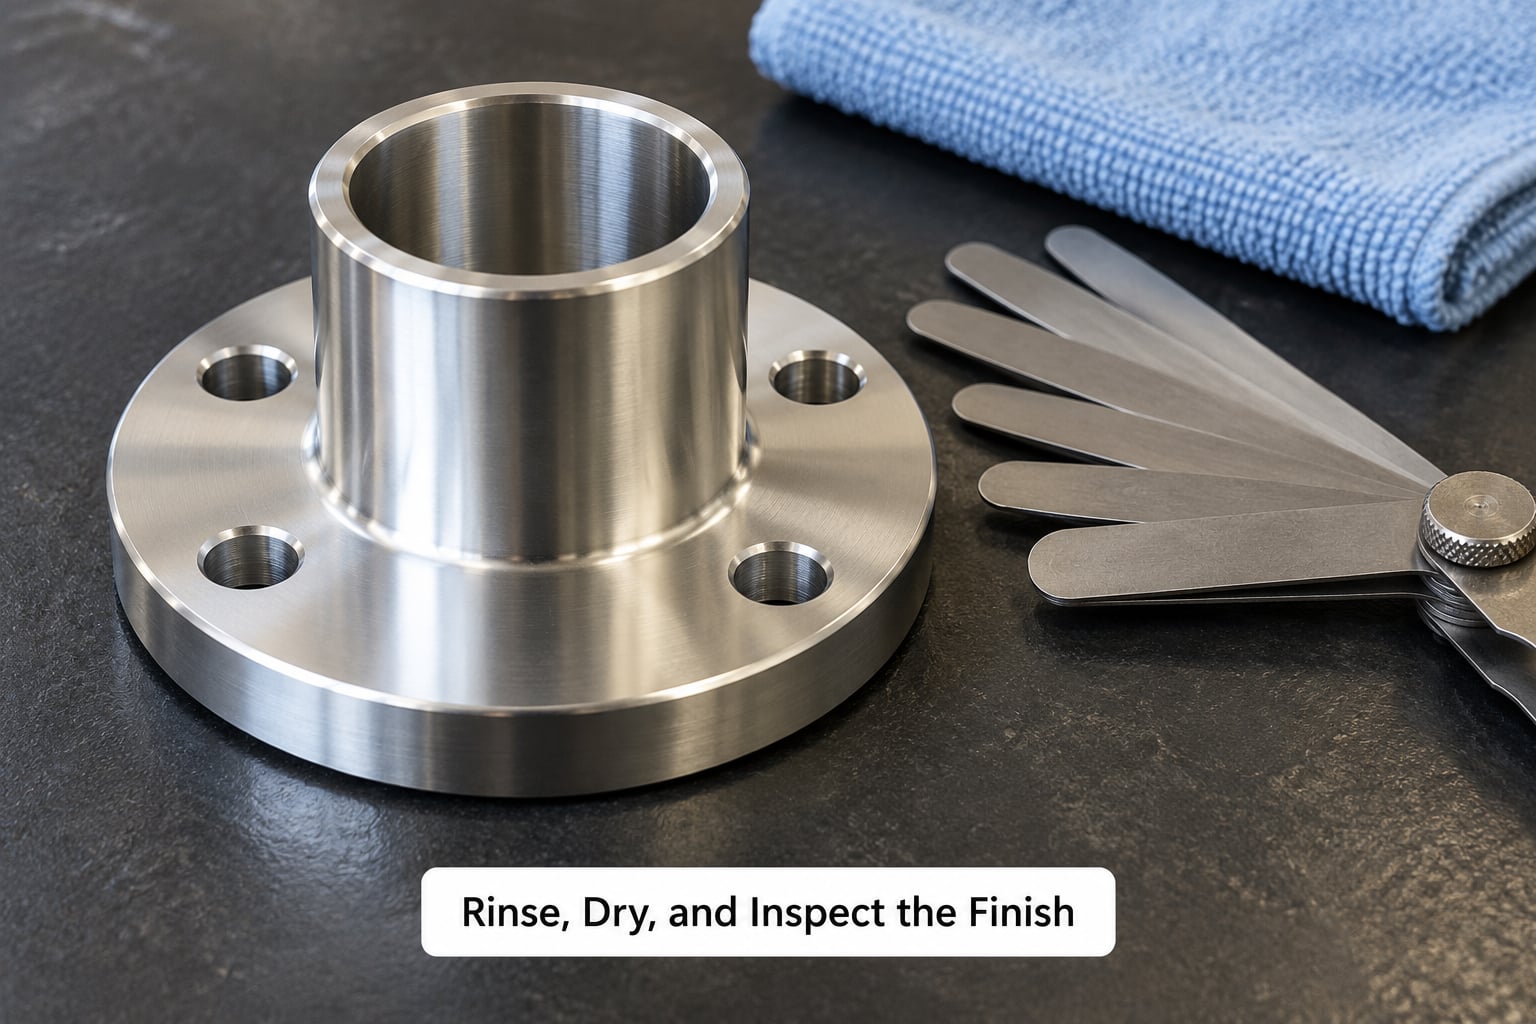
Rinse in successive containers of clean water, moving the part rather than pouring the bath away, then rinse once more in distilled water to stop salts from drying into the deposit. That last rinse is what prevents the white haze and dark spots that show up days later.
Dry immediately with clean, lint-free air or a soft cloth. Any moisture that stays trapped in the deposit will lift it, and a print that has been sitting wet overnight may be unusable.
Cut the wire free, then sand or file the hanger mark flush and blend it into the surrounding surface. Polish with a metal polish and a clean microfibre cloth for a mirror finish, and if you are stacking metals, plate and polish each layer before moving to the next.
Inspect under good light for pits, bare patches, dark areas and thickness differences around the part. When plating more than one metal, put a nickel barrier between copper and gold or silver; without it, the two metals in contact with moisture create galvanic corrosion, and the gold layer will undercut and flake.
Finish with a compatible clear coat or wax if the part will be handled, worn or stored where fingerprints and moisture sit. The sealer protects the deposit; it does not fix bad adhesion underneath it.
Common Mistakes
Nearly every failure traces back to one of a handful of causes, and they are easy to separate once you know what the symptom looks like.
Nothing plates on the part
The usual causes are a seed layer with gaps, resistance above your threshold, wrong polarity, or a part sitting too far from the anode. Check polarity first, then measure resistance across the part again in several places, and confirm the bath is at temperature and at concentration.
The plating peels or blisters off
Conductive paint that is too thick, too soft or under-cured softens in the bath and lets the metal lift away with it. Strip it, degrease again, and apply thinner coats with proper flash-off between them. Peeling that starts at a support scar or a sanded edge points back to rough substrate rather than the coating.
The finish is matte, rough or dark
Current density above the chemistry’s range, a dirty anode, depleted brightener and an unagitated bath all produce a dull deposit. Drop the current, clean or swap the anode, restore the bath chemistry and add agitation. Plated areas should not smell burnt; if they do, the run went too hot.
Only part of the surface is coated
Paint sitting in a recess, an unfilled cavity or a masked area you forgot about will not plate. Rotate the part during the run, keep coatings thin and even, and design prints with shallow detail on the visible side.
Layer lines and scratches show through the mirror finish
Metal follows the surface underneath it, so a 0.2 mm ridge becomes a ridge in the plating and then in the polish. Sand finer, fill more thoroughly and polish with more patience. On resin prints the fix is easier because there are no layer lines to begin with.
Uneven thickness and dark edges near the anode
Current concentrates at the closest point, so parts sitting close to a small anode plate unevenly. Increase anode area, widen the gap and move the part during plating. A slow, steady rotation fixes most of this.
Salt haze, white spots or tarnish after drying
The part was rinsed in one container and dried with salts still on it. Rinse through two or three changes of water, finish with distilled water, and dry at once.
Rack marks and wire imprints
Every hanger leaves a spot that has to be removed. Attach at a sacrificial area, keep contact pressure light enough not to cut through the paint, and sand or file the mark back flush before polishing.
Safety and process control in one line
Gloves, goggles and a filtered respirator whenever the bath is open, forced ventilation whenever it is running, no drain disposal for any solution or rinse water, and dated bath records so you replace electrolyte before it degrades rather than plating parts into a fouled bath.
Frequently Asked Questions
Can all types of 3D printed parts be electroplated?
Most can, but material and geometry decide how well. Dense SLA and polyjet resin prints plate cleanly after sanding, while FDM prints need layer lines flattened and gaps filled. PLA and other low-temperature thermoplastics may soften in a heated bath, and deep cavities trap solution. Print shallow, orient features outward, and screen the polymer against your bath chemistry before starting.
Do I need electroless copper before electroplating a plastic part?
For display and decorative parts, a conductive paint or spray is enough to seed the surface. For functional parts, wear surfaces, shielding or conductive surfaces that must be electrically reliable, electroless nickel or copper gives a harder, more uniform, chemically bonded seed layer. Electroless plating costs more per part and adds bath management, so hobbyists usually start with paint.
What material and thickness are usually best for electroplating?
Fine-layer, low-porosity prints work best, and a wall thick enough to handle and to plate without bridging detail is the practical choice, often a few millimetres on decorative pieces. Very thin walls flex during prep and crack the coating. Match the material to the bath temperature, and use resin when the part needs a smooth, undistorted surface.
How do I know if my printed part is conductive enough?
Set a multimeter to resistance and touch both probes to two separate points on the seeded surface. A reading under roughly 1000 ohms on a small part usually means the coating will carry plating current evenly. Read again in several places, including recesses and edges, because coverage is rarely perfect. If the probe beeps on continuity at every point, the seed layer is solid.
Is it safe to electroplate 3D printed parts at home?
It is workable in a properly ventilated workshop with small baths, gloves, goggles and a half-mask respirator with chemical filters. The real limits are ventilation capacity, acid handling and waste disposal, since spent electrolyte and rinse water are hazardous waste that must never reach a drain. Chrome plating needs industrial ventilation and is not a home process. Check local rules before you buy a bath.
How can I tell whether the plating is adhering properly?
Test a sacrificial coupon rather than the finished part. Score a small grid into the deposit with a sharp blade, press firm tape across it and peel slowly; lifting at the grid lines means poor adhesion. Let the part sit a day or two first, since weak adhesion often shows up later. Adhesion failures start at support scars, edges and thick paint, so inspect those areas closely.
Start with a coupon in the same material as your part: sand it, seed it, check resistance, then run one short copper cycle and judge the deposit. Once that coupon comes out bright and even, repeat the same numbers on the real part, and only then consider stacking nickel and gold on top.