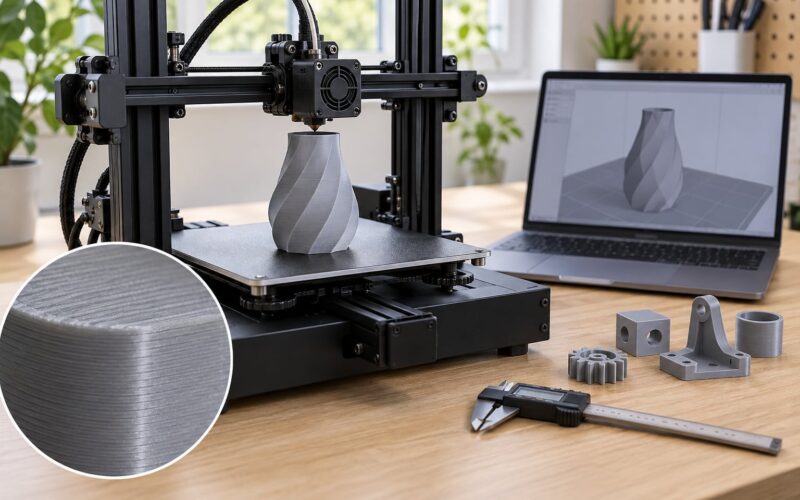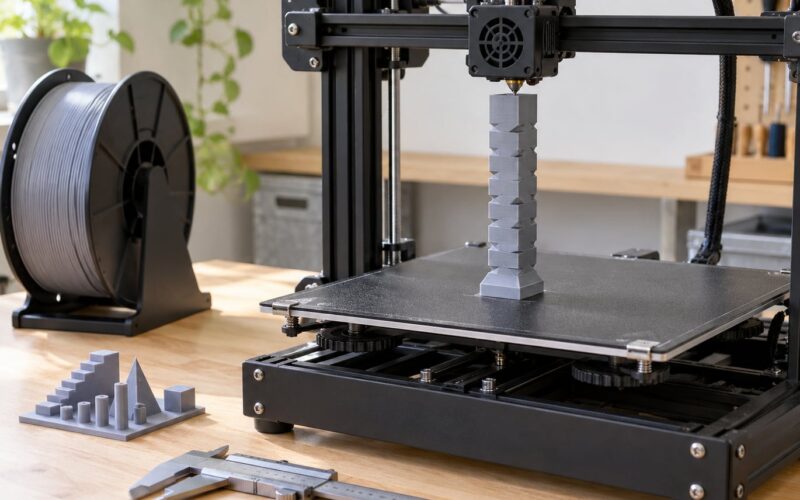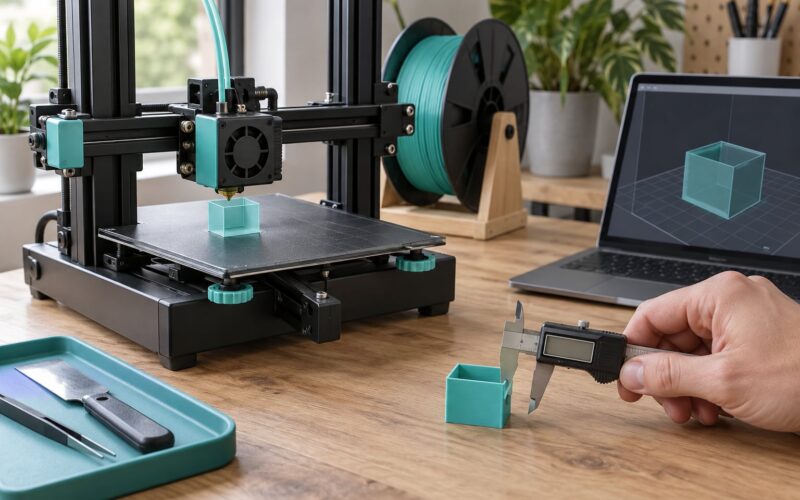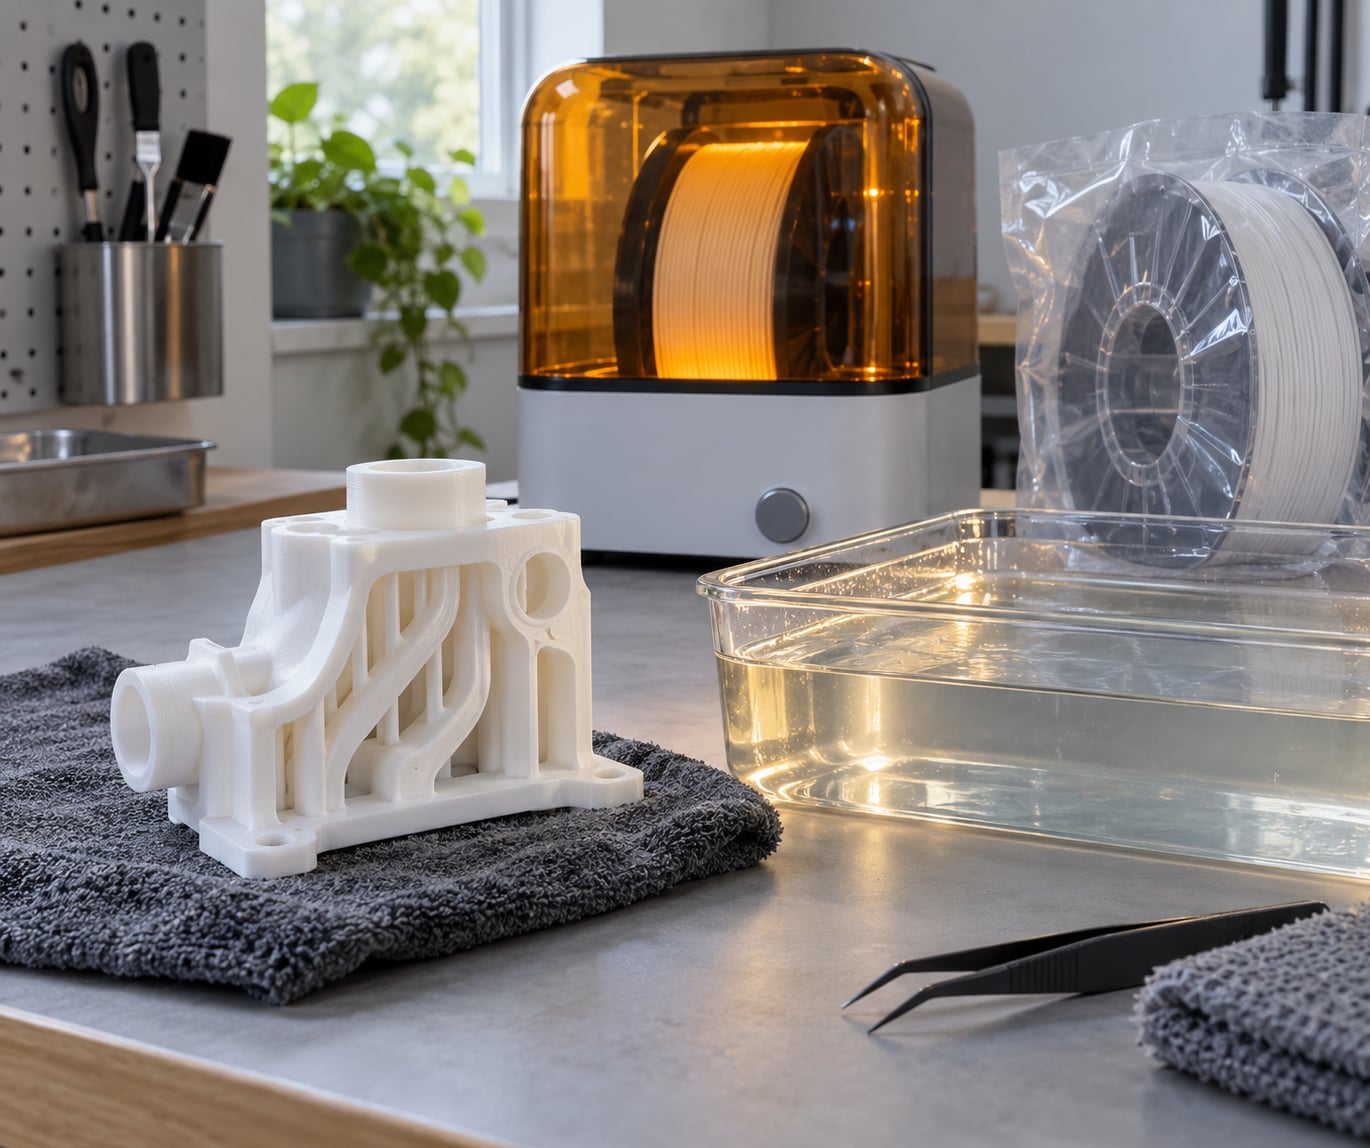
Learning how to use soluble supports with PVA comes down to four things: a printer with a second material path, bone-dry PVA filament, interface settings that actually bond to your model, and a warm water bath at the end. The print itself takes longer than you are used to. Plan on a slower job and a soak of a few hours, and the internal channels, hollow shells and fine lattices you have been avoiding become reachable without a knife.
Table of Contents
- 1What You Need
- 2Step-by-Step
- 31. Model the Part and Plan to Use Soluble Supports with PVA
- 42. Dry the PVA and Model Filaments
- 53. Configure the Printer and Extruders
- 64. Set up the Slicer for PVA Support
- 75. Print and Inspect the First Layers
- 86. Remove the PVA Support
- 9Common Mistakes
- 10Tips for More Reliable Soluble PVA Prints
- 11Frequently Asked Questions
- 12Can PVA supports be used with any 3D printing material?
- 13Is PVA support stronger or weaker than ordinary breakaway support?
- 14Do PVA supports dissolve in water without damaging the printed part?
- 15Can a single-extruder 3D printer use PVA as a soluble support?
- 16Why does PVA support cause bumps, strings, or discoloration?
- 17How should PVA-supported parts be dried after washing?
- 18Conclusion
What You Need
Start with the machine, because this is where most first attempts go wrong. PVA support only works if the printer can hold two materials at once. That means a dual-nozzle machine, a multi-material unit such as the Prusa MMU or Bambu Lab AMS, or a printer with a dedicated second tool head.
A single-extruder printer cannot swap materials mid-layer, and support has to arrive on the same layer as the surface it holds up. There are workarounds in the section below, but they are manual, slow, and worth skipping if you have a real job to run.
Beyond the printer, you need the following.
- PVA support filament matched to your nozzle diameter. Buy the same brand and formulation you can get consistently, because PVA behaviour varies more between makers than PLA does.
- Your model filament, and a clear idea of whether PVA will bond to it. PLA is the easy case.
- Moisture control: a filament dryer, a sealed dry box with desiccant, or a heated chamber. This is not optional, and I will explain why in step two.
- Water-bath tools for dissolution: a container deep enough to submerge the part, a way to hold it under the surface, a soft brush for channels, and a towel or rack for drying.
You will also want a hygrometer, the cheap handheld kind, if you do not already have one. It turns drying from guesswork into a number you can check.
Step-by-Step
1. Model the Part and Plan to Use Soluble Supports with PVA
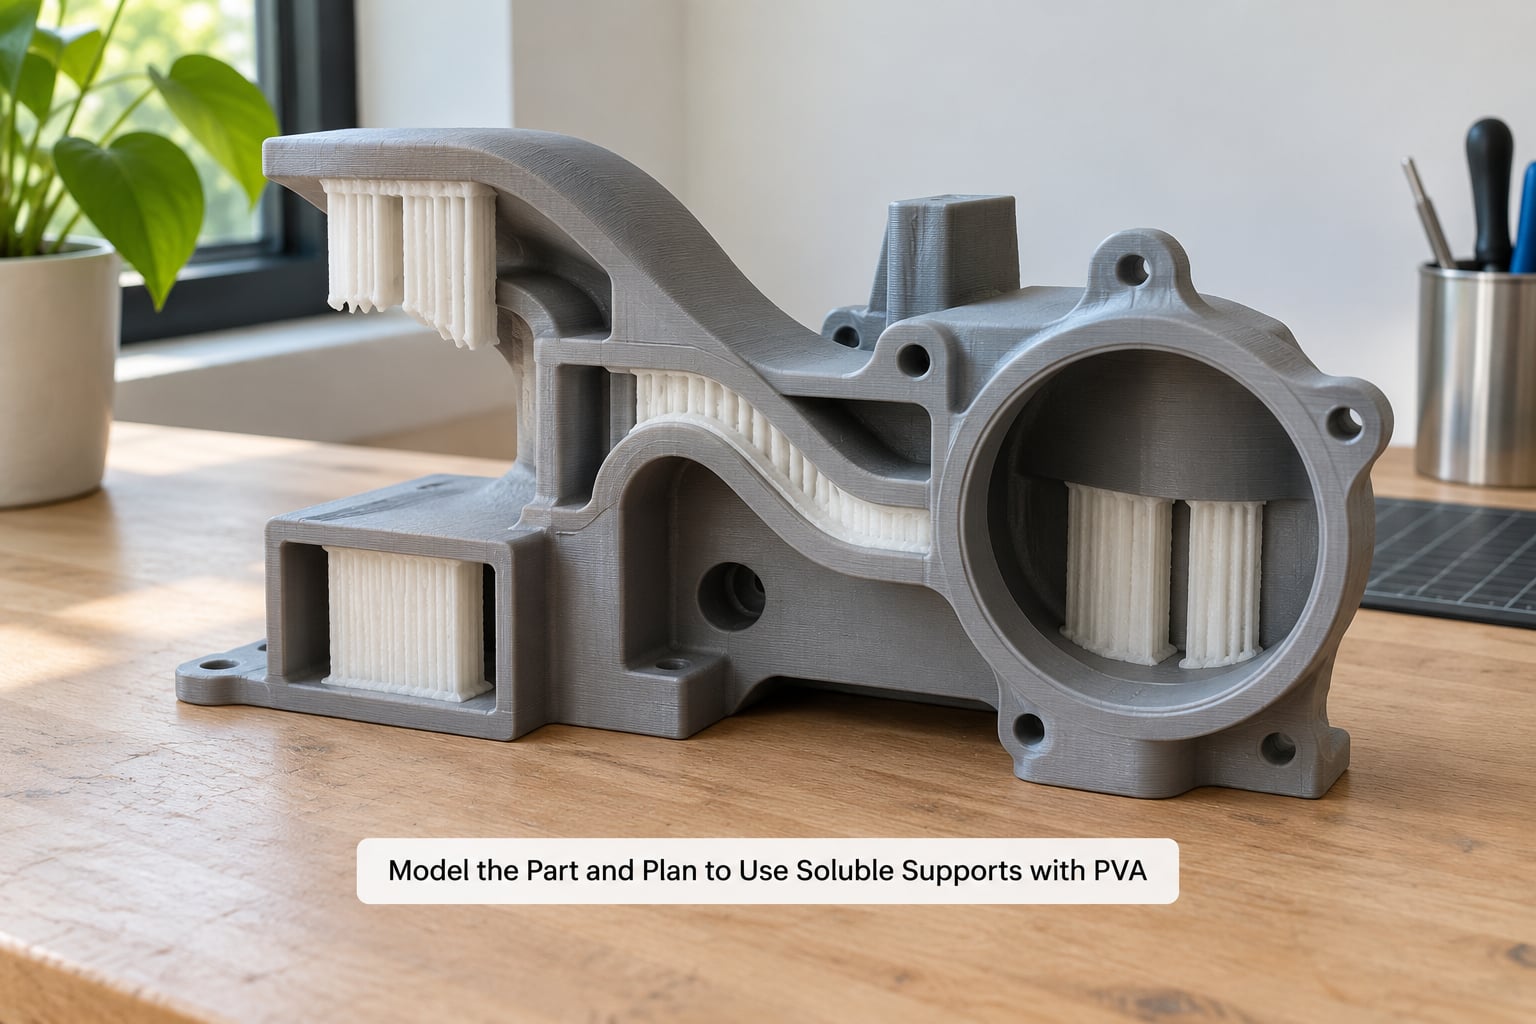
Orientation decides how much support you buy, and with PVA every gram of support is time in a water bath. Look for the surfaces your slicer flags as overhangs, then ask which of them a pair of pliers could actually reach. Those can use ordinary breakaway support and save you the slow stuff.
Reserve soluble support for geometry you cannot reach: internal channels, hollow interiors, undercuts that trap a tool, and fine conformal lattices. This is where knowing how to use soluble supports with PVA pays off, because a breakaway support in an enclosed channel means either a ruined part or a drill you did not want to own.
Separate the model and support in your CAD or mesh tool, or let the slicer generate the support geometry. Whichever route you take, check the model is watertight before slicing. A thin, non-manifold surface leaks support material in odd ways and leaves a film on the inside of your part.
2. Dry the PVA and Model Filaments
PVA is hygroscopic, and it reacts to moisture faster than most filaments do. It is also soft at room temperature, closer to a squishy TPU than to a rigid PLA, so wet filament goes slack in the feeder and buckles instead of feeding.
Dry it before the print, using the temperature and duration your filament maker specifies for PVA, and dry your model filament at the same time if it is PLA or PETG. Check the reading with a hygrometer rather than trusting the clock, and store the spool in a sealed dry box with desiccant afterwards.
You will know it is ready when it feeds. The signal is a clean first line instead of a pop, a blob, or an audible crackle in the first few millimetres. Community consensus on the Prusa forum is blunt about this: dry PVA actively beforehand, and print straight out of a dry box where your hardware allows it.
3. Configure the Printer and Extruders
Assign one extruder to the model material and the second to PVA, then load PVA into the support path. Whatever mechanism moves the filament, give it a slow, cold test first. PVA users report it deforming inside feeders, and users on the Prusa forum have described certain PVA+ spools as nearly impossible to load and unload.
Set the PVA nozzle within the window your filament maker specifies, and keep it at or below 220 °C. Above that, the polymer crystallizes and the filament becomes permanently insoluble, which is a spool you cannot rescue. The community.ultimaker.com thread on PVA problems is a useful reality check: dropping the PVA temperature a few degrees and lengthening retraction resolved problems for some users, while others print at 180 to 190 °C to stay well clear of the limit.
Purge volume matters more with PVA than with almost anything else, because the stringy, sticky material strings between everything it touches. Plan on a generous purge and check that your wipe or purge area is large enough to catch the ooze.
4. Set up the Slicer for PVA Support
In your slicer, set the second extruder as the support material and tell it which surfaces the support belongs to. In PrusaSlicer and OrcaSlicer this is under Support, where you pick the support material and the number of interface layers. In Cura the equivalent controls sit under the Support tab, where a second extruder is chosen from the drop-down list. The names differ between slicers, but the three things that matter are the same: interface layers, interface density, and the temperature split between extruders.
Interface layers are the thin bands of support that touch the model. Three to four is the usual starting point. They give the PVA somewhere to grip, and they let you dissolve only a small amount of material instead of the whole support structure.
Interface temperature around 205 to 215 °C keeps PVA bonding properly to PLA, roughly 5 to 10 °C below the top of the PLA range. Drop the PVA too far below the model temperature and you get clean separation between support and part. Raise it and you drift toward the crystallization ceiling.
Z-gap and density work together. A modest support density with a slightly higher interface density gives you a strong connection to the model and a cheaper interior. Printed slowly and with good cooling, PVA keeps its shape on its own, so you rarely need dense support.
| Setting | Starting point | What it controls |
|---|---|---|
| PVA nozzle temperature | 190 to 215 °C, never above 220 °C | Flow, adhesion, crystallization risk |
| Model nozzle temperature | 5 to 10 °C above the PVA extruder | Keeps PVA from gumming the hot end |
| Interface layers | 3 to 4 | Contact between support and model |
| Interface density | 90 to 100 percent | Adhesion and easy separation |
| Support density | 10 to 20 percent | Material use and dissolve time |
| Support Z-gap | 0.2 to 0.3 mm | Prevents support grinding into the part |
| Support print speed | 25 to 40 mm/s | Under-extrusion, especially in narrow feeds |
| Support cooling | Full fan, 100 percent after a few layers | Holds PVA shape between spans |
| Purge volume | Larger than for a single-material print | Stringing and ooze between extruders |
Retraction is worth its own line. Keep it short. Long retractions on soft, low-friction PVA cause the filament to buckle inside the extruder, and that is the most common cause of a jam that looks like a hardware fault.
5. Print and Inspect the First Layers
Watch the first model layers and the first interface layers closely, because almost every PVA failure announces itself there. You are looking for four things: PVA laying down as a defined line, model and support meeting without a gap, no colour bleeding between the two materials, and no clump of melted filament sitting on the line.
Stop the print if you see stringing building up between the extruders, if the interface separates as you watch, or if the PVA is not flowing at all. A five-layer test at the same settings is cheaper than discovering the problem at layer 400, and it is also the fastest way to tune a temperature pair that works on your specific filament.
6. Remove the PVA Support
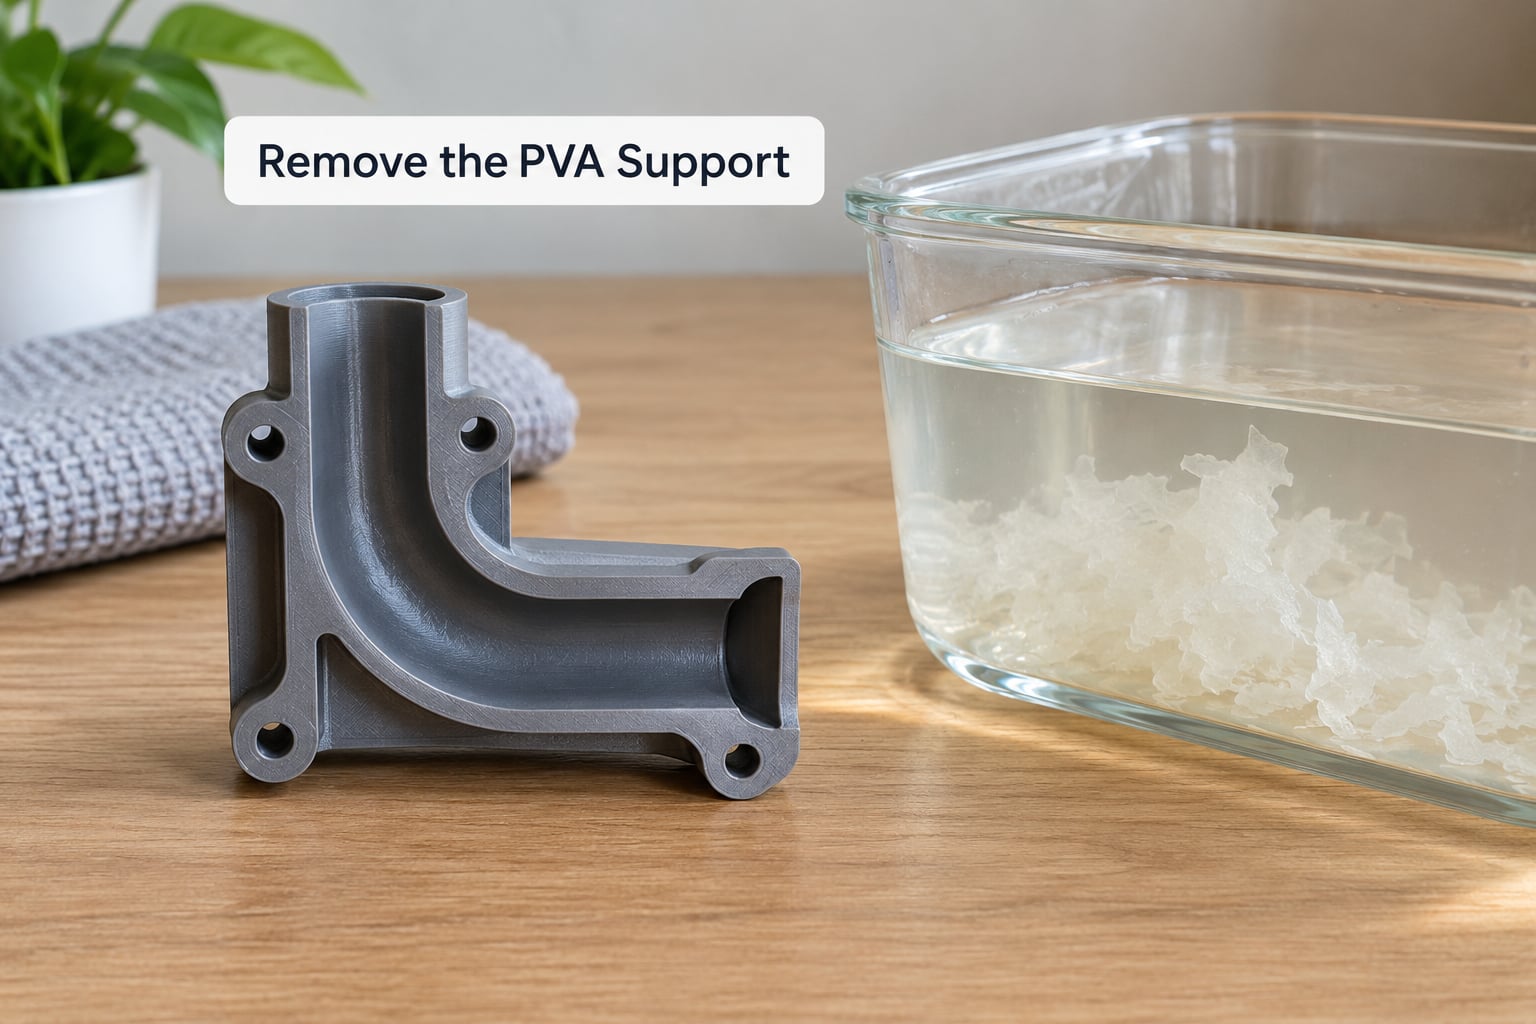
Take the print off the bed and break away the bulk support by hand as far as you can. PVA at room temperature is soft and squishy, so it usually peels or snaps in sections rather than resisting. This step exists to cut the soak time down, not to finish the job.
Then submerge the part. Use water at roughly 60 to 70 °C, stir it or let water run over it, and leave it until the support is gone. MakerBot’s own guidance is that moving water gets PVA dissolved in under three hours in some cases. Keep the bath at or below about 80 °C: above that temperature the polymer gelatinizes instead of dissolving and you are left with a gummy film in every channel.
Times below come from the filament maker’s dissolution data and vary with support thickness and geometry. Treat them as a starting point, not a promise.
| Bath temperature | Thin support, open shapes | Thick channels, dense support |
|---|---|---|
| Room temperature, about 20 °C | 6 to 12 hours | 12 to 24 hours or more |
| Warm, about 40 °C | 3 to 5 hours | 6 to 10 hours |
| Hot, about 60 to 70 °C | 1 to 2 hours | 2 to 4 hours |
Water is the only solvent you need. PVA is non-toxic and biodegradable, so there is no d-limonene stage and no ventilation requirement. D-limonene is the solvent for HIPS, a different material with a different purpose.
While the part soaks, brush the internal channels gently with a soft nylon brush. Running water through a channel, as MakerBot suggests, moves the dissolving material out instead of letting it re-deposit. When the last milky threads clear, rinse the part thoroughly and dry it properly before handling thin features, because wet PLA and wet PETG are both weaker than dry material.
Common Mistakes
Nearly every problem people hit while learning how to use soluble supports with PVA comes down to moisture, temperature, or a wrong assumption about adhesion. Work through these in order when something goes wrong.
| Symptom | Likely cause | Fix |
|---|---|---|
| PVA separates from the model, or supports drop off | Support extruder too cold, or a gap at the interface | Raise the PVA temperature toward 205 to 215 °C, close the Z-gap, and add one more interface layer |
| Popping, blobs, crackling on the first layers | Moisture in the PVA, often above roughly 2 percent | Dry the spool and print from a dry box |
| Heavy stringing and ooze between extruders | Under-extruded PVA and too small a purge | Increase the PVA temperature within the window, raise the flow rate, increase purge volume |
| Load or unload failures in an AMS or MMU | Soft PVA deforming in the drive gear | Break the filament by hand rather than letting the motor pull it, and dry the spool thoroughly first |
| Film of residue inside channels | Water too hot, or the part was not rinsed while dissolving | Keep the bath under 80 °C, brush or flush the channels, soak again in fresh water |
| Support does not dissolve at all | Printed above 220 °C, so the polymer crystallized | Check the nozzle temperature in the saved gcode; there is no recovery for crystallized PVA |
| Part deformed after the bath | Material sensitive to heat, or hot water held too long | Drop the bath temperature for softer materials and lift the part out as soon as support clears |
| Model and support colours mix on the surface | Purge volume too low, or the wipe area too small | Raise purge volume and enlarge the purge region in your slicer |
Tips for More Reliable Soluble PVA Prints
- Keep retract short. Soft filament buckles rather than pulls back cleanly, and a short retract is the single best defence against a feed failure.
- Print from a dry box where you can. PVA picks up moisture in minutes inside an unsealed AMS. Users on r/3Dprinting report it turning mushy and jamming for exactly this reason.
- Test temperature pairs on a small model. Five interface layers on a test coupon will tell you more than a full print of the real part ever will.
- Use PVA as an interface, not as the whole support body. Printing three or four interface layers of PVA and then switching to a cheaper normal support material is the most common cost-saving approach in the community. Most of the material dissolves; only a small fraction needed to be PVA in the first place.
- Place support where the model needs it. Every millimetre of unnecessary support is another minute in the bath, so rotate the part before you accept the automatic layout.
- Lower the support density, not the cooling. PVA holds its own shape when it is printed slowly with a full fan. Speed and cooling get you there without filling the model with material.
Frequently Asked Questions
Can PVA supports be used with any 3D printing material?
No. PVA bonds well with PLA, which is the pairing most people start with. PETG is trickier because it wants a higher nozzle temperature, and PVA loses adhesion well before the model temperature is comfortable. For ABS or ASA, use HIPS with d-limonene instead, because PVA will not bond to either. Check your filament maker’s compatibility notes before you load a spool.
Is PVA support stronger or weaker than ordinary breakaway support?
PVA is mechanically weaker than a rigid support material, and it is soft at room temperature. In practice that softness works in your favour during removal, because support peels and breaks away instead of fighting you. It does mean support needs slower speeds and good cooling to hold its own shape on overhangs, and that a PVA-supported print takes longer than the same job with standard support.
Do PVA supports dissolve in water without damaging the printed part?
Yes, for most materials including PLA and PETG, and water is the only solvent needed. Keep the bath at or below about 80 C, because hotter water gelatinizes PVA and leaves a gummy residue in channels instead of clearing it. Some materials soften in warm water, so lift fragile parts out as soon as the support releases and let them dry fully before handling.
Can a single-extruder 3D printer use PVA as a soluble support?
Not as a true soluble support. Support has to be printed on the same layer as the surface it carries, and a single-extruder machine can only change material between prints, which does not work for overhanging geometry. If you own one, use breakaway support, or a dual-nozzle or multi-material machine such as an AMS or MMU, which can feed PVA as a second material mid-print.
Why does PVA support cause bumps, strings, or discoloration?
Almost always moisture. Wet PVA under-extrudes, and under-extruded PVA strings, blobs and pops. It also can sit at the edge of the temperature window, where poor flow causes the support to smear into the model’s colour. Dry the spool, print from a sealed dry box, check that the nozzle is at or below 220 C, and raise the flow rate slightly before you change anything else.
How should PVA-supported parts be dried after washing?
Rinse the part in fresh water until the runoff runs clear, then let it air-dry at room temperature on a towel or rack, out of direct sun. Internal channels hold water, so tip the part to drain them or blow them out gently. Because PVA dissolves in water, never put a wet part straight into a filament dryer or oven without letting it cool first, and give the part at least a day to dry before testing a fragile feature.
Conclusion
Most of how to use soluble supports with PVA is preparation rather than technique: dry the filament, load it into a second material path, keep the nozzle under 220 °C, print a thin PVA interface at around 205 to 215 °C, then soak the part in water at 60 to 70 °C for a few hours. Get those few things right and internal channels become ordinary to produce.
Before you commit to a full model, do three things. Confirm your printer can genuinely hold two materials at once, and that PVA will bond to the filament you plan to model in. Dry both spools properly. Then print a small coupon with three interface layers, check the interface holds, and soak it to confirm it clears before you spend an evening watching a big job.