To print miniatures with fine detail, the process has to be controlled end to end: a small nozzle or a sharp LCD pixel grid, a very short layer height, extrusion or exposure calibrated for thin features, and an orientation that keeps support scars off the face. Most first attempts fail not because the printer is incapable but because the file was scaled, oriented and sliced with settings borrowed from a larger part. Expect several test prints before the result is worth army-painting.
This guide covers both routes — filament (FDM) and resin (MSLA) — because roughly half of this search comes from people who own a filament printer and want to close the gap without buying anything new. Where I give numbers they are starting ranges pulled from community-tested profiles, not rules. Printer calibration and your filament’s own data sheet outrank anything written here.
Table of Contents
- 1What You Need
- 2The FDM route
- 3The resin route
- 4Slicer and files
- 5Step-by-Step: How to Print Miniatures with Fine Detail
- 61. Choose a Resin or FDM Printing Process for Fine Detail
- 72. Prepare the Miniature Model and File
- 83. Select Materials and Printer Settings
- 94. Print a Test and Check the First Layers
- 105. Remove Supports and Finish the Print
- 11Common Mistakes
- 12Frequently Asked Questions
- 13Is resin or FDM better for printing miniatures with fine detail?
- 14What layer height should I use for detailed miniatures?
- 15Can I print a miniature without support material?
- 16Which resin is best for small, highly detailed models?
- 17Why are my FDM miniature details disappearing after printing?
- 18How should resin miniatures be washed and cured safely?
- 19Conclusion: Start With One Test Miniature
What You Need
The hardware list is short. What changes between the two routes is almost everything downstream, so decide the process before you buy anything.
The FDM route
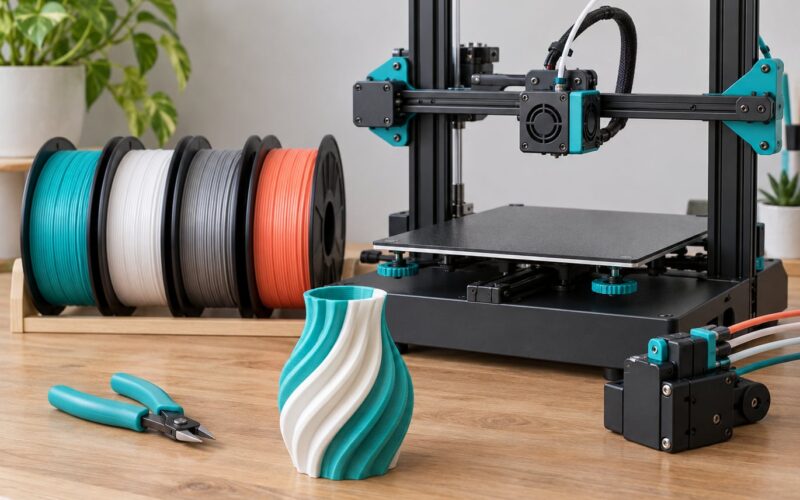
A bed with a rigid frame and a heated chamber are nice; neither is required. What actually matters is repeatable extrusion, a flat textured or powder-coated plate, and the ability to fit a smaller nozzle. Printers such as the BambuLab A1 and P1S, Prusa MK4 and CORE One, Creality Ender 3 and K2, and Neptune 3 Pro all have community mini profiles in circulation, which is the single most useful thing to check before buying on spec alone.
You will also want: a 0.2 mm or 0.25 mm nozzle and a spare, matte grey PLA or PLA+, a filament dryer or a heated bed used as one, and a decent pair of flush cutters. Prep tools are a craft knife, needle-nose pliers, needle files and a small flush cutter. For finishing, filler primer, 1000–2000 grit sanding sticks and a hobby-grade brush set do most of the work.
The resin route
A monochrome or colour LCD screen sized so that a 28 mm figure gets roughly 100 pixels across the foot will show far more facial definition than a large pixel-pitch screen. Grey or clear resin beats black for detail retention. You need nitrile gloves, a dedicated wash station with IPA, a curing chamber or UV lamp, and — non-negotiable — ventilation or an activated-carbon filter. Uncured resin is a sensitiser, and gloves plus fresh air are the reason hobbyists keep printing resin at all.
Slicer and files
PrusaSlicer, OrcaSlicer, Bambu Studio, Creality Slicer and Lychee all handle fine-detail work; the differences that matter are support style and flow calibration, not brand. The community wiki at r/FDMminiatures requires a photo of a real printed result with every submitted profile, which is a better filter than any spec sheet.
Step-by-Step: How to Print Miniatures with Fine Detail
1. Choose a Resin or FDM Printing Process for Fine Detail
Resin wins on surface finish and on anything with a face. Sharp eyes, nostrils and layered armour survive because resolution is set by pixel pitch, not by a nozzle tip, and because the liquid surface is re-levelled for every layer. Overhangs come out clean without the forest of support scars FDM leaves behind.
Resin also costs more in ways that are easy to underestimate: it is messy, it is a chemical handling routine rather than a hobby routine, and a broken print can waste an evening of work. Hollowing and draining reduce resin use but add steps where mistakes are expensive.
FDM is the right choice when you already own a printer and want it to produce usable minis without a second capital expense. Tuned properly, a 0.2 mm nozzle at 0.05 mm layers gives a surface that takes primer well and holds recognizable detail. FDM is also tougher: PLA mini limbs bend rather than snap, which matters when you are handling them for painting. A well-tuned FDM machine can produce a satisfactory result for rank-and-file units, bases and terrain. Hero-scale busts and character faces are where resin earns its keep.
A hard design rule underpins both: any feature smaller than your nozzle diameter will not exist. A 0.4 mm nozzle cannot print a 0.3 mm sword. That single fact explains more failed minis than any setting.
Your success check is simple: you have chosen one route and you can name the smallest feature on your model.
2. Prepare the Miniature Model and File
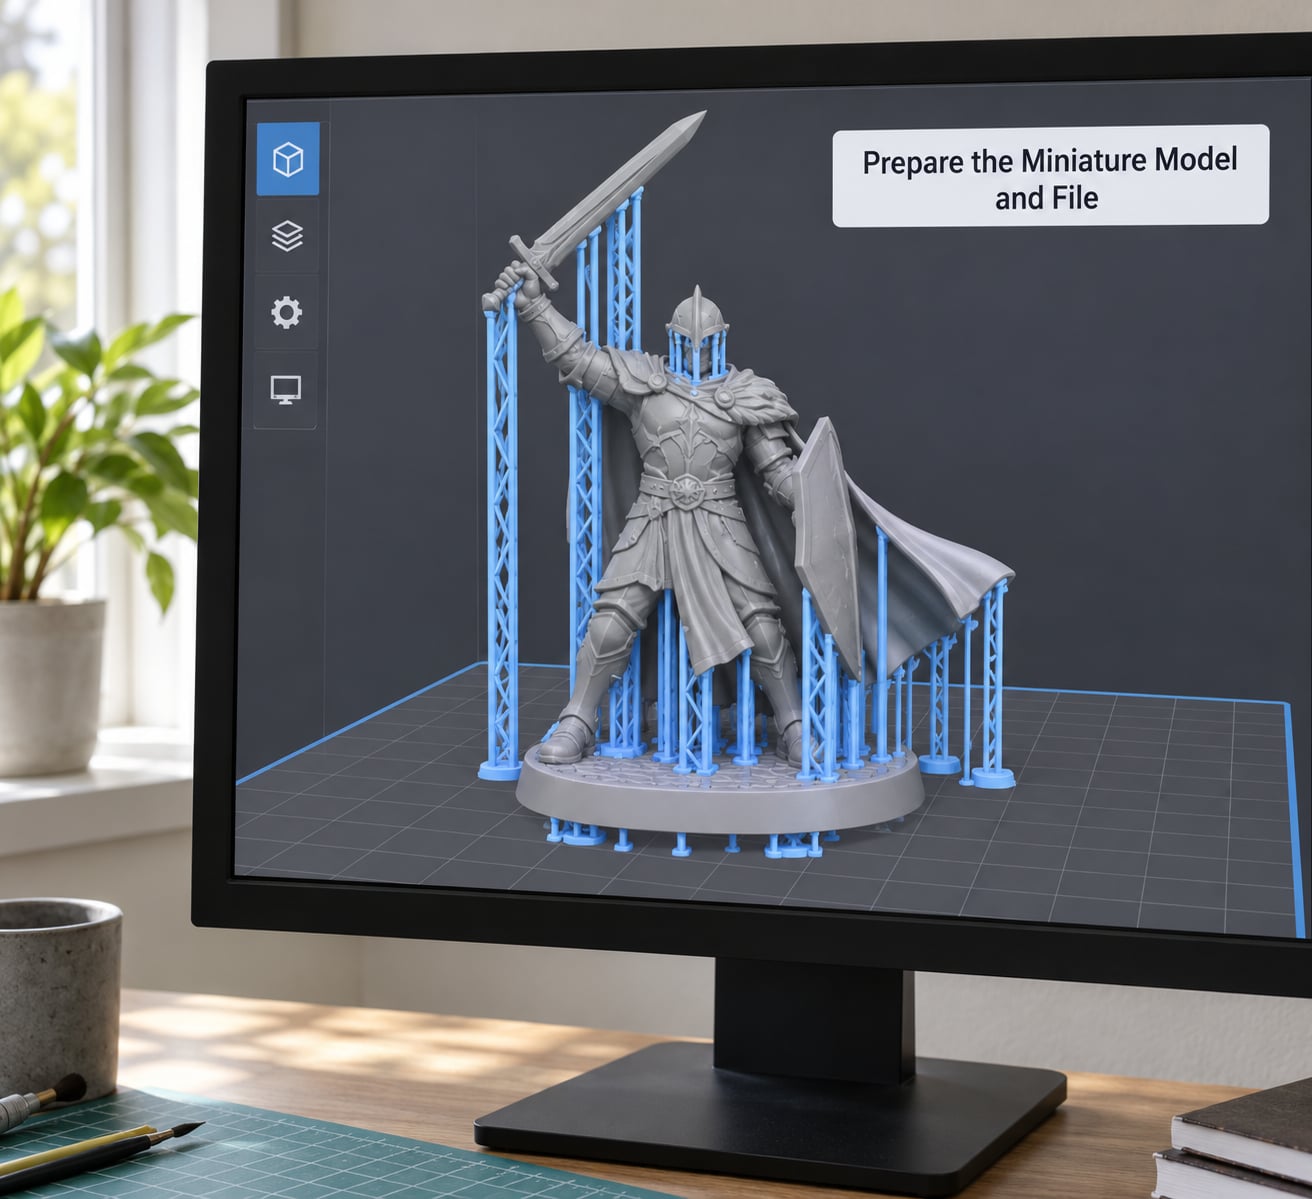
Most miniature STLs are sculpted for resin. In an FDM slicer they look beautiful and print as a smooth lump, because the file contains features below what a 0.4 mm nozzle can resolve. Before anything else, scale the model to the point where its thinnest intended feature is roughly three times your nozzle diameter — or for resin, roughly three screen pixels. That check takes thirty seconds and decides whether the print is worth starting.
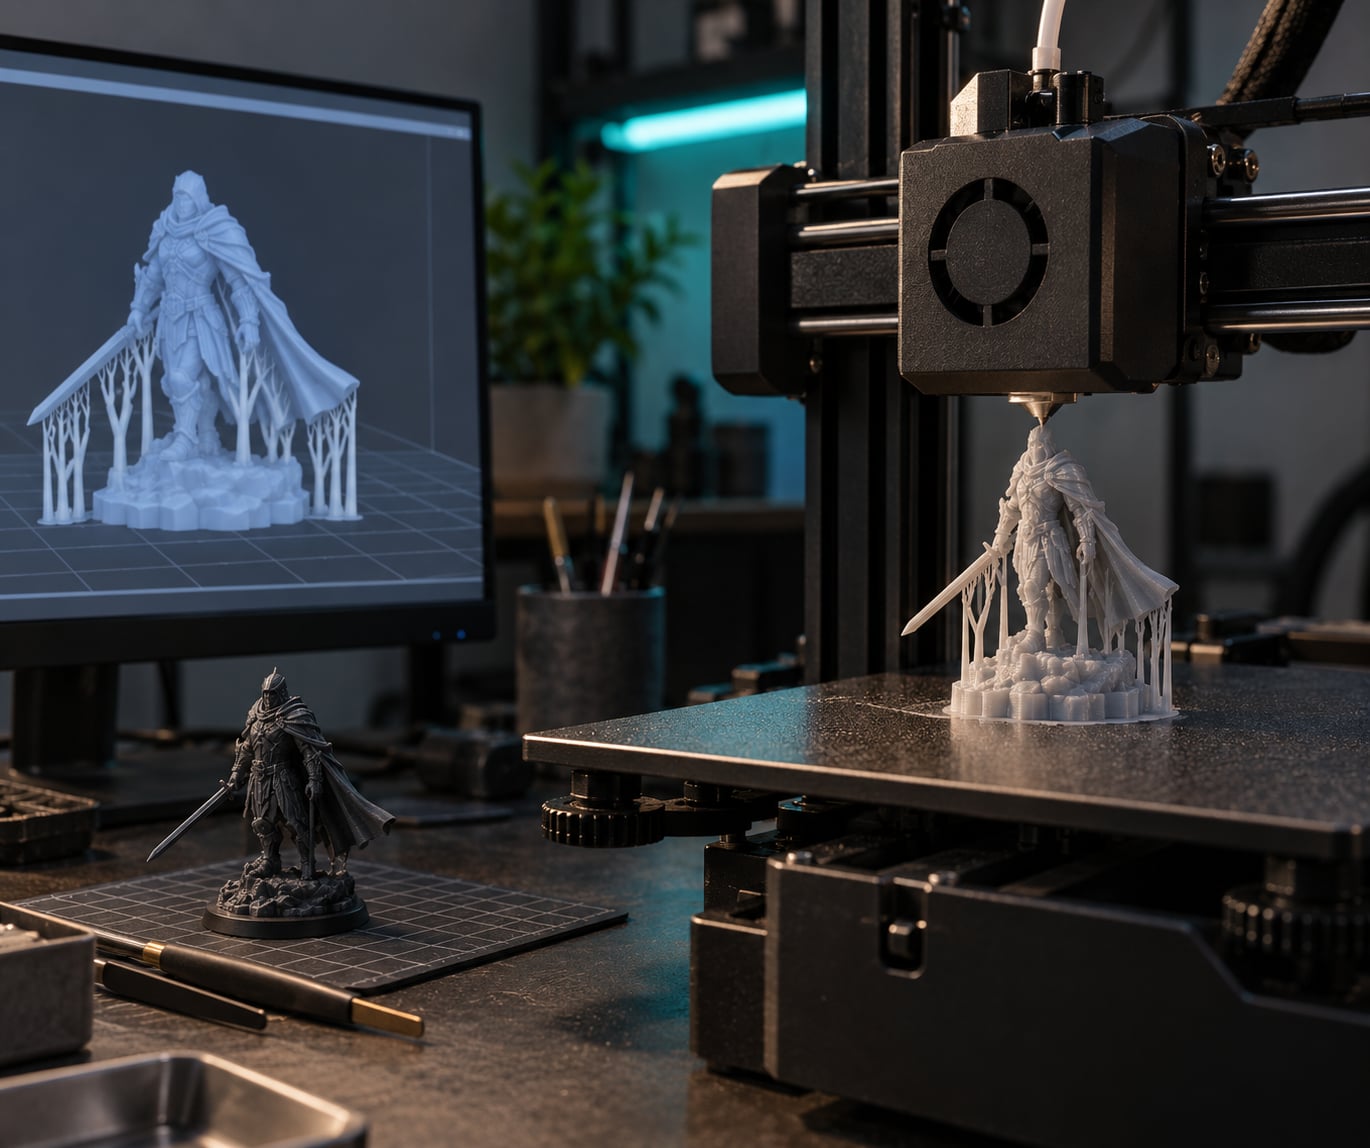
Pick the file type deliberately. Pre-supported STL files come with tiny, purpose-placed supports already modelled in, often from a raised 28 mm base. Supportless files are designed to bridge their own geometry, usually at a larger scale like 75 mm or 100 mm. On a filament printer, a pre-supported file at 28 mm will usually beat a supportless file every time. This is the biggest lever most beginners walk past, and it costs nothing.
Orient the model. Print the figure upright on its base and nothing else is decided yet. The veteran move on the Prusa forums is to tilt the model back by about 45 degrees: it moves support scarring to the rear, keeps the fine base detail off the first few layers, and turns blades and poles into short steep bridges that are far stronger than upright spindles. Capes and hair remain the hardest features on any FDM machine — one forum reply simply calls them the curse of FFF printing — so plan to print them last, at an angle, and accept a reinforced edge.
Fix the small stuff in the slicer. After slicing, look at the preview for floating islands — thin slivers attached by one or two dots. Deleting them is faster than diagnosing them on the plate. For resin models tall enough to justify it, hollow them with two drain holes, and set a raft margin that is generous enough that the base does not lift.
Finally, scale up. Printing at 130–150 percent makes every feature thicker and every support easier to remove, and forum regulars treat that as standard practice rather than a compromise.
Open the slicer preview when you are done. The figure should be recognisable, the smallest feature should clear your nozzle, and every scar should land on the back.
3. Select Materials and Printer Settings
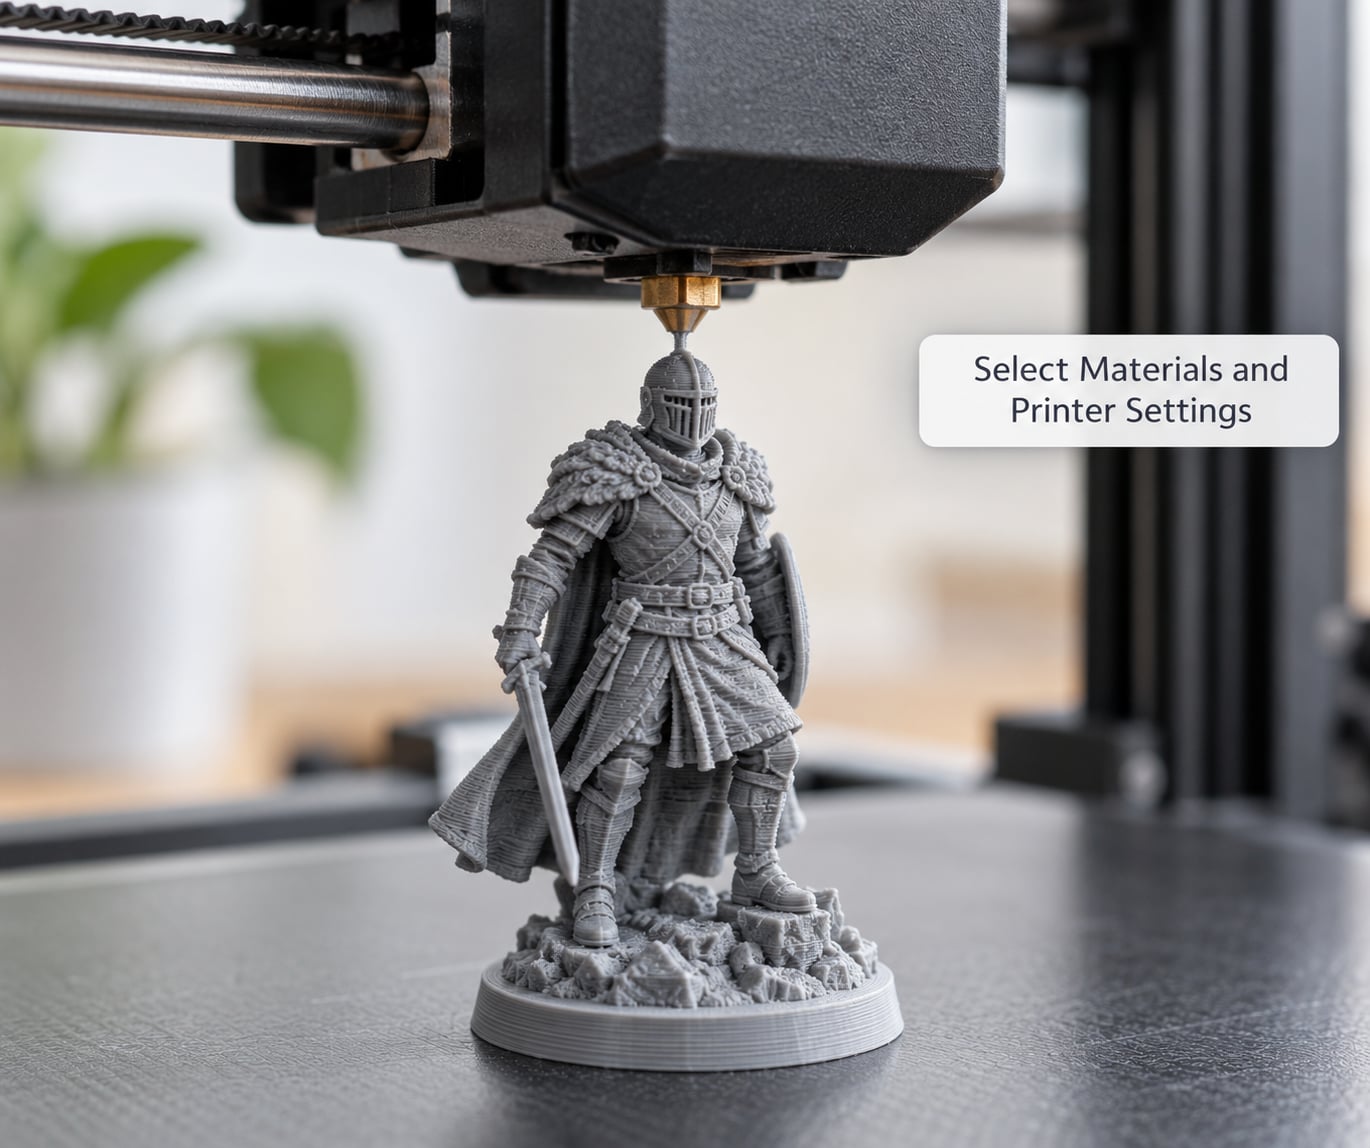
Start here, then adjust against your own calibration and your filament’s data sheet. Every number below is a starting range, not a setting to copy blindly.
- Nozzle: 0.2 mm, or 0.25 mm on a machine that struggles with 0.2 mm. This sets the smallest feature the machine can produce, and everything else is secondary.
- Layer height: 0.04–0.06 mm, with 0.07 mm a good compromise. Below roughly 0.04 mm on FDM you mostly add hours.
- Walls: 2–3 loops, 100% infill on small parts. Thin features need solid material, not hollow shells, or they snap.
- Fan: 100% after the first few layers. Layer lines on a mini are almost always a cooling problem.
- Minimum layer time: 10–15 seconds, so each tiny layer sets before the nozzle returns.
- Retraction: 1 mm direct drive, around 3 mm Bowden, 25–40 mm/s. Short moves between features otherwise string across faces and weapons.
- Supports: tree style, about 3 mm branch spacing, support interface on, Z gap around 0.25 mm. Organised supports are easier to strip than a solid block and scar less.
- XY clearance: around 75%, which keeps branches off the surface they touch.
- Resin layer height: 0.02–0.03 mm, then calibrate exposure. Pixel pitch sets the ceiling; exposure sets the contrast.
Temperature and flow. PLA sits in the usual mid-200s Celsius; follow your spool rather than a blog. The setting that wrecks more miniatures than any other is flow rate, or extrusion multiplier. Over-extrusion produces blobs at every thin crossing point — weapons fused to hands, fingers welded into mitts, facial features smeared into a smooth mask. Run a flow or extrusion calibration at your chosen layer height, because a calibration at 0.2 mm does not transfer to 0.05 mm.
Retraction is the second one. Stringing between a sword and the shield it hangs next to is both ugly and structurally destructive, and on a 28 mm figure you notice it immediately.
Material choice. Matte grey PLA and PLA+ dominate community profiles for good reason: matte surfaces hide layer lines far better than glossy filament, and grey reveals surface defects that a colour print hides. PLA holds fine edges better and prints at lower temperatures. PETG is tougher and less prone to snapping, which matters for fragile arms, but it strings more, clogs a 0.2 mm nozzle sooner and needs drier filament. If you break minis repeatedly, PETG at slightly larger layer height is a fair trade.
Keep filament bone dry. Tiny nozzles clog on moisture-swollen filament, and the fix that people resist trying is simply a dry spool.
Resin specifics. Run an exposure calibration rather than trusting the first layer of a vat file. Print the exposure test, pick the sharpest well-resolved step, and save that number. Then check the anti-aliasing or blur setting on your printer: resin users chasing facial definition repeatedly find that aggressive anti-aliasing erases exactly the features they are trying to capture. Wash in two IPA baths, cure fully on all faces, and leave it longer than you think — under-cured resin stays tacky and scratches, over-cured resin can become brittle at thin sections.
The check here is a flow test cube with clean corners and first layers that look consistent rather than blobby.
4. Print a Test and Check the First Layers
Do not print a full plate of 30 minis to discover your first layer is off. Slice a single model, watch the first ten layers, and stop the print when you have enough information.
Watch for these specific signals. Corners lifting off the plate means the plate needs cleaning, or the first-layer temperature and flow need work. The nozzle running over the outline of a thin weapon means under-extrusion on that line. Detail already soft at layer three means your layer height is too tall for the model, not that you need a smaller nozzle. Welded features partway up the print usually mean heat creep or an enclosed chamber without a fan duct aimed at the nozzle. A support that lands straight across a face is an orientation problem you can fix in the slicer in five seconds, right now.
For resin, check the base is fully attached with no resin trapped under the raft, and inspect the first few layers through the lid for detail that is already rounding off.
You are looking for ten flat, attached, correctly shaped layers before you let the print run.
5. Remove Supports and Finish the Print
Support removal is where most minis die, and the technique matters more than the settings.
Crush the bulk of the supports first with pliers — break the branches at the trunk rather than pulling at the model. Then cut close to the surface with a sharp craft knife, working along the angle the support grew, and always study the model from several sides first so you know what is behind the branch. Pliers for breaking, knife for finishing. Never lever.
For resin, wash the print in IPA immediately, cure it fully on every side, and keep it away from direct sunlight afterwards.
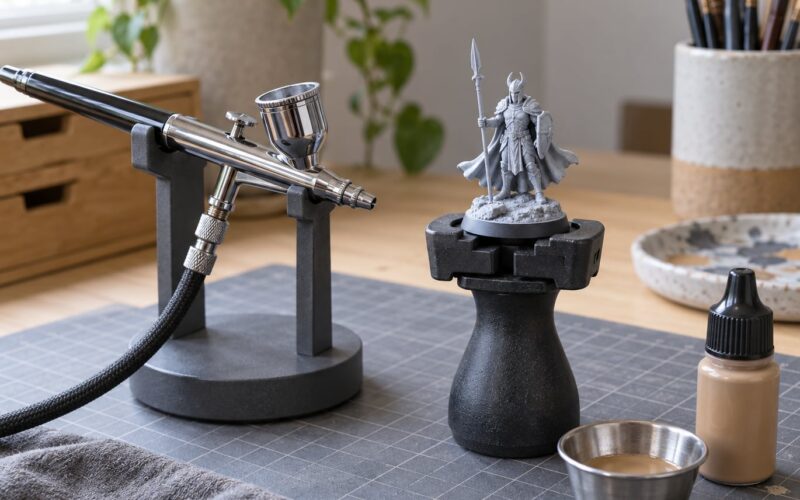
Then the finishing sequence: filler primer into any remaining layer-line valleys, light sanding on the body, never on a sword edge, spear tip, antenna or finger. Prime in a contrasting colour so missed areas show up, then paint. Painting is part of the detail story — contrast between armour panels, recess shading and a dry-brush pass do more for perceived detail at 32 mm than another 0.01 mm of layer height ever will.
When something breaks, fix it instead of reprinting. Superglue plus a steel pin through the joint works on almost any break; a 0.4 mm pin is strong enough on a 28 mm figure without being visible. Scale the model up on the next print, or add a small fillet at the joint in the slicer if your file allows it.
Finish with the same check you started with: put the miniature under magnification in good directional light. Face, hands, weapon edge. Those are the three places a print succeeds or fails, and if no loose support fragments remain and the detail reads clearly under magnification, the miniature is done.
Common Mistakes
Almost every ruined miniature comes from one of a short list of causes, and each has a fix that takes less time than the reprint.
Faces washing out smooth. The model is below the resolution of your nozzle. Print at a larger scale, drop to a 0.2 mm nozzle, or move to resin. No amount of tuning fixes a feature smaller than the nozzle diameter.
Blobby, melted detail. Over-extrusion at thin layers. Re-run flow calibration at your fine layer height, lower the flow multiplier by a few percent, and slow down.
Support scars across the face and chest. Choose a pre-supported file, tilt the model back about 45 degrees, and turn on a support interface so the contact layer is separate from the body.
Limbs and weapons snapping during removal. Wrong technique or too little material. Use solid infill at 100 percent on small parts, crush supports with pliers instead of pulling, and scale the model up 30 to 50 percent.
Layer lines not sticking together. Delamination on a mini is usually temperature or drying. Dry the filament, raise the nozzle temperature a few degrees within your filament’s range, and let the fan run at 100 percent on short layers.
Stringy webs between fingers and weapons. Increase minimum layer time and retraction, then confirm your filament is dry.
Capes and hair failing. Print them separately at an angle, add a small fill or tab where they join the body, and accept a slightly thicker edge.
Clogged 0.2 mm nozzle. Cold pulls, filament drying, and a lower temperature. This is a materials problem, not a settings problem.
Two habits prevent most of this. Print one calibration miniature — a bust with a face — before every settings change, and keep a short record of the settings that produced a result you liked. Printer profiles in the r/FDMminiatures wiki work for that reason; every entry ships with a photo of the actual print, so you can see the outcome before spending ten hours reproducing it.
Frequently Asked Questions
Is resin or FDM better for printing miniatures with fine detail?
Resin gives sharper facial detail and cleaner overhangs because resolution comes from screen pixel pitch rather than a nozzle tip. FDM is cheaper to run, tougher against snapping limbs, and works well for rank-and-file units with a 0.2 mm nozzle at 0.04 to 0.06 mm layers. Use resin for busts and hero models, and FDM for armies, bases and terrain you already own a printer for.
What layer height should I use for detailed miniatures?
On FDM, start at 0.04 to 0.06 mm, and treat 0.07 mm as a sensible compromise that cuts print time noticeably. Gains below roughly 0.1 mm are hard to see once the model is primed and painted. On resin, 0.02 to 0.03 mm is a normal working range. Layer height is less important than nozzle size, flow calibration and orientation, so fix those first.
Can I print a miniature without support material?
Yes, if the file was designed for it. Supportless STL models bridge their own geometry and usually come at a larger scale, around 75 mm or more, where bridging is reliable on both processes. A pre-supported 28 mm file is usually the safer choice on FDM, because the modelled supports are far smaller and leave less scarring than auto-generated ones. Check the file listing before you slice.
Which resin is best for small, highly detailed models?
Grey or clear resin shows fine detail better than black, because the lighter colour lets you see how light passes across small features. Matte grey hides surface texture that glossy resin exaggerates. Whichever you choose, calibrate exposure for your screen and printer rather than trusting a vat profile, and reduce or disable aggressive anti-aliasing, which softens exactly the small features you are trying to capture.
Why are my FDM miniature details disappearing after printing?
Almost always one of four causes. Features smaller than your nozzle diameter physically cannot be printed, so scale the model up. Blobby, merged detail points to over-extrusion, so recalibrate flow at your fine layer height. Fuzzy faces on thin sections come from poor cooling, so raise fan speed and minimum layer time. Stringing across a face usually means retraction or damp filament, not geometry.
How should resin miniatures be washed and cured safely?
Wash the print immediately after removal, using nitrile gloves and a brush to reach crevices, then rinse in a second clean bath. Cure it fully on every side, since uncured resin stays tacky and scratches while over-curing can make thin sections brittle. Work in a ventilated room or with an activated-carbon filter, keep resin away from skin and eyes, and never pour used IPA or uncured liquid resin down a drain.
Conclusion: Start With One Test Miniature
Three actions get you most of the way. Pick the process that matches what you already own, not the one you would ideally buy. Print one small, highly detailed model at the settings above and study the failure. Then change one variable at a time — orientation first, since it costs nothing and decides where every scar lands.
If you are starting from nothing, buy the printer and material you can get supported locally and learn on, rather than a machine chosen from a generic recommendation list. The gap between a well-tuned FDM print and a poor one is settings and file choice, not hardware.