If you have ever wondered how to prime and airbrush 3D printed miniatures without the paint lifting off a month later, the answer is shorter than it sounds: clean parts, a primer matched to the surface, and several thin coats instead of one heavy one. Printed surfaces are not paintable as they come off the machine. FDM parts carry layer grooves that pull paint in, while cured resin is so smooth and non-porous that thin paint beads and then lifts at contact points. Primer gives both a uniform, bondable skin, and on filament prints a high-build filler primer also levels the surface while you work.
Budget about 45 to 60 minutes of active time per model, plus drying overnight before you seal. It is a beginner-level skill, and the mistakes that make it look hard are all recoverable.
Always follow the instructions printed on your airbrush, your paint and your primer. Ratios and cure times vary between brands and formulas, and the manufacturer’s data sheet beats any generic ratio you read online, including this one.
Table of Contents
- 1What You Need
- 2Step-by-Step
- 31. Remove Supports and Inspect the Print
- 42. Clean and Fully Cure the Miniature
- 53. Smooth the Surface and Control Dust
- 64. Choose Primer and Thin It Correctly
- 75. Apply Several Thin Primer Coats
- 86. Airbrush the Base Color
- 97. Add Shadows, Highlights and Details
- 108. Seal the Paint and Check the Finish
- 119. Clean and Maintain the Airbrush
- 12Common Mistakes
- 13Frequently Asked Questions
- 14Do resin miniatures need to be primed before airbrushing?
- 15Can I airbrush a 3D printed miniature without primer?
- 16Why does my airbrushed primer look chalky or uneven?
- 17How thin should primer be before airbrushing a miniature?
- 18Should I seal 3D printed miniatures after airbrushing?
- 19How do I keep an airbrush from clogging while painting miniatures?
- 20Conclusion
What You Need
Assemble this list before you strip the supports, not after. Half a finished model with no thinner in the house is how a painting session ends at midnight.
- A workspace with ventilation. A spray booth, an extractor fan with a sealed back, or an open window with a fan pulling air outward. Over-spray settles on everything, and ventilation matters more than any single product choice.
- Respiratory protection. A respirator rated for organic vapours and fine particulate, plus nitrile gloves if you handle uncured resin.
- Surface preparation supplies. IPA and a brush for resin prints, sanding sticks and paper, files, hobby knives, tweezers, a cutting mat, a soft brush and a tack cloth.
- Primer. A high-build filler or spray putty primer for FDM prints with visible layer lines, or a hobby acrylic surface primer for smooth resin. See the colour table below for which shade to buy.
- Paint and thinner. Acrylic miniature paints plus the thinner or water matched to that paint line, and a dropper bottle with volume markings so you can measure mixes instead of guessing.
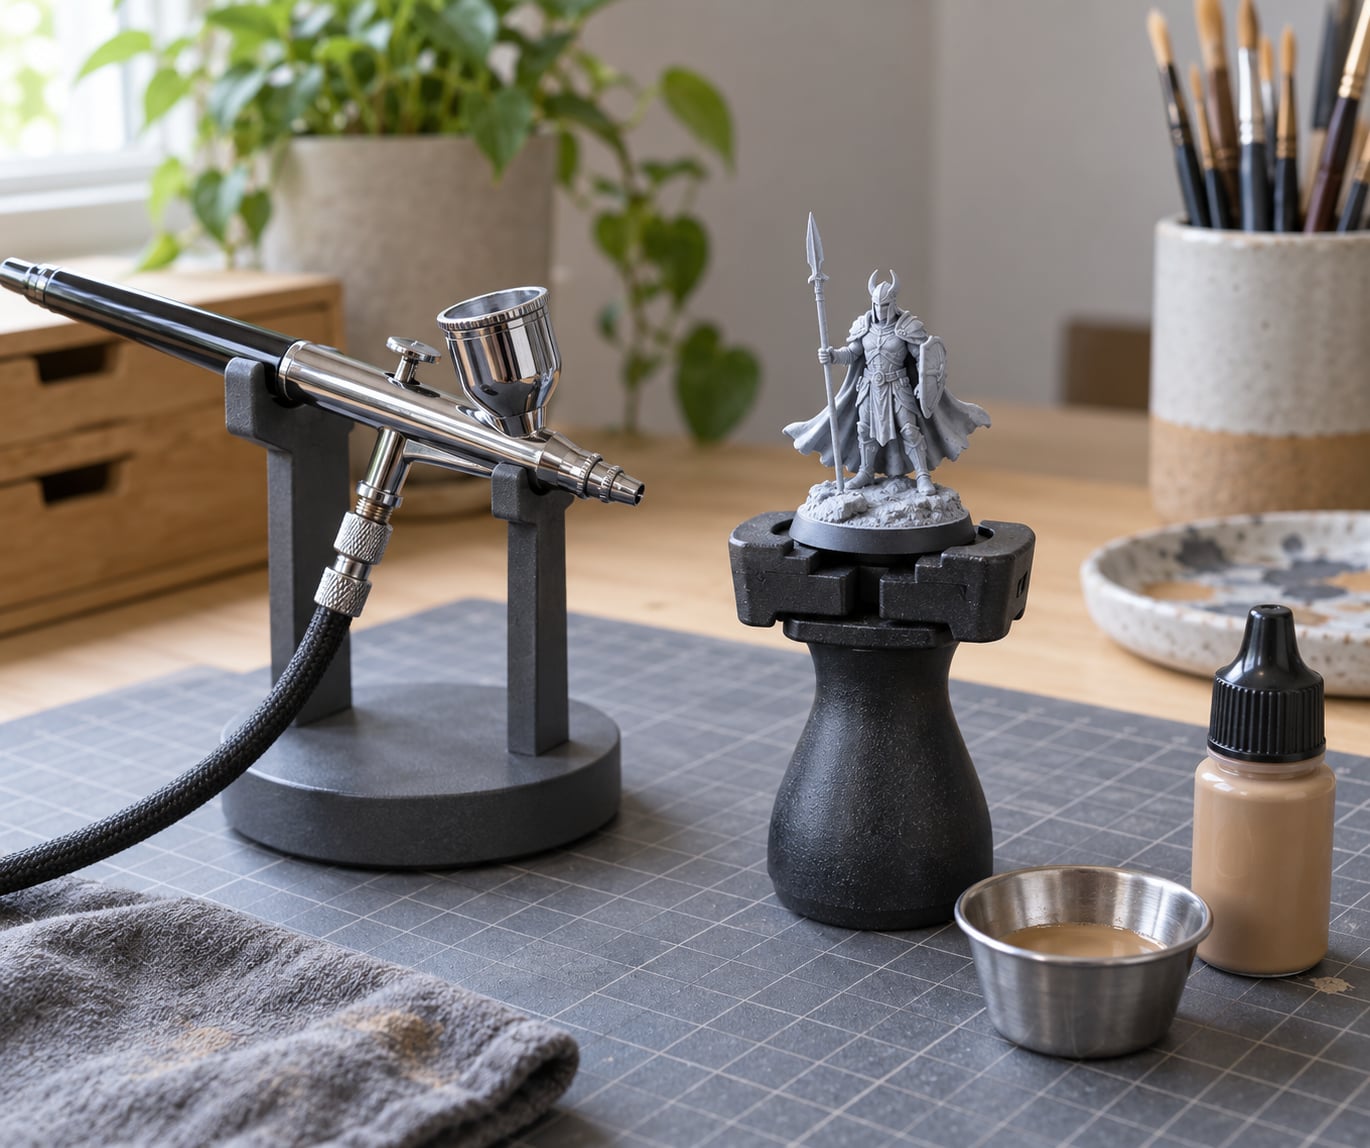
- An airbrush and its air supply. Either is fine. Paint department store bottles with their own mini compressor, an Iwata or Badger gun with its own regulator and moisture trap, or a small tank compressor with a filter and a water trap on the line. The water trap matters: without it the compressor breathes moisture into your paint.
- A painting handle. A clamp handle, a tack, a cork or a stick with a blob of Blu Tack. You need both hands free for the gun and the model.
- Optional finishing products. Washes and shade, a fine brush for detail work, and a matte, satin or gloss varnish that your paint system recommends.
A brush and a spray can will get you a primed model. Neither gives you the fine control or the sheer speed of an airbrush on a batch of minis, but neither is a prerequisite. Plenty of very good painters work entirely with a can.
Step-by-Step
The workflow below runs in nine steps and takes roughly an hour of hands-on work for one model. It is beginner-level difficulty, but the order matters: each step exists to stop the next one from failing.
1. Remove Supports and Inspect the Print
Remove supports carefully and check the model before you touch any abrasive tool. Snip flush at the attachment point with sharp side cutters and then pare the remaining nub away with a hobby knife, holding the blade nearly flat to the surface rather than angled into it.
Look for four things under good light: visible layer lines, support scars or a shiny scar line where supports were attached, gaps between parts that should meet, and occluded cavities where support material hardened inside and cannot be reached.
Decide now whether a part needs sanding, filling or reprinting. Scrape gouges out with a scalpel rather than sanding them away, because sanding a gouge just spreads the damage.
2. Clean and Fully Cure the Miniature
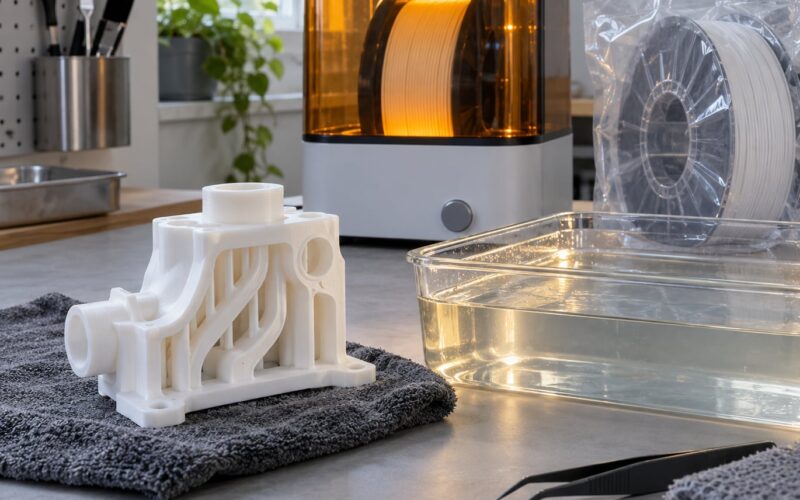
Wash resin prints in IPA and brush the liquid into every recess before curing. Uncured resin hiding under a cape or inside a shield will keep the primer from bonding there, and it is far easier to remove now than after a coat of grey.
Let the print dry or cure completely. Resin goes through a rinse, an air dry and a full UV cure, and filament prints want a wash with warm water and dish soap plus a couple of hours of drying. Nothing gets primed while it is damp, tacky or still carrying silicone release agent.
3. Smooth the Surface and Control Dust
Sand only what is genuinely raised, and work through a grit ladder. Start at 320 to 400 grit to knock down support nubs and scar lines, move to 600 grit for final shaping, and go to 800 grit or finer only when you are chasing a polished or competition finish.
Keep the strokes directional so crisp edges stay crisp, and stop as soon as the defect is gone. Round corners on a face or lose the points of a helm and no amount of filler primer brings them back.
Clear the dust before it becomes part of the finish. A soft brush followed by a tack cloth works, and a wet wipe leaves you a few minutes of dry time. Airborne sanding dust settling into fresh primer is the single hardest defect to spot until the finished model is already wrong.
4. Choose Primer and Thin It Correctly
Match the primer to the surface. Filler and high-build primers build and level, which is what hides layer lines and closes small gaps on FDM prints. Hobby acrylic surface primers adhere beautifully to a surface that is already smooth, which is what cured resin gives you, and they do nothing at all for texture.
That distinction is worth getting right. Hobby primers are often recommended for printed models, and they work fine on clean resin. On a rough filament print they will sit on top of the grooves rather than filling them, and the layers still show through washes and edge highlights.
Thin with the thinner your primer’s manufacturer names, and measure it. Use a dropper bottle with volume markings rather than counting drops into the cap by eye.
| Primer | Thinner | Starting mix | Best for |
|---|---|---|---|
| Hobby acrylic surface primer | Water or the matching acrylic thinner | 1 part primer to 1 part thinner, then adjust | Smooth cured resin prints |
| Spray putty or high-build filler primer | Whatever the can specifies, usually its own thinner or pre-thinned | Use as sold unless the can says otherwise | FDM prints with visible layer lines and gaps |
| Model Air style solvent enamel primer | Matching thinner | Follow the can ratio, usually around 1:1 to 1:2 | Enamel paint schemes and fine metal work |
Primer colour is a scheme decision as much as a coverage one.
| Colour | Use it when |
|---|---|
| Black | The model will be dark overall; recesses stay dark for free and thin spots read as shadow. |
| White | The model will be bright or pastel, or you are planning to glaze over it. |
| Grey | Mixed schemes, or you are undecided. Grey is the safest default. |
| Coloured primer | You are batch painting a whole unit in the same colour and want to skip a basecoat. |
5. Apply Several Thin Primer Coats
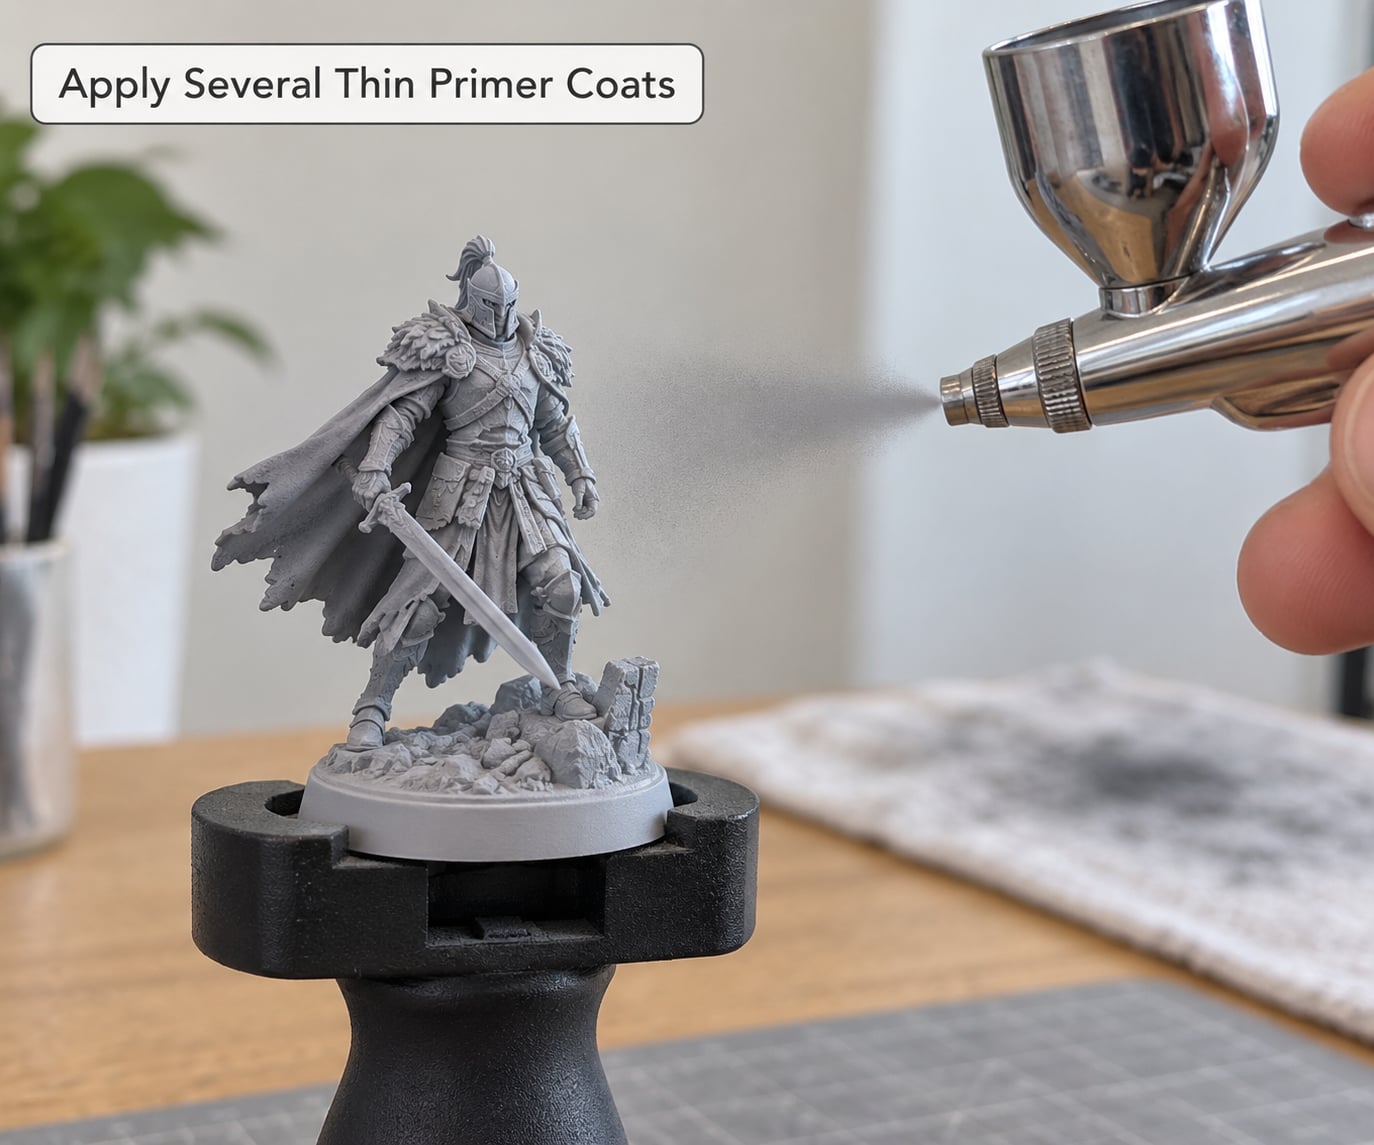
Prime in several thin coats, and that is the whole technique. Thin coats level, dry properly and do not trap air; one heavy coat beads, runs into recesses and takes days to cure underneath.
- Shake the bottle or dropper bottle hard for a full minute. Primer pigment settles hard.
- Load only a shallow amount. A full cup is where most clogs start.
- Test the spray on scrap card or a prime tower first, not on the model.
- Hold the gun roughly 15 to 20 cm from the miniature, start it with air already flowing, and paint follows air.
- Sweep past the model rather than pointing and holding at it.
- Rotate the handle constantly so every face gets an equal share.
- Stop before the cup runs dry, release the trigger, release the pressure, and flush immediately.
- Give the coat proper flash time before the next one. Follow the can for the exact figure.
Judge the coat by touch, not by sight. Primer that has actually landed feels slightly chalky and dry; primer that only looks grey can still be underneath-wet and will lift later.
6. Airbrush the Base Color
Prepare the paint the same way you prepared the primer, then set the pressure before you load anything. Start at the low end of the range and raise it only until the spray atomises properly rather than spitting droplets.
| Airbrush type | Starting pressure | Notes |
|---|---|---|
| Gravity feed, single action | About 15 to 20 PSI | Simplest to control; paint and air both release on the pull. |
| Siphon feed, dual action (Iwata HP-BC, Badger standard) | About 20 to 30 PSI | Air on the press, paint on the pull; the usual hobby setup. |
| Internal mix, dual action | About 25 to 35 PSI | Pigment-heavy and unforgiving; go gently. |
Those are starting points for a typical airbrush, not ratings printed on your manual, so confirm against the manufacturer’s own figures before you commit to a setup.
Build the colour up rather than hitting it once. Several light passes from a consistent distance and angle will leave recesses darker than raised areas on their own, which is exactly what you want from an undercoat. Check the underside and the areas under a shield or cape before each coat dries, because those are the spots you will not see until the model is finished.
7. Add Shadows, Highlights and Details
Establish a shadows-highlights pattern before you add detail colour. Work each shade into its recesses, keep a lighter tone on the raised areas, then pick out a few edges with a fine brush.
Load the airbrush less for this stage than for basecoats. Thin washes and small adjustments strip easily if the gun is loaded heavily, and a brush does the fine work faster anyway.
Rotate the model as you go and check it under a neutral light rather than a warm lamp. Warm light hides the shading mistakes you want to catch now.
8. Seal the Paint and Check the Finish
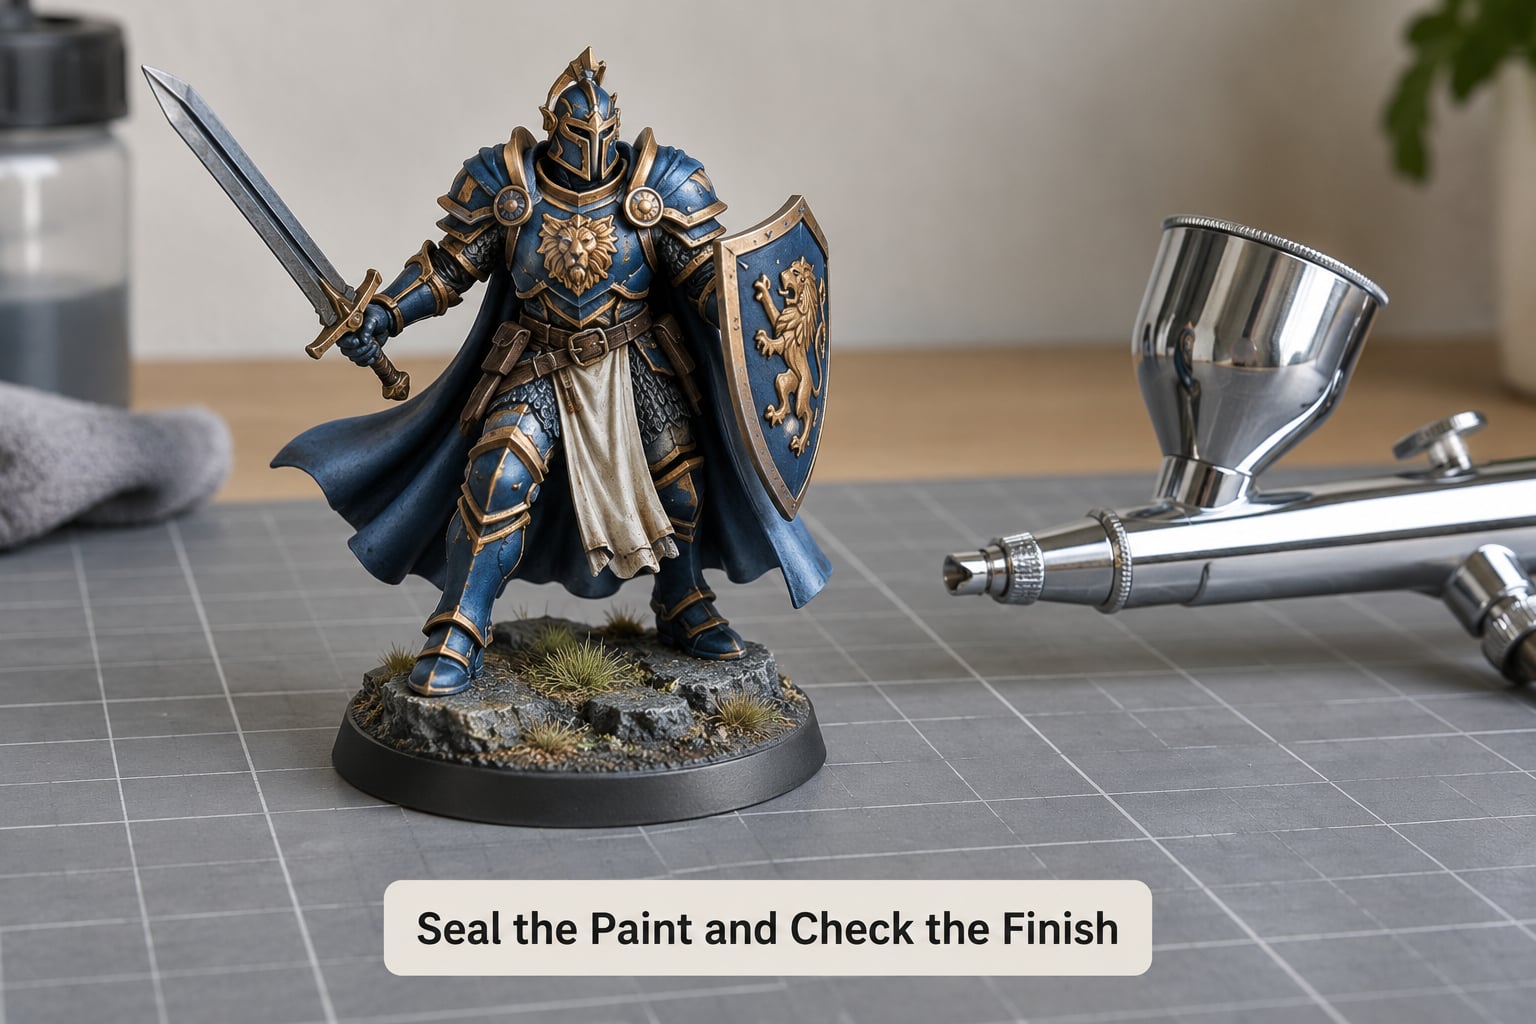
Seal the paint, and pick the finish to match the model. Matte suits a realistic scheme and kills glare under a warm gaming light, satin is a forgiving middle ground, and gloss suits clean display pieces and armour.
Use a sealer your paint system recommends, then apply several light coats rather than one wet one. Let each coat flash off, and give the whole model the full cure the product specifies before you handle it, base it or varnish it again.
Once cured, look at it under a bright lamp and turn it. Fix thinning, chalking and missed undersides with a fine brush and your base colour before calling it done.
9. Clean and Maintain the Airbrush
Clean the airbrush at the end of every session, while the paint is still wet. Stop spraying before the cup runs dry, release trapped pressure safely by triggering with the cup off the surface, and flush with the correct thinner.
Wipe or wash the wetted parts, drop a little oil on the needle seal as the manufacturer directs, and store the gun with the tip pointing down so any remaining moisture drains out of the nozzle. A needle cleaned in the right direction is not bent, and a bent needle sprays a permanently lopsided pattern that will wreck the next coat too.
Common Mistakes
Almost every failed coat has a cause you can name. Work down this list before you change products.
| Symptom | Likely cause | Fix |
|---|---|---|
| Clumpy or speckled spray | Pigment settled in the cup, or the mixture is too thick | Shake the bottle, thin further, and clean the tip. |
| Primer floods into recesses and pools | Trigger held down, or a loaded gun held too close and too still | Pulse the trigger, move the gun, and thin the mix. |
| Chalky or uneven primer | Coat too thick, no flash time between coats, or sanding dust settling on wet primer | Longer flash time, thinner passes, clean the model before you prime it. |
| Paint lifting or chipping at base edges | Primed over uncured or damp resin, or painted over primer that only touch-dried | Full cure, full dry, then wait the full primer cure time before basecoating. |
| Paint wicking down into layer lines | Thin coats over a surface primer that never filled the grooves | Sand the ridges down, then use a high-build filler primer as your first coat. |
| Blown-out highlights | Over-thinned paint sprayed too close and too wet | Fewer passes, more distance, more colour in the mix. |
| Airbrush clogs minutes after cleaning | Held the trigger down while walking away, or stored tip-up | Clean immediately after every use and store tip-down. |
Consistency beats ambition. Keep the same distance, the same pressure and the same flash time for a whole batch, because a model is usually finished next to others and matching tones matter more on a tabletop than a perfect single piece.
Work under even, neutral light, because shadows in a dark corner hide thin spots until the model is finished. Keep a prime tower or an offcut near your hand and spray it first every session, since it tells you about your mix and your airbrush in about ten seconds.
Ventilate properly and keep the respirator on. Thin coats in a closed room put more airborne pigment into your lungs than one heavy coat would, and that is the trade nobody thinks about until they have done it for a year.
Frequently Asked Questions
Do resin miniatures need to be primed before airbrushing?
Yes. Cured resin is smooth and low-porosity, which means thin paint has nothing to grip and tends to bead and chip at contact points. A primer coat gives it a uniform, bondable surface. Rinse the print in IPA, brush out the recesses, complete the UV cure, let it dry fully, then prime. Expect to need two thin coats, since any translucent patch in the first coat will let the resin colour show through.
Can I airbrush a 3D printed miniature without primer?
You can, and you will regret it. Paint applied straight to resin beads on the smooth surface, and on FDM parts it sinks into the layer grooves and dries as a texture rather than a finish. Primer is the cheapest step in the whole process and the one that decides whether the paint stays on. If you already airbrushed without priming, clean the model with IPA and start again.
Why does my airbrushed primer look chalky or uneven?
Three usual causes: the coat is too thick, you did not leave enough flash time between passes, or sanding dust settled onto the surface while it was still wet. Chalky that rubs off means it needs another pass rather than a wipe. Patchy areas usually mean the gun was held too far away, so bring it closer and slow your hand down. Clear the dust and use thinner, quicker-drying coats.
How thin should primer be before airbrushing a miniature?
Thin enough to spray as a mist rather than a stream, measured rather than guessed. A 1:1 primer to thinner mix is a reasonable starting point for hobby acrylic surface primers, then adjust to your gun. Filler and spray putty primers are usually used as sold, so follow the can. Use a dropper bottle with volume markings, test on scrap card, and keep mixing until the spatter turns into an even fan.
Should I seal 3D printed miniatures after airbrushing?
Yes, and sealing is what protects the finish once the model starts getting handled. Choose matte for a realistic look under warm light, satin as a safe middle ground, or gloss for display pieces. Use a sealer your paint system recommends and apply several light coats with flash time between them, then allow the full cure the product specifies. A quick-dry sealer still needs time before you handle the model.
How do I keep an airbrush from clogging while painting miniatures?
Most clogs come from three habits: holding the trigger down instead of pulsing it, letting the cup run nearly dry, and putting the gun away without flushing it. Flush with the matching thinner the moment you finish a colour, wipe the wetted parts, oil the needle seal as directed, and store the gun tip-down so residual moisture drains out. If it still clogs, the paint was too thick, so thin it more next time.
Conclusion
The sequence that works is simple enough to memorise: remove supports and inspect, clean and fully cure, sand only what is raised and clear the dust, choose a primer that suits the surface, thin it by measurement, then lay down several thin coats from around 15 to 20 cm while you rotate the model. Build colour in the same thin passes, add shadows and highlights, seal it properly, and flush the airbrush before you walk away.
If you are starting today, begin with the boring end of the process. Get the print clean, fully cured and dust-free, mix your primer thinner than you think you need, and test the mix on a prime tower before it touches anything you care about. Everything after that step goes more easily.