The best clear coat for 3D printed parts depends on what you are solving. Two-part urethane clear wins on durability, epoxy filler clear wins when layer lines are the real problem, and a solvent acrylic spray wins when you want gloss without buying a spray gun. Match the chemistry to your filament and the finish level second.
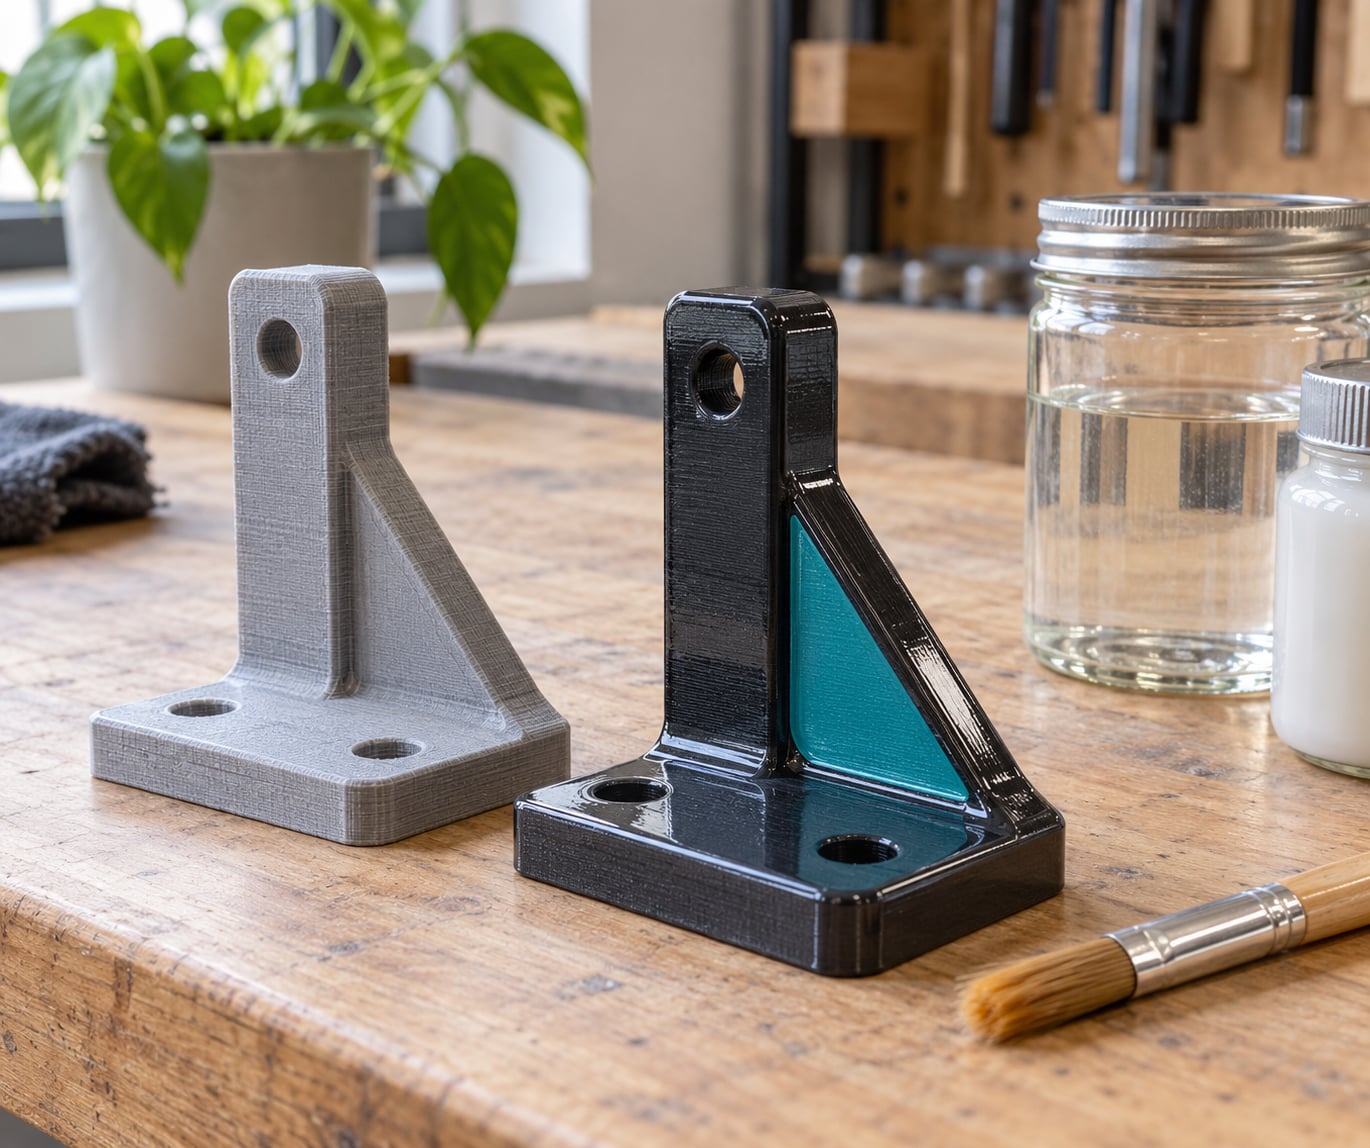
Uncoated filament is porous and matte. It drinks up skin oils, traps dust in the valleys of each layer, lets paint pigment wick into the plastic, and slowly yellows under sunlight. A clear coat turns that surface into a hard, non-porous shell you can wipe clean, and it makes a print look like it came out of a mold instead of a nozzle.
It also hides nothing by magic. A thin gloss spray will not flatten a visible stair-step. What a good clear coat does is flow into the microscopic texture of the surface, level out, and turn the layer lines from a rough texture into a shallow optical ripple under gloss.
Table of Contents
- 1Best Clear Coat for 3D Printed Parts at a Glance
- 2How to Choose the Best Clear Coat for 3D Printed Parts
- 31. Rust-Oleum 2X Clear Gloss
- 42. Montana 2K High Solid Clear Coat
- 53. Pledge High Gloss Clear Coat
- 64. Krylon Clear Gloss Spray
- 75. Mod Podge Clear Glossy Modifiers
- 86. Varnish Plus High Gloss Crystal Clear
- 97. Two-Part Epoxy Clear Coat for Maximum Durability
- 108. UV-Resistant Clear Coat for Outdoor 3D Prints
- 119. Water-Based Clear Coat for Low-Odor Indoor Use
- 1210. Satin Clear Coat for Practical, Low-Gloss Protection
- 13How to Apply Clear Coat Without Ruining the Print
- 14Frequently Asked Questions
- 15What is the best clear coat for PLA 3D printed parts?
- 16Can I use clear coat on resin prints without making them brittle?
- 17Should I sand a 3D printed part before applying clear coat?
- 18Is matte or gloss clear coat better for 3D printed parts?
- 19How long should clear coat dry or cure before handling the print?
- 20What clear coat works best for outdoor 3D printed parts?
- 21Conclusion
Best Clear Coat for 3D Printed Parts at a Glance
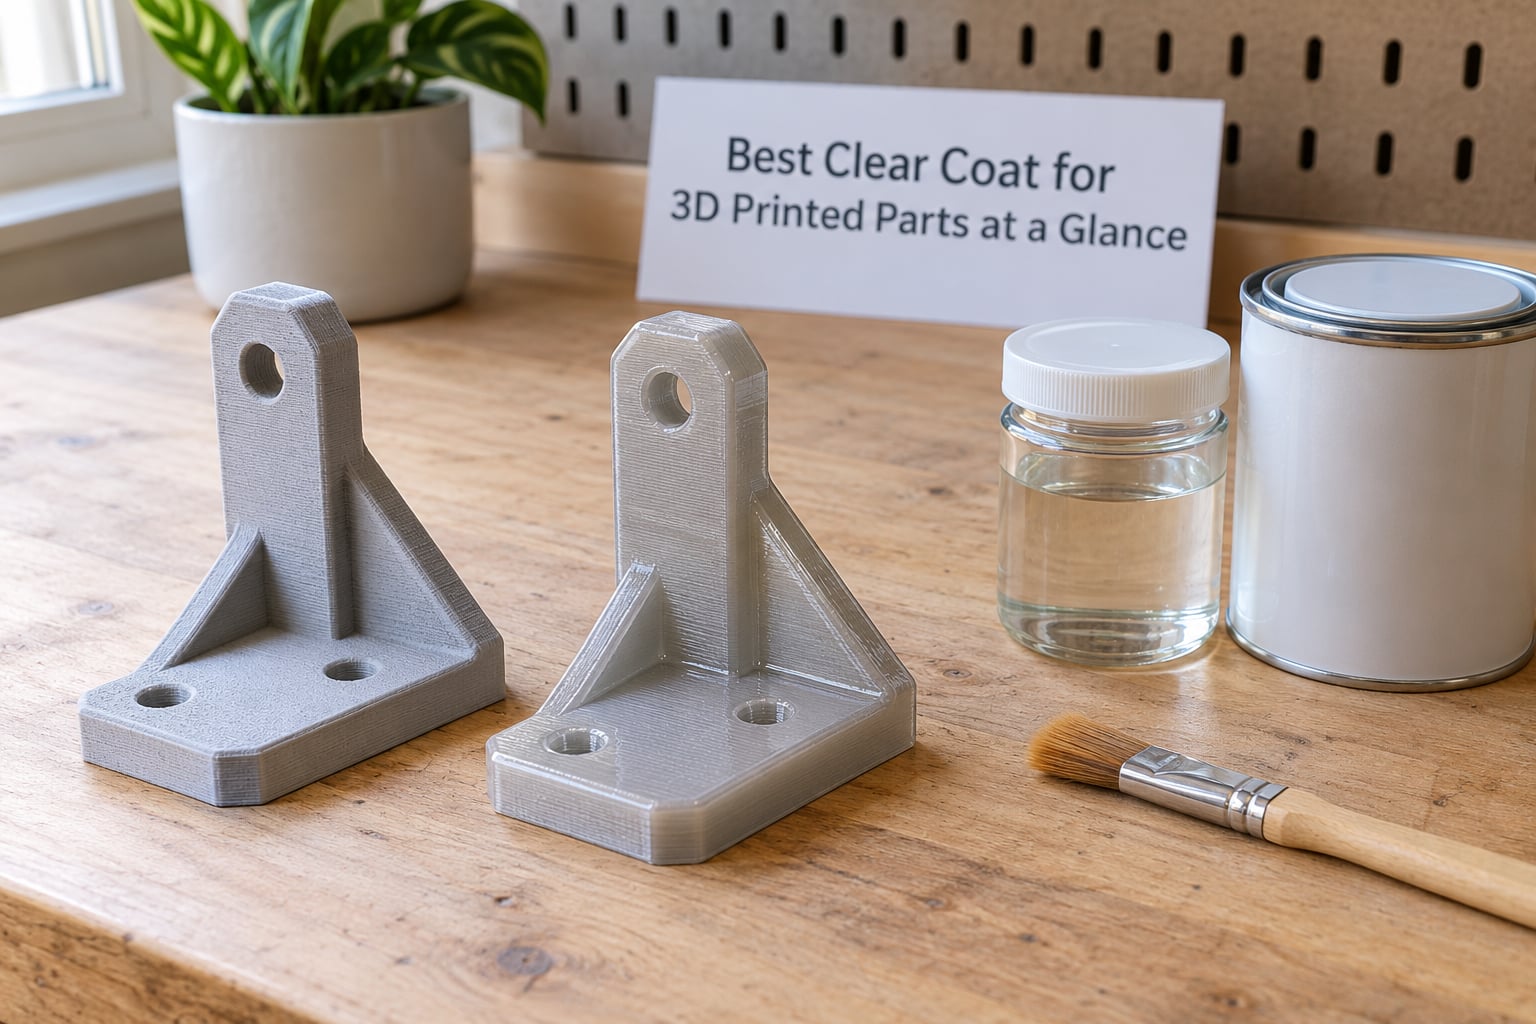
The table below compares the ten options in this guide on the four things that actually decide the outcome: what the coating is made of, which filaments it behaves well on, what it does for the finish, and how hard it is to apply.
| Option | Type | Works well on | Finish effect | Water and UV | Ease of use |
|---|---|---|---|---|---|
| Rust-Oleum 2X Clear Gloss | Solvent acrylic aerosol | PLA, ABS, resin | High gloss, modest leveling | Good water resistance, moderate UV | Easy |
| Montana 2K High Solid Clear Coat | Two-part urethane | Primed plastic, any filament | Deep gloss, excellent leveling | Excellent water resistance, good UV | Hard |
| Pledge High Gloss Clear Coat | Solvent acrylic aerosol | PLA, painted models | Bright gloss, thin build | Moderate water resistance | Easy |
| Krylon Clear Gloss Spray | Solvent acrylic aerosol | PLA, PETG, ABS, resin | Even gloss, light build | Good water resistance, good UV | Easy |
| Mod Podge Clear Glossy | Water-based brush-on | Craft-scale PLA, miniatures | Gloss to semi-gloss | Limited water resistance | Easy |
| Varnish Plus High Gloss Crystal Clear | Brush-on varnish | Painted prints, model kits | High gloss when layered | Moderate water resistance | Easy |
| Two-part epoxy clear | Epoxy coating | Primed plastic, any filament | Glass gloss, fills defects | Excellent chemical resistance | Hard |
| UV-resistant clear coat | UV-stabilized acrylic or urethane | PLA, ASA, painted prints | Gloss, anti-yellowing | Best UV protection available | Moderate |
| Water-based acrylic clear | Water-based acrylic or polyurethane | PLA, PETG, indoor parts | Satin to gloss | Weak around moisture and heat | Easy |
| Satin clear coat | Any chemistry, satin sheen | Functional parts, enclosures | Low glare, hides fingerprints | Same as its gloss equivalent | Easy |
Two things stand out. Solvent acrylic sprays dominate the easy end because they need no mixing and no equipment, and every one of them is fine for a display piece that lives on a shelf. The two hard options, two-part urethane and epoxy, are the only ones that genuinely change the durability of a part you handle daily.
How to Choose the Best Clear Coat for 3D Printed Parts
Start with the substrate, because that decides the rest. Solvent-based coatings attack polystyrene, so any styrene-based or untested plastic needs a small test patch first. Water-based coatings are gentler on plastic and safer indoors, but they sit thinner and take longer to build a film.
Next, decide what the coating has to survive. A shelf ornament only needs dust and fingerprints. A cosplay helmet gets handled, sweat and heat. A garden marker gets sun and rain, and only a UV-stabilized formula will hold color.
Then look at the sheen honestly. Gloss magnifies every remaining defect and every fingerprint, but it also hides layer lines better than any other finish because it reflects light across them. Satin diffuses that reflection, so it makes a rougher surface look smoother and is the smarter pick for functional parts.
Finally, check the cure time against your patience and your workspace. Aerosol acrylics feel dry in minutes but want a day before handling. Two-part products are fully hardened the moment they cure, and they want proper ventilation the whole time you spray.
If your part is painted and you just want it protected, use a solvent acrylic clear spray. Three light coats from 8 to 10 inches away, with a flash time between each, will do it. This is the default for almost every hobby print.
If the layer lines still bother you after sanding and priming, stop buying gloss and switch to build. A high-build glaze or an epoxy filler clear coat adds real thickness, and thickness is the only thing that actually hides a stair-step. Everything else is optical trickery.
If the part gets handled, worn, or shipped, go two-part. A 2K urethane clear outlasts anything solvent-based by a wide margin, which is why it is the most repeated recommendation across maker forums. Read the safety section before you open the can.
1. Rust-Oleum 2X Clear Gloss
Rust-Oleum 2X Clear Gloss is the fastest route to a deep, wet-looking gloss on a decorative print. It is a standard aerosol clear with a fast-drying formula, so you can get three coats on a small part inside an afternoon.
It suits painted PLA and cured resin prints that will sit on a shelf or in a display case. Spray from 8 to 10 inches, keep the can moving, and lay down a mist rather than a wet band. Let each coat flash until it stops looking tacky.
Two honest limits. It levels only moderately, so it will not hide a coarse layer line on a tall thin-wall print, and it needs a properly primed surface or it will lift later. On unfamiliar filaments, spray a scrap offcut first. Use it outdoors or in a closed room at your own risk, and always spray with ventilation.
2. Montana 2K High Solid Clear Coat
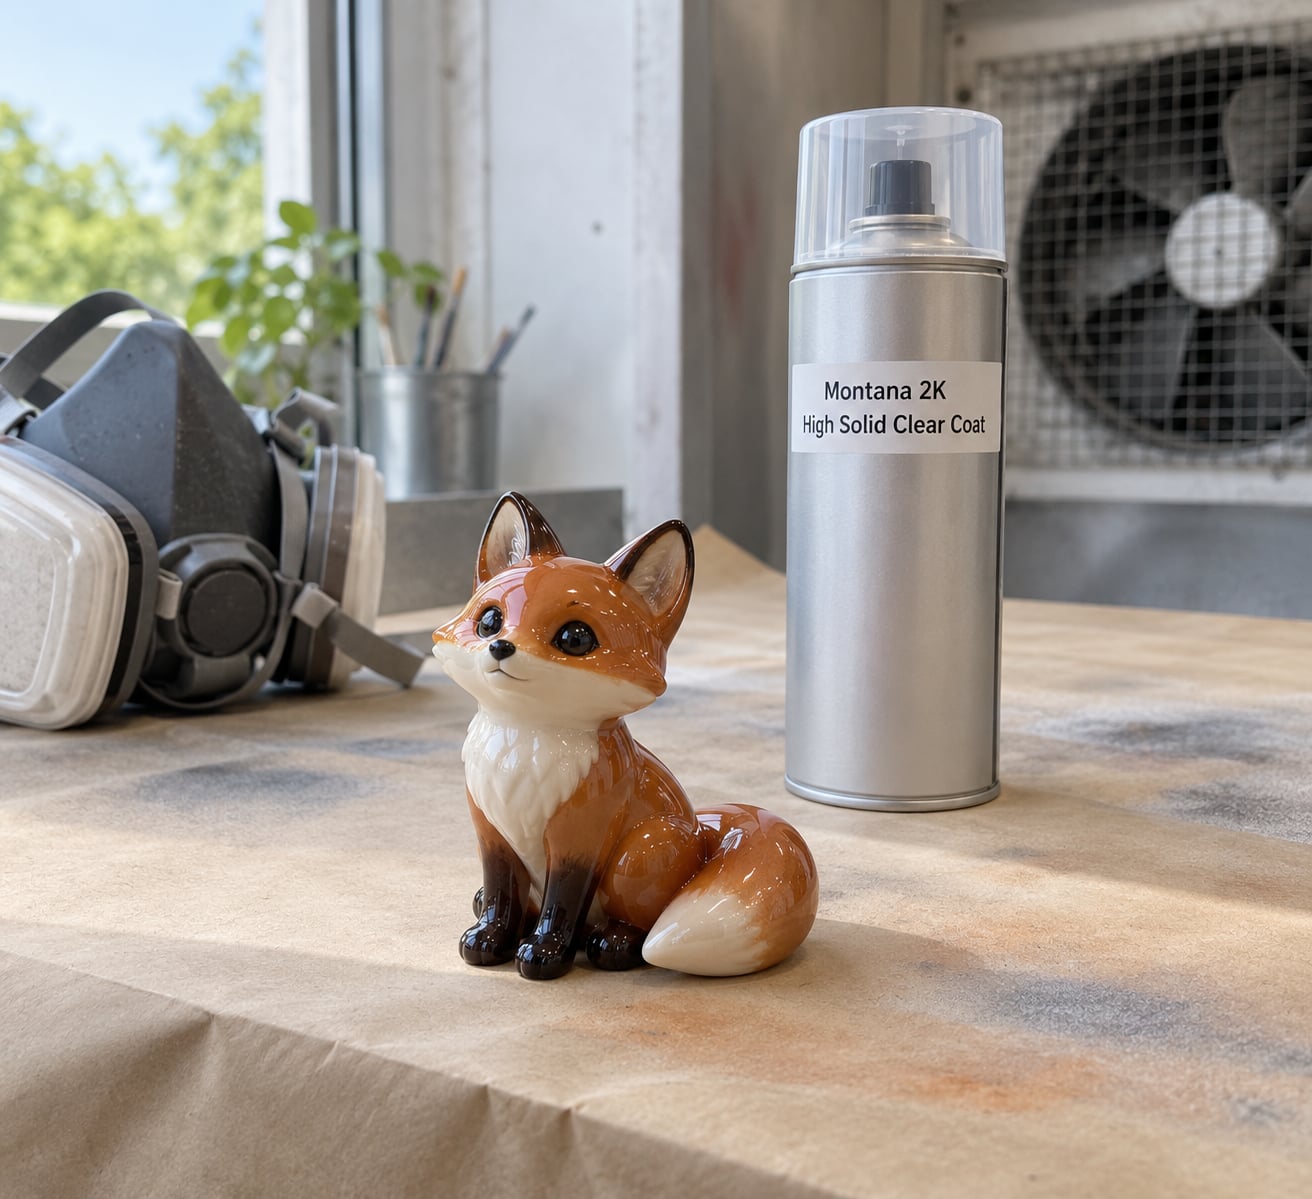
Montana 2K High Solid Clear Coat is the top-end option here, and the answer for display models and custom parts that need to look automotive. It is a two-part solvent urethane that crosslinks as it cures, so the hardened film is genuinely hard rather than merely dry to the touch.
The gloss has real depth to it, and the scratch resistance is far beyond anything an acrylic spray reaches. On a primed surface it also levels well, which makes it a reasonable choice when you want a clear that does some of the smoothing work for you.
It wants a proper HVLP gun, a controlled booth or at least a well-ventilated corner, and real PPE. The isocyanate hardener is the reason car paint shops treat it carefully, and the same caution applies in a home workspace. High solid also means runs if you flood it, so watch your trigger and your distance.
3. Pledge High Gloss Clear Coat
Pledge High Gloss Clear Coat is a hobby-shelf clear that does one thing well: it makes small parts look bright and clean without any fuss. It is the sort of can that lives on a desk and gets used on a freshly painted miniature or a small PLA emblem.
The result depends entirely on how thin you spray. Two thin coats give an even sheen; one heavy coat gives you runs and orange peel that take an hour to sand off. Work from further away than feels natural and let each pass dry before the next.
It is not the right pick for a part that gets gripped, dropped, or left in a car. The film stays soft enough to scuff and mark, and it has no real chemical resistance. Use it on display-scale work and step up to a 2K clear when the part has a job.
4. Krylon Clear Gloss Spray
Krylon Clear Gloss Spray is the broadest-availability option on this list, which makes it the safest default when you are not sure what you have. It coats painted or bare PLA, PETG, ABS and cured resin, and it is the one most people buy first without regret.
The finish is smooth and even, with a light build that will not turn a small part into a glossy blob. For a bare print, scuff the surface and prime first, or expect the coating to peel off in sheets later. If you are using metallic paint or a primer underneath, test a hidden spot because some metal pigments react with solvent coats.
Pay attention to the label for the UV-resistant version if the part sees sunlight. Drying is quick to the touch, but give it a full day before heavy handling, and spray outdoors or with the windows open. The odor is real and it fades with ventilation.
5. Mod Podge Clear Glossy Modifiers
Mod Podge Clear Glossy is the brush-on option for makers who do not want a spray area at all. It is water-based, low odor, and cleans up with soap and water, which makes it a good fit for a kitchen table, a classroom, or a small maker space.
Brush it on thin. A loaded brush deposits too much, and the extra has to evaporate out from the middle, which leaves a hazy patch exactly where you brushed hardest. Several thin coats, allowed to dry fully between each, give a clearer and better leveling result than one heavy one.
Know the ceiling. It seals dust and fingerprints and adds a nice sheen to craft-scale PLA prints and miniatures, but it softens with heat, offers only limited water resistance, and will not survive a part that is handled constantly. It is a sealer, not a protective shell.
6. Varnish Plus High Gloss Crystal Clear
Varnish Plus High Gloss Crystal Clear sits between the Mod Podge and the spray cans: a brush-on varnish that builds a genuinely clear, glossy film when you respect the layering. It suits painted prints, model kits, and decorative objects where you want control over exactly where the finish goes.
Prepare the substrate properly, then build the film in thin layers with full drying time between them. Skip the drying and you will lift the previous coat instead of adding to it. Sand lightly between coats only if you get a defect, and use a very fine grit so you are not cutting the gloss back out.
The trade-off is time and toughness. Crystal clear gives excellent optical clarity and depth, but gloss scuffs show on a high-gloss surface, and drying takes many hours before the coating is robust. For a prop that will be handled or a piece that sits in sunlight, this is not the strongest option.
7. Two-Part Epoxy Clear Coat for Maximum Durability
A two-part epoxy clear coat is the hardest finish you can put on a print, and it is the right answer for functional parts, tool-adjacent components, and anything that takes severe handling. Epoxy cures by crosslinking, so the final film resists impact, abrasion, solvents, and moisture far better than any acrylic clear.
It is also the best coating for filling defects. Applied thick, it self-levels and shrinks back only slightly, which means it can level a seam or a sanding scratch instead of magnifying it. On resin prints it is the classic route to a glass-like surface.
The costs are real. You mix two parts and you have a limited working time before it kicks off, so you cannot fix a mistake after ten minutes. It is thick, prone to bubbles, and it takes hours to cure fully. Work in small batches, degass if you can, and consider a plastic primer first so the epoxy has something to grip.
8. UV-Resistant Clear Coat for Outdoor 3D Prints
For garden markers, outdoor fixtures, and decorative parts in a sunny window, a UV-resistant clear coat is not optional. Uncoated PLA and PETG fade, embrittle, and go chalky within a season of direct sun, and no clear coat will save a part if you pick one that was never formulated for sunlight.
Look for UV-stable acrylic or a UV-resistant two-part urethane rather than a general gloss clear. Apply enough film thickness to matter, because a UV package only protects the depth it can reach. Two or three real coats beat five rushed misting passes.
The base material still decides your lifespan. ASA and ABS hold up outdoors far better than PLA, and a primed, well-coated ASA part will outlast an unprimed one by a wide margin. If you must use PLA outdoors, expect a shorter life and treat it as a replaceable seasonal decoration rather than a fixture.
9. Water-Based Clear Coat for Low-Odor Indoor Use
Water-based acrylic and water-based polyurethane clear coats trade peak gloss depth for a much friendlier indoor workflow. No solvent smell, no respirator requirement for casual use, and cleanup with soap and water. They are a sensible choice for classrooms, small workspaces, and indoor prototypes that will not see hard use.
They also behave well on plastic, which makes them a low-risk way to seal a print you have not tested anything else on. Expect a satin-to-gloss range and a thinner film than solvent coatings, so build with several coats.
Know where they stop. Water-based coats are weaker around moisture, heat, and abrasion than solvent or epoxy systems, and a warm part in a parked car can soften the film. They also take longer to dry and can be sensitive to humidity during application. For indoor display and handling, they are more than enough.
10. Satin Clear Coat for Practical, Low-Gloss Protection
Satin or semi-gloss is the sensible finish for functional parts, enclosures, prototypes, and models where fingerprints and visual glare matter. It still protects the surface, but it diffuses reflected light instead of mirroring it, so it is far less likely to show every fingerprint and scuff.
It also flatters rough surfaces. Under gloss, a residual sanding scratch or an uneven edge reads as a hard line. Under satin the same defect reads as a soft variation, which is why many people find satin looks better on a print they cannot get perfectly flat.
Durability is a property of the chemistry, not the sheen. A satin two-part urethane outlasts a gloss acrylic spray, and a satin water-based coat still softens with heat. Read the coating type first and the sheen second, and choose satin mainly when the appearance of the surface matters more than the depth of the reflection.
How to Apply Clear Coat Without Ruining the Print
Clean first. Wipe the part with isopropyl alcohol to remove fingerprints, skin oils, and release agent, and let it dry completely. A part that went from a heated bed into a coating still carries moisture, and that moisture is the main cause of cloudy patches and blooming.
Prepare the surface next. Scuff with a fine abrasive to give the coating something to hold, fill defects with spot putty or filler primer if the layer lines are deep, and sand the filler back level before it cures hard. Skipping this step is the number one reason coatings peel off in sheets.
Mask what you do not want coated. Tape overspray off threads, mating faces, and anywhere the part needs to stay a slip fit. A coating that adds a twentieth of an inch to a joint can stop it from assembling.
Then spray thin. Hold 8 to 10 inches away, move the can steadily across the part, and mist until the surface looks evenly damp rather than wet. Build two to four coats, flashing each until it stops looking tacky. Thick coats run, and runs have to come off with abrasive paper.
Finish in a clean, dust-free space. Dust and fibers settle into gloss and dry in permanently, so mask off vents, filter your air if you can, and let the part sit for a few minutes after handling it. Wear a respirator with organic vapor cartridges for any solvent-based product.
Give it real cure time before you judge it or handle it. Aerosol acrylics feel dry in minutes but reach real strength in about a day; two-part urethane and epoxy reach theirs according to their cure schedule, which is usually hours rather than weeks. Handle earlier and you will dent the finish you just built.
Frequently Asked Questions
What is the best clear coat for PLA 3D printed parts?
For most PLA prints, a solvent acrylic clear spray such as Rust-Oleum 2X or Krylon Clear Gloss gives the best balance of gloss and ease. Prime first, spray three thin coats 8 to 10 inches away, and let it cure a full day. Use a high-build glaze or epoxy coating instead when layer lines need hiding, and a UV-resistant formula for anything in sunlight.
Can I use clear coat on resin prints without making them brittle?
Yes. Resin is stable under clear coat once it is fully post-cured and cleaned. A thin solvent acrylic clear gives a gloss finish without stress-cracking the print. Epoxy adds real thickness and a glass-like surface, but it makes the part rigid, so use it on shapes with no thin flexing sections and brush or squeegee out bubbles immediately.
Should I sand a 3D printed part before applying clear coat?
Sand or scuff, yes, but do not sand raw PLA to a mirror finish and expect the clear coat to hide what you skipped. Work up through grit gradually, fill deep layer lines with filler primer, then sand the filler level. On painted surfaces, a light scuff after the paint cures gives the clear coat something to grip and prevents peeling later.
Is matte or gloss clear coat better for 3D printed parts?
Gloss is better at disguising layer lines because it reflects light across the ridges, while matte or satin shows them more honestly. Satin is the practical middle ground: it still protects, it hides fingerprints, and it makes a slightly rough surface look smoother than gloss does. Pick gloss for display, satin for handled or functional parts.
How long should clear coat dry or cure before handling the print?
Treat to touch is not cured. Solvent acrylic sprays feel dry after a few minutes but need roughly 24 hours before real handling, and longer in cool or humid conditions. Two-part urethane and epoxy reach full hardness on their published cure schedule, often several hours. Full cure of water-based coats can take a few days. Handle early and the film dents or peels.
What clear coat works best for outdoor 3D printed parts?
Use a UV-stabilized clear, either a UV-resistant acrylic spray or a UV-resistant two-part urethane, and apply real film thickness with two or three coats. Start with ASA or ABS rather than PLA, since the base plastic determines how long the part lasts. Filler primer helps enormously, and expect to recoat annually if the part sits in direct sun.
Conclusion
Choose a clear coat that matches the material, the exposure, and the finish you want, then test it on a scrap print or an offcut before you coat the whole part. That single test will tell you more in five minutes than any product description will.