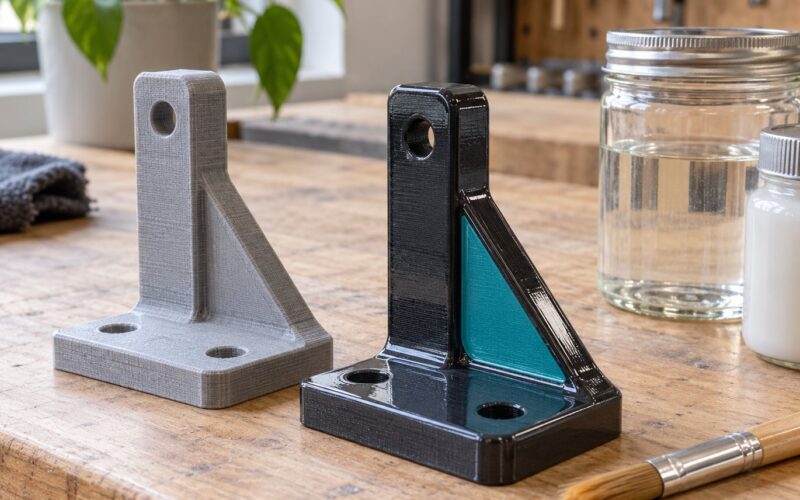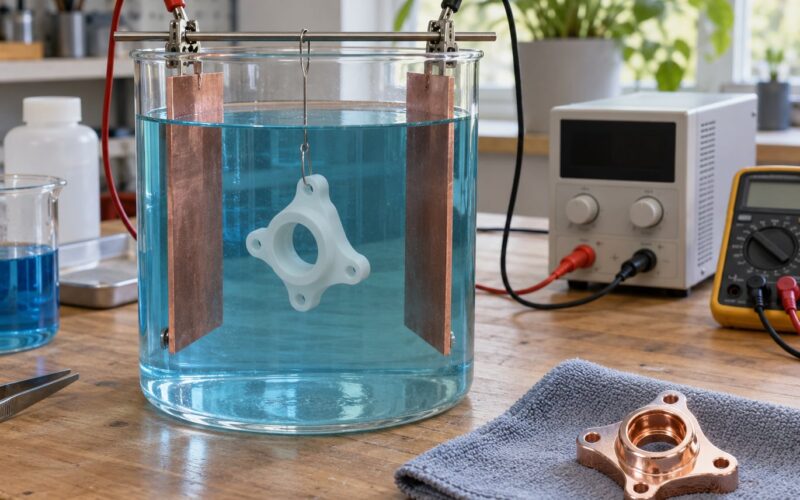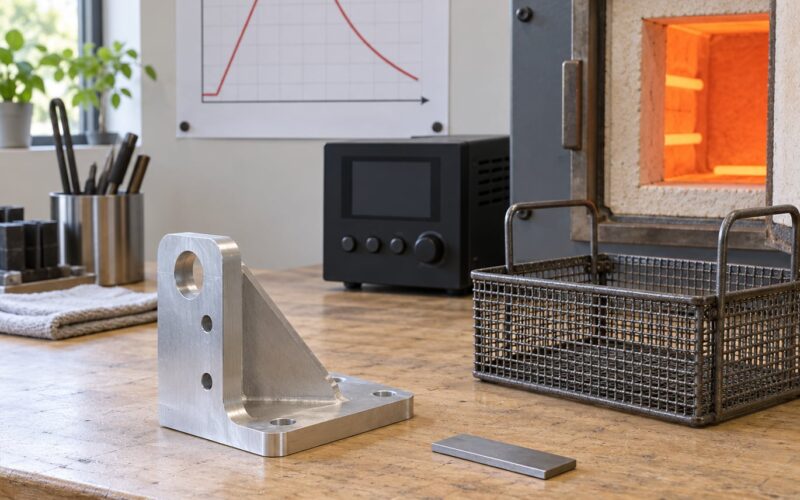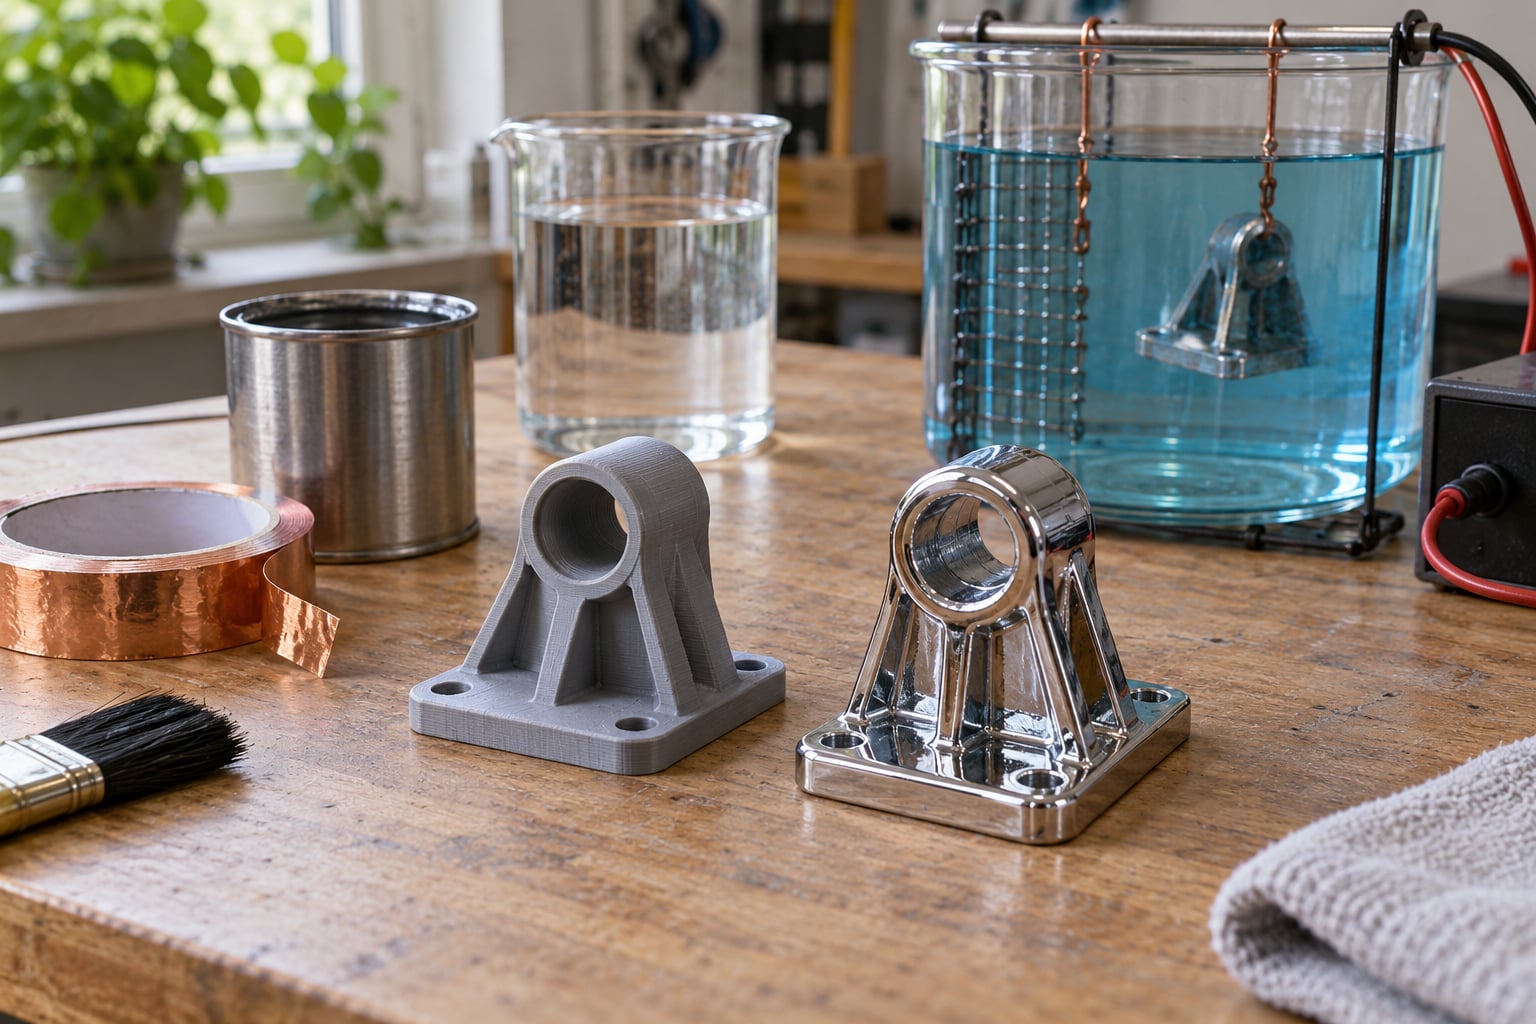
Yes, you can chrome plate a 3D print, but plastic cannot be plated straight out of the nozzle. The part has to be made electrically conductive, then built up in layers — copper, nickel, and finally a very thin chromium coating — and the surface underneath has to be genuinely smooth or the mirror never shows up.
That last part is where most attempts die. A plated print reflects every ridge, blob and support scar, which is exactly why a good chrome finish on a cheap part usually looks worse than the same part sprayed with a chrome-effect paint over gloss black.
So this guide covers both routes honestly. We start with the decision, walk through the full electroplating stack step by step, then finish with the failure modes that end most DIY attempts. Budget a weekend for a single small part, and read the safety section before you buy anything.
Table of Contents
- 1Quick Answer: The Whole Process in Eight Steps
- 2What You Need: Two Very Different Jobs
- 3Materials and equipment for the plating route
- 4Materials for the paint route
- 5Which parts are worth finishing at all
- 6Brush plating versus immersion plating
- 7How long it takes and what drives the cost
- 8Safety gear, without exception
- 9Step-by-Step: From Raw Print to Reflective Finish
- 101. Inspect the 3D Print and Choose the Plating Method
- 112. Remove Supports and Smooth the Surface
- 123. Degrease and Prepare the Part
- 134. Apply a Conductive Layer
- 145. Set Up the Plating Bath and Electrical Connections
- 156. Plate the Copper and Nickel Layers
- 167. Apply the Chrome Layer
- 178. Rinse, Inspect, and Finish the Part
- 18Filament and print settings that plate well
- 19How to get a chrome look with paint instead
- 20Common Mistakes and How to Fix Them
- 21When the plating itself is the problem
- 22When to stop and use a plating shop
- 23Frequently Asked Questions
- 24Can you chrome plate a 3D print?
- 25Do you need to copper plate before chrome plating?
- 26What filament should I use for a chrome finish?
- 27Why does my chrome plating look dull or cloudy?
- 28Is chrome plating a 3D print safe to do at home?
- 29How long does chrome plating a 3D print take?
- 30Conclusion: Start With the Cheaper Answer
Quick Answer: The Whole Process in Eight Steps
If you want the short version of how to chrome plate a 3D print, this is the order of operations. Each step is expanded further down.
- Inspect the print. Solid perimeters, no gaps between layers, no hollow thin walls, and support marks you can actually sand flat.
- Remove supports and sand. Work 60–150 grit, then 320, then 400–1000. Fill low spots with filler primer and sand again.
- Degrease. Detergent wash, clean rinse, distilled water rinse, then gloves on and bare hands off.
- Make it conductive. Copper tape or conductive paint, then verify continuity with a multimeter.
- Set up the bath. Part on the negative lead as cathode, anode facing it with even spacing, current density to spec, ventilation running.
- Plate copper, then bright nickel. Copper for adhesion, nickel for the reflective base and corrosion resistance. Rinse between baths.
- Plate chromium. A very thin layer that turns the nickel into a mirror. Watch for even coverage and burnt edges.
- Rinse, dry and inspect. Full rinse and full dry straight away, then check for pinholes, thin spots and edge coverage under bright light.
Steps 2 and 3 decide whether the last five are worth doing. No amount of good chemistry fixes a surface that was never smoothed.
What You Need: Two Very Different Jobs

Two processes answer the same search, and they share almost no equipment. Chrome-effect paint is a spray gun and a black basecoat. True chrome plating is a chemical bath, a direct current supply and a ventilated work area. Deciding first saves you from buying the wrong half of the kit.
| What you want | Chrome-effect paint | True chrome plating |
|---|---|---|
| Process | Sand, prime, black basecoat, light mist coats of chrome paint, clear coat | Conductive coat, then copper, nickel and chromium deposited by electrolysis |
| Reflectivity | High, but it is paint — a true mirror only on very thin, even coats | Real metallic mirror, hard as the deposited metal |
| Scratches | Show through the basecoat if the primer was thin | Stay in the metal layer rather than exposing plastic |
| Skill level | Any hobbyist who has masked a model before | Intermediate, with strict chemical handling |
| Safety | Ventilated spray area and a respirator | Fume hood, acid-rated gloves, hazardous waste disposal |
| Best for | Cosplay props, RC parts, display pieces, vehicle trim replicas | Small functional parts, heritage restoration pieces, durable outdoor parts |
My honest read: if the part is decorative and you want it to look mirror-bright on a shelf or in a photo, the paint route is faster, safer and usually looks better on a printed surface. Plating wins when the part gets handled, sits outdoors, or needs to look like a real stamped metal component.
Materials and equipment for the plating route
- Conductive coating. Copper tape for simple shapes, or a silver-loaded conductive paint or conductive primer for anything with curves, undercuts or a textured surface.
- Copper bath. An acid copper solution, plus a soluble copper anode to replenish the metal.
- Nickel bath. A bright nickel solution with a nickel or stainless anode. A plain nickel strike also works for very thin deposits.
- Chromium bath. This is the difficult one. Decorative chrome is normally plated from a hexavalent chromium bath, which is toxic and carcinogenic. Trivalent chromium baths exist and are much friendlier, but they deposit a slightly softer, warmer finish.
- DC power supply or rectifier. It needs adjustable voltage and current, with an ammeter so you can watch the draw. An improvised supply without current control is the fastest route to a burned part.
- Rack and leads. A titanium or stainless rack, alligator clips or copper bus wire, and a way to hang the part without touching bare metal in the wrong places.
- Tanks and instruments. Glass or plastic tanks large enough to submerge the part with clearance on every side, a thermometer, a timer and a rinse tank of distilled water.
Materials for the paint route
This list is short: sandpaper in a grit progression from 60–150 coarse up to 400–1000 fine, a filler primer, an ultra-gloss black basecoat, chrome-effect paint such as Alclad II ChromeGo or Ultralumin, and a 2K clear coat. Masking materials matter more than most people expect.
Which parts are worth finishing at all
Match the finish to the job. Cosplay props and armour usually only need to look convincing in photographs, so paint is the sensible call and a plating shop is overkill. Scale models, RC parts and vehicle emblems need a mirror because the eye compares them directly to a real chromed original, and the chrome look is the whole point.
Jigs, fixtures and any part that will be gripped, bolted or cleaned are different again. A plated layer survives handling in a way a painted one does not, because the colour is in the metal rather than sitting on top of it. Outdoor parts need a full copper-nickel-chrome stack with good coverage, since thin deposits at sharp edges are where corrosion starts first.
Skip plating on functional internal parts where a mirror finish buys nothing, such as a duct or a phone stand, and skip resin prints with deep undercuts, where no amount of sanding gets you inside the geometry.
Brush plating versus immersion plating
Both names describe the same electrochemistry, just different delivery. Immersion plating submerges the whole part, which gives even coverage everywhere including inside holes and undercuts. Brush plating wipes a plating solution onto a surface with a swab and works between deposits on larger or already-plated parts.
For a 3D print, immersion is the sane default. A part with organic layer texture has crevices that a brush simply will not reach, and a mirror finish that skips the crevices is exactly the defect you were trying to avoid. Brush plating earns its place later, when you need to touch up a worn edge or add a small fitting to a part that is already finished.
How long it takes and what drives the cost
Time splits roughly into a third printing, a third surface preparation and a third plating and drying. A small flat part that prints in two hours can take most of a day to finish, because primer drying, flash times between coats and full drying after the bath do not compress.
Cost splits into equipment and consumables. Equipment is the real outlay: a rectifier, tanks, a rack and extraction, plus fume hood space if you are plating. Consumables are per part — conductive coating, bath salts, anode metal, abrasives, filler primer and clear coat. The recurring figure people ask about is the per-part consumable cost, and it climbs quickly once bath solution has to be replaced after contamination or a failed run.
Compare that against a plating shop before building a rig for a single part. Shops price by surface area, part count, geometry and finish quality, so a one-off decorative piece is often cheaper done professionally, while a batch of ten identical prints amortises your setup cost quickly. Send a quote request with the material, dimensions and quantity rather than guessing from the search page.
Safety gear, without exception
- Nitrile gloves rated for acid, plus a second pair for handling dried parts
- Splash goggles and a face shield for tank work
- A respirator rated for acid mist and, if you are plating chrome, for chromium compounds
- A chemical apron and closed shoes
- A working fume extraction arm or hood, sized to the tank
- A separate waste container for spent plating solution, labelled and disposed of as hazardous waste
Chromium plating baths are a professional trade for a reason. If you do not already have ventilation and a safe place to store and dispose of acidic solutions, send the part to a plating shop rather than setting up in a spare room. If you sell the finished part, the plating shop route is usually the only one that satisfies safety rules you would otherwise be breaking.
Step-by-Step: From Raw Print to Reflective Finish
Eight stages, in this order. Each one has a check you can make before moving on, and skipping a check usually means stripping the part back later.
1. Inspect the 3D Print and Choose the Plating Method
Check the part before you touch sandpaper, because the print itself decides whether plating is realistic. You want continuous, dense walls, clean perimeters, no visible gaps between layers, and support marks that are easy to reach and easy to sand flat. Hollow parts with thin ceilings are a problem: aggressive sanding can punch through into the void and expose the interior in the plating bath.
Thin perimeters and gaps between layers let solution wick inside the part, where it corrodes from within and comes out as blisters. If you see gaps, reprint before spending an evening sanding. Layer height also matters: finer layers take a mirror finish far more willingly than chunky 0.3 mm ones.
2. Remove Supports and Smooth the Surface
Take the supports off while there is still material left around the contact point, so you are not grinding straight onto finished detail. Break the supports off and then sand the footprint back level with the surrounding surface.
Work the grit progression in order: start at 60–150 grit to knock down the layer ridges, move to 320 to remove the scratches from the coarse pass, and finish at 400–1000 for a surface that will hold a reflection. Rushing the progression is the single most common reason prints look rough after painting.
Fill low spots with a filler primer, let it dry, and sand again through the finer grits. Aim for a surface you can barely see a fingernail on. Keep sharp corners sharp by hand-sanding with a block and masking the edge, since rounded edges are impossible to recover once they are gone.
3. Degrease and Prepare the Part
Wash the part in a warm detergent solution, rinse in clean water, then run a final rinse in distilled water. Oils from handling, fingerprints and mould release all cause plating to peel later, and you will not see the failure until the part is under a bright light.
Handle the cleaned part with clean nitrile gloves from this point onward. Touching it with bare fingers re-introduces the oils you just removed. If the part has been printed with matte PLA or a filled filament and you plan to keep it, check whether the finish will hold up to sanding at all.
4. Apply a Conductive Layer
Printed plastic is an insulator, so nothing will deposit until the surface conducts. Copper tape is the simplest route and works well on flat, simple parts, but it bridges fine features and leaves visible seams. For curved or textured surfaces, conductive paint sprayed in thin coats is more forgiving.
Cover everything that will be visible plus a generous margin, and let each coat flash off before the next. Verify coverage by touching the dried surface with a multimeter in continuity mode: you want a low, steady resistance reading. Any reading that flickers or jumps means the coat is not continuous, and thin spots become pits later.
5. Set Up the Plating Bath and Electrical Connections
Fill the tank, heat it to the temperature specified for your solution, and hang the part on the rack as the cathode, which is the negative connection. Suspend the anode, which is the positive connection, facing the part with even spacing on all sides. Uneven spacing shows up as uneven deposit thickness within minutes.
Set the current density your bath specification calls for, and stay within it. Low voltage and steady current usually give the smoothest deposit, which matches what plating guides report: even around a volt produces a shinier result than cranking the supply up. Good ventilation matters more here than anywhere else in the process.
6. Plate the Copper and Nickel Layers
Copper goes on first because it bonds to the conductive coat and gives you a uniform, throw-friendly surface. It also reveals problems early: any spot that refuses to take copper is a spot where nickel and chrome will peel later. Use copper anodes to keep the solution replenished.
Nickel is the layer that matters visually and chemically. Chrome is nearly invisible as a deposit on its own; it only becomes a mirror over bright nickel. Nickel also blocks corrosion, and it is the reason a plated print does not tarnish. Strip the part between baths and rinse thoroughly, because dragging copper solution into a nickel bath ruins both.
7. Apply the Chrome Layer
Chromium is deposited in an extremely thin layer, usually measured in microns rather than mils. When coverage is right, the part stops looking grey and starts acting like a mirror: it reflects the room, edges pick up highlights, and curved surfaces show a continuous image rather than a dull sheen.
Signs of good coverage are an even, dark at first appearance that clears to mirror as thickness builds, no brown or green cast anywhere, and no burnt darkening at edges where current concentrates. If the deposit looks burnt or smoky at the edges, the current density is too high for that geometry — stop, lower it, and strip the part back.
8. Rinse, Inspect, and Finish the Part
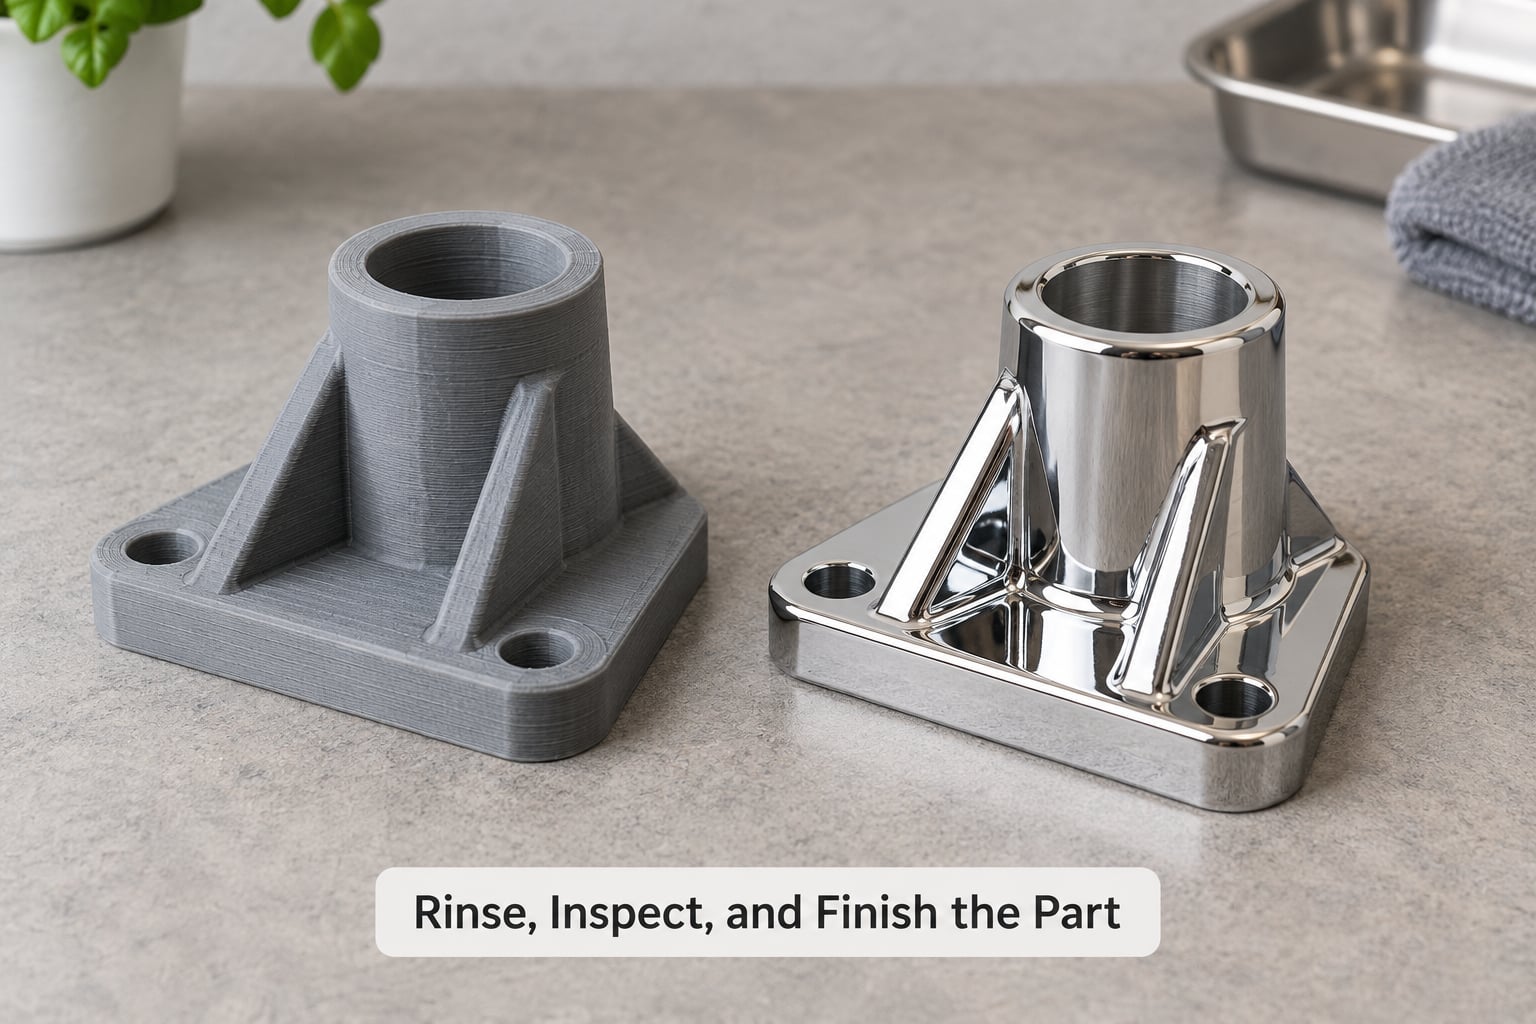
Rinse the part in clean water immediately after it comes out of the bath, then dry it fully. Drying is not optional here: trapped solution under the plating produces rust-coloured stains and, worse, blisters that only appear a week later.
Inspect under a bright light for pinholes, thin patches, burns at sharp edges and any dull or cloudy areas. Chrome plating a 3D print commonly loses coverage at sharp edges, which is the same edge-coverage complaint people raise about polished stainless prints from plating services.
On clear coat: think twice. A protective 2K clear coat protects against fingerprints and abrasion, but any texture in that coat kills the mirror instantly. Many platers leave the metal bare and handle the part with clean gloves instead.
Filament and print settings that plate well
ABS and ASA are the practical choices for plating. ASA handles heat and solvent cleaning better than PLA and stays dimensionally stable near a warm bath. PLA softens early and should never go near a heated tank. PETG is workable for the paint route but is a poor plating substrate.
| Material | Plating | Chrome paint | Notes |
|---|---|---|---|
| ABS | Good | Good | Print in an enclosure; sandable, dimensionally stable |
| ASA | Good | Good | Best UV and heat resistance of the common filaments |
| PETG | Poor | Fair | Too soft near a heated bath; usable with care |
| PLA | Avoid | Fair | Softens in a warm bath; alcohol smoothing softens the surface further |
| TPU | Avoid | Poor | Flexible skin dents during sanding and handling |
| Resin | Fair | Excellent | Smooth as printed, but brittle; undercuts are difficult to sand |
Whatever you print, use as many perimeters as your printer can hold, keep layer height fine, and avoid hollow shells thinner than about 1.5 mm. Resin prints start smoother than FDM ones, which is why the paint route usually lands better on them.
How to get a chrome look with paint instead
For most parts this route takes an evening and produces a better-looking result than a first plating attempt. Sand through the same grit progression to 400–1000, fill with filler primer, sand again, then spray an ultra-gloss black basecoat. The black matters more than the chrome: a mirror finish reflects whatever is underneath, and pure black is the only thing that lets the chrome particles read as metal.
Chrome-effect paint is not a solid coating. It is a suspension of fine aluminium flakes that must stay parallel and evenly spaced to reflect light. That is why the rule is thin, even coats: flash each pass for a few minutes, keep the gun moving, and build six or eight light coats instead of two heavy ones. Heavy coats let flakes sit at random angles and the shine goes flat.
Finish with a 2K urethane clear coat for a durable, glossier surface. Mask carefully, because overspray along a parting line shows up as a hard step in the reflection. For the truest mirror, skip the clear coat on display pieces and handle them with clean gloves.
Common Mistakes and How to Fix Them
Almost every failed chrome print falls into one of these categories. Work down the symptom list and fix the cause before you strip the part and try again.
| What you see | Likely cause | Fix |
|---|---|---|
| Visible layer ridges through the finish | Surface never sanded past coarse grit | Complete the full grit progression to 400–1000 and re-prime |
| Chrome peels off in sheets or flakes | Oils, release agent or moisture on the part before plating | Degrease, rinse in distilled water, handle with gloves only |
| Pitted or speckled surface | Gaps between layers, or an incomplete conductive coat | Reprint with solid perimeters; check continuity with a multimeter |
| Dull, cloudy or grey finish | Nickel layer too thin, or part dipped too briefly | Hold the correct current density for the full specified time |
| Dark burnt edges, bright centre | Current density too high for that geometry | Reduce current, increase anode spacing, strip and replate |
| Uncoated patches near mounting point | Shadowing from the rack or clip | Rotate the part, reposition the clip, add shielding anodes |
| Blisters appearing days later | Moisture trapped under the deposit | Rinse immediately and dry fully before handling |
| Cloudy chrome on a painted part | Too heavy a coat of chrome paint | Apply many thin mist coats; heavy coats kill the reflectivity |
Two habits prevent most of these. Work the grit progression without skipping, and never touch a cleaned part with bare hands. A third one saves parts: if a trial deposit fails, strip the layer back to a sound base instead of stacking another attempt on top of a bad one.
When the plating itself is the problem
Plating failures split into three groups, and naming the group tells you what to change. Adhesion failures — peeling, flaking, blisters — always start at the surface, so go back to degreasing or the conductive coat. Coverage failures — pinholes, shadowed patches — start with electrical setup, so check rack spacing, current density and clip position. Appearance failures — dull, cloudy, slightly warm colour — usually belong to the bath or the time in it.
Rack shadowing is the one people miss. Anything that blocks the line between anode and cathode leaves a bare spot, and the mounting clip is the usual culprit because it sits exactly where you were holding the part. Rotate the part between runs and look for consistent coverage on every face.
Mixed-metal contamination is the slow killer. Dragging copper solution into a nickel bath, or dropping a bare steel tool in, poisons the electrolyte and produces a finish that never quite comes right. Keep one tool set per bath, rinse between stages, and replace a solution that starts misbehaving rather than trying to rescue it.
When to stop and use a plating shop
Send the part out when it is large enough that you would be building a tank rig for one part, when the material is stainless or an existing plated metal needing a true mirror, or when the finish has to survive outdoor exposure and regular handling. Shops also absorb the hazardous waste problem that ends many home attempts.
Two alternatives are worth asking about before you commit to a full chrome stack. Brush plating swaps a chemical kit onto an already-plated part by hand, which suits small touch-up areas. Metallizing film is vacuum-deposited and gives a credible mirror on display pieces with no wet chemistry at all.
Frequently Asked Questions
Can you chrome plate a 3D print?
Yes, but not directly. Plastic is an insulator, so the part needs a conductive coat before any metal will deposit. From there it is plated in layers: copper bonds to the conductive coat, bright nickel builds the reflective base and blocks corrosion, and a very thin chromium layer creates the mirror. The surface must be sanded smooth first, because plating reflects every defect underneath.
Do you need to copper plate before chrome plating?
Practically, yes. Copper bonds to the conductive coat and gives an even, throw-friendly surface, and it proves coverage before you commit to nickel. Chrome on its own will not deposit a proper mirror, so the nickel layer underneath is what actually produces the reflectivity. Skipping the copper step usually shows up later as poor adhesion or patchy nickel.
What filament should I use for a chrome finish?
ABS and ASA are the best choices for plating. ASA holds up better to heat and UV than ABS, and both stay dimensionally stable near a warm tank. PLA softens in any heated bath and is the wrong substrate, while PETG is workable for painting but soft for plating. Resin prints need no filler for the paint route because they start smooth.
Why does my chrome plating look dull or cloudy?
Usually the nickel layer is too thin, or the part did not spend long enough in the bath at the correct current density. A cloudy finish also comes from plating straight onto a rough surface, where the deposit follows the defects. Check your grit progression, confirm the bath temperature, and hold the specified current rather than raising voltage to speed things up.
Is chrome plating a 3D print safe to do at home?
Only with proper equipment, and only if you already have the space for it. Conventional decorative chrome plating uses hexavalent chromium, which is toxic and carcinogenic, along with acid baths that need dedicated ventilation, acid-rated gloves and a hazardous waste route. Trivalent baths are far friendlier but deposit a softer finish. If you lack a fume hood and a safe disposal plan, use a plating shop.
How long does chrome plating a 3D print take?
Plan a full weekend for one small part. Sanding and priming take the longest stretch of any single step, typically several hours plus drying time between coats. Each electroplating bath run takes minutes, not hours, but rinses, stripping and the drying in between add up. A multi-part batch amortises the setup, so several identical prints finish faster per part than one does.
Conclusion: Start With the Cheaper Answer
The safest first step is to decide which finish you actually need, and for most makers the honest answer is chrome-effect paint over a filler-primed, ultra-gloss black basecoat. You get a convincing mirror on a properly sanded print, you avoid chromium chemistry entirely, and you can redo a mistake instead of stripping metal.
If you do want true chrome plating, the chain is fixed: make the plastic conductive, plate copper for adhesion, plate bright nickel for reflectivity and corrosion resistance, then lay down a very thin chromium layer. Skipping a step shows up later as peeling or a dull finish, and every failure underneath the metal is a failure you can see in the reflection.
Judge the part honestly first. Sharp edges, thin walls and a rough print will disappoint no matter how good your chemistry is, and a plating shop with proper extraction and hazardous waste handling is the sensible call for a one-off piece or anything you plan to sell.