Pressure advance and linear advance are two names for the same firmware feature: Klipper calls it Pressure Advance, Marlin calls it Linear Advance, and RepRap firmware calls it the S value. Each one predicts the delay between your command to extrude and the filament actually arriving, then adds or withholds a small amount of extrusion around every speed change so corners stay sharp and wall thickness stays even.
That is the whole idea. The rest is tuning. And because the compensation lives in firmware on some machines and in the slicer on others, the setting name, the units and the number that works all change depending on where you are standing.
I have spent more hours than I want to admit reading tuning-tower walls at 100 mm/s, and the same thing comes up every time: the value that fixed one machine makes gaps on the next one. So this guide covers what the feature does mechanically, which firmware calls it what, and how to find your own number rather than borrowing someone else’s.
Table of Contents
- 1Pressure Advance and Linear Advance Are One Feature Under Two Names
- 2How Do They Control Extrusion Pressure?
- 3Pressure Advance and Linear Advance Explained at a Glance
- 4How Pressure Advance and Linear Advance Differ
- 5What Problems Do These Settings Fix?
- 6Where Are the Settings in Klipper, Marlin, and PrusaSlicer?
- 7How Do You Tune Pressure Advance Safely?
- 8How Do You Tune Linear Advance in PrusaSlicer?
- 9What Values Should You Start With?
- 10Why Does a Good Setting Still Produce Uneven Results?
- 11Frequently Asked Questions
- 12Are pressure advance and linear advance the same thing?
- 13Does pressure advance replace retract and unretract tuning?
- 14Will pressure advance fix extrusion problems on every printer?
- 15What pressure advance value should I use?
- 16Should I use pressure advance and linear advance together?
- 17Conclusion: Tune One Variable at a Time
Pressure Advance and Linear Advance Are One Feature Under Two Names
They are the same feature. Klipper, Marlin and RepRap firmware all compensate for the same physical effect with the same logic; only the parameter name, the units and the calibration routine differ.
Klipper uses pressure_advance and a K value. Marlin uses Linear Advance, also measured in K. RepRap firmware on Duet boards uses an S value, which is a different scale and is not numerically interchangeable with K. Bambu Lab ships its own implementation, exposed through a Flow Dynamics calibration rather than a raw number.
Where it lives also varies. On Klipper and Marlin it runs in firmware, reacting to motion commands in real time. In PrusaSlicer, OrcaSlicer and SuperSlicer, linear advance can run in the slicer instead, adjusting how retract and unretract are timed at speed. Both approaches target the same delay, but the mechanics of how the compensation is applied are not identical.
So when a forum thread says one of the two “does nothing”, the reason is usually that the value was applied at the wrong layer, or the printer never received it at all.
How Do They Control Extrusion Pressure?
They control when extrusion happens relative to motion, not how much material you get. That distinction matters more than anything else on this page.
Filament is compressible. Push the extruder and the filament bunches up between the drive gear and the melt zone inside the hotend before it starts flowing. That compression has to build up and bleed off, and it takes time measured in milliseconds. The result is a lag between the moment the firmware commands movement and the moment material actually comes out of the nozzle.
Here is a concrete case. Your slicer accelerates from 30 mm/s to 120 mm/s for a line segment. The extruder step immediately, but the nozzle keeps extruding at the old rate until pressure catches up, so the first few millimetres of that faster line come out thin. Then the printer decelerates into a corner. The extruder stops, but the pressure in the melt zone keeps feeding material for a moment, so the corner gets a bulge of extra plastic.
Pressure advance predicts that lag and pre-empts it. On acceleration the firmware extrudes a small head start of filament so the line starts at full width. On deceleration it holds back a small amount so the corner stops clean. Over a whole line the extra and the withheld material roughly cancel out, which is why this redistributes plastic along a path rather than adding any.
Run the same G-code with the value at zero and you get the underextruded start and overextruded stop on every single speed change. Stack enough layers and those two errors land on the same coordinates, which is exactly why seam scars and bulged corners show up as ridges.
Pressure Advance and Linear Advance Explained at a Glance
Both settings compensate for the same pressure lag. The table below compares where each one runs, what it changes and which symptom it targets.
| Criterion | Pressure Advance (Klipper, Marlin) | Linear Advance (PrusaSlicer, OrcaSlicer, SuperSlicer) |
|---|---|---|
| Where it runs | Printer firmware, reacting to live motion commands | Slicer, adjusting generated G-code before it reaches the printer |
| What it modifies | Extruder step rate before and after a commanded speed or flow change | Speed-dependent retract and unretract behaviour during travel moves |
| Parameter name | pressure_advance, measured as K | Linear Advance setting with manual retract and unretract multipliers |
| Test method | Tuning tower printed from firmware commands, or a slicer-generated tower | Retract test tower generated by the slicer |
| Typical symptom when wrong | Corner blobs when too low, gaps and divots when too high | Oozing and a blob where printing resumes, gaps when the multiplier is too high |
| Suits best | High-speed CoreXY and Delta machines, and every Bowden setup where tube compression is large | Printers with no firmware-level pressure advance, and closed firmware where custom G-code is not an option |
| Needs recalibrating when | Filament, nozzle size, hotend or extruder changes | Retraction distance or speed changes |
How Pressure Advance and Linear Advance Differ
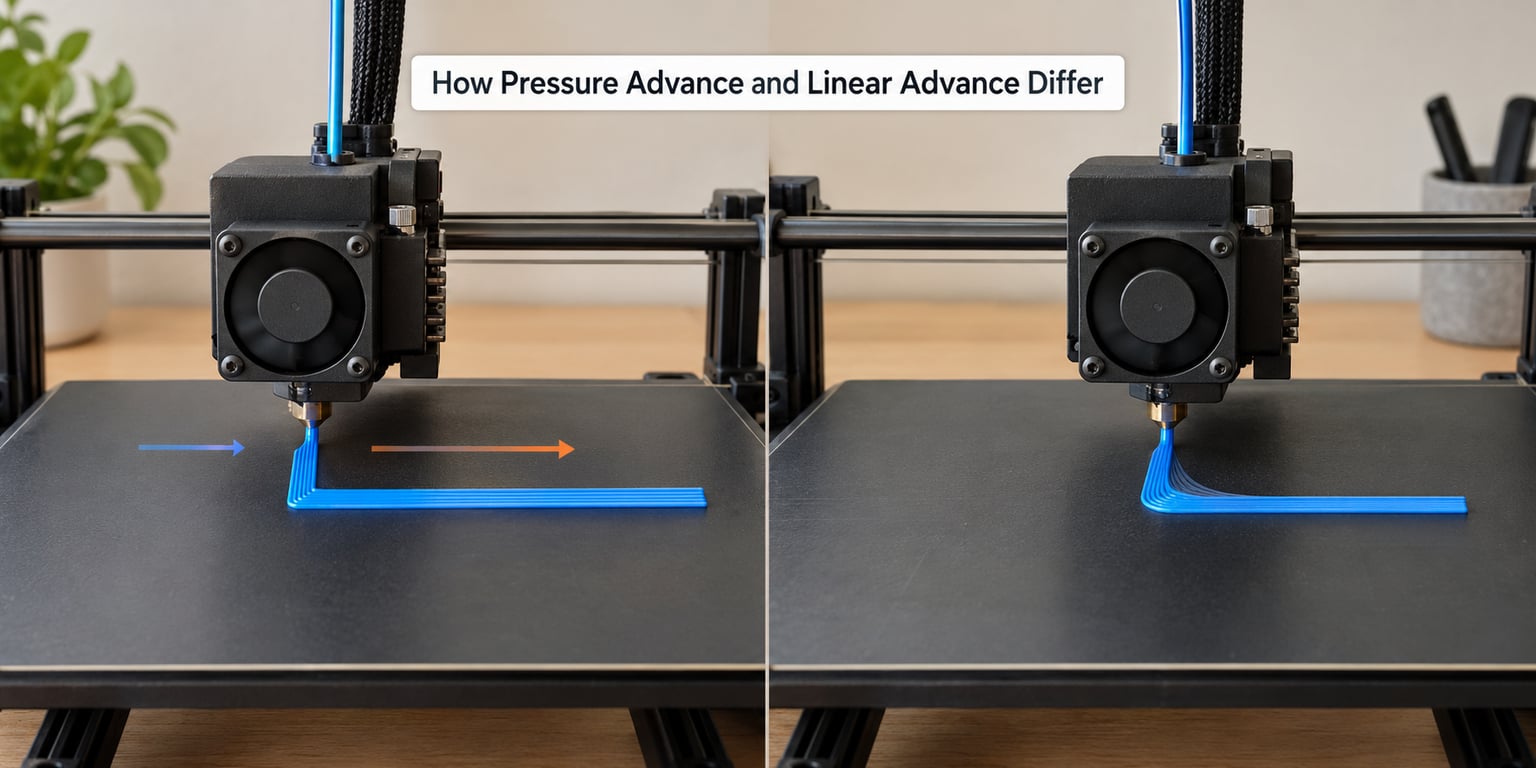
The conceptual difference is small. The technical difference is where the compensation is applied. Firmware pressure advance reshapes the extruder motion on either side of a speed change, whether that change came from acceleration, a flow change or a corner. Slicer-based linear advance works on the retract and unretract segment at the end of a travel move, scaling how those moves are timed at different print speeds.
Terminology varies between vendors too, which is half the confusion. Marlin documentation has used both “linear advance” and “pressure advance” for the same K parameter, and slicer forks inherited the mixed naming. When you see a number labelled K, check whether it came from firmware or from a slicer dialog before you compare it to anything else.
One more naming trap: the S value on RepRap firmware and Duet boards. It expresses the same idea, but because the underlying model differs, there is no fixed conversion between an S value and a K value. Calibrate each firmware with its own procedure instead of trying to translate between them.
What Problems Do These Settings Fix?
The signs of a bad value are always at speed changes, never in the middle of a constant-speed straight line. If your straight walls look even but your corners and seams look wrong, this is the feature to look at.
| What you see | Value too low | Value too high |
|---|---|---|
| Corners | Rounded, bulging outward, thick where the turn happens | Chipped, pulled inward, sharp with a small divot just before the corner |
| Seams | Raised ridge or visible lump at the start and end of the seam line | A shallow trench or a small hole at the seam |
| Line ends | Oozing and pilling after travel moves | Gaps between the end of one line and the start of the next |
| Small features | Blobs merging fine detail into a lump | Thin spots and missing material in thin walls |
| Outer wall | Consistently thicker near corners, slightly inconsistent overall | Consistently thinner near corners, gaps along perimeters |
Blobs and bulging mean too low. Gaps and divots mean too high. It is the single most reliable mapping in this whole topic and it holds across every firmware that implements the feature.
Here is what pressure advance will not fix. Underextrusion caused by a wrong flow rate or a partially clogged nozzle, ringing and ghosting from acceleration alone, stringing from a too-hot hotend, or inconsistent walls caused by wet filament. Those need different fixes, and stacking compensation on top of a broken flow rate just makes the diagnosis harder.
Where Are the Settings in Klipper, Marlin, and PrusaSlicer?
In Klipper the parameter lives in printer.cfg as pressure_advance, one line per extruder. In Marlin the feature must be enabled at compile time and the value is stored in the EEPROM through the M900 command. In PrusaSlicer the option sits on the filament settings, not on the printer page.
| Firmware or slicer | Setting name | How to apply it | Automatic or manual |
|---|---|---|---|
| Klipper | pressure_advance in printer.cfg | Run SET_PRESSURE_ADVANCE then SAVE_CONFIG | Manual |
| Marlin | Linear Advance (K factor) | Send M900 K0.05 then M500 to store it | Manual |
| RepRap firmware / Duet | S value | Set in the M558 tool definition or config.g | Manual |
| PrusaSlicer | Linear Advance dropdown on filament settings | Choose Firmware or Manual, then set retract and unretract multipliers | Manual or delegated to firmware |
| OrcaSlicer / SuperSlicer | Pressure Advance on filament settings | Generate a calibration tower from the filament settings panel | Manual with test generation |
| Bambu Lab firmware | Flow Dynamics calibration | Allow the printer to run its own test, then refine in the slicer | Automatic |
Do not copy a value between systems. A K value measured on one Bowden printer will produce visible gaps on a direct drive machine, and a firmware value pasted into a slicer field means something different from the same number entered in firmware.
How Do You Tune Pressure Advance Safely?
Tune in this order: extruder steps, then flow rate, then a good first layer, and only then pressure advance. Pressure advance redistributes material, so a wrong flow rate leaves you compensating for an error that is still there.
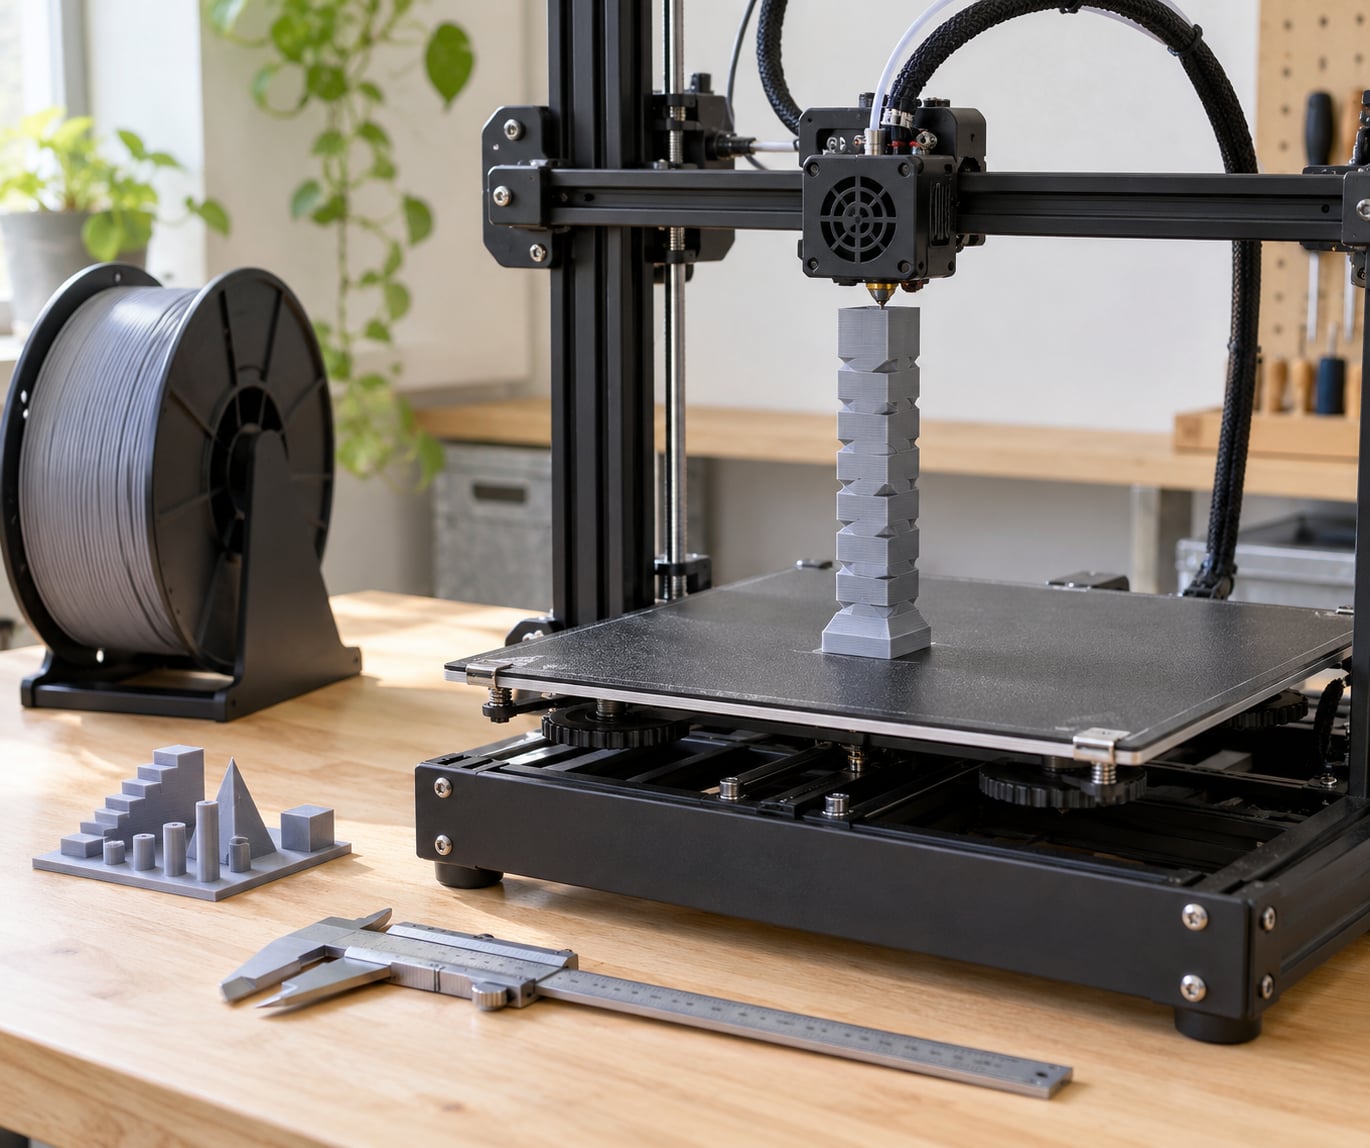
Once the basics are right, the Klipper routine is the cleanest example of a controlled test. A tower prints a thin wall once around each height, and the height where the wall looks most uniform tells you the right K.
- Verify extrusion. Check the e-steps and the flow rate for this filament first.
- Neutralise the motion settings so nothing else interferes. Run the following in the Klipper console, which sets acceleration, deceleration and square corner velocity to values that expose the pressure effect:
SET_VELOCITY_LIMIT ACCEL=500 ACCEL_TO_DECEL=500 SQUARE_CORNER_VELOCITY=1- Slice the tower test with no infill, no Z-hop and a single wall so each layer shows one clean extrusion.
- Start the tower. Leave it parked so you can inspect it, then run:
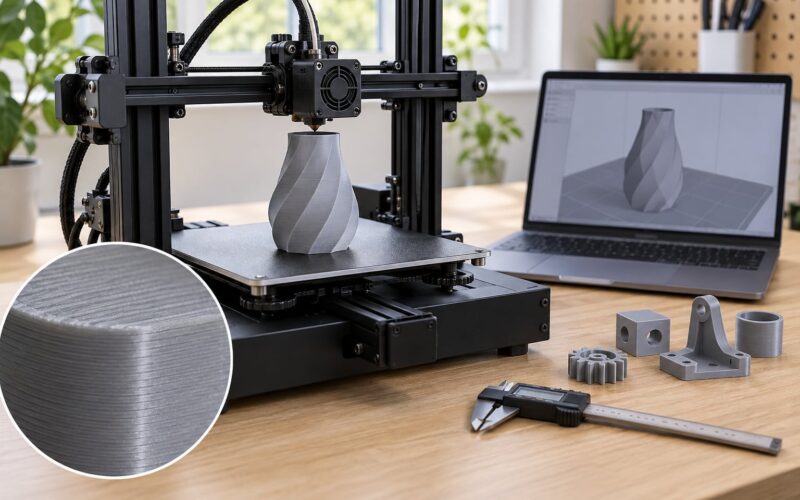
TUNING_TOWER COMMAND=SET_PRESSURE_ADVANCE PARAMETER=ADVANCE START=0 FACTOR=.005- Measure the finished tower with calipers and find the height where the wall is most even. Do not pick the shiniest line. Pick the most uniform one.
- Compute K. Multiply the chosen height in millimetres by the factor you used, so a 10 mm height at a factor of 0.005 gives K of 0.05.
- Apply the value:
SET_PRESSURE_ADVANCE ADVANCE=0.05thenSAVE_CONFIG. Without the save it disappears on the next restart, which is the most common reason people think calibration did nothing. - Print the same test geometry again and compare corners, seams and speed changes with your first print.
Keep a short log while you work. It makes the change visible and stops you from repeating a test that already told you something.
| Test | Starting value | Change made | Result at the best height | Value selected |
|---|---|---|---|---|
| Tower 1 | 0 (baseline) | None | Blobs at every corner, consistent underextrusion on starts | 0 |
| Tower 2 | 0 | FACTOR=0.005 sweep | Most uniform wall at 10 mm | 0.05 |
| Tower 3 | 0.05 | Resliced, same geometry | Even corners, no gaps on the outer wall | 0.05 |
| Tower 4 | 0.05 | PETG instead of PLA | Slight gaps near the top of the sweep | Retest at 0.07 |
Print speed matters when you test. Many people use a fixed feedrate around 40 to 60 mm/s for the wall so the tower reads cleanly, and they keep it identical between tests so the only variable is the value.
How Do You Tune Linear Advance in PrusaSlicer?
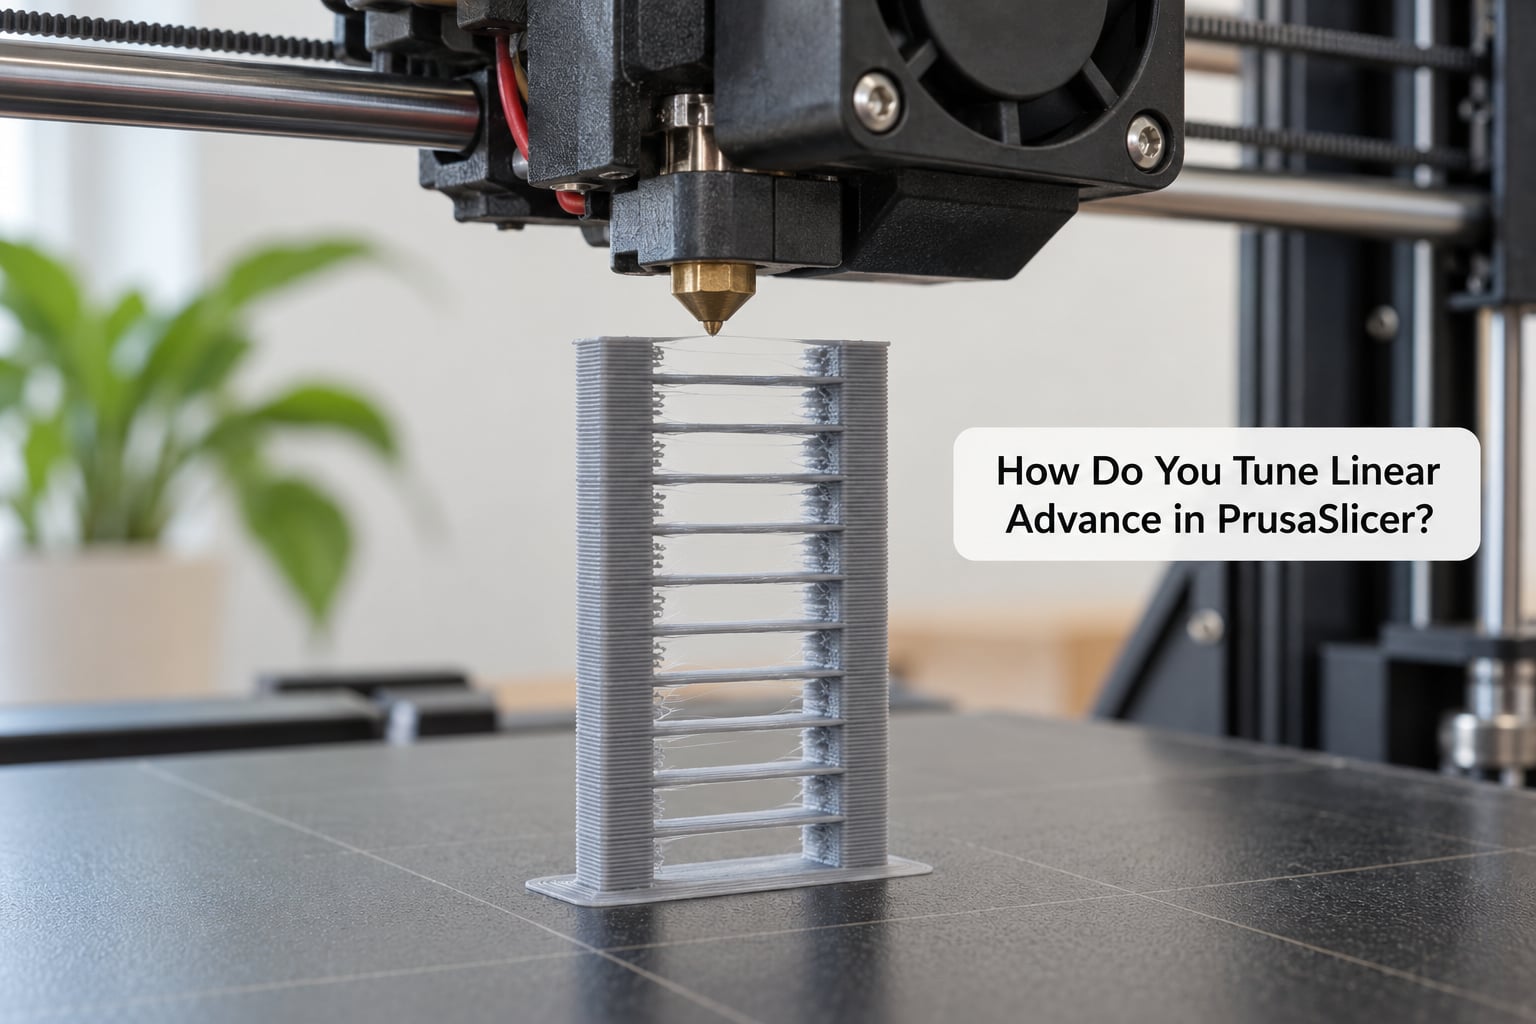
In PrusaSlicer, linear advance is a per-filament setting with three modes: None, Firmware, and Manual. Firmware hands the job to the printer, while Manual asks the slicer to handle it by adjusting retract and unretract at different speeds.
- Open the filament settings and find the Linear Advance dropdown under the filament profile.
- Choose Manual. Two fields appear: one for retract speed and one for unretract speed, expressed as a percentage of the nominal retract speed.
- Fix your retraction distance and speed before tuning these. Linear multiplies existing behaviour, so an unstable retraction base makes the reading meaningless.
- Generate a retract test tower from the calibration menu. Each level prints at a different retract speed, which gives you the layers you need to compare.
- Print the tower at a steady 40 to 60 mm/s with a single wall and no infill.
- Find the level with no stringing and no blob where printing resumes, then note the percentage for that level.
- Enter those two percentages in the linear advance fields and slice a test print with corners and seams to confirm.
Because the slicer generates the correction, the values depend on your printer configuration, retraction settings and print speed profile. Two printers running identical G-code from the same slicer profile can need different multipliers, which is why the numbers are percentages of a behaviour you already tuned rather than a fixed constant.
One conflict worth knowing about: on Prusa MK4, MINI+ and XL machines, the crash detection system conflicts with input shaping. You will have to pick one for that machine, and pressure advance works fine either way.
What Values Should You Start With?
There is no universal pressure advance value. The number depends on filament compression, tube length, hotend design, nozzle size and temperature, which is why copying a value from another printer is the single most common mistake people make here.
Start from these ranges only as a sanity check for the first test you print, then measure your own.
| Filament | Direct drive starting range (K) | Bowden starting range (K) | Notes |
|---|---|---|---|
| PLA | 0.02 to 0.06 | 0.08 to 0.15 | The most widely reported figures; a good first calibration target |
| PETG | 0.03 to 0.08 | 0.10 to 0.20 | Stiffer and less compressible than PLA, but sticky and slippery in the melt zone |
| ABS and ASA | 0.03 to 0.08 | 0.10 to 0.20 | Wide range because print temperature changes the result a lot |
| TPU | 0.00 to 0.05 | 0.05 to 0.15 | Soft filament resists compression, so many printers run this near zero |
Bowden values run roughly two to three times direct drive values because the filament compresses along the length of the tube.
It helps to separate three kinds of number. Firmware values are K values you set and store yourself. Slicer multipliers are the retract and unretract percentages, which only matter in Manual mode. Printer-dependent calibration data is the measured height from your own tower, and that is the only one that counts in the end.
Why Does a Good Setting Still Produce Uneven Results?
Usually the setting was never the problem. These are the usual confounders, in rough order of how often they turn out to be responsible.
- Inconsistent filament diameter. A spool with varying diameter changes how much material each rotation delivers, which shifts the effective K between prints.
- Wet filament. Moisture pops as steam and spikes nozzle pressure, which looks nothing like a pressure advance problem.
- Temperature instability. A hotend that swings changes melt viscosity and therefore how much filament backs up. Verify the value at your normal print temperature.
- Mechanical play. Worn gears, a loose extruder arm or a slack belt move the filament without the firmware knowing.
- Partially clogged nozzle. Restriction raises pressure loss in the melt zone and underextrusion everywhere, which no compensation setting can fix.
- Poor retraction tuning. If retraction distance is wrong, the residual blob at the start of a line hides the effect you were trying to measure.
- Direct drive versus Bowden. The same filament and the same K on a different extruder layout behaves differently because the compression path changed.
- Input shaping overlap. Strong input shaping plus a value tuned for unshaped motion can introduce artifacts you will not recognise. Tune input shaping first, then pressure advance.
And if calibration genuinely produced no visible change, work through this list. Leave the velocity limits and square corner velocity at their test values. Print the tower with no infill, no Z-hop and one wall. Confirm the value reached the firmware and was saved with SAVE_CONFIG in Klipper or M500 in Marlin. Increase print speed so the pressure effect is large enough to see, since at 30 mm/s the difference is nearly invisible. And recalibrate per filament instead of reusing one K for every spool type.
Frequently Asked Questions
Are pressure advance and linear advance the same thing?
Yes. Pressure advance and linear advance are the same feature under different names. Klipper calls it Pressure Advance with a K value, Marlin calls it Linear Advance with a K value, and RepRap firmware on Duet boards calls it the S value. All three compensate for the same delay between an extruder command and filament actually leaving the nozzle. Terminology is inconsistent across vendors and slicers, which is why the two terms get searched separately.
Does pressure advance replace retract and unretract tuning?
No, they solve different problems and you need both. Retraction controls oozing during travel moves so you do not get stringing. Pressure advance compensates for filament compression in the melt zone during and after speed changes. A badly tuned retraction can hide the effect of pressure advance entirely, so calibrate retraction distance and speed first, then tune pressure advance on top of it.
Will pressure advance fix extrusion problems on every printer?
No. Pressure advance only compensates for pressure lag at speed changes. It will not fix underextrusion from a wrong flow rate or a partially clogged nozzle, ringing and ghosting from acceleration alone, or stringing caused by a hotend running too warm. Direct drive printers on slow prints see a smaller effect than Bowden or high-speed machines, and the visible symptom is nearly always at corners, seams and line ends rather than on straight walls.
What pressure advance value should I use?
There is no universal value, so measure your own with a tuning tower or a retract test. Typical starting ranges give you a sanity check only: direct drive PLA sits roughly between 0.02 and 0.06, while Bowden PLA often needs 0.08 to 0.15. PETG, ABS and ASA tend higher, and TPU is often run near zero. Always recalibrate when you change filament, nozzle size, hotend or extruder.
Should I use pressure advance and linear advance together?
No, pick one layer to handle it. Having firmware pressure advance active while the slicer also applies linear advance applies the correction twice, which produces exactly the gaps and blobs you were trying to remove. If your firmware supports it, choose Firmware mode in the slicer and calibrate K on the printer. Use slicer-side linear advance when the firmware has no equivalent feature, such as some Marlin configurations.
Conclusion: Tune One Variable at a Time
Confirm material flow is right first: extruder steps, then flow rate, then a clean first layer. Work out which implementation you actually have, whether that is Klipper pressure_advance, Marlin linear advance with M900 and M500, or slicer-side linear advance in PrusaSlicer. Use its own calibration procedure, change one setting at a time, and keep the test print that improved your most representative part.
Then recalibrate whenever the filament, nozzle, hotend or extruder changes, or when you turn input shaping on. That is the whole method, and it works far better than any number you copy from someone else’s printer.