No 3D print is food safe straight off the printer. To make a 3D printed cookie cutter food safe, three things have to be true at the same time: filament with a documented food-contact claim, a printer with a stainless steel nozzle and a thoroughly cleaned hot end, and a fully cured food-grade coating that seals the layer lines into a smooth, non-porous surface.
Here is the short version of the workflow, before the detail:
- Choose a material you can document. Ask the manufacturer for a food-contact statement or an MSDS for the exact product, not just a spool that says food safe on the label.
- Print on a stainless steel nozzle with an all-metal or direct drive hot end, so no brass or PTFE sits in the melt zone.
- Clean the hot end before the print with a cold pull, and never run a food-contact part immediately after a different material.
- Design for washing: smooth food-contact surfaces, rounded internal corners, and walls thick enough to survive being dropped.
- Print with a small layer height and three or more perimeters, then sand or prime the contact surfaces.
- Seal with a coating whose instructions name the exact polymer and use, wearing gloves and a respirator while mixing, and respect the full cure time on the label.
If that sounds like a lot of work for a cookie cutter, you are not wrong. It is why plenty of bakers stop at a one-off cutter, bake with it once, and throw it away. The baking step kills most surface bacteria, which is why that shortcut survives as a real option in practice. It is not a substitute for sealing if you intend to reuse the cutter.
The rest of this guide walks through the full process, step by step, including how to check the finished cutter before you trust it with dough.
Table of Contents
- 1What You Need
- 2Step-by-Step
- 3Step 1: Choose a Food-Safe Design and Material
- 4Step 2: Design for Cleanability and Structural Strength
- 5Step 3: Print and Cure the Cookie Cutter Correctly
- 6Step 4: Make a 3D Printed Cookie Cutter Food Safe
- 7Step 5: Inspect, Clean, and Test the Finished Cutter
- 8Step 6: Use and Maintain It Safely
- 9Common Mistakes When Making a 3D Printed Cookie Cutter Food Safe
- 10Frequently Asked Questions
- 11Is PLA safe for 3D printed cookie cutters?
- 12Can you put a 3D printed cookie cutter in the dishwasher?
- 13What filament is safe to use with food?
- 14Do you need to seal a 3D printed cookie cutter?
- 15How long does a 3D printed cookie cutter last?
- 16Conclusion
What You Need
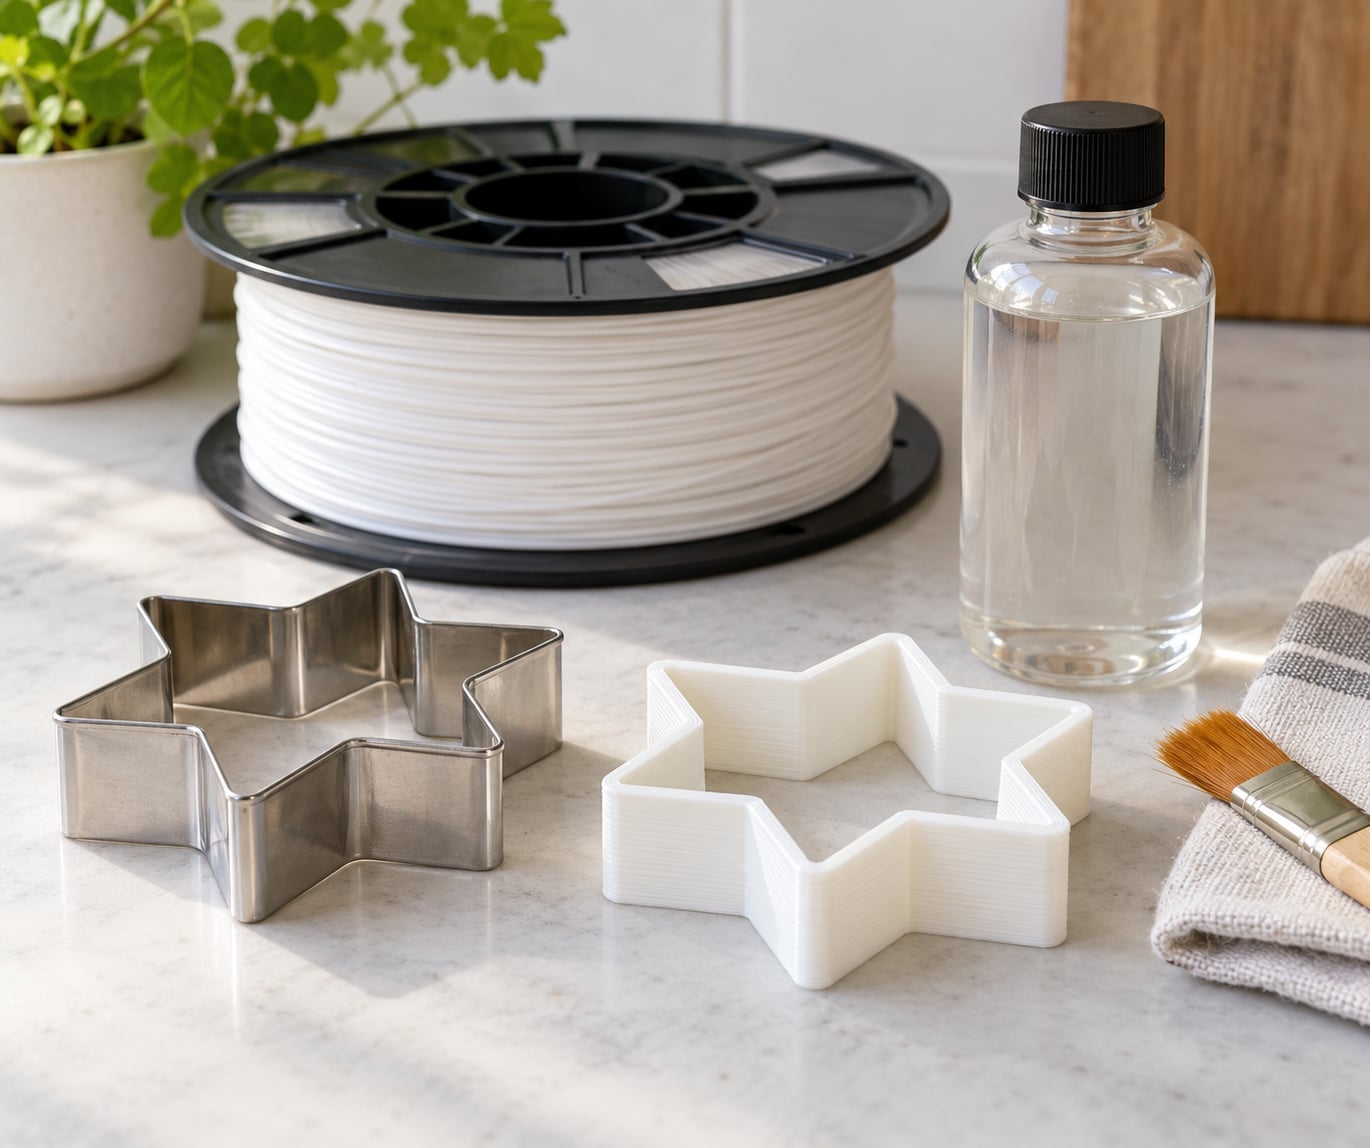
The lowest-maintenance answer to this whole question is not a print at all. A stainless steel cookie cutter, whether bought or formed from sheet metal, has no layer lines, no pigment additives and no hot end in its history. If you print cutters regularly, that is the material I would choose.
Printing is still worth doing for custom shapes, and it can be done responsibly. The items below cover what a documented, sealed setup needs.
- A documented material. Either food-grade stainless steel, or a filament or resin whose manufacturer publishes a food-contact statement for the specific product. Generic PLA, standard PETG and ordinary photopolymer resin should not be assumed food safe just because the plastic in a laboratory sample was.
- A verified food-contact filament or resin. Additive-free natural filament with a safety data sheet is the usual choice for extrusion printing. For resin, look for a manufacturer that states the cured part is intended for food contact and gives you a washing and post-cure cycle.
- A printer with a stainless steel nozzle. Ideally an all-metal hot end or a direct drive extruder, so no PTFE liner sits inside the melt zone.
- A food-contact coating system. A two-part epoxy or a sealer whose technical data sheet covers the exact printed polymer and the intended use, plus nitrile gloves, safety glasses and a respirator rated for organic vapours.
- Preparation tools. Progressive sandpaper, a wet or vacuum sanding setup for dust control, a brush, and clean water for washing off abrasive dust.
- Washing supplies and storage. Mild dish soap, a soft brush that reaches crevices, and a dry rack where the cutter can drain and air out completely.
- Quality-control tools. A bright angled light for inspecting layer lines, food colouring for a transfer check, and a scrap of chilled dough for a release test.
One more thing to decide before you start: whether this cutter is a single-use item for one party, or a tool you expect to use for years. That choice changes how much finishing effort is worth your time.
Step-by-Step
Step 1: Choose a Food-Safe Design and Material
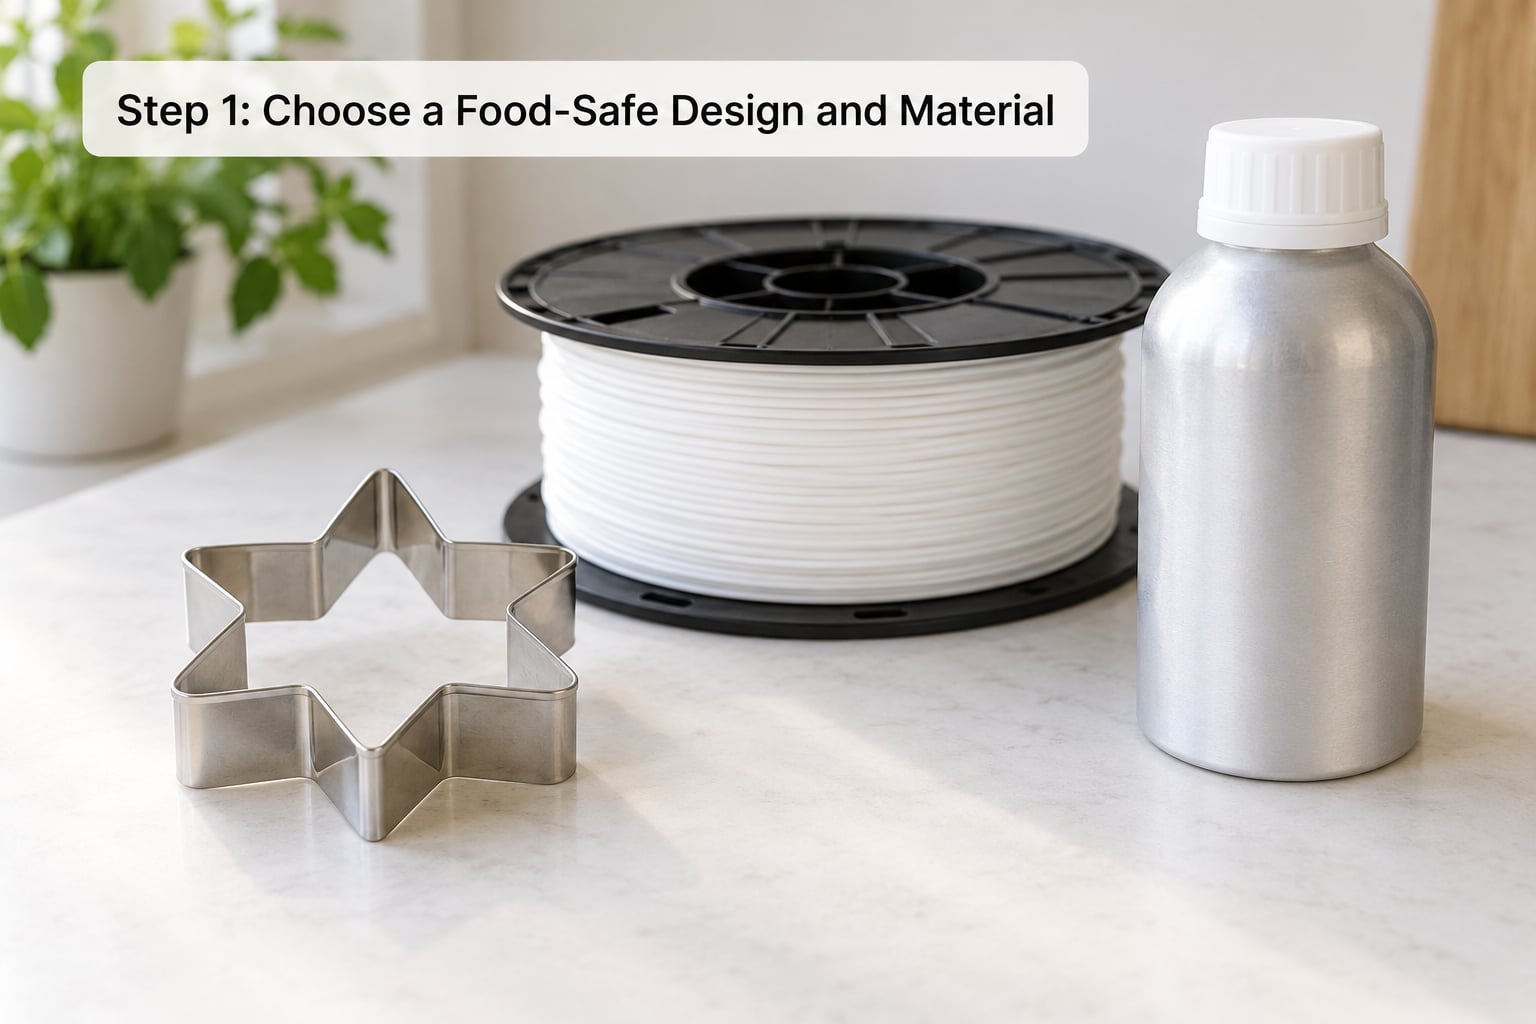
Start with whatever you can verify. Stainless steel needs no certification argument at all. For a printed cutter, a manufacturer-verified food-contact filament is a defensible starting point, and unverified resin is not.
Require documentation for the exact product and the exact process. A safety data sheet tells you about hazards and handling, and that is genuinely useful, but it is not the same statement as a food-contact declaration. References worth asking about include FDA Title 21, EU Regulation 10/2011 for plastics in contact with food, and NSF certification, which sits closest to what a home kitchen actually needs.
Biocompatible is a medical term and it does not mean food safe. A material can pass biocompatibility testing for skin contact and still be a poor choice for something that touches dough, so treat those claims as a different conversation.
Success check: you can point to a document or a manufacturer statement that covers your exact filament or resin product, in cured form, for food contact. If you cannot, treat the material as unverified and either change it or accept a one-time cutter.
Step 2: Design for Cleanability and Structural Strength
Design does more for food safety than most people expect. A cutter that cannot be washed is a cutter that holds residue, whatever it is made of.
- Keep food-contact surfaces smooth. Flat walls, a clean cutting edge and no decorative undercuts that dough can sit in.
- Round every internal corner. A sharp interior corner is where dough and moisture live.
- Give the walls real thickness. Thin walls flex, chip and eventually shed plastic into a cookie.
- Plan supports where you can remove them cleanly. Support scars leave rough, ground-down areas exactly on the food-contact face.
- Leave a cleaning path. Open the shape so a soft brush and running water can reach the inside.
- Avoid deep closed cavities. A tall narrow section that a sponge cannot enter will not be washed, and a coating cannot reach either.
Cutters also fail structurally more often than they fail chemically. A cookie cutter gets dropped, washed and twisted, so design for that rather than for the prettiest print.
Success check: you can trace a path with a soft brush from the cutting edge to the outside, with no enclosed pocket. If you cannot draw that path, change the geometry before you print.
Step 3: Print and Cure the Cookie Cutter Correctly
Printing conditions matter because the surface you are trying to seal is created here. Start with a clean printer, because you cannot seal contamination you cannot see.
For filament prints, use the nozzle temperature the verified material specifies, keep the bed and chamber free of old material, and fix any stringing first. Stringing means an unretracted ooze on your cutting edge, which traps dough and defeats the point of a clean design. A smaller layer height and three or more perimeters tighten the gaps you will have to fill later. If you have seen advice to use a thicker layer height for speed, that is a throughput argument and it works against you here.
For resin prints, wash the part fully and post-cure it exactly as the manufacturer describes, including the UV or heat cycle. Then be clear-eyed about the ceiling: complete curing does not turn an unverified resin into a food-contact material. It reduces uncured resin, nothing more. Resin prints also look smoother, which is precisely why people assume they are safer. They are not.
Success check: the finished print has no stringing on the cutting edge, no lifted layers at the top surface, and every support scar is on a face you can sand or that will never touch dough.
Step 4: Make a 3D Printed Cookie Cutter Food Safe
This is the step that turns a verified polymer print into a tool with a smooth, washable food-contact surface. It is also the step people abandon, because it is slow and dusty.
- Remove supports and clean up the shape. Take supports off while the plastic is still manageable, then flush away residue with warm water.
- Work the contact surfaces progressively. Start coarser to flatten support scars and finish finer to close the layer texture. Sanding under water or with a vacuum sander keeps dust out of the air and out of your lungs.
- Wash and dry completely. Abrasive dust and moisture trapped under a coating are the most common reason coatings fail early.
- Check the coating’s technical data. It has to name the printed polymer and the intended use. A general purpose epoxy from a hardware shelf is not a food-contact product, whatever the label says on the front.
- Protect yourself while mixing. Nitrile gloves, safety glasses and a respirator rated for organic vapours, in a ventilated space. Uncured epoxy is a skin sensitiser and the cure is where the risk sits.
- Apply thin coats. Brush or dip, following the coating instructions. Thick coats trap air, stay tacky and take far longer to cure.
- Give it the full cure. Tack-free is not cured. Typical two-part epoxies want on the order of a few days, and the label’s time outranks any advice you read online.
If coating feels like too much, you have two honest alternatives. Print a form and cast food-grade silicone or a food-safe casting resin over it, so the printed plastic never touches dough. Or wrap the cutter in cling film and trim it with a clean blade, which works well on simple shapes and loses the detail on complex ones.
Success check: the coating is fully hard everywhere, including inside the shape, with no soft spots, no tacky patches and no pinholes after a fingernail test.
Step 5: Inspect, Clean, and Test the Finished Cutter
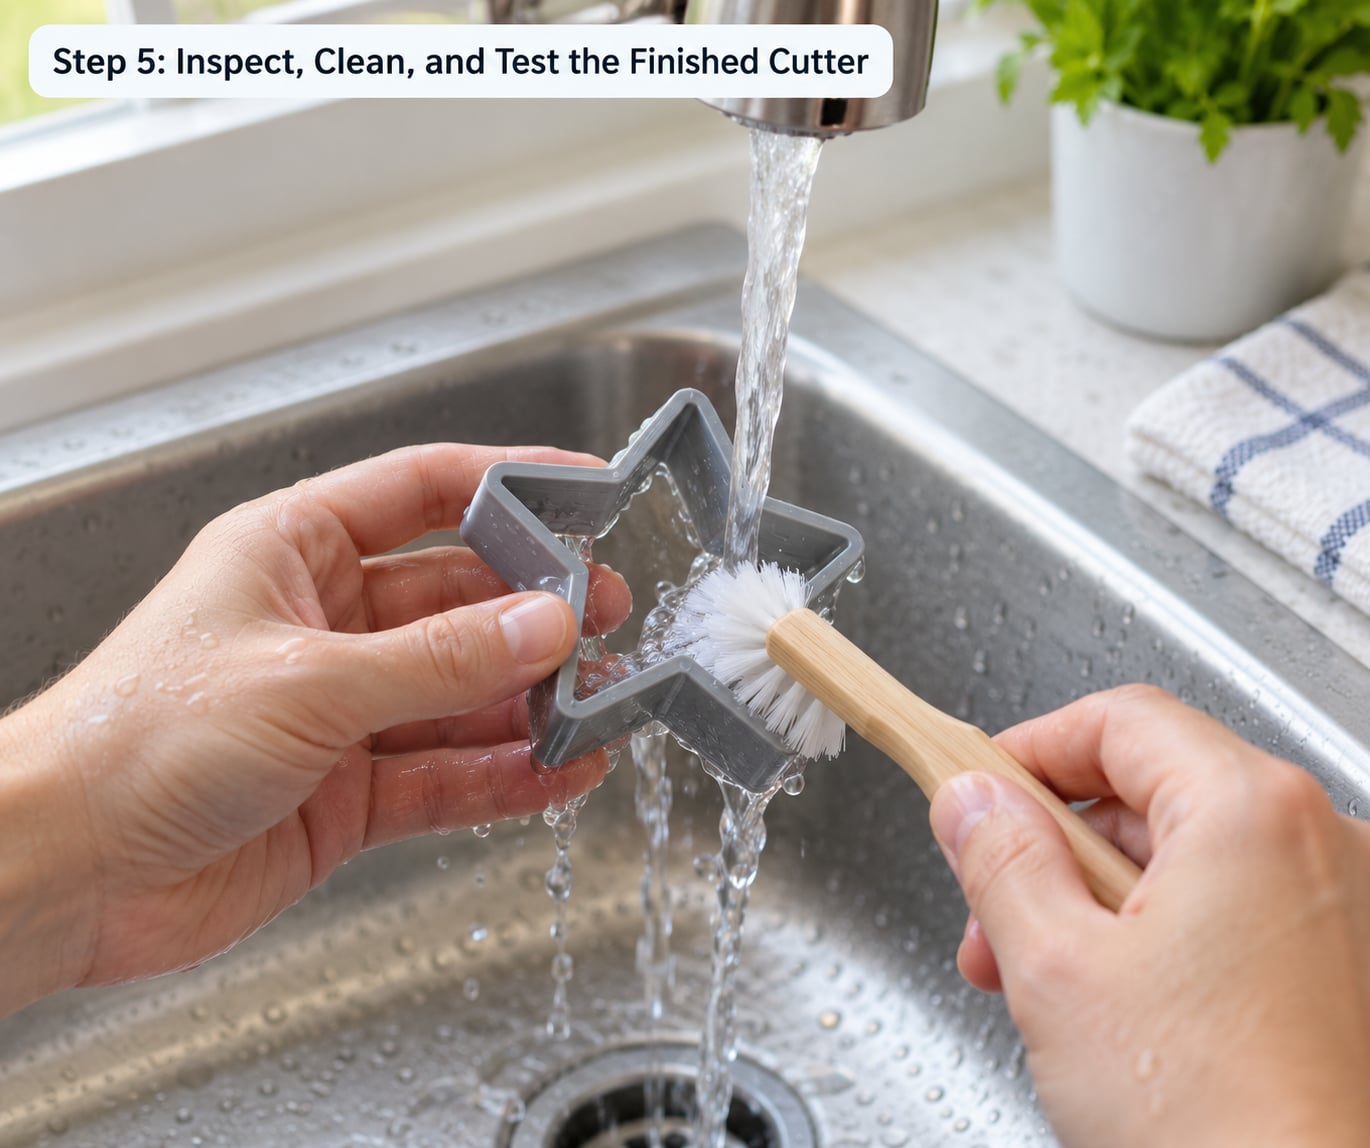
Reject a cutter before you use it. Cracks, uncured resin, lifted layers, rough patches, porous areas and unreachable residue are all reasons to print again rather than bake with it.
Then run your own checks, which take about ten minutes:
- Hold it under a bright angled light. Layer lines should be filled and level. If you can see a continuous channel of shadow around the cutting edge, the coating did not cover it.
- Do a dye transfer test. Rub food colouring onto a scrap of dough and press the cutter in. Any colour on the plastic means residue is getting through.
- Try a chilled dough release test. Cold dough should release cleanly. If it tears or sticks in a corner, that corner is a cleaning trap.
- Run water over it. Every surface should wet evenly and drain. Water beading or a dark line that stays wet means a gap remains.
For routine cleaning, hand wash in warm water with mild dish soap and work the crevices with a soft brush. Rinse thoroughly and let the cutter air dry standing up on a rack. Isopropyl alcohol is good for grease, but it does not smooth PLA and it can craze the surface, so rinse and dry afterwards.
Success check: after one wash the cutter is dry everywhere within a few hours, and no dye transferred during the dough test.
Step 6: Use and Maintain It Safely
Treat the coating as the food-contact surface, because that is what it is. Wash by hand, dry fully, and store loose so nothing presses against the cutting edge.
Replace or re-coat the cutter as soon as the surface changes. Chips, cracks, peeling, a dulled and pitted finish, or any place where the polymer underneath shows through all mean the seal is gone. Re-sand lightly and coat again if the shape still fits, or reprint if the wear has distorted it.
Keep the cutter away from heat unless the material instructions specifically allow it. PLA softens in a warm car or on a sunny windowsill, which distorts the cutting edge long before anything else goes wrong. And if a cutter is ever going through a dishwasher, heated water or very wet and acidic foods, check the manufacturer instructions again for that specific combination, because the safe routine is not automatically the fast one.
Success check: you can point to the coating instructions and confirm your cleaning routine and heat exposure stay inside what they describe.
Common Mistakes When Making a 3D Printed Cookie Cutter Food Safe
Almost every failure I see comes from an assumption rather than a technique. Each of these has a straightforward correction.
- Treating a filament label as permission. A spool that says food safe is marketing until the manufacturer documents it. Ask for the safety data sheet or a food-contact statement for the exact product.
- Printing on a brass nozzle with a PTFE-lined hot end. Brass is widely used and many modern nozzles are lead-free, which is a fair argument, but stainless steel removes the question entirely. PTFE degrades at extrusion temperatures, and a direct drive or all-metal hot end removes that consideration too.
- Switching filament and printing food-contact parts immediately. People change material on the same machine and then worry about what carried over. Run a cold pull and purge first.
- Assuming resin is safer because it looks smoother. Surface finish is not a food-contact claim. Unverified resin stays unverified after a perfect wash and cure.
- Skipping the resin wash or shortening the post-cure. Uncured resin stays uncured, and it is the part that touches dough.
- Sealing a dirty or damp print. Dust and moisture under a coating are the top reason coatings peel early.
- Using a general purpose epoxy. Hardware-shelf epoxy and craft sealants are not food-contact products, whatever the front of the tin says.
- Washing an uncoated print and calling it clean. Washing drives moisture into micro-porosity and cannot flush it back out. Hand washing helps a sealed cutter and does not rescue a bare one.
- Trapping moisture in crevices. Store the cutter dry and uncovered, never stacked against itself.
- Ignoring a damaged surface. A chip in the coating near the cutting edge is the start of the end, not a cosmetic issue.
Safety tips worth repeating: wear gloves and a respirator for the coating step, sand wet or with dust extraction, keep resin and uncured epoxy away from children and pets, and never print a food-contact part in a machine that is also running engineering materials in the same session without a purge between them.
Frequently Asked Questions
Is PLA safe for 3D printed cookie cutters?
Natural, additive-free PLA is the best-behaved hobby filament, and manufacturers publish safety data for it. That does not make the printed part food safe on its own, because layer lines leave micro-gaps that trap dough and moisture. Use PLA with a documented food-contact statement, print it on a stainless steel nozzle, and seal the surface with a food-contact coating before it touches dough.
Can you put a 3D printed cookie cutter in the dishwasher?
Not unless the coating instructions explicitly say the finished cutter is dishwasher safe. PLA softens at relatively low heat, and the wash cycle can also drive moisture into any unsealed porosity. The safe default is warm water, mild dish soap, a soft brush for crevices, and a full air dry on a rack before storing.
What filament is safe to use with food?
Look for additive-free natural filament with a manufacturer safety data sheet or food-contact statement naming that exact product. Additive-free matters because pigments and processing lubricants can leach. Verify that the base polymer is the one the manufacturer documents rather than a PLA-plus blend, and pair it with a stainless steel nozzle and an all-metal or direct drive hot end.
Do you need to seal a 3D printed cookie cutter?
For a cutter you reuse, sealing is the step that makes it washable. A cured food-contact coating fills the micro-gaps between layer lines and gives you a smooth surface that water and soap can actually clean. Use a coating whose data sheet names the printed polymer and the intended use, then give it the full cure time on the label before first use.
How long does a 3D printed cookie cutter last?
It depends on the coating, the use and the care rather than on a fixed lifespan. A fully cured, well maintained cutter that is hand washed and dried can last for years. Chips, cracks, a pitted finish, or polymer showing through the coating all mean it is finished. Thin walls and hard edges wear first, so check the cutting edge and corners every few months.
Conclusion
The safest path is the boring one. Pick a material you can document, print it on a stainless steel nozzle with a clean hot end, design the cutter so a brush can reach every surface, and seal the layer lines with a food-contact coating that cures fully. Hand wash, dry completely, and store it where nothing presses on the cutting edge.
If you want to skip the coating work entirely, use stainless steel, or print a form and cast a food-grade silicone cutter over it so the plastic never touches dough.
Start with the material. Get the documentation first, because no amount of sanding fixes a filament you cannot verify.