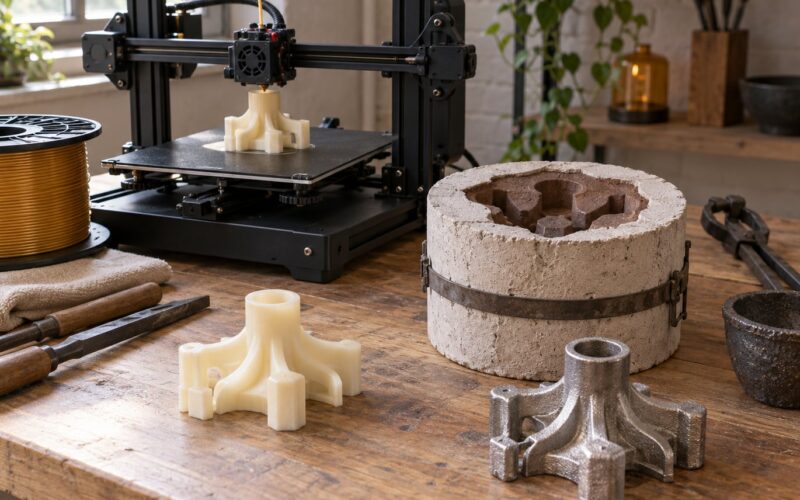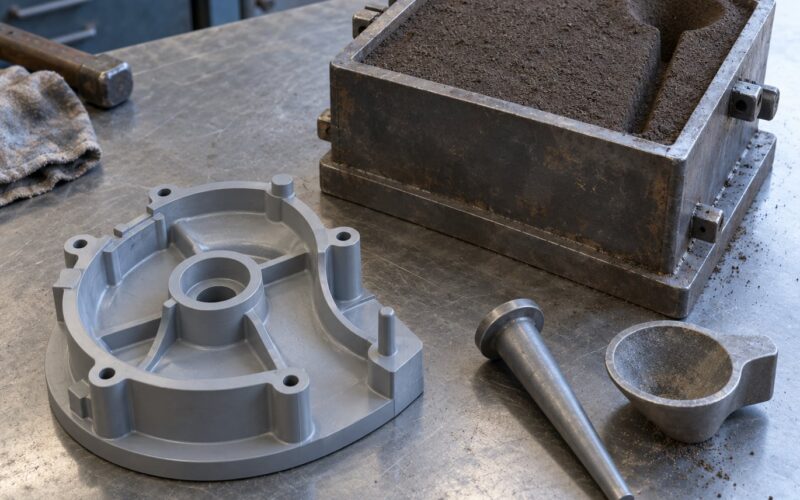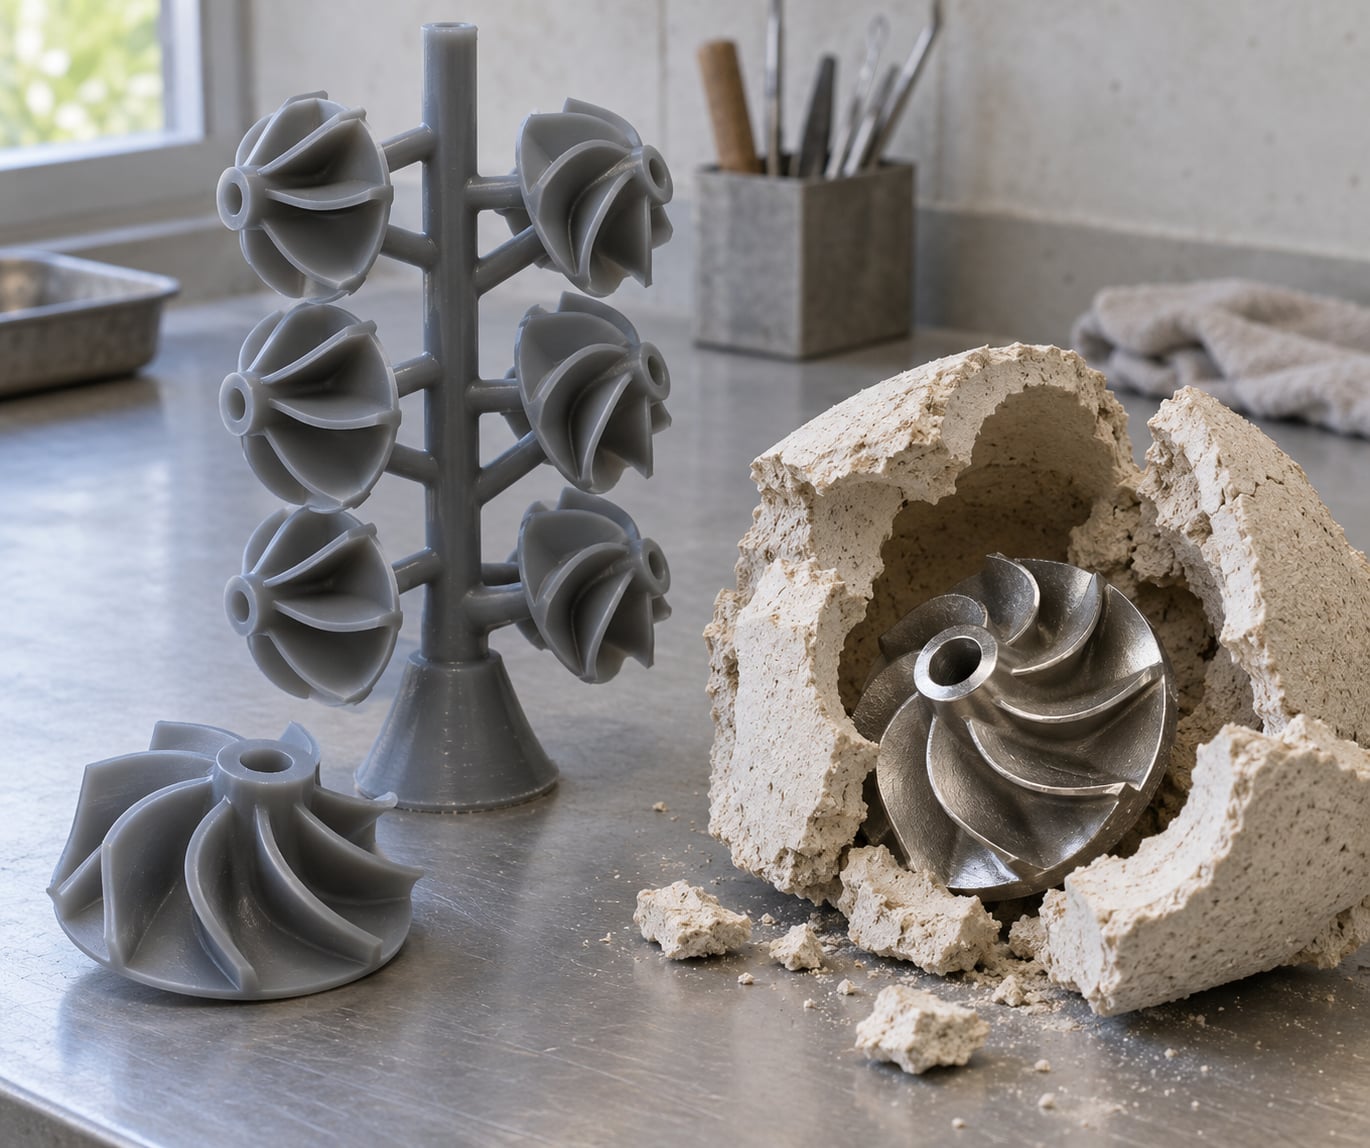
Investment casting with 3D-printed wax patterns is a lost-wax metal casting process where the sacrificial pattern that forms the ceramic shell is built additively — in castable photopolymer resin, wax filament or sintered wax powder — instead of being injection molded in wax against a metal tool. Everything downstream stays familiar: the pattern is burned out, the shell pours metal, the casting gets finished the same way.
That single swap removes the tool room from the front of your schedule. It also opens up geometry that a wax injection tool cannot hold, like internal cooling passages and undercuts, without a second slide or a loose piece. This guide walks the whole route, from a CAD file to a finished casting, and is honest about the places where printed patterns disappoint.
Table of Contents
- 1What Is Investment Casting With 3D-Printed Wax Patterns?
- 2The pattern exists only long enough to be destroyed
- 3Printed patterns versus injected wax tooling
- 4Wax or resin? Most production workflows use resin
- 5What printed patterns do not fix
- 6How Does the Investment Casting Process Work?
- 7Why Use 3D-Printed Wax Patterns?
- 81. No metal tool, ever
- 92. Iterate in hours instead of months
- 103. Geometry the tool cannot hold
- 114. One plate, many parts
- 125. Patterns you can file
- 136. Lightweight patterns, faster cycles
- 14What Materials and Equipment Are Required?
- 15Choosing a pattern material
- 16What to check on the material data sheet
- 17The downstream equipment list
- 18Castable alloys
- 19How Should You Design a Wax Pattern for Investment Casting?
- 20What Are the Main Challenges and Failure Modes?
- 21Ventilation is the variable nobody mentions
- 22Desktop versus industrial printers
- 23Frequently Asked Questions
- 24Can any resin 3D printer produce wax patterns for investment casting?
- 25How accurate are 3D-printed wax patterns compared with injection-molded wax?
- 26What metals can be cast using 3D-printed wax patterns?
- 27How many wax patterns can be attached to one casting tree?
- 28Can undercuts and internal channels be made with 3D-printed wax patterns?
- 29Is 3D-printed wax better than CNC-machined patterns for low-volume production?
- 30What to Do First
What Is Investment Casting With 3D-Printed Wax Patterns?
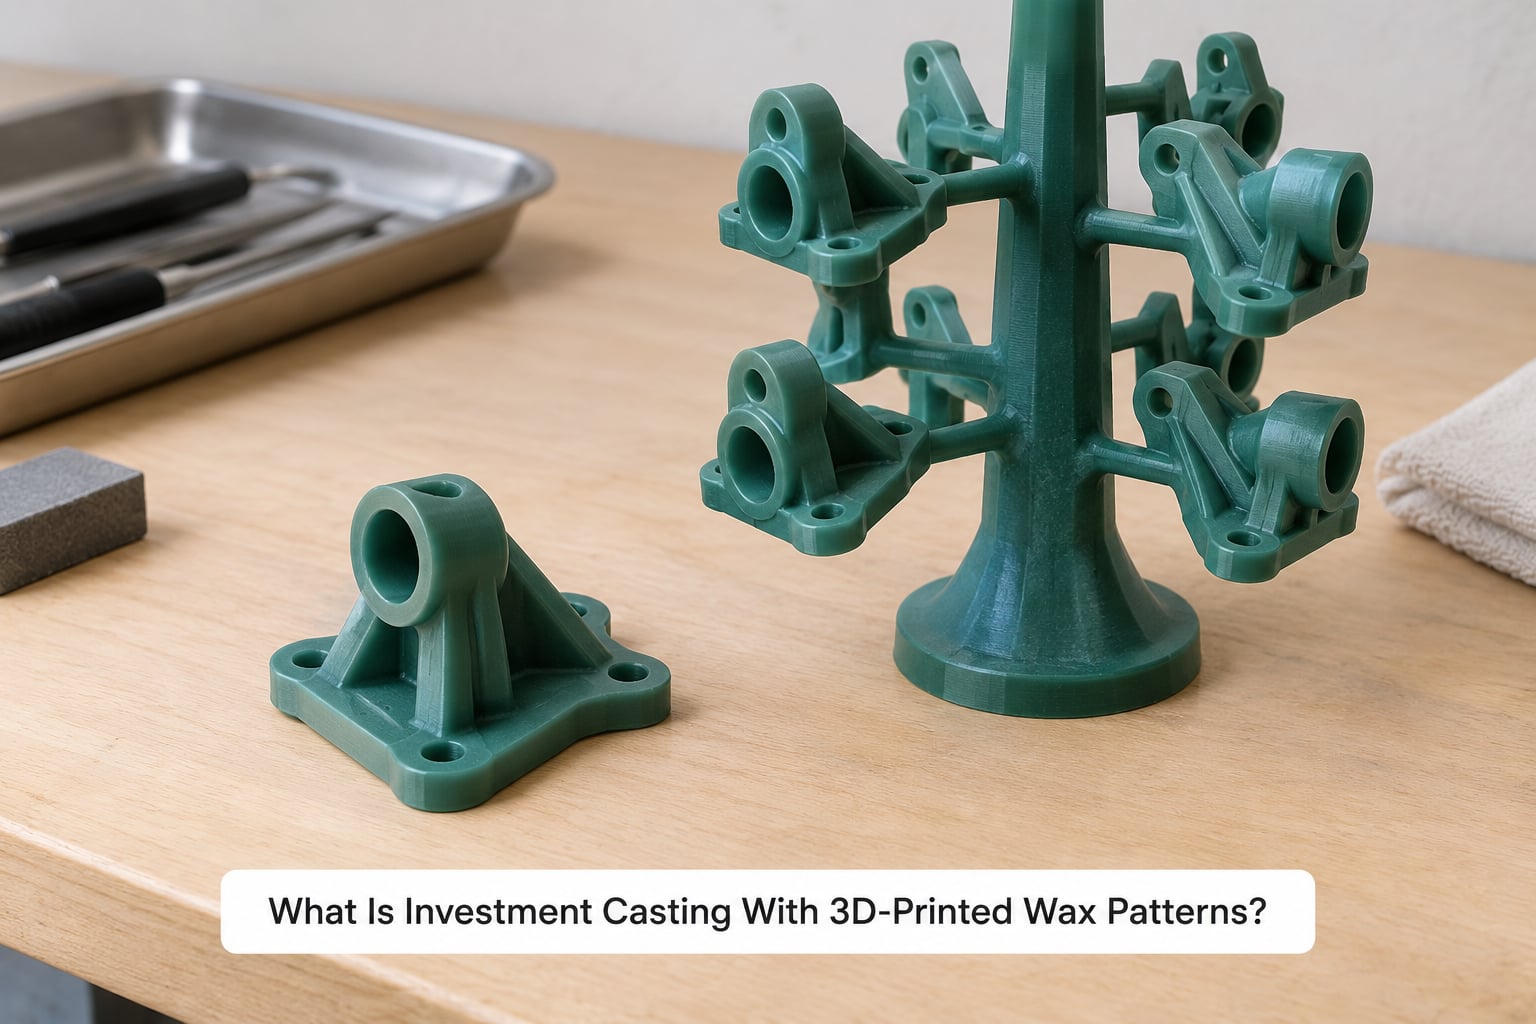
Investment casting with 3D-printed wax patterns is a metal casting process in which the sacrificial pattern — the wax-like shape that creates the cavity inside the ceramic shell — is manufactured additively rather than injection molded in wax. The printed pattern is attached to a tree, dipped repeatedly in ceramic slurry, dried, then vaporized in a burnout furnace. Molten metal fills the empty cavity where the pattern used to sit.
The word investment comes from the shell that invests the pattern, and lost wax casting names the same process from the other end. Foundries use the terms interchangeably, and so does this article.
The pattern exists only long enough to be destroyed
Nothing about the pattern ends up in the part. It is a placeholder with three jobs: hold the exact geometry, survive being handled and dipped, then burn out completely without leaving ash. A pattern that warps by a millimeter in the shell becomes a casting that is off by a millimeter, which is why dimensional control at the print stage matters more than raw printer resolution.
That is the real reason to print rather than machine a wax master. The economics of the wax master exist to make the injection tool repeatable. If you are not running thousands of identical castings, the master is a cost with no payback.
Printed patterns versus injected wax tooling
Injected wax patterns need a hardened steel tool, and that tool is the long pole: it has to be cut, hardened, polished and matched to the machine that will run it. Published benchmarks from foundries using printed patterns put metal tooling for a 50-part complex impeller run into five figures with a lead time measured in months, against a per-part print cost that lands well under a rounding error on that comparison.
For an even simpler part, the same framing holds: a mid-sized impeller is a five-figure tool versus a few tens of currency units per printed pattern. The arithmetic is not close. The catch is that you still need a foundry that owns a shell room, a kiln and a pouring crew, whether your patterns came from a printer or a wax pot.
Wax or resin? Most production workflows use resin
Searchers often picture a printer extruding soft wax. Plenty of shops do exactly that, but the dominant production route is stereolithography with a castable photopolymer resin. The resin behaves predictably, holds fine features, and is dimensionally stable in the dip cycle where a soft wax can slump under its own weight.
Both are called wax patterns in the trade. When a supplier quotes you a wax pattern, ask which of the three you are actually getting.
What printed patterns do not fix
They do not make casting cheaper per kilogram of metal. They do not raise casting yield on parts with inherently poor fluidity. And they do not shrink the shell-building, dewaxing and pouring steps, which usually account for most of the calendar time between a finished pattern and a finished part.
They remove a cost and a lead time. Everything else about the process is unchanged, and that is exactly why existing foundries can adopt them without rewriting their recipes.
How Does the Investment Casting Process Work?
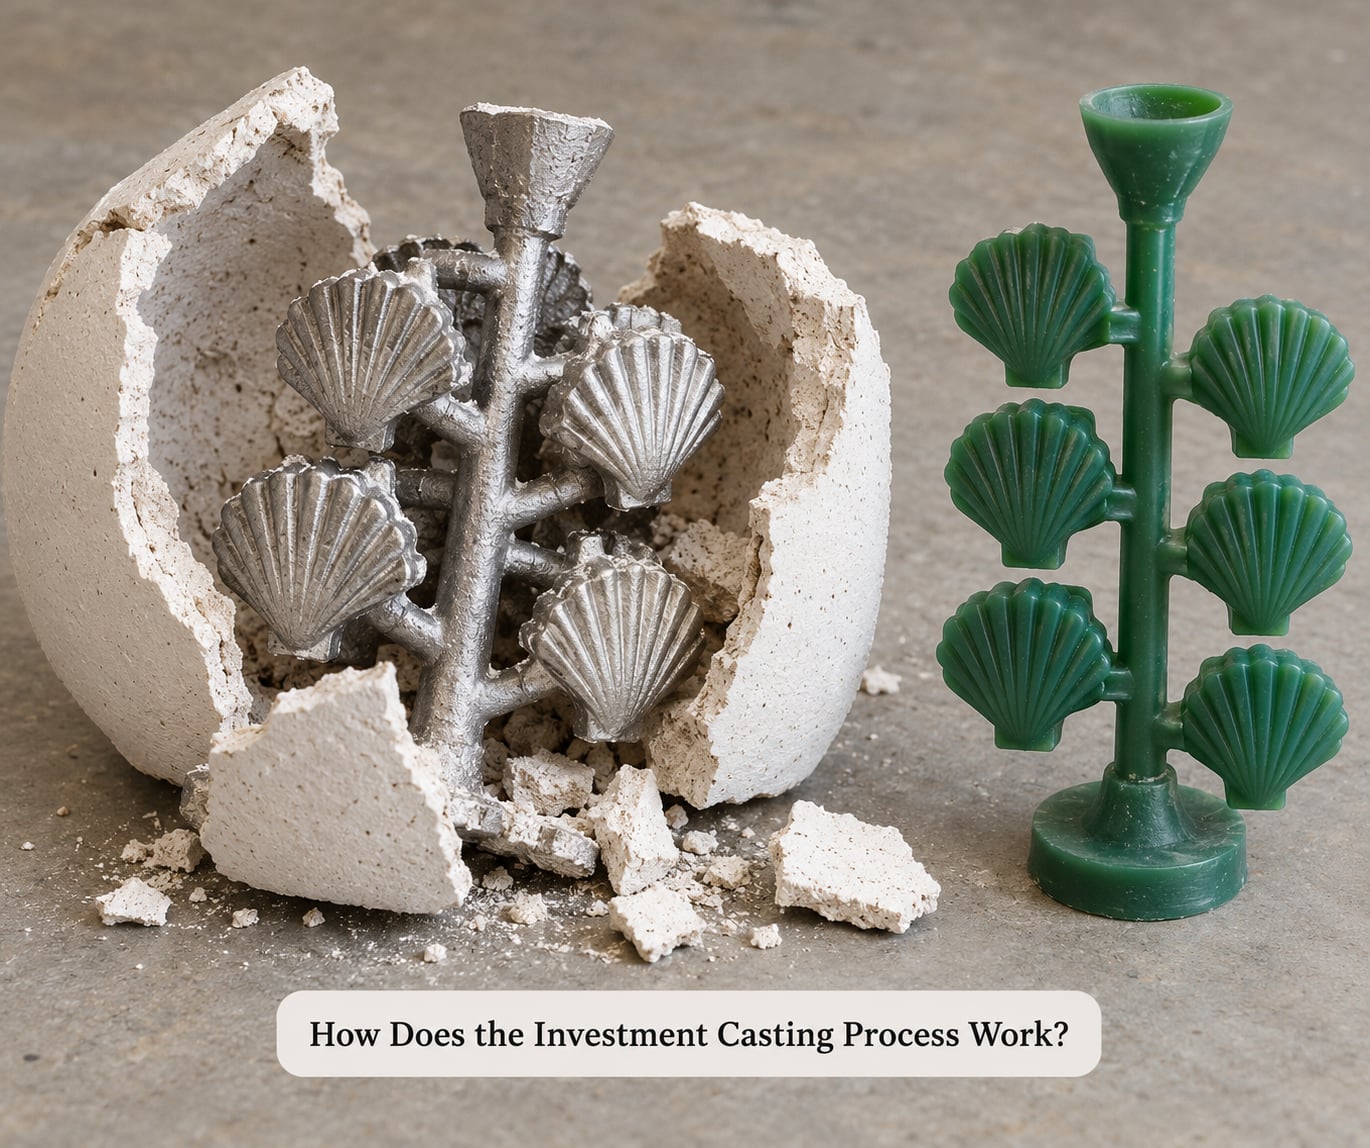
The sequence below is the standard foundry route. Steps three through eight are identical to a conventional wax pattern, which is why a printed pattern drops into an existing shell room without special equipment.
- Prepare the CAD model. Apply casting-specific allowances: uniform shrinkage compensation for the alloy, draft on vertical faces, fillets at corners, and added margin thickness where the pattern will be hot enough to push against the shell from inside.
- Print the pattern and the gating. Print the part, then print the sprue, runners, ingate, vent and drain features as separate bodies so the pattern can be assembled into a tree and so trapped air has somewhere to go.
- Wash, cure and inspect. Clean the part, fully post-cure it, check it against the model, and seal the vent and drain holes with conventional foundry wax. Unsealed vents fill with slurry and blow out during burnout.
- Assemble the tree. Attach the pattern to the sprue with a hot pattern-welding tool. Fillets at every joint. A cold joint or a gap at the weld is a leak path the shell will find.
- Build the ceramic shell. Dip the tree in ceramic slurry, drain, apply stucco, dry, and repeat for the number of shells the part size demands. Small parts often need five or six; heavy sections need more.
- Dewax and burn out. Flash-fire the shell briefly to melt a skin of wax and seal the surface, then ramp the kiln through a controlled schedule in the 700 to 900 degree range until the pattern is fully vaporized and the shell is sintered and porous enough to pour.
- Pour and solidify. Fill the shell with molten metal under vacuum, pressure or gravity depending on the alloy and the section thickness, then let it cool. Turbomachinery parts and anything with thin walls need pressure or vacuum-assisted filling.
- Shake out, cut off and finish. Break the shell away, cut the part from the tree, remove gates, then machine, blast, polish and inspect. Defect rate at this stage tells you what to change on the pattern.
Steps three and six carry most of the risk. Everything else is repeatable foundry work with centuries of practice behind it.
Why Use 3D-Printed Wax Patterns?
The case comes down to six things, and the first two matter most in practice.
1. No metal tool, ever
You are not deferring the tool cost, you are deleting it. That frees the project from a dependency on a machine shop, from tool steel and from matching the tool to a specific wax injection press.
2. Iterate in hours instead of months
A design change is a CAD edit and a reprint. When you are still deciding whether internal passages are worth the added complexity, you can print a pattern, pour it and cut it open before you have committed to the design at all.
3. Geometry the tool cannot hold
Printed patterns carry undercuts, draft-free walls, internal channels and lattice cores without a single loose piece or a side action. The part you would otherwise have to assemble from two castings comes out as one.
4. One plate, many parts
A build plate holds many identical patterns at once, so the per-part cost of a small batch drops quickly. This is also where consolidation pays: nesting small parts together inside one shared envelope cuts build time and material per part.
5. Patterns you can file
The pattern is a digital file. The obsolete spare, the ten-year-later replacement, the one part you need six of — all are reprints of a stored model rather than a search through pattern storage. That archival value is underrated until a customer asks for the same casting in 2026.
6. Lightweight patterns, faster cycles
Solid wax patterns carry thermal mass, and thermal mass drives shell cracking. Hollowed or lattice-filled printed patterns expand and contract differently and more predictably through burnout. Research on topology-optimized wax extrusion has pushed this further, treating the pattern as a designed thermal component rather than a solid copy of the part.
What Materials and Equipment Are Required?
You need a printer that can hold dimension, a pattern formulation that burns out clean, and the shell room you already would have needed anyway.
Choosing a pattern material
| Technology | Material | Strengths | Watch out for |
|---|---|---|---|
| SLA / DLP | Castable photopolymer resin | Fine features, stiff and stable through dipping, widely validated | Full post-cure is mandatory, residual resin can foul the shell |
| Material jetting | True 100 percent wax | Behaves exactly like foundry wax, familiar to the shell room | Expensive machines and materials |
| SLS | Sintered wax powder | No support structures, no drain holes to fill, complex channels free | Coarser surface, powder refresh and sintering knowledge required |
| FDM / material extrusion | Wax filament | Cheap machines, familiar slicing, good for large patterns | Soft at dip temperatures, slower, warp and layer lines |
| SLA | PMMA | Stable, low ash for composite tooling | Does not burn out like wax, different process |
What to check on the material data sheet
Four published numbers decide whether a pattern material is usable, and every serious supplier publishes them:
- Ash content. Below about 0.20 percent. Everything left in the shell after burnout becomes pits and contamination in the casting, and ash cannot be removed afterwards.
- Antimony and transition metals. Below roughly 10 ppm. Some resins use antimony compounds as flame retardants, and that element contaminates certain alloys, which is why antimony-free grades exist for specialty work.
- Coefficient of thermal expansion. Around 95 micrometers per meter per degree Celsius for common castable resins. Compare it against your shell and design margins accordingly.
- Dimensional accuracy and modulus. Published patterns land near plus or minus 0.25 mm, with mechanical values close to 65 MPa tensile strength and a flexural modulus near 2.2 GPa.
The downstream equipment list
On the pattern side: printer, wash and cure station, a hot pattern-welding tool for tree assembly, conventional foundry wax for sealing vents and drains, and a measurement tool — a caliper at minimum, a scanner or CMM for anything with real tolerance.
On the foundry side: ceramic slurry and stucco, a dip tank with controllable drain and drying dwell, a burnout kiln with a programmable ramp and, critically, good airflow, plus foundry wax for gating, the alloy, and the usual pour and finishing equipment. None of this is specific to printed patterns.
Castable alloys
Foundries routinely pour aluminum A356, 4140 and 8620 steel, 17-4 and 316 stainless, 6-4 titanium, bronze, brass and cobalt-chromium alloys through printed patterns. The pattern material choice follows the alloy: high-melting and reactive alloys want low-ash, antimony-free grades, because anything left in the shell ends up in the metal.
How Should You Design a Wax Pattern for Investment Casting?
Design for the shell, not for the printer. Ten decisions do most of the work.
- Uniform wall thickness. Uneven sections solidify at different rates and cause shrinkage porosity. Where you must vary thickness, taper the transition rather than stepping it.
- Fillets everywhere. Sharp internal corners concentrate stress and trap ceramic. A generous internal radius costs nothing and prevents the classic crack at the root of a blade or bracket.
- Draft on vertical walls. A small draft angle lets the pattern release from the shell without tearing it. Printed patterns can hold draft-free surfaces, but only if the geometry genuinely forbids any draft at all.
- Shrinkage allowance by alloy. Scale the model for the alloy and the section thickness, and re-check after the first pour. Cast steel and aluminum do not shrink alike.
- Extra margin where the pattern is hottest. Thin, unsupported margins expand most as they burn. Thicken them, or hold them closer to the tree for support.
- Print orientation for feature direction. Orient so the part is not peeling off a support at a critical surface, and so the surface you care about is not a layer-line staircase.
- Supports on the build plate only where you can live with them. Support scars need grinding, and a scar in a fillet is a crack waiting to happen.
- Layer height matched to feature size. Coarser layers are fine for a bulk section and wrong for a 0.5 mm passage. Resin printers handle this best; wax filament struggles below its own extrusion width.
- Vents and drains on every closed feature. Every internal channel, dome and blind pocket needs an escape path, and each hole gets sealed with foundry wax before dipping.
- Gating placed for filling, not for looks. The sprue position, ingate and runner sizes decide whether the metal arrives fast enough to fill the thinnest section before it starts to freeze.
Hollowing and lattice infill inside the pattern reduce thermal mass during burnout. So does removing unnecessary bulk from a region that never sees the metal.
What Are the Main Challenges and Failure Modes?
Almost every failure traces back to four things: the shell, the vent, the residue or the pour. Match the symptom and the cause is usually on this table.
| Symptom | Likely cause | Fix |
|---|---|---|
| Shell crack near a margin | Pattern expanding against the shell as it burns, thin margins and thermal mass | Thicken margins, hollow the pattern, slow the ramp, hold the area nearer the tree |
| Shell blows out during dewax | Trapped wax, unsealed vents, inadequate drainage | Seal every vent and drain with foundry wax, angle parts for drainage, vent the kiln hard |
| Ash pits on the casting surface | High ash material or incomplete burnout | Switch to a sub-0.20 percent ash pattern, extend soak time, verify kiln temperature and airflow |
| Residue, roughness or contaminated metal | Incomplete post-cure, leaching gaps, dirty resin | Full wash and cure cycle, correct pre-wash temperature, clean the build and the slurry |
| Porosity in the casting | Gas trapped during filling, slow or cold pour, damp shell | Improve venting, raise pour temperature within limits, preheat the shell, fill faster |
| Incomplete filling, cold shut | Poor gating, thin section outruns the metal, low pour temperature | Resize runners and ingates, use pressure or vacuum assist, shorten distance to the sprue |
| Casting out of tolerance | Pattern distortion from soft wax, weak supports or an overloaded tree | Use a stiffer material, reorient, shorten the lever arm, inspect the pattern before dipping |
| Pattern release problems | Insufficient draft, rough surface finish, brittle material | Add draft, smooth the printed surface, handle less roughly during the first dip |
Ventilation is the variable nobody mentions
Practitioners on casting forums and foundries consistently point to airflow rather than temperature when burnout goes wrong. A kiln at the right temperature with a blocked vent produces incomplete burnout, residual carbon and pits. Kiln ventilation is a design variable, not an accessory.
Desktop versus industrial printers
Hobbyists on r/MetalCasting report usable patterns from consumer resin printers in the Mars 5 and Saturn 4 class for prototyping and small runs, and that matches what I would expect: when the pattern exists only to be destroyed, industrial machinery buys you tolerance and throughput, not a different process. For jewelry-scale work and design validation, a well-calibrated desktop machine is a reasonable start. For production castings with tight tolerances and repeat orders, buy accuracy.
Printer calibration drift is the quiet risk. A pattern printed on a machine that has moved out of calibration will not match the last batch, so check dimensions on a known test coupon rather than trusting the screen.
Frequently Asked Questions
Can any resin 3D printer produce wax patterns for investment casting?
A consumer SLA printer can produce usable patterns for prototyping and small runs, which hobbyists on r/MetalCasting confirm with machines in the Mars and Saturn class. What matters is not the brand but full post-cure, dimensional stability and clean burnout. Production castings with tight tolerances need a calibrated industrial machine and metrology.
How accurate are 3D-printed wax patterns compared with injection-molded wax?
Injection-molded wax still wins on repeatability across thousands of shots. Printed patterns land near plus or minus 0.25 mm when the material is rigid and the build is calibrated, which is usually good enough for aerospace, medical and jewelry work. Accuracy depends far more on orientation and supports than on nominal printer resolution.
What metals can be cast using 3D-printed wax patterns?
Foundries routinely pour aluminum A356, 4140 and 8620 steel, 17-4 and 316 stainless, 6-4 titanium, bronze, brass and cobalt-chromium through printed patterns. For reactive and high-melting alloys, use a low-ash, antimony-free pattern grade so nothing carries over into the metal.
How many wax patterns can be attached to one casting tree?
There is no fixed number. Pouring temperature, sprue size, tree cross-section, total mass and the length of the runner set the limit, because an overloaded sprue freezes before the last branch fills. Small jewelry patterns commonly hang in the dozens; heavy parts often ride alone with short branches.
Can undercuts and internal channels be made with 3D-printed wax patterns?
Yes, and that is one of the strongest arguments for printing. Undercuts, draft-free walls, hollow interiors and swept internal cooling channels form without a side action, a loose piece or a second casting operation. Every closed channel does need vent and drain holes, and each one must be sealed with foundry wax before shell dipping.
Is 3D-printed wax better than CNC-machined patterns for low-volume production?
For low volumes, usually. A machined wax master still requires a hardened metal tool first, which is the cost you are trying to avoid, and it adds weeks before the first pattern exists. Printed patterns start from the CAD file. Machining still makes sense when you are building one master that will inject hundreds of thousands of wax patterns.
What to Do First
Pick one part you already know how to cast conventionally, model it with your normal allowances, and print a single pattern for a partner foundry that already runs the recipe. Measure the pattern, check the ash data on the material you bought, and pour it.
That one run tells you more about whether printed patterns fit your operation than any amount of vendor literature, and investment casting with 3D-printed wax patterns stops being an experiment the moment a real casting comes out of that shell.