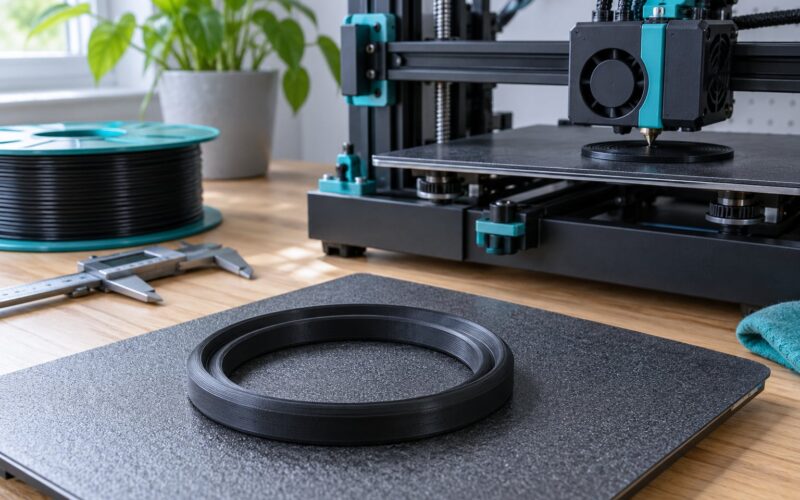
Learning how to 3D print lost PLA casting parts comes down to three gates: a pattern that is solid and watertight, an investment that survives the kiln, and a pour that fills the cavity before it cools. A normal FDM printer and an ordinary spool of PLA are enough to start. Budget a weekend for the first attempt, because printing is the quick part and the slow dry plus overnight burnout is where most of the clock time goes.
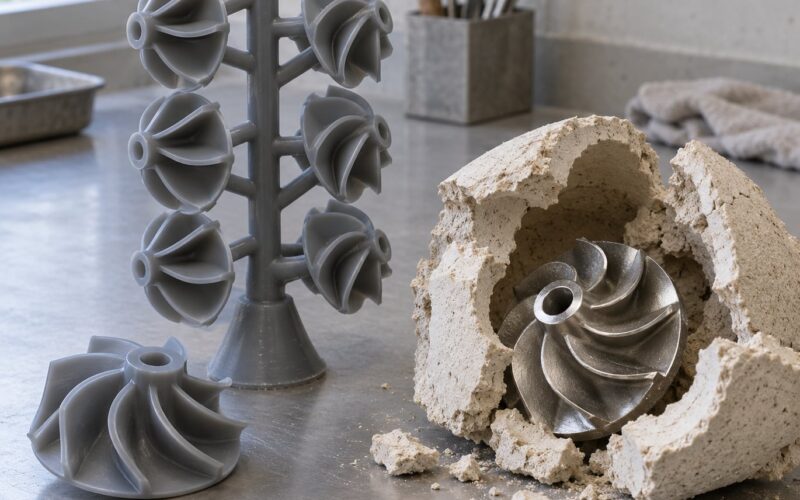
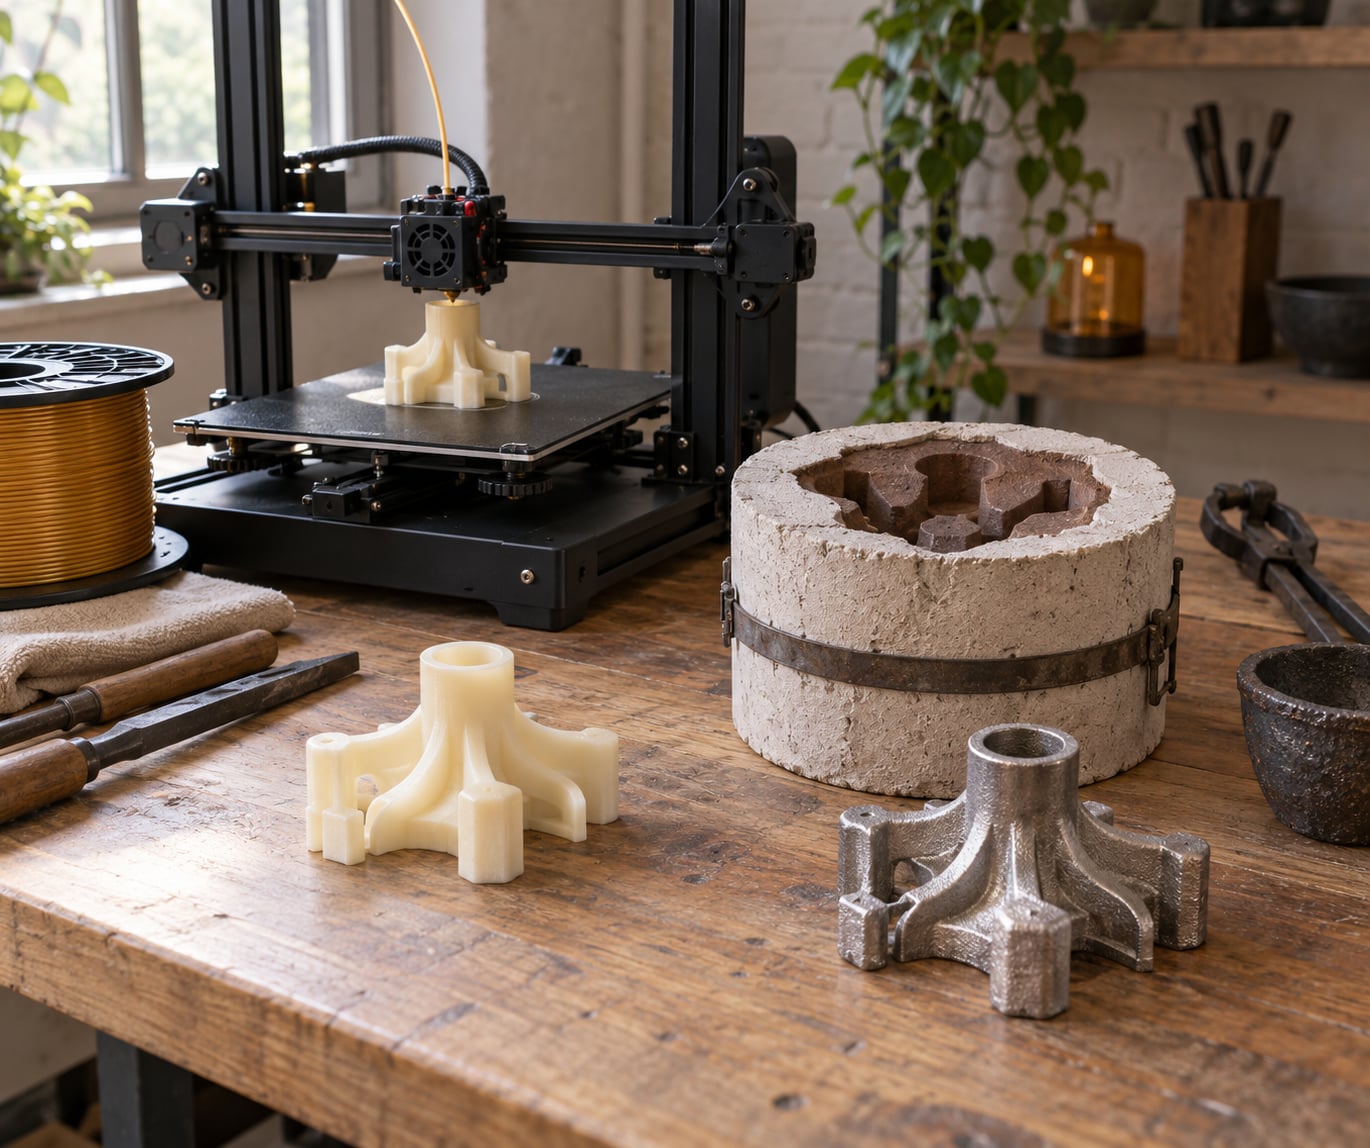
Lost PLA casting is a variation on investment casting. You print a positive pattern in PLA, bury it in refractory plaster or sand, then heat the whole flask until the pattern vaporizes and leaves behind a negative cavity. Molten metal fills that cavity, and once it cools you knock the plaster off to reveal a solid metal copy of your print. Practitioners running lost PLA metal casting for years on homemodelenginemachinist.com report that standard PLA has been quite adequate for their parts, so you do not need exotic hardware to get moving.
Table of Contents
- 1What You Need
- 2Step-by-Step: How to 3D Print Lost PLA Casting Parts
- 3Model the Pattern and Plan the Casting
- 4Choose the PLA and Slicer Settings to 3D Print Lost PLA Casting Parts
- 5Print and Check the Pattern
- 6Assemble and Burn Out the PLA
- 7Pour Metal and Finish the Casting
- 8Common Mistakes and Fixes
- 9Frequently Asked Questions
- 10What kind of PLA is best for lost-PLA casting patterns?
- 11Can I use a normal FDM printer to print lost-PLA casting parts?
- 12Do lost-PLA patterns need support material?
- 13How completely does the PLA burn out of the mold?
- 14What temperature should I use when pouring metal into the mold?
- 15How do I calculate shrinkage and scale for a lost-PLA pattern?
- 16Conclusion: Where to Start With Lost PLA Casting
What You Need
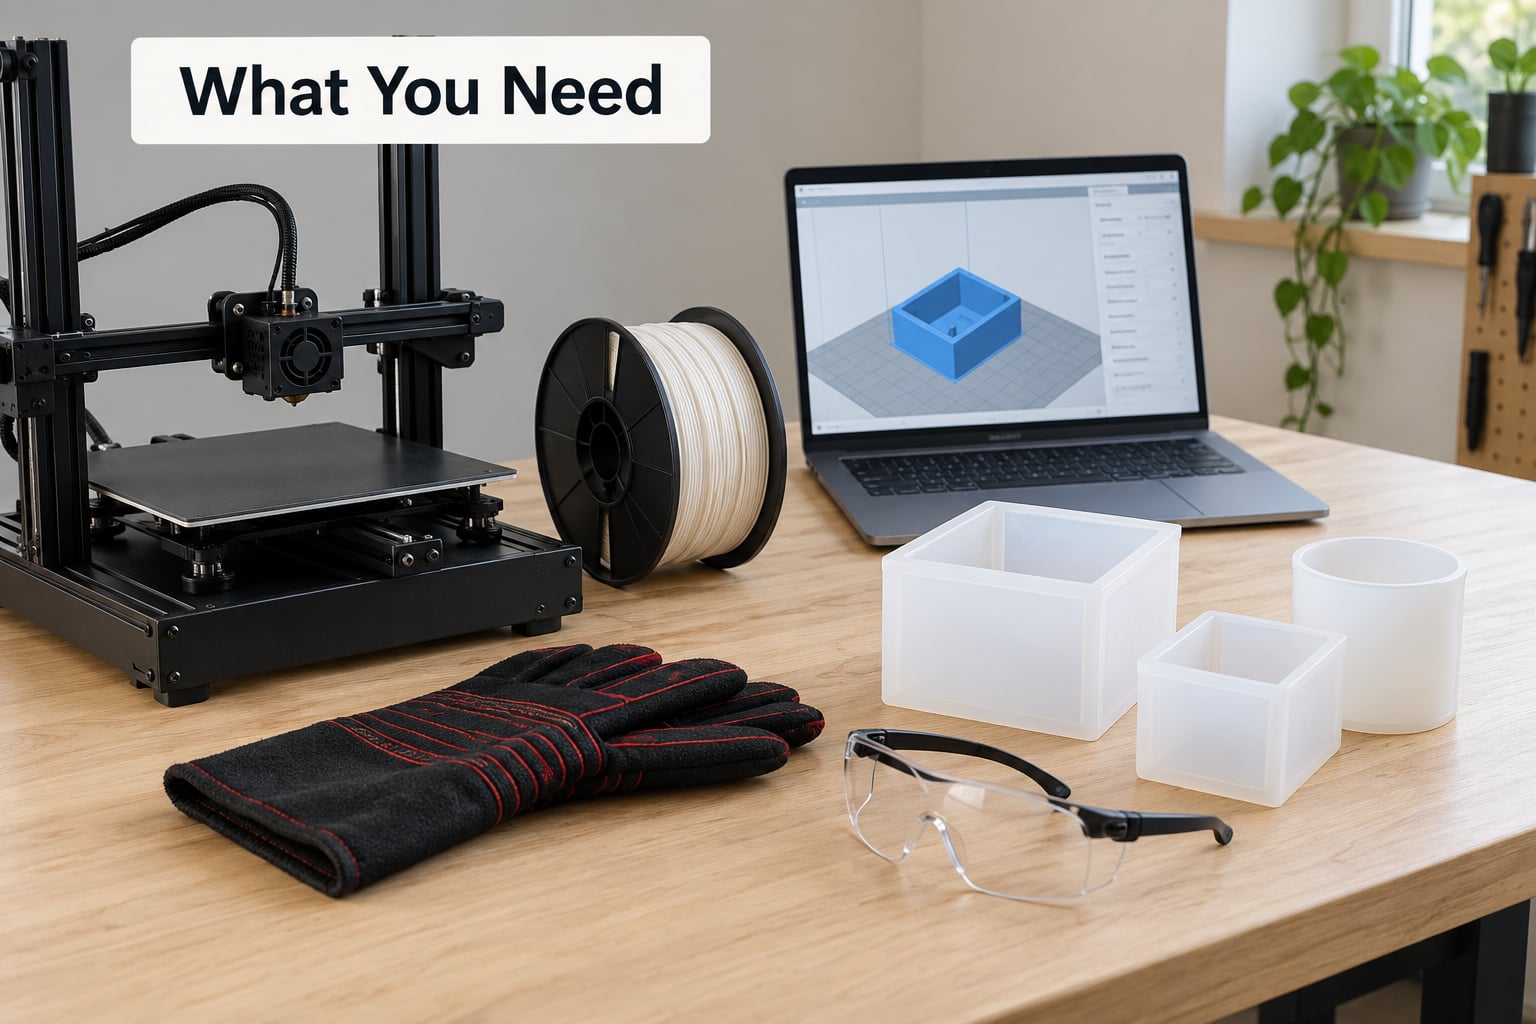
Start with the gear, then worry about the chemistry. The printing side is the part most people already own, and the casting side is a short shopping list plus access to a kiln or a foundry.
- A printer and slicer. Any FDM machine that can hold a consistent layer and a slicer that lets you control perimeters, infill and support style will do.
- Natural or clear PLA filament. Unpigmented filaments burn out cleaner than bright colors because pigments add ash. Purpose-made casting filaments such as PolyCast or MOLDLAY are worth trying if you want the lowest residue.
- Modeling software. A free parametric or mesh tool is enough to apply shrinkage scale, add a sprue and check wall thickness.
- Investment materials. A bucket or rubber tub to act as a flask, 200 mesh silica, investment plaster, water and a mixing tub. A vacuum chamber or a simple pump-and-tin degassing rig removes bubbles, though it is not strictly required for a first pour.
- Drying capability. A food dehydrator, a warm dry room or a low oven. Wet investment that dries fast tends to crack.
- Heat source for burnout. A kiln or furnace that reaches at least 700 degrees Fahrenheit, or a foundry that will burn out and pour for you.
- Ventilation and safety gear. A kiln or furnace that vents outdoors, heat-resistant gloves, face shield, safety glasses, a face respirator for the burnout, and a fire extinguisher rated for the fuel you use.
Two items on that list are the ones people skip and regret. The watertightness test and the burnout ventilation are cheap; the alternative is a ruined mold or a room full of fumes.
Step-by-Step: How to 3D Print Lost PLA Casting Parts
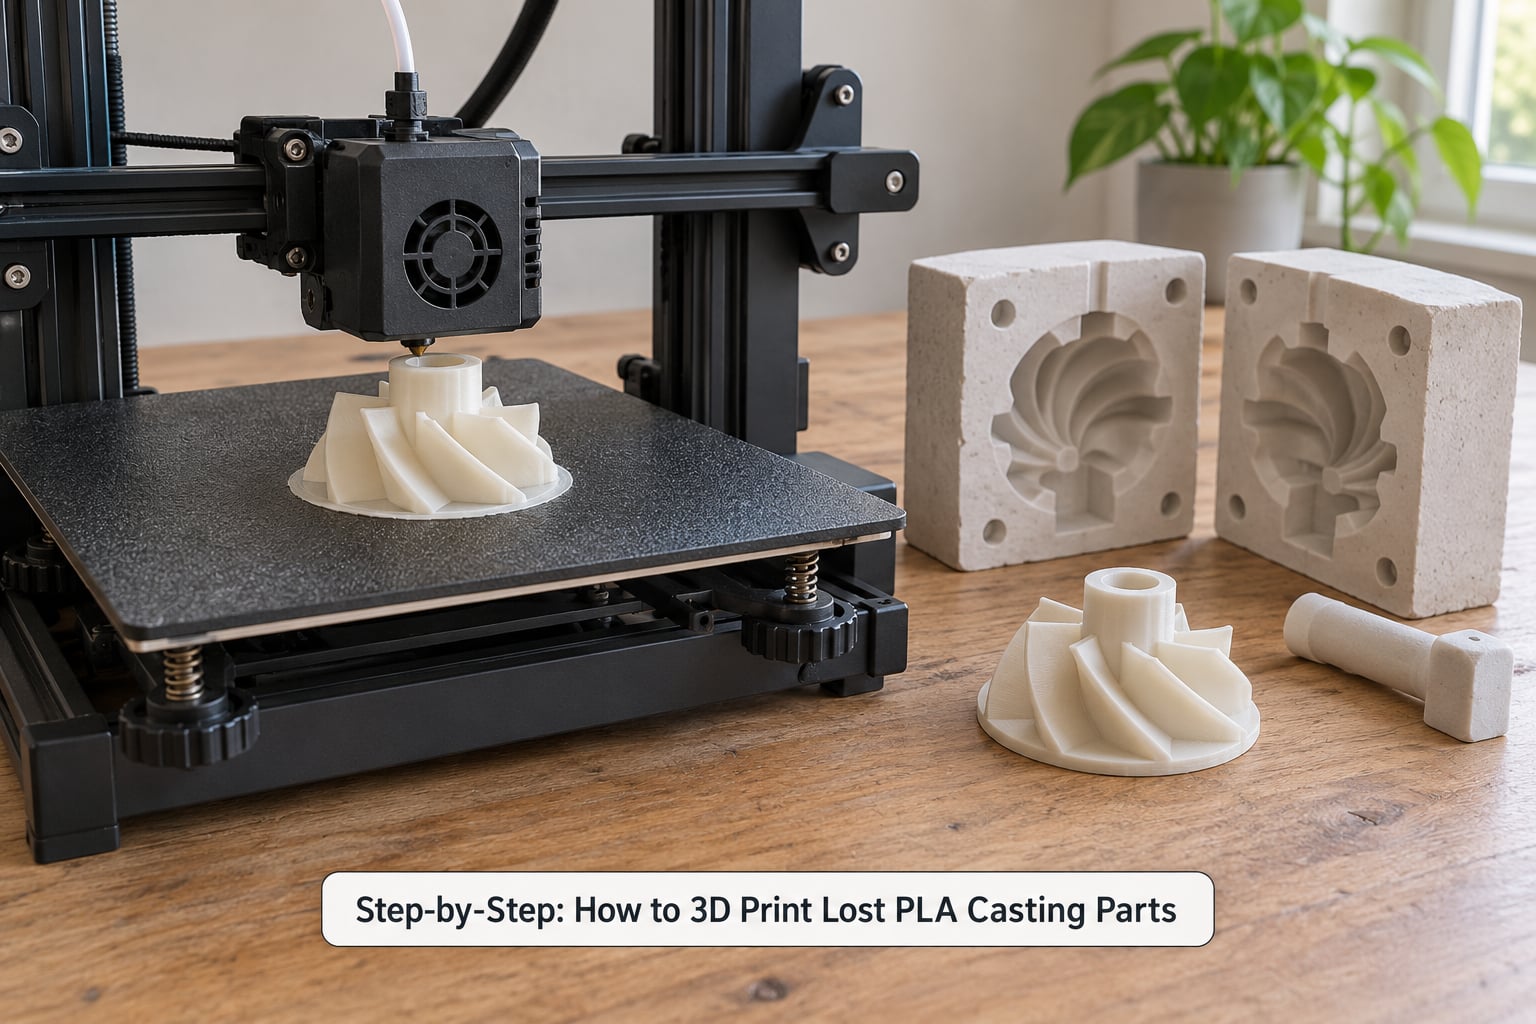
Model the Pattern and Plan the Casting
Model the finished metal part, not the pattern, then scale it up. Most cast metals shrink as they cool, and the common rule of thumb is about 1 percent linear shrinkage for aluminum, so print the pattern slightly larger than the target part and measure your own parts to refine that number.
Decide up front whether the casting needs machining. A useful convention is to leave 2 to 3 mm of stock per side on any face you intend to machine, which gives the machine a clean surface and a consistent cut depth. Skip the allowance on decorative faces and you save metal, grinding time and risk of cutting through a thin wall.
Build in draft, vents and cores. A vertical wall that tapers a couple of degrees pulls out of the plaster instead of dragging it, blind pockets trap air and gas, and any undercut needs a printed core on its own sprue. If you cannot avoid a pocket, run a small vent channel to its highest point so gas can escape as metal arrives.
Print the pattern as a positive, sized to the casting cavity plus whatever clearance your sprue and gating need. A pattern that is 0.2 to 0.5 mm oversized on mating features is usually easier to machine down than one that comes out undersized.
Choose the PLA and Slicer Settings to 3D Print Lost PLA Casting Parts
Filament choice is the single biggest lever on residue. Pigments and some additives leave ash that ends up in the casting, so natural or clear PLA is the safe default, and a filament sold specifically for low-ash burnout is better if you can get it.
| Pattern material | Ash residue | Burnout behaviour | Notes |
|---|---|---|---|
| Natural PLA | Low | Melts and drains, then oxidizes | Proven adequate in long-running maker threads |
| Pigmented or silk PLA | Moderate to high | Leaves colored ash behind | Fine for fit checks, risky for real castings |
| PolyCast | Very low | Designed for clean burnout | Marketed for this process, pricier per kilo |
| MOLDLAY | Very low | Designed for clean burnout | Stiffer than PLA, easier to machine before investing |
| Casting wax | Minimal | Burns out completely | Classic route, but needs wax tooling rather than FDM |
| SLA resin | Low | Burns out fast and cleanly | Different workflow and shrinkage to measure |
Now set the slicer for a part that must stay intact through a kiln. Print hot and thick: three or four perimeters, 15 to 20 percent infill, and no more layer height than your nozzle can hold reliably. A 0.2 mm layer with a 0.4 mm nozzle is a sane starting point for detail, while thicker layers print faster and shed moisture faster in the mold.
Solid skins beat solid bodies. A fully dense print takes forever to print and drains slowly in the kiln, while a 3 to 4 wall hollow print with a modest infill is rigid, prints in hours instead of a day and lets melted PLA run out instead of boiling in place. Widen the extrusion width slightly if your printer can lay it down, because wider beads leave fewer gaps for plaster to squeeze into.
Orientation decides whether you need supports at all. Turn the part so the largest flat surfaces sit on the bed and the sprue grows upward in the print, which keeps the fragile feature off the build plate. When you do need supports, prefer the organic or tree style, because they break out with far less residue than blocky grid supports.
Print and Check the Pattern
Prep the bed properly, because a lifted corner becomes a warped pattern and a warped pattern becomes a cracked mold. Clean the plate with soap and water, dry it, and use a brim or raft if the print covers more than a palm-sized footprint.
Watch the first layer. If it is not sticking in one solid sheet, stop and fix the plate rather than letting a 20 hour print fail at hour six. For the rest of the print, check in on it occasionally, since a layer shift here is unrecoverable.
After it finishes, let the part cool on the bed, then pop it off and remove supports while the plastic is still slightly warm. Run a caliper across the critical dimensions and compare them to your scaled model, and check that the sprue and vent openings are clear all the way through.
The single most important check is a water test. Fill a bucket, submerge the pattern, and squeeze out every bubble; if it floats, rises, or spits bubbles, it is not watertight. Fill the holes with wax, cyanoacrylate and fine sanding grit, or reprint, because a leaky pattern is how plaster slurry gets inside your future casting and ruins it.
Assemble and Burn Out the PLA
Attach the sprue and vent gates, then set the pattern inside your flask with the faces you care about held off the walls. Mix the investment, roughly 1 part silica, 1 part plaster and 1 part water by weight as a common starting ratio, and stir slowly to limit trapped air.
Pour the first coat over the pattern with a brush to capture fine detail, then fill the rest of the flask. A small vacuum chamber, or a DIY pump and coffee tin rig as described in prepper investment casting write-ups, pulls the bubbles out before they become pits. Scrape the top flat and let it set.
Dry it slowly, over a day or two, rather than fast. Rapid drying is the most common reason a plaster flask cracks, and heat or steam from a microwave or a hot oven will do it every time. You want the flask bone dry and room temperature before it sees heat.
Burn out on a staged ramp so the water leaves before the pattern melts.
| Stage | Temperature | Hold | Purpose |
|---|---|---|---|
| Drying hold | 230 F | 1 to 2 hours | Drives off chemically bound water in the investment |
| Melt and drain | 500 F | 1 hour | Softens the pattern so it runs out instead of charring |
| Vaporize and oxidize | 700 F | 1 to 2 hours | Burns off carbon residue and conditions the mold face |
That final stage is not optional. One long-running discussion on community.ultimaker.com asks whether 450 C, about 842 F, is enough or whether the mold needs more hours, and the practical answer is that the mold has to be taken high enough and held long enough for the last carbon to oxidize away.
Burn out with the kiln vented to the outside, never in a closed room. PLA vapor is an irritant and the fumes from a burning pattern are the reason the exhaust matters. Come away to a clean, pale cavity with no black film on the walls; black residue means it needs another hold, not a pour.
Pour Metal and Finish the Casting
Carefully: this is the part I would hand to a foundry the first few times. Molten metal work needs training, the right refractory tools and a safe workspace, and the reward for a first pour is a safety incident far more often than it is a good part.
For reference, aluminum melts near 1220 F and is typically poured a hundred degrees or so above that, while bronze and brass alloys sit far higher. Preheat the mold, dry the ladle, and skim the dross off the melt just before you pour. Pour steadily into the sprue and let the metal run through, because an interrupted pour traps gas and gives you a misrun.
Let it solidify, then shake out while the casting is still warm, soaking the flask in water if the investment cracks away cleanly. Knock off the sprue, sandblast or file the parting line, and inspect the surface for gas porosity. From there, machine the faces you left allowance on, using a filler or braze if there is a small void rather than trying to grind through it.
Match a replacement part to its mating original by measuring the original carefully and adjusting your pattern scale before the first print, not after the casting cools. One maker whose best lost-PLA cast still did not line up asked exactly this question in a metal casting forum, and the fix was always upstream in the model.
Common Mistakes and Fixes
Almost every lost PLA failure traces back to one of a handful of causes. Match your symptom in the table, fix the cause, and expect the next pour to be better rather than identical.
| Symptom | Likely cause | Fix |
|---|---|---|
| PLA left in the cavity | Burnout peak too low or hold too short | Raise the final hold to 700 F and extend it until the cavity is clean |
| Ash or black film on the cavity | Colored filament or incomplete oxidation | Switch to natural PLA, lengthen the final hold |
| Mold cracks on cooling | Pattern too hot when poured, or slow drying | Drop the pour temperature, let the mold cool longer after burnout |
| Plaster stuck inside the part | Pattern was not watertight | Water test, seal holes, reprint if needed |
| Rough pitted casting | Air bubbles in the investment | Mix slowly, degas the slurry, brush the face coat on |
| Part comes out warped | First layer lift or uneven bed | Clean plate, add a brim, fix first layer adhesion |
| Casting will not fit its mating part | Wrong shrink scale or no machining allowance | Re-scale the model and add 2 to 3 mm per machined side |
| Pattern too fragile to remove | Too few perimeters, hollow print unsupported | Print 3 to 4 walls, use tree supports, reorient on the bed |
One habit worth adopting: pour one cheap test casting before committing to the real part. A simple cube with a sprue tells you whether your burnout, your mold strength and your vent design work, and it costs you an evening.
Frequently Asked Questions
What kind of PLA is best for lost-PLA casting patterns?
Natural or clear, unpigmented PLA is the safe default because pigments and additives add ash that ends up in the casting. Purpose-made filaments such as PolyCast or MOLDLAY are formulated for low-ash burnout and leave less residue. Experienced makers on homemodelenginemachinist.com report that standard PLA has been adequate for their parts, so start with whatever natural PLA you already have and upgrade only if you see residue in the cavity.
Can I use a normal FDM printer to print lost-PLA casting parts?
Yes. A standard FDM printer running ordinary PLA handles the pattern fine. The settings matter more than the machine: print 3 to 4 perimeters with 15 to 20 percent infill, keep layer height at or below what your nozzle does reliably, and orient the part so the sprue grows upward. A printer that holds a consistent first layer is the real requirement.
Do lost-PLA patterns need support material?
Only where the geometry demands it. Turn the part so the largest flat faces sit on the build plate and the sprue points upward, and you can often avoid supports entirely. When overhangs remain, organic or tree-style supports break out with far less residue than blocky grids, since leftover support material becomes debris trapped in the mold. Clear the openings after removing them and re-run the water test.
How completely does the PLA burn out of the mold?
Completely, if you take the flask high enough and hold it. Most makers use staged holds around 230 F to dry, 500 F to let the pattern melt and drain, and 700 F to oxidize the last carbon. If the cavity comes out pale and clean, you are done. Black film means more time or more temperature, not a pour, because ash will contaminate the metal.
What temperature should I use when pouring metal into the mold?
For aluminum, the melt typically goes in 100 degrees or so above its roughly 1220 F melting point, and bronze and brass alloys need much higher temperatures. Exact numbers depend on the alloy, so follow a schedule for your specific metal. Preheat the mold first, keep the pour steady, and have training and proper equipment before working with molten metal at all.
How do I calculate shrinkage and scale for a lost-PLA pattern?
Start with about 1 percent linear shrinkage for aluminum, scale the model up by that amount, and measure your own finished castings to refine it. Any face you plan to machine needs extra stock, commonly 2 to 3 mm per side, so the machine has a clean surface to cut. Measure the original part you are replacing before you model, and keep notes between pours.
Conclusion: Where to Start With Lost PLA Casting
Start with the model, not the printer. Get the shrink scale right, add your machining allowance, build the sprue and vent, and print a single test pattern you intend to destroy. If you have learned how to 3D print lost PLA casting parts you can trust, the pattern survives the water test, the burnout reaches 700 F and comes back clean, and only then is it worth booking a pour or a foundry slot.
Everything after that is iteration, and each round of notes makes the next casting quieter, cleaner and closer to the part you actually wanted.