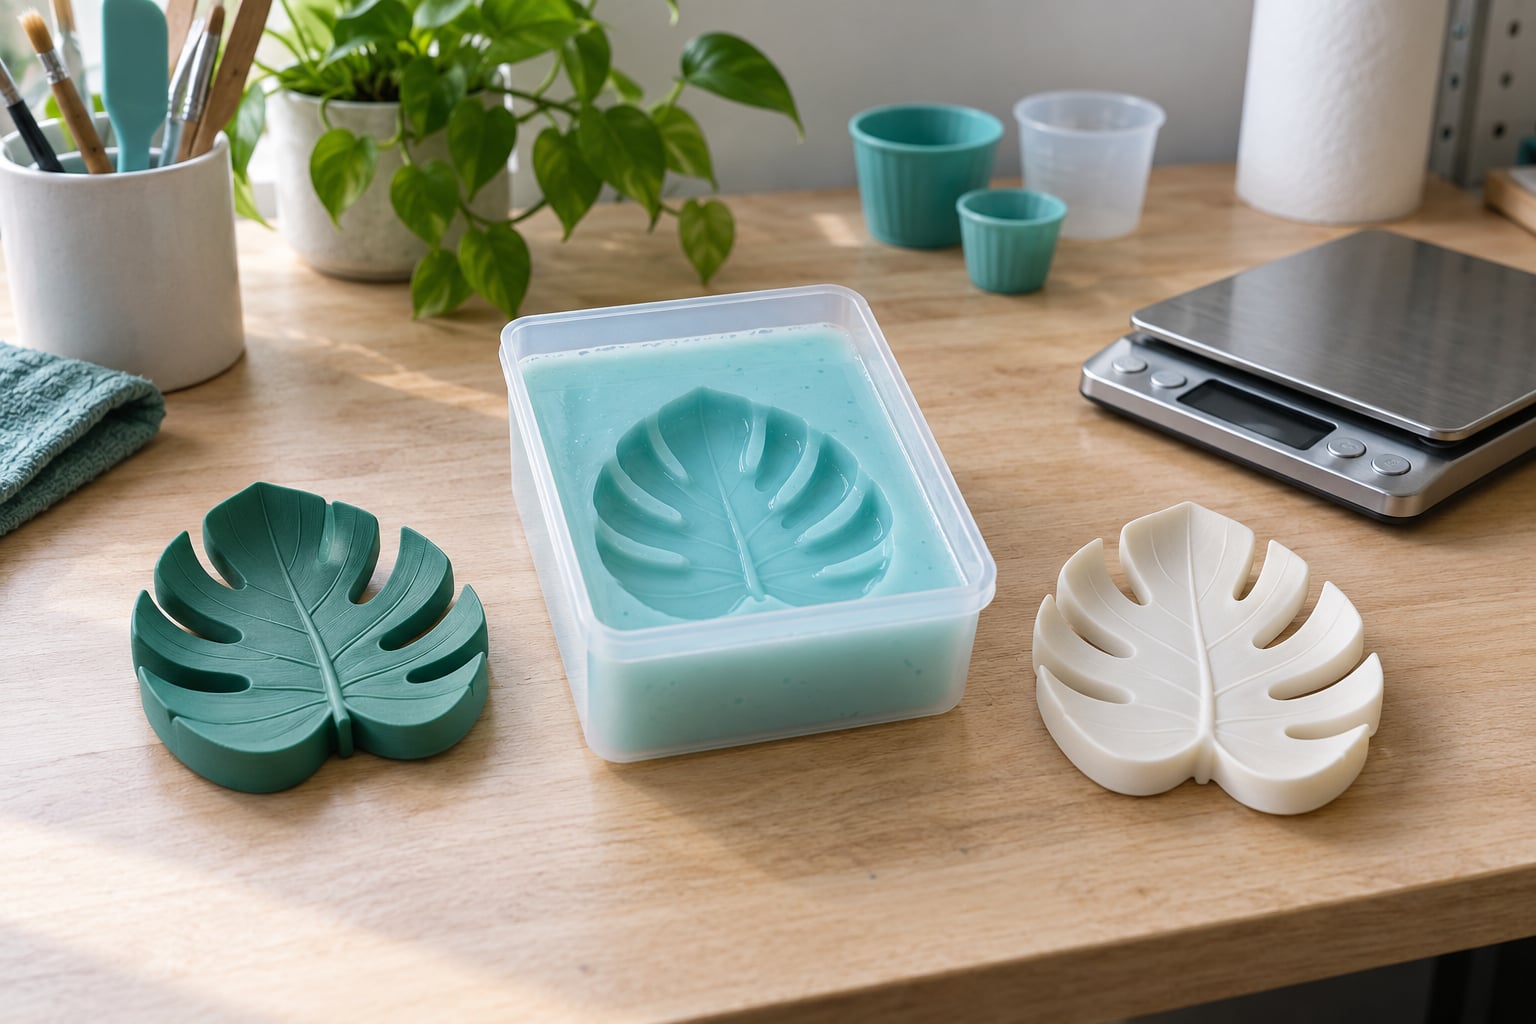
To resin cast parts from printed masters, you finish a 3D print into a solid, sealed pattern, cast a flexible silicone mold over it, then pour liquid epoxy, polyurethane or polyester resin into that mold to make accurate copies. One master and one mold give you dozens of identical parts in a stronger material than printed plastic. Expect a few days for the first run, most of it waiting for silicone and resin to cure.
Three stages do all the work: master preparation, mold making, and the cast pour. Beginners lose parts at the first stage, because a printed surface is porous and every pore becomes a bubble or a weak spot in the finished casting. Get that right and the rest is straightforward.
Table of Contents
- 1What You Need
- 2Step-by-Step
- 31. Print and Inspect the Master
- 42. Prepare the Printed Master
- 53. Build and Condition the Mold
- 64. How to Resin Cast Parts from Printed Masters: Mix and Pour
- 75. Cure the Casting
- 86. Demold the Part
- 97. Trim and Finish the Part
- 108. Inspect and Record the Result
- 11Common Mistakes
- 12Frequently Asked Questions
- 13What material works best for a mold when resin casting a 3D printed master?
- 14Can I use the same silicone mold for multiple resin castings?
- 15How do I prevent bubbles when casting resin from a printed master?
- 16How long does resin casting take to cure in a silicone mold?
- 17Should I print the master with supports before making a resin mold?
- 18Can I use a finished resin casting for food or skin contact?
- 19Conclusion
What You Need
A usable setup fits on a shelf about the size of a shoebox. The single most important decision is the mold material, because everything else adapts to it.
- A finished printed master in a solid resin or in filament, fully cured and dimensionally checked.
- Platinum-cure silicone in the 20-30 Shore A range. Makers consistently land here for casting epoxy, and flexible molds in that hardness hold up better in a pressure pot than harder or tin-cure versions.
- Casting resin of the type you intend to use long term: filled epoxy, rigid polyurethane, or polyester.
- Digital scale accurate to a gram or two, for mixing by weight rather than by eye.
- Mixing cups, wooden stir sticks, and nitrile gloves. Paper cups work. Latex gloves do not.
- A mold box: a rigid plastic tub, a foam-core cradle, or a 3D-printed box sized so the silicone sits roughly 4 mm thick around the part.
- Vent and pour holes made while the silicone is still liquid, or a drilled access point afterward.
- Mold release agent compatible with your resin, plus masking tape and a small brush.
- A level shelf in a dust-free, ventilated space, and a hygrometer if your room swings with the weather.
- Optional but useful: vacuum chamber and pump for degassing, a pressure pot for bubbles, a heat gun or torch for surface bubbles, and wet-dry sanding through to 1000 grit for finishing.
Mold material decides the workflow, so compare before you buy:
| Mold option | How it behaves | Watch out for |
|---|---|---|
| Platinum-cure silicone, 20-30 Shore A | Flexible, releases reliably, tolerates a pressure pot, reusable across many pours | Needs thorough mixing and vacuum degassing of its own bubbles |
| Tin-cure silicone (condensation cure) | Inexpensive, fast, captures fine detail, does not need a pressure pot | Its sulfur chemistry can inhibit cure next to some printed resins and bond aggressively to them, and it deforms more under pressure |
| Rigid epoxy mold | Sharp detail, stable in heat, one-off or short-run work | Fragile, hard to repair, and the casting tends to bond to it without release |
| Cast directly into a printed mold | No silicone step at all, fastest for a single prototype | Print layer lines transfer straight to the part, the print can crack, and you get one shot |
The tin-cure versus platinum-cure question comes up constantly in casting forums, and the repeated answer is that platinum-cure is the safe default for printed masters. Tin-cure is chosen deliberately by people who want fast cures and fine detail, and who have tested their particular print resin for interference. Either way, follow the silicone manufacturer’s published mix ratio, cure temperature and pot life rather than forum advice.
On resin choice: epoxy gives deep pours, low viscosity and strong parts but cures slowly and generates heat in thick sections. Rigid polyurethane is faster and tougher, with a narrower mix window. Polyester is the cheapest per litre but shrinks most and stinks. UV resin cures in minutes and is forgiving for beginners, though it costs more per volume and keeps a slight surface tack unless finished properly.
Step-by-Step
Work through the stages in order and the process repeats cleanly. Each step below ends with what success looks like, so you can tell whether to move on.
1. Print and Inspect the Master
Orientation decides surface quality. Turn the part so the least visible face sits against the build plate, and place layer lines on a side you will sand anyway. Design the model for casting, not just for printing: give every vertical face a draft angle of one to three degrees, break sharp internal corners with a fillet, and avoid undercuts wherever a one-piece mold has to release.
Undercuts are the single reason people end up with a two-part mold. A hole running crosswise through the part, an overhang that hooks back under itself, or a snap-fit arm will not release from any single rigid cavity. Round those corners, or plan on splitting the mold at that point and adding registration keys.
Check dimensions with calipers before you commit time to finishing. Success means the part measures correctly, shows no visible voids, and every surface a mold will touch can be reached by a sanding tool.
2. Prepare the Printed Master
This stage decides the finish of every copy, because a master transfers its surface to each casting. Printed resin is porous at a microscopic level. Those open pores pull air into the silicone and trap gas in the cast part, and they also let the casting bond back to the master.
Clean first. Wash a resin print in isopropyl alcohol, remove every support, and give the part a full post-cure under UV or heat so the resin stops reacting on your bench. Over-curing is not a real risk for a normal print; under-curing leaves a tacky surface that will never take a sealer properly.
Sand through a progression, roughly 180, 400, then 800 grit, staying on the surfaces the mold will capture. Fill the layer lines with a light filler primer or gesso, sand the filler back flush, then coat the whole master with a spray primer or a two-part epoxy sealer until nothing absorbs into it. Water-based gesso works too, but let it dry completely.
Two mistakes to avoid here: filling fine detail you wanted to cast, and sealing over a damp or contaminated surface. Debrease the finished master right before pouring silicone, and hold it by an edge you will not mold.
3. Build and Condition the Mold
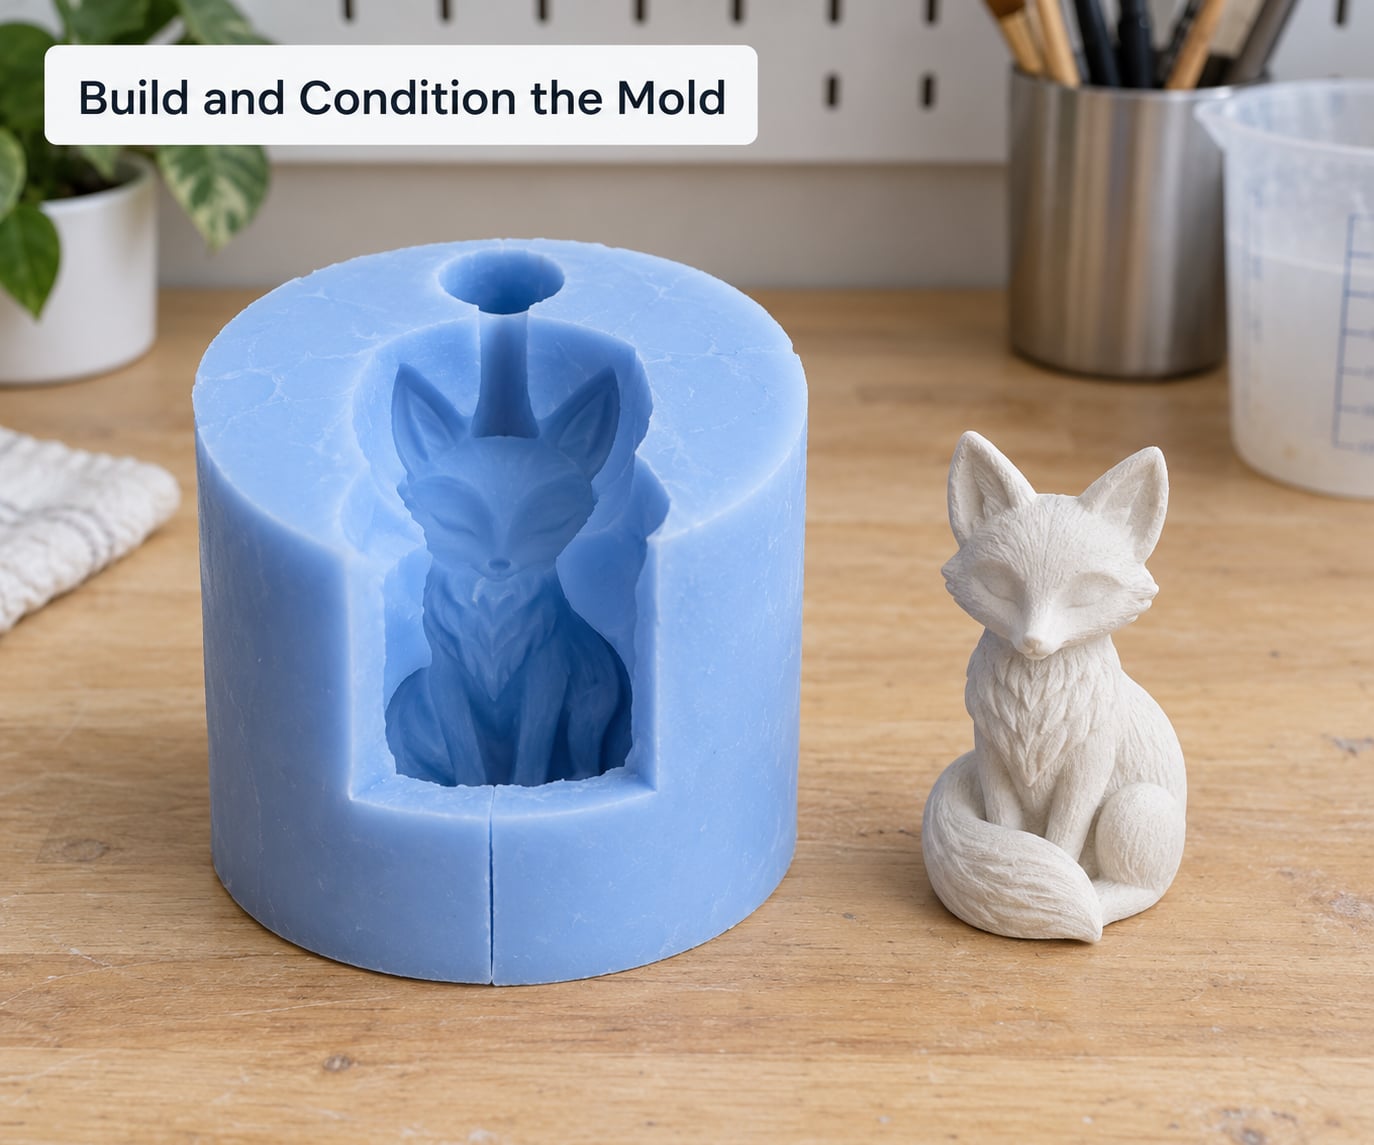
Pour the silicone over the sealed, released master inside a box that gives you a wall thickness near 4 mm. Thin walls bulge under pressure, and a bulge distorts the part. Make sure the part sits level, and keep the master fully submerged so no air pocket forms against a face.
Leave an opening for pouring and a smaller vent at the high point so displaced air can escape. Leaving both holes open lets you drip-pour later instead of mixing a fresh batch. Do not use a closed mold unless you plan to pressure-cast it.
Let the silicone reach full cure before disturbing anything. Partial cure is rubbery, and pulling a master from a half-set mold stretches the cavity permanently. When it is cured, cut the mold free, drill or clear the holes, and check the cavity in good light for tears, bubbles on the surface, and blocked vents.
4. How to Resin Cast Parts from Printed Masters: Mix and Pour
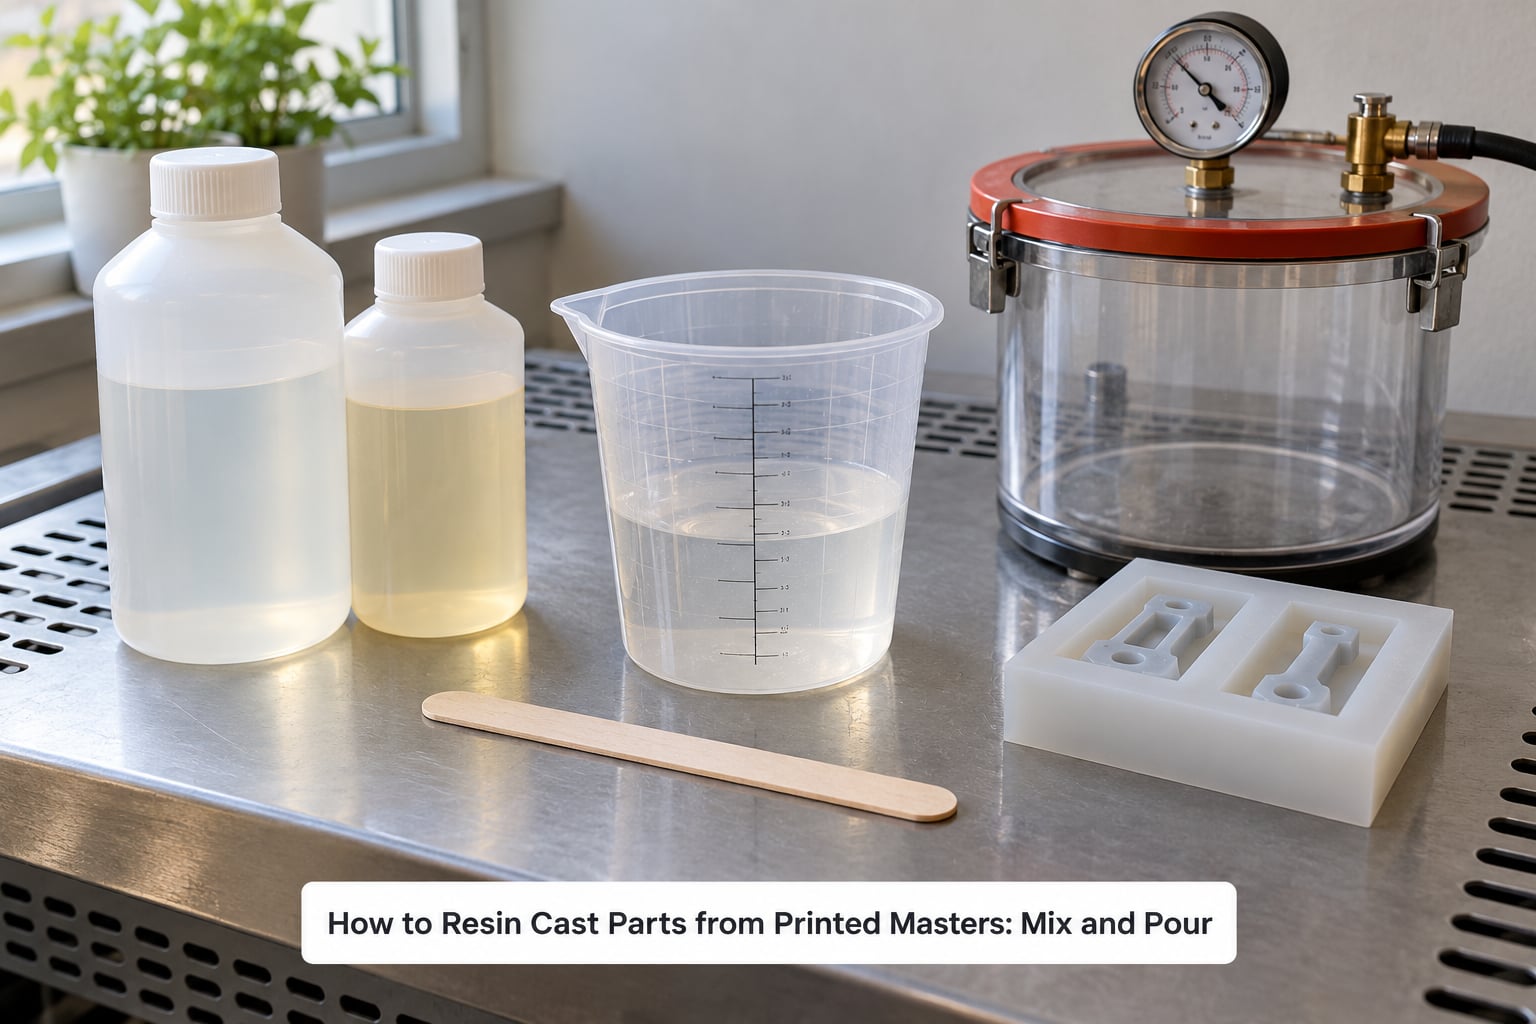
Resin casting parts from printed masters comes down to three pour decisions: accurate measurement, air control, and a slow fill. Measure both components by weight on the scale, in the exact ratio the manufacturer states. Volume measurement off a printed cup is where sticky, half-cured patches come from.
Mix slowly, scraping the sides and the bottom, for the full time in the data sheet. Fast stirring folds air into the mix faster than you can degas it out. Vacuum degas if your system allows it, and if not, let the mixed resin stand for a few minutes so bubbles rise to the top.
Pour in stages. First a thin flood coat that flows across the bottom of the cavity and wets every detail, which displaces the air sitting in the low spots. Let that coat settle, then add the bulk of the resin in two or three slower pours rather than one. For deep cavities, let resin drip off the end of the stir stick instead of pouring directly from the cup, so the stream never plunges into trapped air and stirs it deeper.
Keep everything inside the resin’s pot life and working temperature. A cold room slows the cure and raises viscosity, which is the classic cause of a short pour that never reaches the far side of the mold.
5. Cure the Casting
Set the filled mold on a level shelf in a controlled room and leave it undisturbed for the full time the data sheet specifies. Levelness matters more than almost anything else here, because an off-level mold produces a part with a thicker wall on one side.
Under-cured resin stays tacky, dents under a fingernail, and often has a sharp solvent smell. Warm drafts and cold windows both cause this, along with cold resin in a cold room. Thick sections generate their own heat as they cure, which can crack or bubble the casting, so resist the urge to speed things up in a hot oven unless the manufacturer allows it.
Expect a small amount of shrinkage as the resin polymerises. Fillers reduce it, and a casting that needs to match a print dimension exactly is worth measuring and adjusting for on your second pour.
6. Demold the Part
Peel a flexible silicone mold back slowly rather than prying at one corner. Start at a corner, flex the silicone away from the casting, and work along the part so air can get behind the surface. Undercuts tolerate this because silicone stretches; sharp edges on the casting do not.
If the part resists, stop. Flex harder and longer before reaching for a tool, and consider whether you have enough release in that area. A part that has to be attacked with a screwdriver usually means a thin spot or a missing vent, and pulling hard there costs you the casting and often the master.
A resin that clings, stretches and tears the print apart usually points back to insufficient release or a porous master. That is a mold-prep problem, and the fix belongs at the sealing stage, not at the demolding stage.
7. Trim and Finish the Part
Remove gates, flash and seam lines with a sharp hobby knife, then file or sand flush to the surface you need. Work through finer grits and finish with wet sanding to 1000 grit for a smooth, fingerprint-resistant surface on epoxy and urethane. If you need a glossy face, coat it with a thin casting-compatible epoxy or urethane and let it cure fully.
Trim conservatively. Heavy sanding on a cast part removes material that printing never had to give up, and it is easy to sand a detail flat while chasing a seam.
One caution: do not assume a generic cast part is safe for food or skin contact. Only use a resin whose manufacturer states that use, and follow its full cure schedule and any coating it specifies. If you need a certified food-safe surface, cast it in a material designed for it rather than sealing an unknown casting with a generic clear coat.
8. Inspect and Record the Result
Hold the casting up to a light and look for the failures you cannot see from the outside: bubbles, voids, incomplete fill along a detail, cracks, warping, a dull or discoloured patch, and any dimension that drifted from the print. Compare against the master with calipers rather than by eye.
Then write down what you would need to repeat it. Log the resin batch and mix ratio, the silicone brand and hardness, the mold wall thickness, the room and mold temperature, the cure time, and every adjustment you made. Six lines in a notebook is the difference between a process and a lucky result.
Common Mistakes
Almost every ruined casting traces back to one of a handful of causes. Match the symptom to the cause and fix it at the stage where the error was made.
| Symptom | Likely cause | Fix |
|---|---|---|
| Bubbles in the casting | Air in the resin, or air trapped in mold recesses during the pour | Degas the resin, flood-coat the cavity first, drip-pour deep areas, and use a pressure pot at roughly 30-40 PSI with mold walls near 4 mm |
| Casting sticks to the mold, sometimes tearing the master | Porous, unsealed master or thin or incompatible release | Seal the master fully, renew release between pours, and flex the silicone away slowly rather than prying |
| Rough, pitted, matte surface | Layer lines and pores on an unfinished master | Sand, fill with filler primer, seal, and re-sand flush before moulding |
| Tacky or soft patches | Wrong mix ratio, cold ambient temperature, or poor resin mixing | Measure by weight, mix the full stated time, and pour with the resin and room at working temperature |
| Part fills only part way; short shot | Blocked vents, a cavity wider than the pour opening, or resin gone off temperature | Add a vent at the far end, widen the pour hole, and keep resin above 20 degrees Celsius while pouring |
| Flash, seam lines, crooked parts | Misaligned two-part mold or a leaking mold box | Add registration keys and tape the split, and seal every box seam before mixing |
| Walls bulge or the mold deforms in a pressure pot | Silicone too thin or too soft for the pressure | Rebuild with roughly 4 mm walls in a harder silicone, or pour without pressure |
| Detail turns up weak or missing | Master detail filled during sealing, or blocked vents holding back flow | Mask fine features before filling, and clear vents with a thin wire before pouring |
A few habits keep results repeatable: pour a cheap test first in a simple shape to confirm your silicone and resin actually cooperate, keep every pour at the same temperature, and replace the mold rather than rescuing it once the cavity tears. Waxing or chasing small mould repairs almost never beats a fresh mold from a master you still have.
Frequently Asked Questions
What material works best for a mold when resin casting a 3D printed master?
Platinum-cure silicone in the 20-30 Shore A range is the most reliable choice. It flexes enough to release from small undercuts, survives a pressure pot at 30-40 PSI, and does not interfere with most print resins. Tin-cure silicone is cheaper and faster but its sulfur chemistry can bond to printed masters and inhibit cure nearby. Rigid epoxy molds give the sharpest detail for a single run but are fragile and hard to repair.
Can I use the same silicone mold for multiple resin castings?
Yes. A correctly built platinum-cure silicone mold usually produces 20 to 40 good pulls before the cavity surface tears or the parting edges round off. Renew the release between every pour, wash the mold with warm soapy water and dry it fully, and store it closed and slightly compressed. Lifespan depends on undercuts, wall thickness and whether you pressure-cast, which shortens it.
How do I prevent bubbles when casting resin from a printed master?
Bubbles come from air in the mixed resin and from air trapped in the cavity. Vacuum degas the resin after mixing, or let it stand so bubbles rise. Pour a thin flood coat first to wet every detail and displace trapped air, then add the bulk of the resin in stages, dripping it from a stir stick into deep cavities. A pressure pot at roughly 30-40 PSI clears what pouring cannot.
How long does resin casting take to cure in a silicone mold?
Epoxy and rigid polyurethane typically need 12 to 24 hours at room temperature before demolding, and a full cure may take several days. UV or LED resin cures in minutes to an hour depending on the machine and the depth of the pour. Silicone mold cure time is separate and runs from 4 to 24 hours depending on the product and the mass of the pour. Always follow the specific product data sheet.
Should I print the master with supports before making a resin mold?
Print with whatever orientation gives the fewest supports, then remove and sand the marks before sealing. Support scars and nubs sit exactly where the casting surface is most visible. Design with draft angles and fillets first so you can choose an orientation needing little or no support at all, and fully post-cure a resin print so the master does not move or react while the silicone sets around it.
Can I use a finished resin casting for food or skin contact?
Only if the resin manufacturer states that use. A generic filled epoxy or urethane cast is not food safe or skin safe just because it looks clean, and a generic sealant on top does not change that. For jewelry or food contact, cast in a resin listed for the purpose and follow its full cure schedule. If you have had a sensitization reaction to epoxy before, avoid it and use nitrile gloves and ventilation whenever you handle uncured resin.
Conclusion
If you are starting out, print a simple shape with a few clean features, sand and seal it properly, and pour one mold with platinum-cure silicone at 20-30 Shore A. Then cast a test pour in your chosen resin, note the ratios, temperatures and cure times, and only scale up once a single pull looks the way you want. Once that workflow is written down, resin casting parts from printed masters stops being fiddly and turns into the fastest way to get identical parts in a material your printer cannot print.