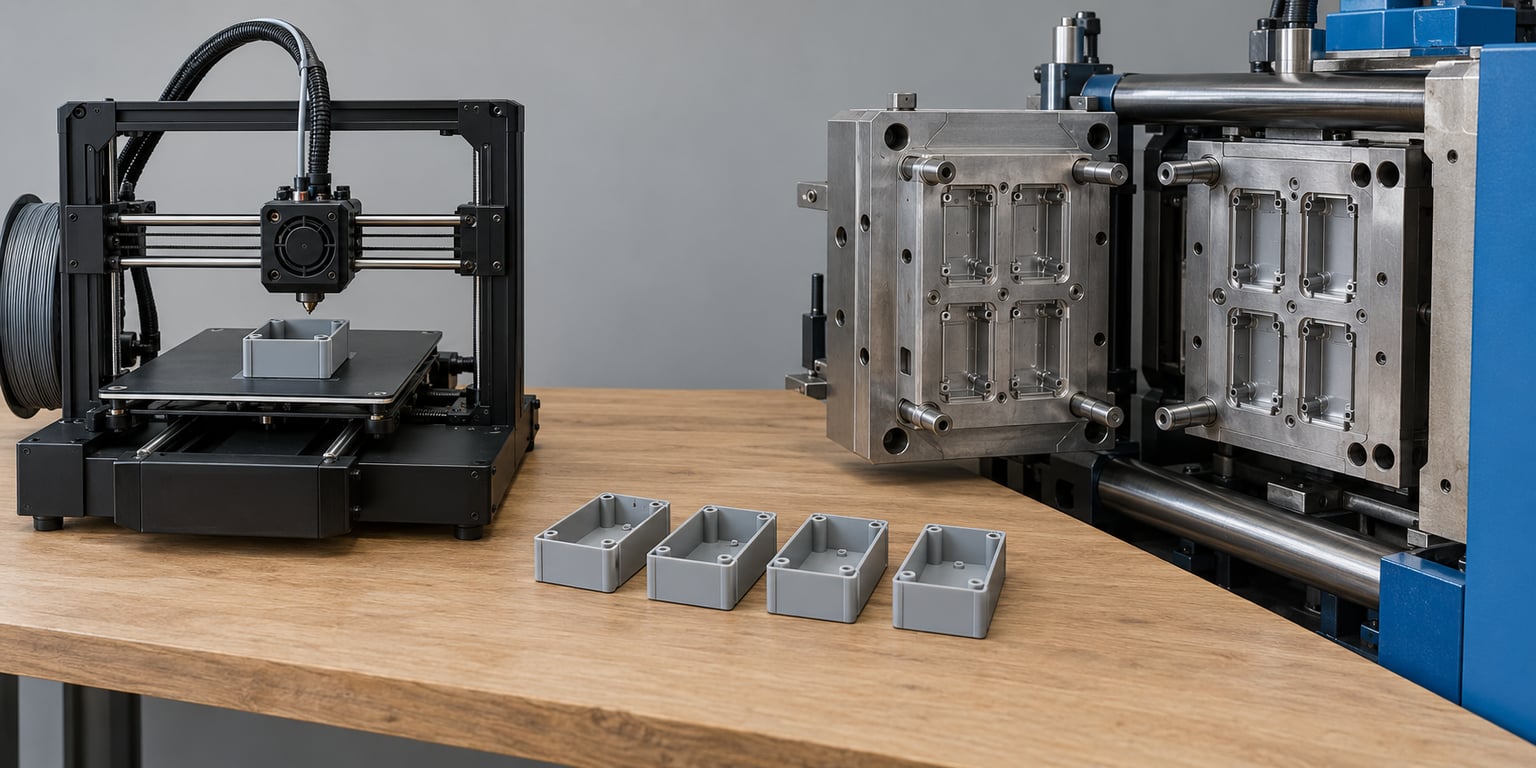
Short answer to the 3d printing vs injection molding cost comparison: printing wins below roughly 500 to 2,000 parts, and injection molding wins above it. Printing carries no tooling cost but a per-part cost that stays flat at any volume, while injection molding demands a one-time mold and then drops to a per-part cost around a seventh of a printed one. Work out your own crossover with the formula and worked example below.
Every figure here is a generic cost figure rather than a vendor quote, so you can swap in your own prices and re-run the arithmetic in about a minute. The modelled part is a small ABS or nylon enclosure, roughly 60 g, with walls around 2.5 mm and a handful of internal features — nothing exotic.
I’ve watched hardware teams argue this out with spreadsheets that never quite agreed with each other. Almost every argument falls apart once you separate tooling from per-part cost from labor, which is exactly what this guide does.
One clarification before the numbers start: this covers polymer parts. Metal changes the picture, and so does very large-format printing, but the logic of tooling amortization still holds — you just get a bigger tool and a narrower printing niche.
Table of Contents
- 13D Printing vs Injection Molding Cost Comparison at a Glance
- 2Upfront Tooling and Equipment Costs
- 3What an injection mold actually costs, line by line
- 4Three tooling tiers, three different answers
- 5Per-Part Costs and Production Volume
- 6The break-even formula, with the arithmetic shown
- 7The volume ladder, with totals and per-part figures
- 8What a multi-cavity tool does to the crossover
- 93D Printing vs Injection Molding Cost Comparison: Material and Labor
- 10Quality, Finish, and Design Flexibility
- 11Which Should You Choose?
- 12Frequently Asked Questions
- 13How many parts should you make before injection molding is cheaper than 3D printing?
- 14Is injection molding always cheaper than 3D printing?
- 15How much does an injection molding tool or mold cost?
- 16Can injection molding make the same complex geometries as 3D printing?
- 17Which method is cheaper for prototypes and small batches?
- 18How do material and labor costs affect 3D printing versus injection molding?
- 19What to Do First
3D Printing vs Injection Molding Cost Comparison at a Glance
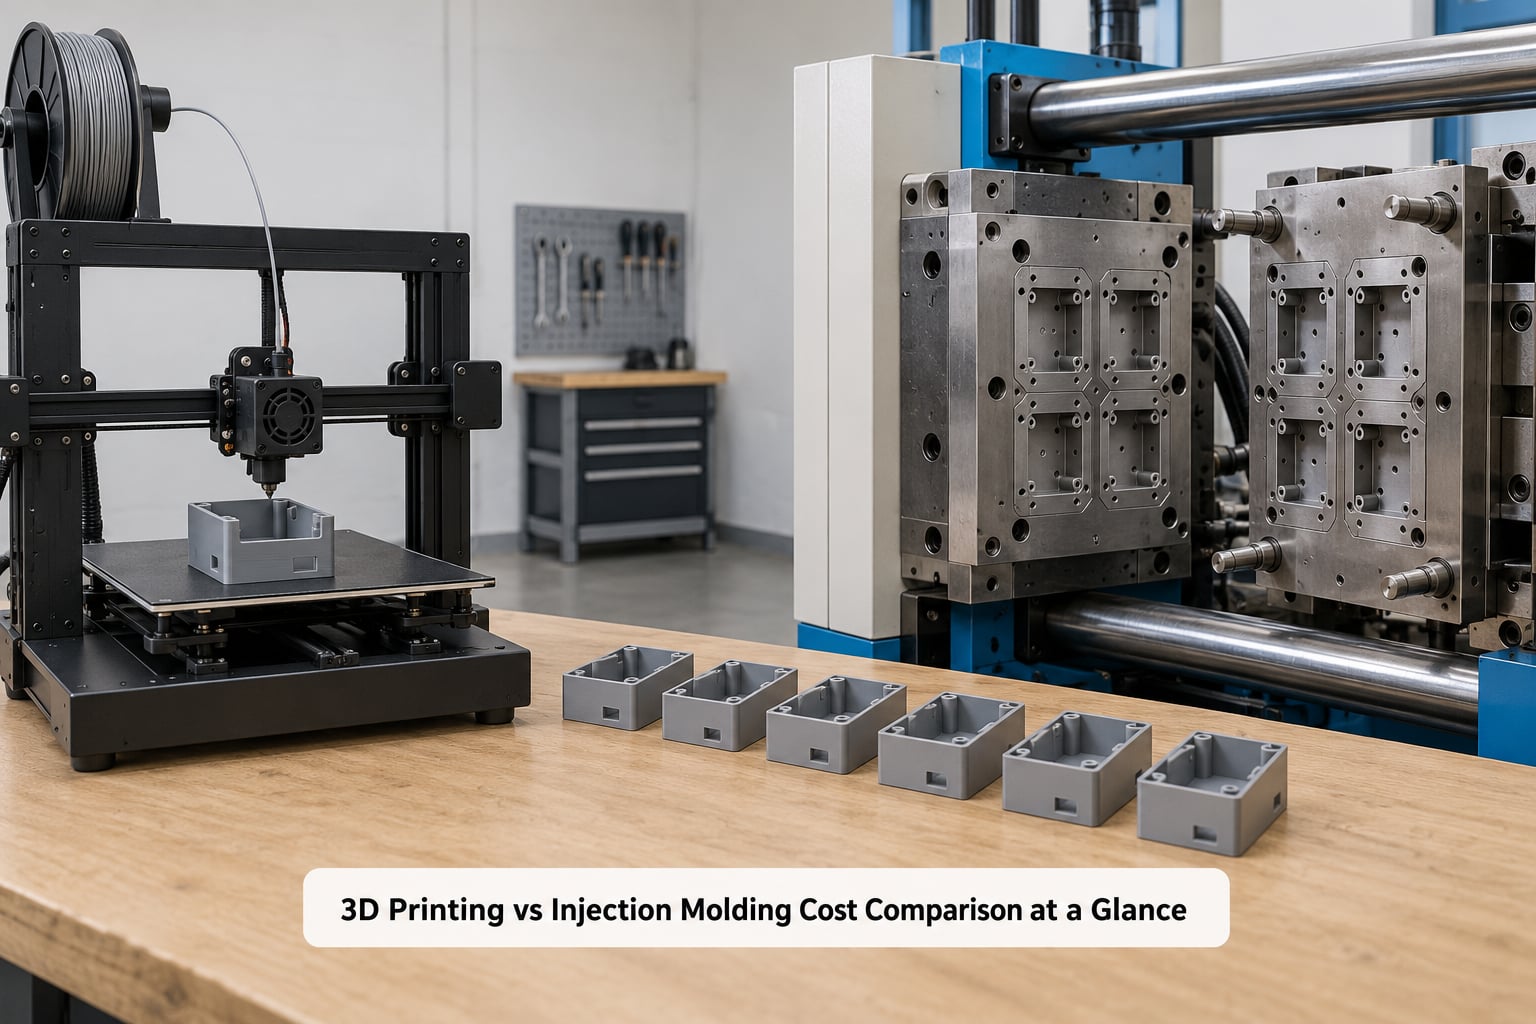
The table below is the whole comparison on one page. Read the winner column as a general rule, not a law — part size and complexity move every row.
| Factor | 3D printing | Injection molding | Winner |
|---|---|---|---|
| Upfront tooling | None | $3,000 to $50,000 for a single part | 3D printing |
| Per-part cost | Flat, around $9.00 for the modelled part | Falls toward $1.00 as volume rises | Injection molding above break-even |
| Economic volume band | 1 to about 500 parts | About 1,000 parts and up | Depends on the band |
| First part lead time | Hours to a few days | 4 to 12 weeks for the tool alone | 3D printing |
| Repeat order lead time | About the same as the first | Hours to days once the tool exists | Injection molding |
| Cycle time | Hours per part, nestable | Seconds to a minute per shot | Injection molding |
| Surface finish as molded | Visible layer lines on FDM, matte grain on SLS | Glossy or textured directly in the tool | Injection molding |
| Strength consistency | Layer adhesion varies with orientation | Isotropic, uniform through the wall | Injection molding |
| Tolerances held as standard | Around ±0.01 to 0.05 in depending on process | Around ±0.005 in on a good tool | Injection molding |
| Design changes after setup | Free, edit the model and reprint | New tool or a costly insert swap | 3D printing |
| Undercuts and internal channels | Trivial, no draft needed | Sliders, inserts, or impossible | 3D printing |
| Material cost per kg | Higher for engineering polymers, scrap goes in the bin | Lower per kg, sprue runners are reclaimable | Injection molding |
| Labor per part | High — removal, supports, finishing | Low once running, mostly supervision | Injection molding |
| Risk if demand never arrives | Low, sunk cost is a few parts | High, the tool is 100% sunk | 3D printing |
Two rows deserve a note. The tolerance row narrows sharply once you buy tight-tolerance tooling, and the surface finish row flips if you add vapor smoothing or tumble finishing to printed parts, both of which add cost per piece.
Upfront Tooling and Equipment Costs
3D printing has no tooling cost, but the machine and the hours around it are real money.
A desktop FDM machine that makes functional prototypes runs from a few hundred to a few thousand dollars. Industrial powder-bed systems for nylon or a professional resin machine sit far higher, in the tens of thousands. A service bureau removes the capex entirely: you pay per build instead, which is the right call until you produce consistently enough to justify owning equipment.
The catch is labor. A printed part that takes nine hours to build and twenty minutes to strip supports, sand and prime is not a $9.00 part. Owners of small machines routinely underestimate this, and it is the most common error in hobby-level estimates. I’ve seen the same 60 g part quoted as $4 and as $30 in two different forum threads in the same week, and the difference was entirely post-processing time nobody counted.
What an injection mold actually costs, line by line
Mold quotes are famously opaque, and knowing the reasons helps before you request one. Cavity count is the biggest lever: a single-cavity tool costs roughly what a four-cavity tool costs to build, so unit cost divides by four once you have enough volume to fill it. Tool steel versus aluminum is the second lever, with aluminum cutting roughly half the tool cost and lifespan at the same time. Beyond that, size, tolerance, inserts, slider action and cosmetic surface specification all move the number.
For our modelled 60 g enclosure, a reasonable single-cavity production tool lands somewhere between $6,000 and $12,000. Complex geometry, medical-grade documentation or multi-material work push that toward the far end of the $3,000 to $50,000 range the industry quotes.
Three tooling tiers, three different answers
Rapid tooling, bridge tooling and production tooling are not the same decision, and treating them as one is why a lot of teams wait too long to tool.
| Tier | Typical tool cost | Lead time | Realistic lifespan | Volume it suits |
|---|---|---|---|---|
| Rapid / 3D-printed metal insert tooling | $1,500 to $4,000 | 1 to 3 weeks | 1,000 to 5,000 shots | 50 to 1,000 parts |
| Bridge tooling | $3,000 to $8,000 | 2 to 4 weeks | Up to 50,000 shots | 500 to 5,000 parts |
| Production tooling, hardened steel | $6,000 to $50,000 | 4 to 12 weeks | 250,000+ shots | 5,000 parts and up |
Rapid tooling is what people mean when they call bridge manufacturing a middle path: print the pattern, cast or machine an insert, run short production runs on it. It moves your crossover down to somewhere between 300 and 600 parts, which lands right in the awkward band most small sellers complain about.
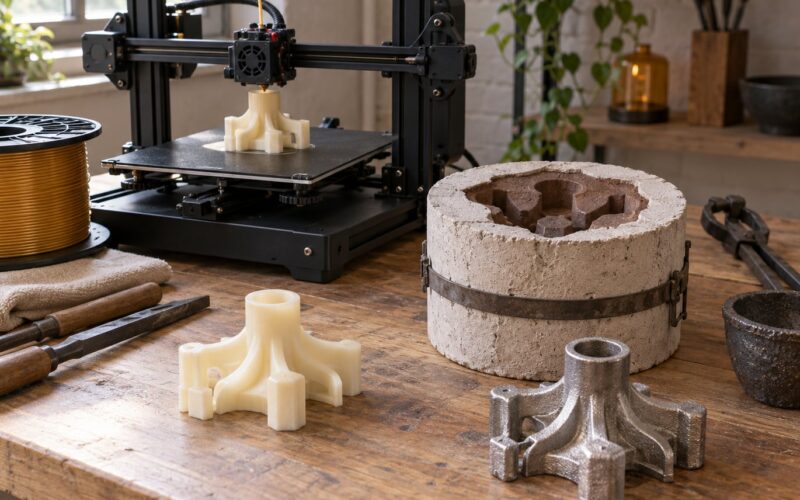
There is a fourth option that costs almost nothing in tooling and comes up constantly in forums: use a printed part as the master pattern for a silicone mold. A polyurethane cast part from that mold is fine for fit testing, soft-touch prototypes and low-volume cosmetic samples, but the elastomer shrinks, wears and cannot hold tight tolerances, so it is a validation tool rather than a production path.
Per-Part Costs and Production Volume
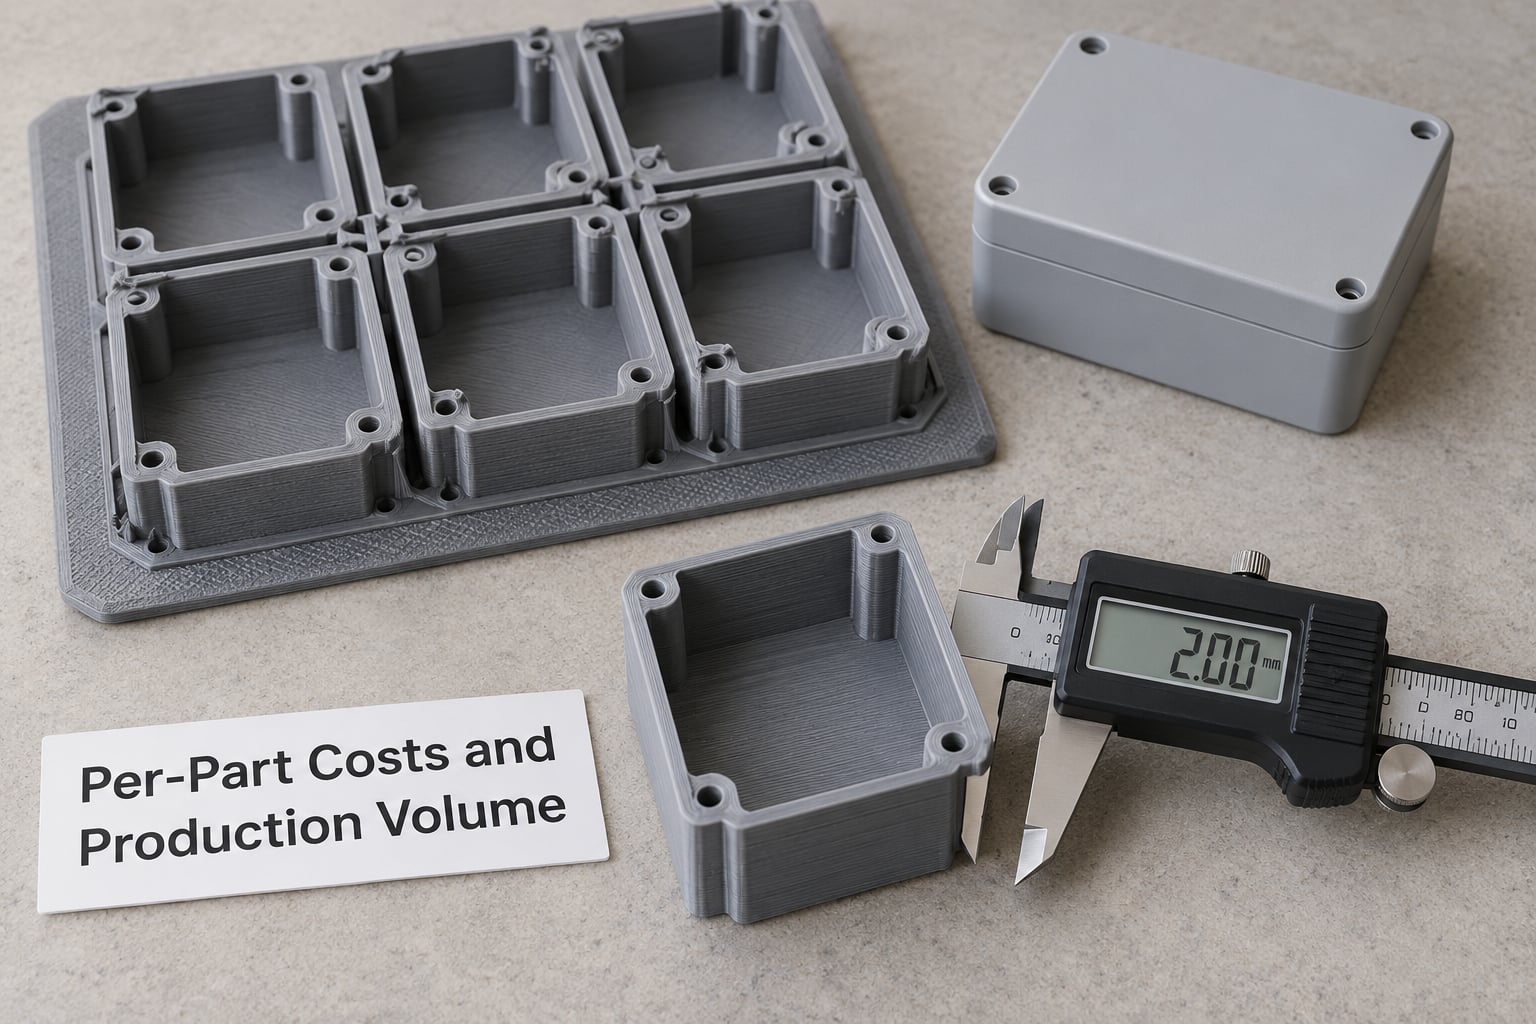
The two processes have completely different cost shapes, which is the whole reason the comparison confuses people. Printed cost is flat: $9.00 per part whether you need ten or ten thousand. Molded cost has a fixed step and then a small slope — $8,000 of tooling plus $1.30 per part — so it only becomes cheap once the fixed step has been spread over enough parts.
The break-even formula, with the arithmetic shown
Break-even volume equals tooling cost divided by the difference between printed per-part cost and molded per-part cost. The difference is what you save on every molded part, and the tooling is what you need to recover.
In plain text: break-even = mold cost ÷ (cost per printed part − cost per molded part, excluding tooling).
For our example, with a printed part at $9.00 and a molded part at $1.30 before tooling, each molded part saves $7.70. An $8,000 tool therefore breaks even at $8,000 ÷ $7.70, which is 1,039 parts. Under that number, printing is cheaper in total. Over it, molding is.
That 1,039 figure is not a law of nature. A $30,000 tool with the same per-part figures breaks even at 3,896 parts, and a $3,000 bridge tool breaks even at 390. Part size, complexity, material and cavity count move the answer more than anything else, so treat any published break-even number — including this one — as a worked example with stated assumptions rather than a quote.
The volume ladder, with totals and per-part figures
Here is the same comparison at eight volumes. Total cost is what actually leaves your account, so read that column first.
| Parts needed | 3D printing total | Cost per printed part | Injection molding total | Cost per molded part | Cheaper option |
|---|---|---|---|---|---|
| 10 | $90 | $9.00 | $9,313 | $931.30 | 3D printing |
| 50 | $450 | $9.00 | $8,065 | $161.30 | 3D printing |
| 100 | $900 | $9.00 | $8,130 | $81.30 | 3D printing |
| 500 | $4,500 | $9.00 | $8,650 | $17.30 | 3D printing |
| 1,000 | $9,000 | $9.00 | $9,300 | $9.30 | 3D printing |
| 5,000 | $45,000 | $9.00 | $14,500 | $2.90 | Injection molding |
| 10,000 | $90,000 | $9.00 | $21,000 | $2.10 | Injection molding |
| 50,000 | $450,000 | $9.00 | $73,000 | $1.46 | Injection molding |
Assumptions behind the table: single-cavity $8,000 tool, $1.30 molded per-part cost including polymer, machine share and operator supervision, $9.00 fully loaded printed cost, no finishing on either side. Printed per-part cost is held flat deliberately; at tens of thousands of parts you would switch to a nested production system or a multi-laser powder bed, which typically cuts printed cost to around $6.00 per part and narrows the gap without ever closing it.
What a multi-cavity tool does to the crossover
Cavity count is the most powerful lever nobody quotes until late. If your real need is 5,000 parts, a four-cavity tool built for roughly 1.3 times the single-cavity cost drops molded per-part cost to about $0.55 and moves break-even down to roughly $8,000 ÷ ($9.00 − $0.55) = 947 parts. You pay more upfront and reach the crossover sooner, which is exactly the trade a real production program should make.
The flip side is that cavities need volume to fill. A four-cavity tool running a 200-part order produces 50 shots and leaves three quarters of the capacity idle, so the only reason to pay for extra cavities is that the next order will use them.
3D Printing vs Injection Molding Cost Comparison: Material and Labor
Material is the easiest number to compare and the one most often quoted out of context.
Printed material is expensive per kilogram but you buy a small amount of it, and what you don’t use is scrap. Powder-bed processes recover a large share of unsintered powder, and sliced nested builds cut waste further, so real material cost per part often lands between a third and a half of the raw filament cost. Molded material is cheaper per kilogram and the sprue runners go back into the regrind stream, though a fraction still ends up as purge and off-spec parts.
Labor tells the opposite story. Printing is attended work: unloading, breaking supports, curing, sanding, priming and inspecting can easily double the machine-time cost of a part. Molding is unattended after setup, so one operator can supervise several machines and labor per part becomes a rounding error.
| Material | 3D printing availability | Injection molding availability | Cost pressure |
|---|---|---|---|
| PA12 / nylon | SLS, MJF, PAHT | Standard molding grade | Comparable either way |
| ABS | FDM, SLA | Standard molding grade | Molded cheaper per kg |
| Polycarbonate | FDM, SLS | Widely molded | Molded cheaper per kg |
| TPU | FDM, SLS | Molded, needs care on inserts | Comparable |
| Polypropylene | Limited, warps badly | Standard molding grade | Molding clearly better |
| PEEK / PEI | SLS, MJF, HPAM | Molded at high temperature | Printed accessible, molded cheaper at volume |
| Carbon-fiber filled | SLS, MJF, pellets | Molded with abrasive tooling | Printed for stiffness, molded for scale |
The last column is where the answer gets interesting for engineering polymers. PEEK and carbon-filled grades are routine on industrial powder-bed machines, so you are never blocked from prototyping an exotic material — you are only blocked from buying it by the kilogram in molded form at low volume.
Quality, Finish, and Design Flexibility
Cost differences hide in finish and design constraints, and these are where a cheap printed prototype quietly becomes an expensive production headache.
Surface finish is the most visible difference. A molded part comes off the tool with a consistent gloss or a molded texture, no secondary work needed. An FDM part shows layer lines that need sanding and priming before anyone pays premium prices for it, and an SLS part has a matte, slightly grainy surface that reads as prototype to a customer even when the part is mechanically sound. Vapor smoothing and tumble finishing close that gap, at roughly $1 to $3 per part added to your printed cost, which moves break-even further toward molding.
Strength differs in kind, not degree. FDM parts are weakest between layers, so orientation decides whether your part is strong or weak, and the same design can be two very different parts depending on how it was rotated on the bed. Powder-bed nylon comes close to isotropic but is not identical to molded material, and molded parts are uniformly strong in every direction because the material flows and packs as a whole.
Design flexibility is the reverse trade. 3D printing handles undercuts, internal channels, lattice infill and texturing with no penalty at all. Injection molding does not: undercuts need sliders, internal voids need core pulls, and constant wall thickness with ribs becomes a real constraint. Every one of those mechanisms adds tool cost, which is why a part with three undercuts can quote 40% higher than its drafted equivalent and still be the right part to make molded.
That last point deserves its own warning. The single most expensive manufacturing mistake in this whole comparison is a design change discovered after the tool is cut. One service bureau reported a design error found post-tooling roughly doubling total cost on a project. Get a design-for-manufacturability review before the steel is ordered, and send the same CAD file to three molders so you compare like with like.
Note also what tolerance costs. Tight tolerances on a molded part force tighter machining on the tool, which costs money at the front and pays for itself at the back. Printed parts hold around ±0.01 to 0.05 in depending on process, often fine for a housing and never fine for a mating mechanical component.
Which Should You Choose?
Choose by volume band first, then adjust for complexity, customization and how certain your demand is.
| Volume band | Default choice | When the other option wins |
|---|---|---|
| 1 to 10 parts | 3D printing | Never molding at this volume |
| 10 to 100 parts | 3D printing | Molding only if a physical mold is needed for another process |
| 100 to 500 parts | 3D printing, or bridge tooling | Molding if the finish must be retail-grade from day one |
| 500 to 5,000 parts | Bridge or rapid tooling | Printing if parts are large, custom, or revision likely |
| 5,000 to 50,000 parts | Injection molding, multi-cavity | Printing for spares and top-up quantities |
| 50,000 parts and up | Injection molding, hardened steel | Printing for tooling aids and fixtures only |
Pick 3D printing when you need parts this week, when every part is different, when geometry involves undercuts or internal channels, when you are still changing the design, or when total need is under a few hundred pieces. Printed jigs, fixtures and assembly aids pay for themselves even inside a molded production run, because nobody should be modifying a steel tool to hold a fixture.
Pick injection molding once you have the same part on your BOM three times, the geometry is settled, and volume will pass your break-even number. Then invest in a multi-cavity hardened tool, since repeat orders are where the real savings live.
The 500 to 5,000 part band is the awkward zone everyone asks about, and the honest answer is that it is genuinely contested territory. Bridge tooling exists specifically to serve it, and a printed master driving a silicone mold serves the bottom of it. If demand is genuinely uncertain in that band, printing is the cheaper mistake, because printing mistakes cost you the parts and tooling mistakes cost you the tool.
On that risk, the pattern in manufacturing forums is consistent: small businesses print prototypes and functional tests, validate with real customers for two or three rounds, then commit to tooling once sales are proven rather than projected. The opposite view is that waiting too long costs market share. Both are defensible; the deciding factor is how fast you can change the design later, and printing again is always cheaper than cutting steel again.
Frequently Asked Questions
How many parts should you make before injection molding is cheaper than 3D printing?
For a typical small polymer part, the crossover lands somewhere between a few hundred and a few thousand pieces. In the worked example here, printed parts cost $9.00 and molded parts $1.30 before tooling, so an $8,000 tool breaks even at 1,039 parts. A cheaper bridge tool breaks even near 390, and a costly hardened tool on a bigger part can push it past 4,000. Run your own numbers with the formula rather than trusting any published threshold.
Is injection molding always cheaper than 3D printing?
No. Below your break-even volume, printed parts cost less in total even though each one costs several times more, because you never pay for a tool. Injection molding also works out more expensive per part for very small quantities, since the tooling charge per part dominates. It only becomes cheaper once the fixed tooling cost has been spread across enough parts to make the per-part saving outweigh it.
How much does an injection molding tool or mold cost?
A single-cavity production tool for a small part typically lands between $6,000 and $12,000, and across the industry the quoted range runs from about $3,000 to $50,000. The big drivers are cavity count, steel versus aluminum, part size, tolerance, inserts and cosmetic finish. Rapid and bridge tooling for lower volumes sits nearer $1,500 to $8,000. Always get three quotes with line items broken out.
Can injection molding make the same complex geometries as 3D printing?
Not without help. 3D printing builds undercuts, internal channels, lattices and texturing with no extra cost. Injection molding needs draft angles on vertical walls, near-constant wall thickness with ribs, and it requires sliders or inserts to handle undercuts and voids. All of that is achievable and molders do it routinely, but each mechanism adds tool cost and lead time, so complex geometry pushes break-even higher.
Which method is cheaper for prototypes and small batches?
3D printing, without close competition. With no tooling, the cost of a prototype equals the cost of the parts themselves, and the first one arrives in hours rather than weeks. For batches under roughly 500 pieces the total spend stays far below even a bridge tool. The exception is when a physical mold is needed for soft-touch testing, casting or a downstream forming process.
How do material and labor costs affect 3D printing versus injection molding?
Material cost alone favors molding, since molded polymers cost less per kilogram and sprue runners are reclaimable, while printed supports and failed prints are waste. Labor reverses the picture: printing is attended work involving removal, support breaking, curing and finishing, which can double the apparent cost per part, whereas a running injection molding machine needs only supervision. Together they pull break-even lower than a material-only comparison would suggest.
What to Do First
Get two real per-part quotes — one from a service bureau for printing your part finished, one from a molder including tooling amortization — then run them through the break-even formula. That single calculation answers the 3d printing vs injection molding cost comparison for your specific part better than any general rule.
While those quotes come back, print the parts you need now. If the crossover lands inside your realistic demand, model a bridge tool. If it lands well beyond it, keep printing and recheck every quarter as sales move.