If you only have a CAD model and a budget, the honest answer is that neither process wins outright. Few complex parts at low volume favour 3D printing; a batch of simple parts that has to hit a tight tolerance favours CNC machining. Three variables decide it: quantity, geometry, and whether the prototype has to survive real mechanical load.
Most teams make the 3D printing vs CNC machining for prototypes call earlier than they should, and they make it on the wrong variable. They compare sticker prices instead of total delivered cost, or they assume a printed part is automatically the cheap option. Both assumptions cost money somewhere down the line.
I have watched hardware teams burn three weeks on a printed fit test that could never have passed, and other teams spend a full setup on a one-off bracket that a printer produced in an afternoon. The fix is boring: decide what the prototype has to prove before you decide who makes it.
Last updated: October 2026
Table of Contents
- 13D Printing vs CNC Machining for Prototypes at a Glance
- 2How 3D Printing Makes Prototypes
- 3How CNC Machining Makes Prototypes
- 4Speed and Lead Time
- 5Cost and Minimum Order Quantity
- 6Accuracy, Tolerances, and Surface Finish
- 7Materials and Mechanical Properties
- 8Why printed parts fail differently under load
- 9Design Complexity and Part Geometry
- 10Prototype Stage and Intended Use
- 11Which Should You Choose?
- 12Frequently Asked Questions
- 13Is 3D printing or CNC machining cheaper for prototypes?
- 14Which process is faster for making a prototype?
- 15Is CNC machining more accurate than 3D printing?
- 16What materials can each process use for prototypes?
- 17Can 3D printing replace CNC machining for functional parts?
- 18Should I use the same process for prototyping and production?
- 19Conclusion
3D Printing vs CNC Machining for Prototypes at a Glance
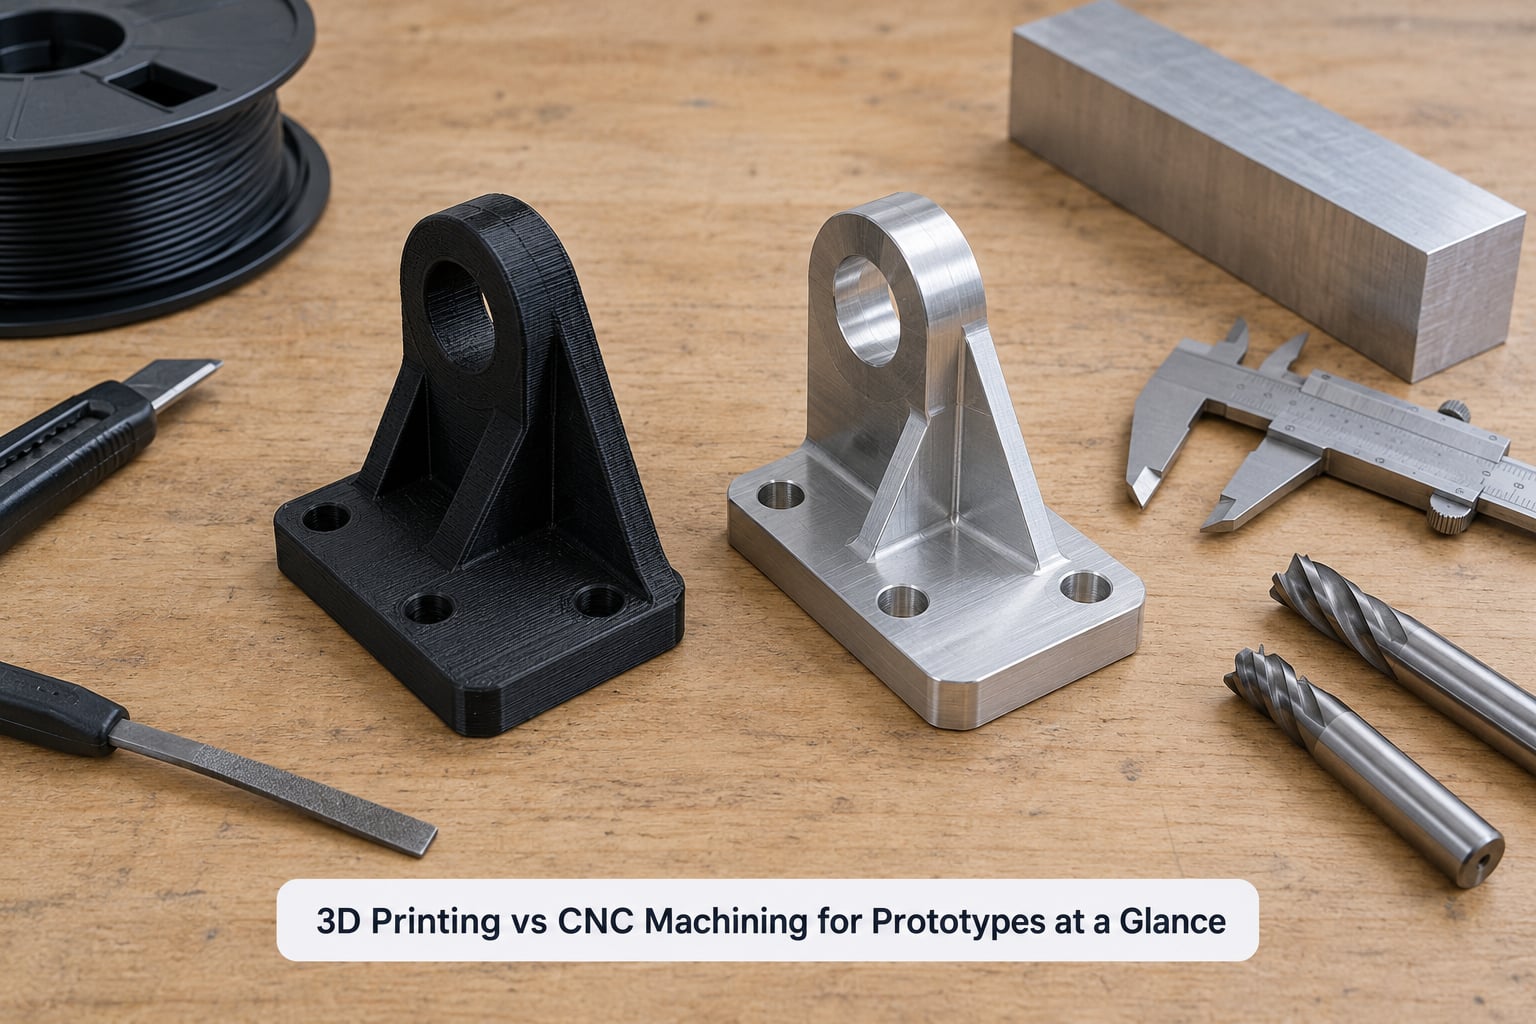
The table below is the short version. Every row is a decision input, not a score, because the winner flips depending on which row matters most for your part.
| Criterion | 3D printing | CNC machining |
|---|---|---|
| Process type | Additive, built up layer by layer | Subtractive, cut from a solid blank |
| Best fit | Concept, form-fit, complex internal geometry, one-offs | Functional, fit-critical, prismatic parts, repeat builds |
| Design-to-first-part | Often same day once the file is ready | Days to a couple of weeks including setup and finishing |
| Cost at one part | Low, no setup to amortise | High, the setup dominates the price |
| Cost at 25 to 100 parts | Rises with build volume and machine hours | Drops per part as setup is spread out |
| Typical accuracy | About plus or minus 0.1 to 0.2 mm | About plus or minus 0.005 mm on critical features |
| Surface finish as produced | Roughly Ra 3.2 micrometres with visible layer lines | Roughly Ra 0.2 micrometres with clean edges |
| Internal features | Channels and lattices at no extra setup cost | Needs a second setup, a 5-axis machine or EDM |
| Small features | Threads below roughly M3 often fail on SLA | Any thread or hole a cutter can physically reach |
| Materials | Polymers, photopolymer resins, some metals by powder bed | Aluminium, steel, stainless, brass, titanium, machinable plastics |
| Tooling | None beyond a build plate | Fixtures, workholding, a CAM program and operator time |
| Scaling | Poor past one build volume | Strong, and improves the more you run |
Read it as a pattern rather than a scorecard. Printing wins on setup cost, geometry freedom and speed to first part. Machining wins on accuracy, finish, material strength and anything you repeat.
How 3D Printing Makes Prototypes
3D printing is additive manufacturing. A CAD model is imported into slicing software, which converts it into toolpaths and G-code, and the machine builds the part one layer at a time until the solid is complete.
Three processes cover most prototype work. FDM melts thermoplastic filament and is the cheapest and most accessible. SLA cures liquid resin with a laser and gives better detail and surface finish, though the resin is brittle and small features like threads under about M3 tend to come off the machine unusable. SLS sinters a polymer powder, which produces parts with no support structures and reasonable strength in all directions.
The reason teams reach for printing first is simple: there is no fixture, no program to prove out, and no cutter to buy. You change the model, re-slice, and print again. Internal channels, lattices and organic shapes that would need a second setup or a five-axis machine cost the same to print as a plain cube.
What you give up is dimensional control. Layer thickness, shrinkage and the fact that features smaller than the nozzle or pixel cannot exist all stack up into a tolerance band roughly twenty times wider than a machined feature.
How CNC Machining Makes Prototypes
CNC machining is subtractive manufacturing. A CAM package turns your CAD model into a toolpath and an NC program, a machine operator clamps a solid blank into a fixture, and cutting tools remove material in roughing and finishing passes until the part is the shape you designed.
Turning, or lathe work, handles round parts and is the fastest route for anything that is essentially a disc, shaft or ring. Milling handles prismatic parts, pockets and flat faces. Five-axis machining exists because some features still cannot be reached from one direction without moving the part or the tool.
The strengths come from the physics of cutting a solid. There is no layer bond, so the material behaves isotropically. The machine repeats the same toolpath to the same tolerance every time it runs. Edges come out sharp and the finish is good enough that many prototypes need no further work beyond deburring.
The cost is in everything around the cut: programming time, stock preparation, workholding, tool changes, inspection and finishing. A shop can quote you wildly different totals depending on which of those they include, which is the single biggest source of confusion when people compare quotes.
Speed and Lead Time
For design-to-first-part, printing usually wins. A machine shop quoting a one-off prototype often quotes days to a couple of weeks because that timeline includes programming, setup, cutting and finishing. A printer can be running while you sleep.
But speed is not the same as machine time, and this is where the assumption breaks. In a widely cited Stratasys study on production parts, a pocket tray took 2.3 hours to print against 1.3 hours to machine, and a robotic adaptor took 3.8 hours to print against 2.5 hours machined. Both parts were simple and prismatic, and CNC beat printing on both clock time and cost.
The pattern holds for simple geometry and reverses for complicated geometry. Printing time scales with volume and detail; machining time scales with the number of setups and the material removal rate. A part with six angled faces and internal passages can take a printer a day and a machine shop a week, or the other way round.
A printed part also loses time later. Support removal, sanding, filling, priming and painting are all hands-on hours that never appear in a print time. If a prototype needs to look good in front of a customer, that finishing work can outweigh the print itself.
Cost and Minimum Order Quantity
At one part, printing is normally cheaper in cash. There is no setup to amortise, no fixture and no programming bill, so the cost is essentially machine time plus material. CNC inverts that: you pay for the setup whether you take one part or a hundred.
The hidden cost nobody mentions is material price per kilogram. Printed feedstock, especially resin and high-performance polymers, can run several times the cost of raw bar or sheet of the equivalent machinable material. Printing is not simply cheaper because material is cheap.
Unit economics shift as volume rises. Past roughly 25 to 50 identical simple parts, the CNC setup has been paid off and the per-part cost keeps falling, while printed parts keep occupying build volume you could have used for something else. For a stable part you intend to repeat, machined wins eventually. For a part that changes every week, printing wins indefinitely.
Compare quotes fairly by asking every supplier for the same list: material, setup, programming, machining, finishing, inspection, shipping and any minimum order. If one quote includes deburring and anodising and the other does not, you are not comparing two processes, you are comparing two different services.
Accuracy, Tolerances, and Surface Finish
A three-axis CNC mill can hold about plus or minus 0.005 mm on critical features in aluminium under good conditions. A good desktop FDM machine lands around plus or minus 0.1 to 0.2 mm, and a well-tuned SLA machine does better but still does not match a machined feature.
Surface finish follows the same gap. A machined surface runs around Ra 0.2 micrometres straight from the tool, while an as-printed plastic surface is nearer Ra 3.2 micrometres with a visible texture that catches light. Printing a glossy surface without post-processing looks like a prototype, because it is one.
The tolerance number on its own does not decide anything. What matters is what the tolerance is for. A press-fit hole, a bearing seat, a sealing face and a threaded connection all need real machined accuracy. A housing that just needs to look right and clip together does not, and over-specifying a printed part is how projects end up waiting on a machine shop they did not budget for.
Machine shops chase tighter tolerances with sturdier fixturing, shorter tool reach, predictable toolpaths and a finishing pass at low feed. Printed parts chase them with thinner layers, better adhesion, stress relief and sometimes a coat of filler. Both work. Only one of them is repeatable at the tenth of a millimetre.
Materials and Mechanical Properties
Material choice narrows the decision more than most people expect. Printing reaches PLA and PETG cheaply for appearance models, ABS and ASA for temperature and chemical resistance, nylon for tough functional parts, photopolymer resin for fine detail, and PEEK or ULTEM on industrial machines for real heat and chemical exposure. Powder-bed metal printing covers stainless steel, titanium and aluminium, at a very different cost structure.
Machining reaches everything machinable and homogeneous: 6061 and 7075 aluminium, mild and stainless steel, brass, copper, titanium, and engineering plastics such as acetal, nylon, polycarbonate and PEEK. If your design needs a specific alloy with a known strength, machining is usually the only realistic route.
Why printed parts fail differently under load
Printed parts are anisotropic. Layer adhesion is weaker than the in-plane material, so a part printed upright is much weaker in the build direction than across it, and a load pushing along the layers can separate them. Orient the part differently and the failure mode moves, which is why a printed bracket that passed one test can snap in the next revision.
Machined material has no such weakness because the block was solid before the first cut. That is also why fatigue life differs: a machined part in aluminium or steel can cycle for years, while a printed part of nominally similar material may crack early at a layer line under repeated load. If the prototype is going into a load test or a repeated-motion test, this matters more than the surface finish.
Design Complexity and Part Geometry
Additive manufacturing builds internal geometry almost for free. Cooling channels, lattice infill, organic curves, undercuts, thin suspended walls and features consolidated into one piece all come out of the same build with no extra operation. There are limits, such as minimum wall thickness and self-supporting angles, but they are predictable and checkable before the build starts.
CNC inverts that. Prismatic parts, flat faces, pockets, holes and threads are what cutting tools do best, and they can be held to a tolerance while doing it. What cutting cannot reach, it reaches at a price: a second setup costs time, five-axis machining costs machine time, and features that no tool can physically approach need a different process entirely.
So the geometry question is really a question about access. Ask where a cutter or a laser can physically put material, and whether you are willing to pay for repositioning the part to get there. If the answer is no, print it. If the part is a block with holes in it, machine it.
Prototype Stage and Intended Use
Matching the process to the stage is the cheapest way to spend money on prototyping. Each stage asks a different question of the part.
- Concept and appearance. Nobody is testing function. Print it, or print it in resin, and iterate on the silhouette fast.
- Form and fit. The shape and ergonomics need to be right and the part needs to take a load in the hand. Print in nylon or ABS, or machine in aluminium if the load is real.
- Engineering validation. You are testing numbers. Anisotropy and layer adhesion will distort results, so machine the part or use a printed part only where the load path is in-plane.
- Fit and assembly. Press fits, bearing seats and threaded connections want machined accuracy. Printing works only if you design clearance holes and use printed threads for appearance, not function.
- Cosmetic review. Finish matters more than anything else, and printed parts usually need sanding, filler and paint to look presentable. A machined part needs far less work.
- Pre-production. Validate the actual process, tooling and material. If production will be machined, prototype in machined parts so you learn what production will teach you.
Almost nobody prototypes in exactly one process. The common sequence is to print through concept and form-fit, then machine the one or two features that actually determine whether the design works, such as the bearing seat, the sealing face or the threads.
Which Should You Choose?
Choose 3D printing when the part is one of a kind or nearly so, the geometry has internal features or organic curves, the material is a polymer, the tolerance requirement is loose, and the point is to learn quickly. Choose CNC machining when the part has to fit something, carry load repeatedly, come from a specific alloy, or will be made again in the same quantity and shape.
A quick checklist for printing: the geometry fights back against a cutter, the part is under about a hundred pieces, the material is plastic or resin, and nobody will ever measure it.
A quick checklist for CNC: the part has holes, threads or flat faces that mate with something else, the load path matters, the material is metal, you will need it again next month, or you need the finished part to look professional with minimal finishing.
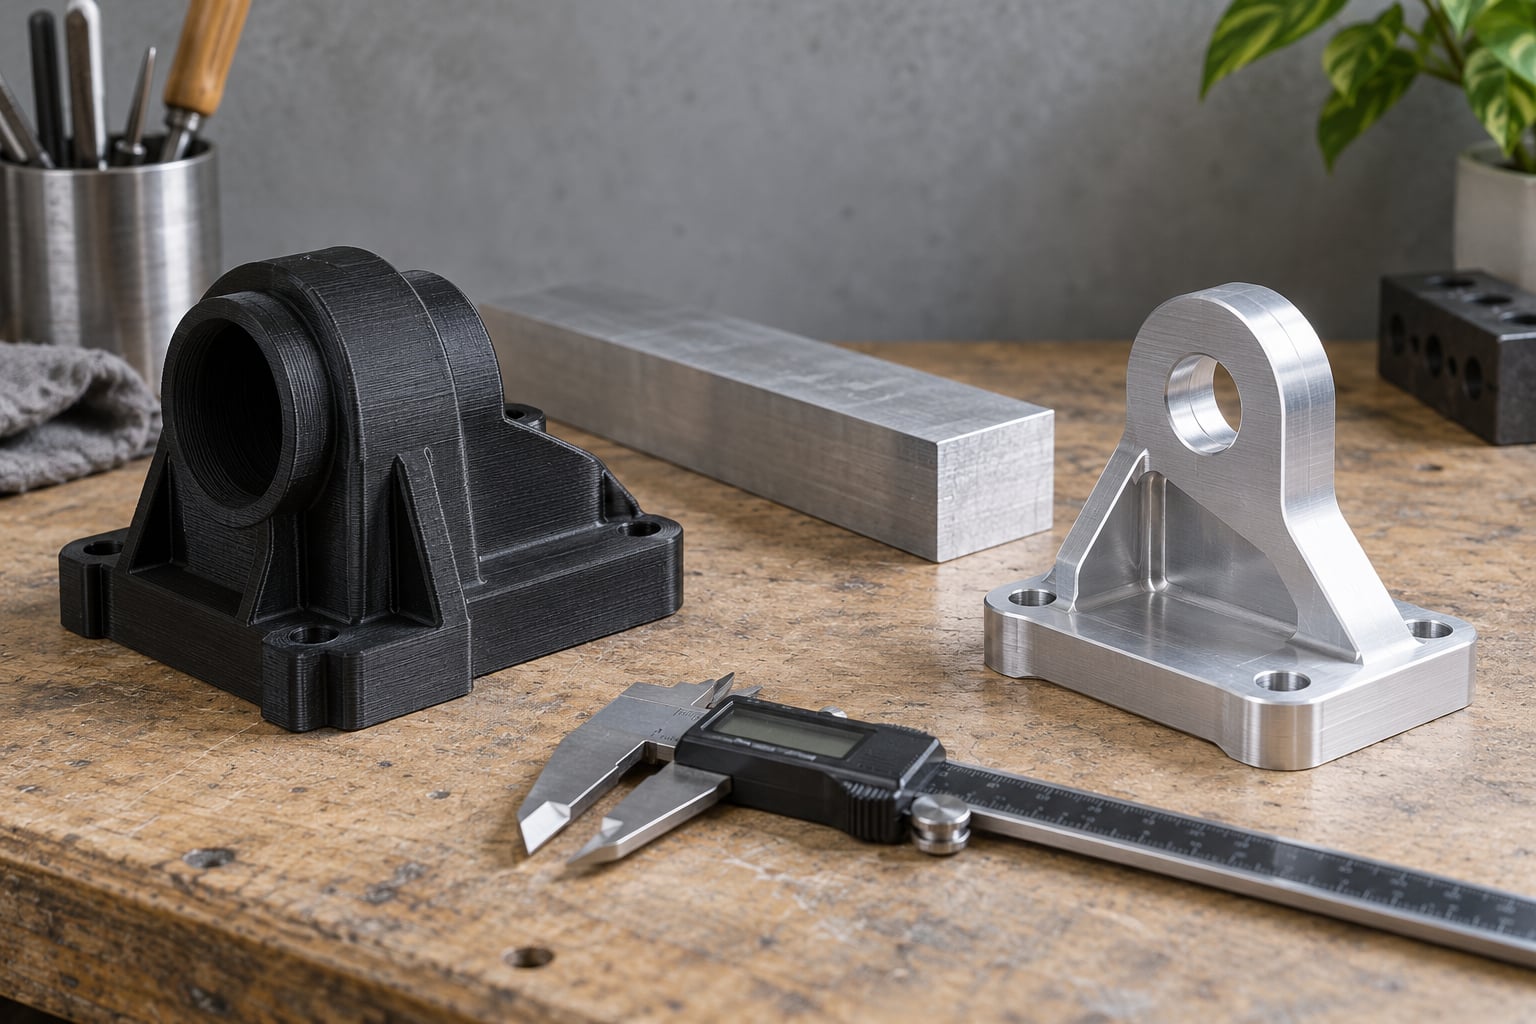
And consider the hybrid. Print the blank or the rough shape, then machine only the features that carry a tolerance. You skip most of the stock removal and most of the machine time, and you keep the accuracy where it counts. Print the body, machine the bearing seats, thread the holes, face the sealing surface. Shops that specialise in this approach describe it as near-net-shape machining, and it is usually the cheapest route to a part that has to both look good and perform.
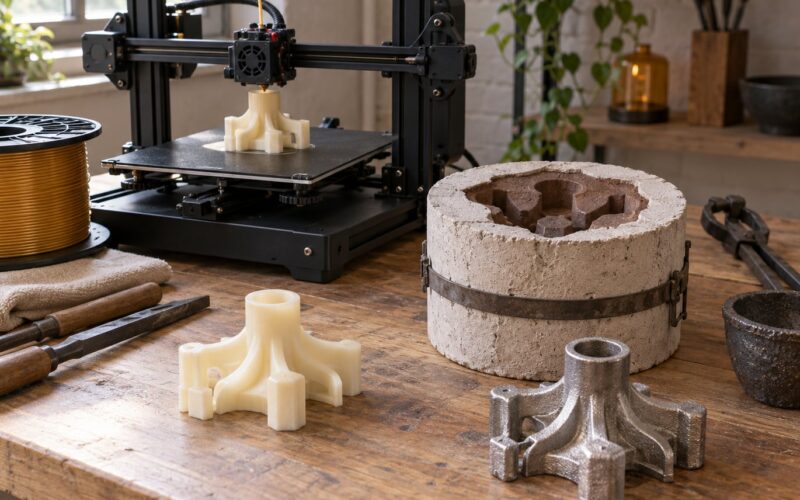
If neither process fits, the alternatives are worth a look. Vacuum casting and soft tooling make sense for a handful of cosmetic parts in a real polymer. Injection molding makes sense once the design has stopped moving and you need dozens of identical parts.
Frequently Asked Questions
Is 3D printing or CNC machining cheaper for prototypes?
For a single part, 3D printing is usually cheaper because there is no setup, fixture or programming cost to pay for. CNC machining becomes cheaper per part somewhere around 25 to 50 identical simple pieces, once the setup has been recovered. Geometry decides more than volume: a part full of internal channels can be cheaper printed at any quantity, while a plain block gets cheaper machined fast.
Which process is faster for making a prototype?
3D printing is usually faster from file to first part because a machine can run unattended overnight, while a machine shop needs programming, setup, cutting and finishing. The exception is simple prismatic geometry. In a Stratasys study a pocket tray took 2.3 hours to print and 1.3 hours to machine, and a robotic adaptor took 3.8 hours printed against 2.5 hours machined.
Is CNC machining more accurate than 3D printing?
Yes, on critical features. A good three-axis CNC mill holds about plus or minus 0.005 mm in aluminium, while a typical FDM machine manages plus or minus 0.1 to 0.2 mm and even a well-tuned SLA printer does not close that gap. Accuracy only matters where the part has to fit something, so visual and concept prototypes rarely need machined precision.
What materials can each process use for prototypes?
3D printing covers PLA, PETG, ABS and ASA, nylon, photopolymer resin, and on industrial machines PEEK, ULTEM and powder-bed metals such as stainless steel, titanium and aluminium. CNC machining covers every machinable homogeneous material: 6061 and 7075 aluminium, mild and stainless steel, brass, copper, titanium, acetal, nylon, polycarbonate and PEEK.
Can 3D printing replace CNC machining for functional parts?
Only for light-duty functions, and only if you design around the process. Printed parts are weaker between layers than across them, so orient the part so the load runs in-plane. Leave clearance instead of press fits, treat printed threads as cosmetic, and machine any bearing seat or sealing face. For repeated load testing or fatigue, machine it.
Should I use the same process for prototyping and production?
Usually yes, at least for the parts that carry risk. If production will be injection molded, a printed prototype will not tell you about shrinkage, warping or gate marks. If production will be machined, prototyping in machined parts shows you the real tolerances and finish. Use fast printing for early iterations, then switch to the production process before you commit.
Conclusion
Start with the simplest process that meets what the prototype actually has to do. Its job might be to prove the silhouette, to prove the ergonomics, to prove a fit, or to prove the number in a load test. Each one demands a different answer.
Choose 3D printing for fast iteration, geometry that fights a cutter, and cheap experiments you will throw away. Choose CNC machining for accurate fits, durable functional tests, metal parts and anything you will make again. When the test changes early, a hybrid approach works well: print the rough shape and machine only the features that carry a tolerance.
Whatever you pick, write the tolerance you actually need into the model before you order anything. Half the disputes I see between designers and machine shops come from nobody specifying what mattered.