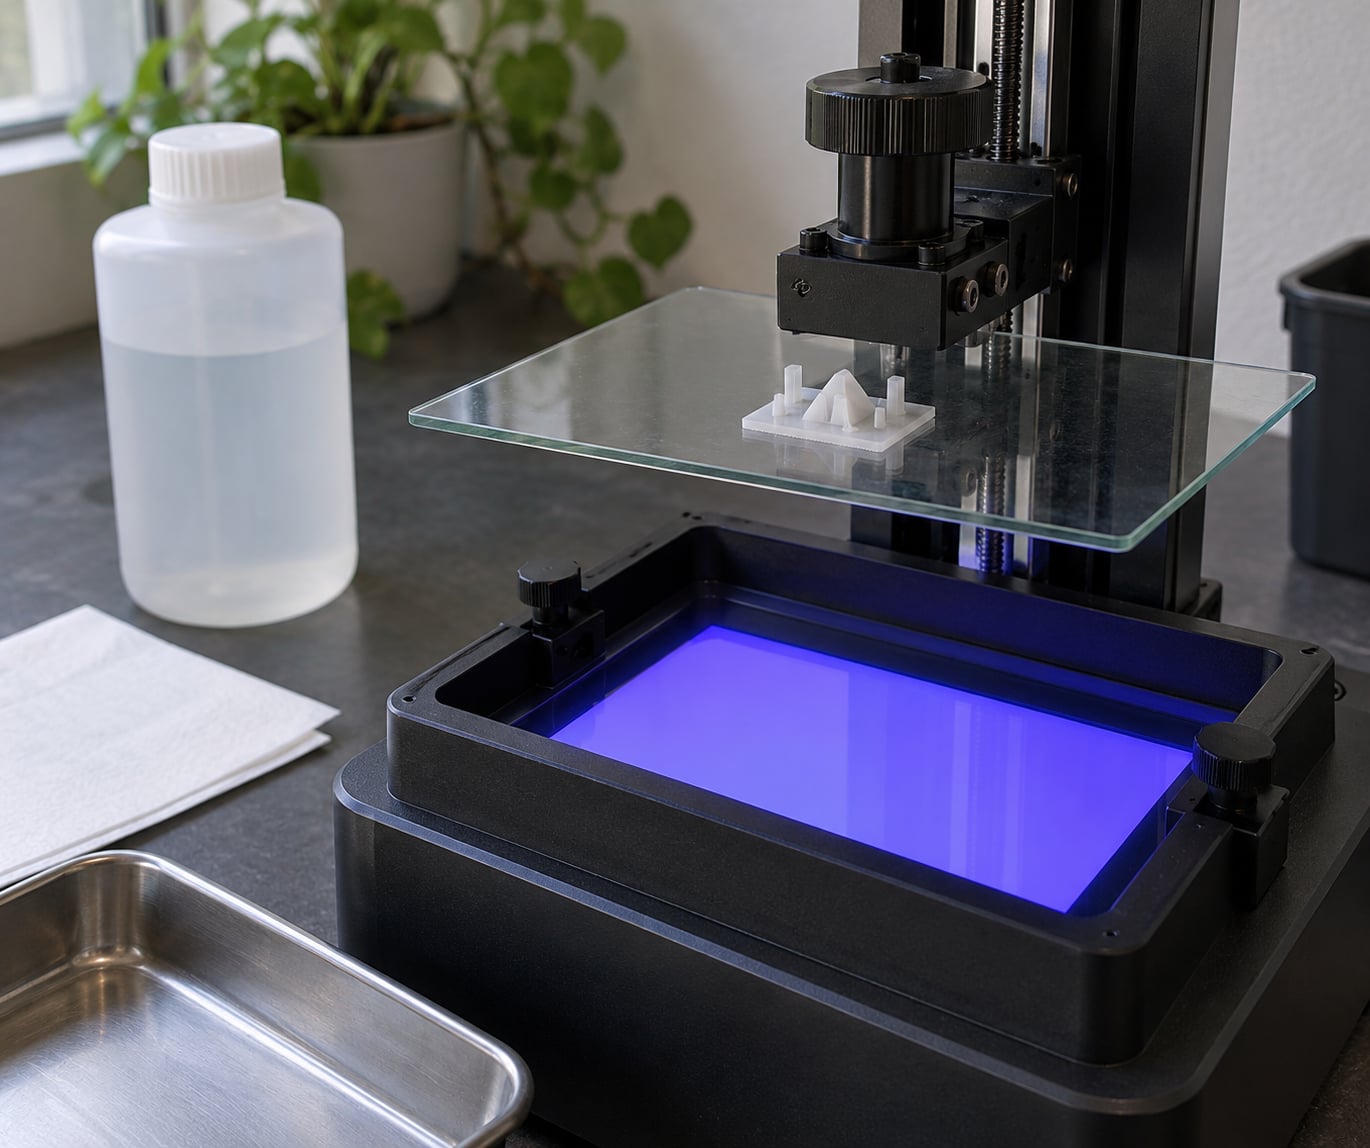
If you want the short answer first: why my resin prints are failing to stick to the build plate comes down to a tug-of-war. The first bottom layers cure onto the micro-texture of the plate and form a bond, then the release film pulls that cured raft away from the film as the plate rises. When that peel force is stronger than the bond, the print releases on the first lift and you come back to a clean plate and a full vat of wasted resin.
Five things decide who wins that tug-of-war. The plate has to sit close enough to the screen at Z=0, the bottom exposure has to be long enough to fuse the raft to the plate, the surface has to be clean and textured, the resin has to be warm and in good condition, and the lift has to be gentle enough for the raft’s size. Almost every failure I have seen traces back to the first two.
One thing worth saying up front, because it costs people hours: this is not an FDM problem. Resin printers have no heated bed, no bed level in the Z-offset sense, and no use for a glue stick unless you deliberately apply one. Advice about bed temperature and glass beds is usually aimed at a different machine.
Table of Contents
- 1What You Need
- 2Step-by-Step
- 31. Clean the Build Plate and Resin Surface
- 42. Check That the Plate Is Properly Leveled
- 53. Confirm the Resin Is the Right Type and Condition
- 64. Set the Correct Bottom Exposure
- 75. Run a Small Adhesion Test
- 86. Use a Reliable Adhesion Method
- 97. Recheck the Plate and Vat Before the Full Print
- 10Common Mistakes
- 11Frequently Asked Questions
- 12Can I use painter’s tape or PVA on any resin build plate?
- 13Is alcohol safe to use on a resin printer’s build plate?
- 14Why do my resin prints stick during a test but detach during a longer print?
- 15How do I know if my bottom exposure is too low or too high?
- 16Can a warped or damaged build plate be repaired?
- 17When should I replace resin that is causing adhesion problems?
- 18Conclusion
What You Need
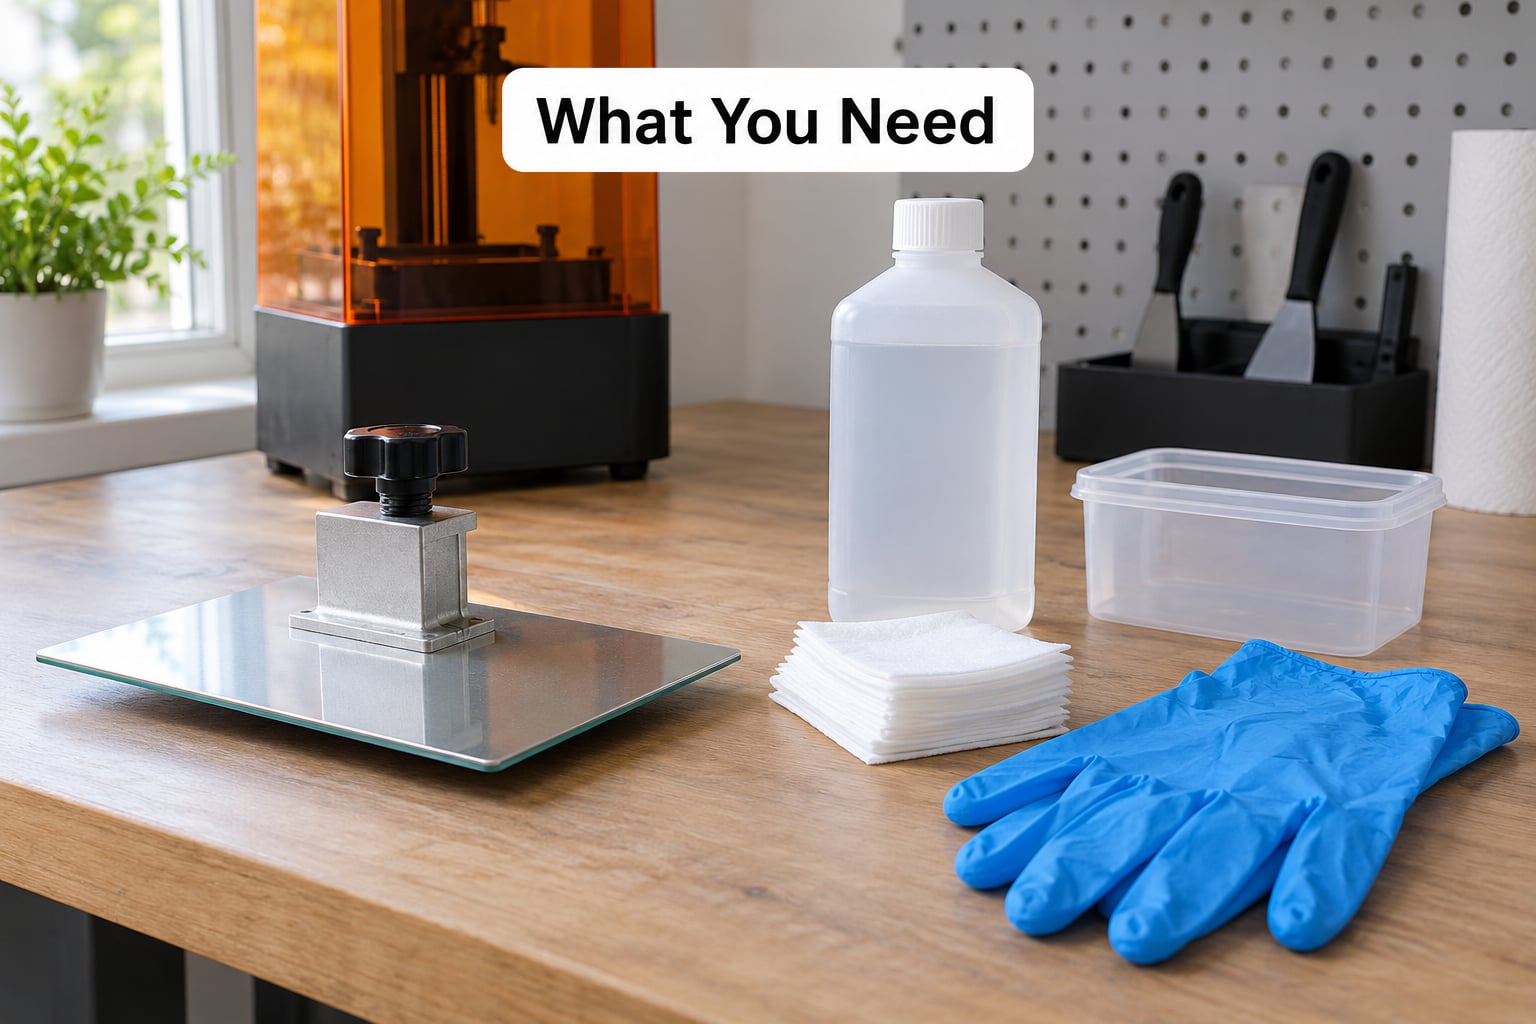
Most of the diagnosis needs less than you would think. Gather these before you start, so you are not stopping halfway through a test to find a bottle of IPA.
- The printer manual. Leveling procedure, supported plate types, and the factory exposure profile for your screen. The Mars, Saturn, Halot, Photon and SL1 families each have their own leveling routine, and the auto-level sensors on some models only work if the physical plate is already seated correctly.
- Isopropyl alcohol, 90% or higher. For fingerprints, skin oils and light cured resin haze on the plate and on the film. Plain 70% is too watery for resin work and leaves a film behind.
- Distilled water and lint-free wipes or a cleaning pad. Water for a final rinse where the plate material calls for it, and a lint-free surface so you are not re-contaminating the glass as you dry it.
- A leveling tool. A clean sheet of plain paper and a feeler gauge for the manual method, or the printer’s own leveling mode if it has one. A straightedge ruler is useful for a flatness check.
- Nitrile gloves and a small container. Gloves for handling the cleaned plate, the container for a small test patch so you are not committing a full vat of resin to a diagnostic.
Resin and settings should be matched to the printer, not borrowed from another machine. Start from the profile your printer’s manufacturer ships for your exact screen type and resin, and treat any number you find in a forum as a starting point for your own test, never as a finished answer.
Step-by-Step
This sequence runs from the safest, least destructive checks to the settings and hardware changes. It is deliberately ordered: cleaning and leveling take minutes and cannot break anything, while cranking exposure to fix an unleveled plate will weld the print on and create a second problem. Write down what you changed after each step so you can tell which one did the work.
The diagnostic table below maps what you are seeing to the likely cause and the first thing to check. Use it to pick your step, then work down the list.
| What you see | Likely causes | Check first |
|---|---|---|
| Completely clean plate, nothing printed | Z=0 gap too large, bottom exposure too low, resin too cold, plate surface contaminated | Leveling, then bottom exposure |
| First few layers bond to the film and the model hangs there | Plate too low at the center, exposure too high, film surface too smooth or dirty | Z=0 height and plate seating |
| Print holds at the back of the plate, fails at the front | Plate is tilted or warped, vat is not level, light uniformity is poor | Flatness check and 180 degree rotation test |
| Print releases after a few layers instead of immediately | Raft is too small for the lift speed, peel force exceeds the bond | Bottom layer count, raft size, lift speed |
| Print is welded on and needs a scraper | Over-correction: exposure raised too far, resin very warm, promoter over-applied | Reduce bottom exposure in 5 second steps |
1. Clean the Build Plate and Resin Surface
Fingerprints, dust, skin oils and a thin haze of cured resin are enough to stop a raft from bonding. The plate may look clean and still be the reason nothing sticks, so treat this as a step rather than an assumption.
Scrape or peel away any loose cured resin first, working from the edge inward so you do not scratch the surface. Wipe the printing face with a lint-free pad dampened with IPA, covering the whole area rather than just the middle where the print will sit. Rinse with distilled water if the plate material and your manual call for it, then dry with a clean lint-free cloth or let it air dry fully. Put on nitrile gloves before handling it again, and hold the plate by its edges, because the point of the clean is undone by one touch of a finger.
You will know the surface is ready when it looks clear and dry, with no haze, tackiness or water beading. If you see a rainbow film or a dull patch, clean it again. On a smooth acrylic or bare metal plate the same cleaning is not enough on its own, which is where an adhesion method comes in at step 6.
2. Check That the Plate Is Properly Leveled
Uneven leveling is the most repeated fix in community troubleshooting threads, and it is the one worth ruling out first. If the plate is closer to the screen at the center than at the edges, the center of the raft is cured hard while the outer edges are barely polymerized, so the print grips in the middle and peels away at the perimeter. The same thing happens on a warped plate, which is why one side fails and the other holds.
Use your printer’s own procedure. On printers with a manual method, loosen the plate fixing screws, lower the plate until you feel consistent drag on a sheet of paper, tighten the screws in a star pattern rather than one at a time, then recheck the paper drag at each corner. Level the plate with the vat in its normal working position, not with the vat removed, because a tilted or partially filled vat changes the reference. On printers with auto-level sensors, the same physical result has to be true first: the plate must be seated flat and the sensor must be able to see it, otherwise the calibration is measuring a plate that is not really there.
To verify, run a straightedge ruler across the printing face and look for light gaps, then do the rotation test that prints people actually use: undo the plate, turn it 180 degrees, and print the same small patch again. If the failure moves to the other end of the plate, the plate is tilted or warped. If it stays in the same spot, the fault is in the light path or the film instead. A pass means the patch survives the first lift with a solid, matte base that does not shine.
3. Confirm the Resin Is the Right Type and Condition
Sometimes the plate is perfect and the resin is the problem. Adhesion fails on old resin, on resin that has absorbed moisture, on pigment that has settled and never been mixed back in, and on a bottle used with an incompatible UV wavelength. A thick, cold bottle of resin also behaves very differently from the same resin at room temperature, because viscosity climbs and the light penetration on the first layer becomes uneven.
Check the bottle for a date and a storage instruction, and keep it somewhere within the temperature range the manufacturer lists. If it has been open for many months, or if it has sat in a cold garage, treat it as suspect. Roll and shake the bottle for a minute or two so pigment redistributes; forum users who replaced resin older than six to twelve months often found the failure disappeared immediately. Look at the resin in the vat for stringiness, cloudiness or a skin, and skim off anything floating before the print starts.
For the exposure question specifically, read the range your resin manufacturer publishes for your screen type, rather than a number from a different resin or a different printer. When you switch brands or move to a printer from another family, go back to the new resin’s own settings and re-level, because both the recommended bottom exposure and the expected gap at Z=0 can shift.
4. Set the Correct Bottom Exposure
Bottom exposure time is the switch people reach for first, and it is the one that punishes guesswork in both directions. Too little and the raft cures as a weak, powdery layer that the first lift peels off. Too much and the raft cures through and past the surface, welding to the plate and to the film, which is a harder problem to undo.
Use a range as a starting point, not a rule. Retailer guidance for bottom exposure sits around 25 to 40 seconds on a monochrome screen and 60 to 90 seconds on a colour screen, adjusted in 5-second steps, and your resin and light engine decide where inside that band you land. Verify where the value actually lives in your printer’s interface, because a saved profile can silently override a slider, and confirm that the screen you own is the type the number assumes.
| Screen type | Starting bottom exposure | What you are adjusting for |
|---|---|---|
| Monochrome | About 25 to 40 seconds | Longer exposure for a raft that will survive a fast lift; raise in 5-second steps only after leveling is confirmed |
| Colour | About 60 to 90 seconds | Longer times are normal because the colour mask blocks light; keep the same 5-second step discipline |
Change one variable at a time. If you raise the exposure and the lift speed in the same edit, and the print suddenly holds, you have learned nothing about which one mattered. And never fix a failure by cranking exposure past the point where the print welds on: that is the classic over-correction, and it costs you a plate and a scraper.
5. Run a Small Adhesion Test
Diagnose with a patch, not with a full model. Slice a simple 20 by 20 millimetre square raft with three to five bottom layers and nothing else, so the whole test is a first layer and nothing more. Print it, wait for the plate to return, and look at what is on the surface before you touch anything.
Three outcomes tell you different things. If the square is missing and the plate is clean, the bond never formed: that is a leveling, exposure, temperature or cleanliness problem, and you go back to steps 1 to 3. If the square lifts away from the plate as one piece and the plate underneath is clean, the raft was strong but not fused: raise the bottom exposure in 5-second steps or add a bottom layer. If it stays welded and you need a spatula to shift it, the opposite happened, and the raft fused straight through. A healthy result is a patch you can slide off with a light push and a plate with no resin shadow left behind.
Do this after every change, and log the date, the settings and the result. Once you have two or three data points, the pattern is usually obvious, and the winning exposure for your resin, screen and room becomes your everyday profile instead of a guess.
6. Use a Reliable Adhesion Method
A smooth plate needs help. Glass, bare aluminium and acrylic have almost no micro-tooth for the raft to grip, and a new smooth metal plate can need more bottom exposure than a textured one, which surprises people moving from an older printer. Options, roughly in order of how well they work:
- The plate’s own texture. Sandblasted or textured plates are the least fuss, since nothing is applied and nothing has to be removed later.
- An adhesion promoter or UV resin glue. A thin film formulated for the plate material. Apply the thinnest coat that covers evenly, let it dry or cure as the label states, and keep it from building up around the edges over repeated prints.
- PVA or painter’s tape. Cheap and effective on bare metal, and useful as a throwaway sacrificial layer. Apply it flat with no bubbles or ridges, and expect to replace it often.
- Glue stick. Works, and is a legacy method, but it is a compromise: it gathers dust and cured resin, and it can be hard to remove completely once over-applied.
Do not stack incompatible layers. Promoter over a layer of cured resin, or tape on a plate that still has a glossy unremoved film, will fail in a more confusing way than doing nothing. Pick one method per plate, apply it to a clean dry surface, and give it the full drying time the product asks for.
7. Recheck the Plate and Vat Before the Full Print
Once the test patch behaves, do a final pass before committing to a long print. Seat the plate and confirm the fixings are tight, then run a home move and watch whether the plate shifts, rocks or tilts when the mechanism takes up load. A plate that moves even slightly changes Z=0 across the print, so the failure comes back on a large model even though the small patch held.
Check the vat itself. It should sit level and be filled enough that the film is covered across the whole area, and the resin level should be a little below the film lip. Pull out any cured floaters or loose debris sitting on the film, because a cured chunk floating over the screen shadows the light and produces a patch that will not cure properly. Look at the film under a bright light: a cloudy or scratched nFEP or FEP sheet changes how the resin behaves against it, and ACF behaves differently again, so a film change can be the thing that broke a setup that used to work. If exposure is suddenly low everywhere, test the screen with an exposure or tank-clean routine before blaming the resin.
Finally, warm the vat if the room is cool. Resin prints correctly with the bottle at room temperature, and cold resin is the cause people fix last because it never looks like a settings problem. Users who warmed the resin to 25C or above and re-leveled often resolved failures that exposure changes had not.
Common Mistakes
Most failed adhesion prints come from one of these, and each has a straight fix.
- Touching the plate after cleaning. Bare fingers put back the oils you just removed. Use nitrile gloves and hold the plate by its edges.
- Cleaning with the wrong solvent. 70% alcohol leaves residue, and household cleaners, acetone and plastic-dusting sprays can haze or craze acrylic plates. Use 90% IPA and follow the plate maker’s guidance.
- Skipping leveling. A clean plate on an unleveled printer produces the same failure as a dirty plate on a level one. Re-level whenever anything is changed, including after a plate swap or a big knock to the machine.
- Using settings from another printer or resin. Profiles copied from a colour-screen machine or a different resin chemistry start from the wrong assumption, and the light-off delay and gap in particular do not transfer between models.
- Adding too little adhesion method. A patchy coat with bubbles or a thin, half-worn layer of tape grips only where it is continuous. Even coverage and full drying matter more than the amount.
- Changing several variables at once. If exposure, lift speed and bottom layer count all move in one edit, a pass teaches you nothing and the next failure is untraceable.
- Confusing a failed cure with failed adhesion. If the base is patchy, powdery or missing in patches under a good raft, the problem is light reaching the resin unevenly: floaters, a hazy film or a screen that has lost output. That is a different fix from a bonding problem.
Prevention is mostly habit. Clean the plate before every print, keep the vat free of debris, store resin within its stated temperature range, re-level after any hardware change, and keep a log of the exposure that works for each resin and screen combination. Printers that get that routine tend to hold their first layer every time instead of every few attempts.
Frequently Asked Questions
Can I use painter’s tape or PVA on any resin build plate?
Not on every plate, and the surface decides. Tape and PVA are meant for smooth bare metal or acrylic where there is no texture to grip, and they work best on clean, dry surfaces with a flat, bubble-free application. On a textured or sandblasted plate they are unnecessary and can build up into a thick, uneven layer that is hard to remove. Avoid putting them over uncured resin or over a glossy film of cured resin, since the layer will lift in patches rather than holding.
Is alcohol safe to use on a resin printer’s build plate?
Isopropyl alcohol at 90% or higher is the standard cleaning agent for glass, metal and most coated acrylic build plates, used on a lint-free pad. Weaker 70% solutions are too watery and leave a film. Some plate makers warn against solvents on specific coatings or on printed logos, so check the plate documentation. Clean the film separately, keep the wipes off the screen, and never spray alcohol near the LCD or electronics.
Why do my resin prints stick during a test but detach during a longer print?
A small test patch has a small cross-sectional area, so peel force stays low and even a marginal bond survives. A full model raft is larger, and large models usually print with more bottom layers, a faster lift or a greater lift distance, all of which raise the force on the raft. The bond is not strong enough for that load. Increase the bottom exposure in 5-second steps, add a bottom layer, increase the raft area slightly, or lower the lift speed.
How do I know if my bottom exposure is too low or too high?
Too low gives a patch that never forms, or a raft that peels away leaving the plate clean, and the base looks powdery and dull. Too high gives a raft that fuses through the film and welds to the plate, and you need a spatula or scraper to shift it. Hold exposure steady and change it in 5-second increments with a small test square, starting from the resin manufacturer’s profile for your screen type.
Can a warped or damaged build plate be repaired?
A plate that is only contaminated is not warped, and cleaning restores it fully. A plate that flexes, has a permanent bow, or shows deep scratches that catch a fingernail is a hardware problem. Check it by holding a straightedge ruler against the printing face and looking for light gaps, then by turning the plate 180 degrees and repeating a small test to see whether the failure follows the plate. Mild surface marks can sometimes be improved with a light scuff on glass, but a bent plate needs replacing.
When should I replace resin that is causing adhesion problems?
Replace it when the bottle is older than the manufacturer states, when it has been stored cold or in direct light, or when it looks stringy, cloudy or has a skin in the vat. Warm resin to room temperature and roll the bottle for a minute or two before giving up on a bottle, since cold and unmixed resin behave very differently. If a fresh bottle of the same resin holds and the old one did not, the resin was the cause and the plate is fine.
Conclusion
Pause the print and work down the list in order: clean the plate and handle it only with gloves, confirm Z=0 with the vat in its normal position, check the resin is warm, mixed and within date, then run a small test square and adjust bottom exposure in 5-second steps. Add an adhesion method only if the plate surface is smooth, and change one variable at a time so you know what fixed it.
Build plate adhesion is almost always a surface, a level, or a first-layer problem. Work through those three in that order and the failure stops being mysterious, because each check gives you a result you can see on the plate.