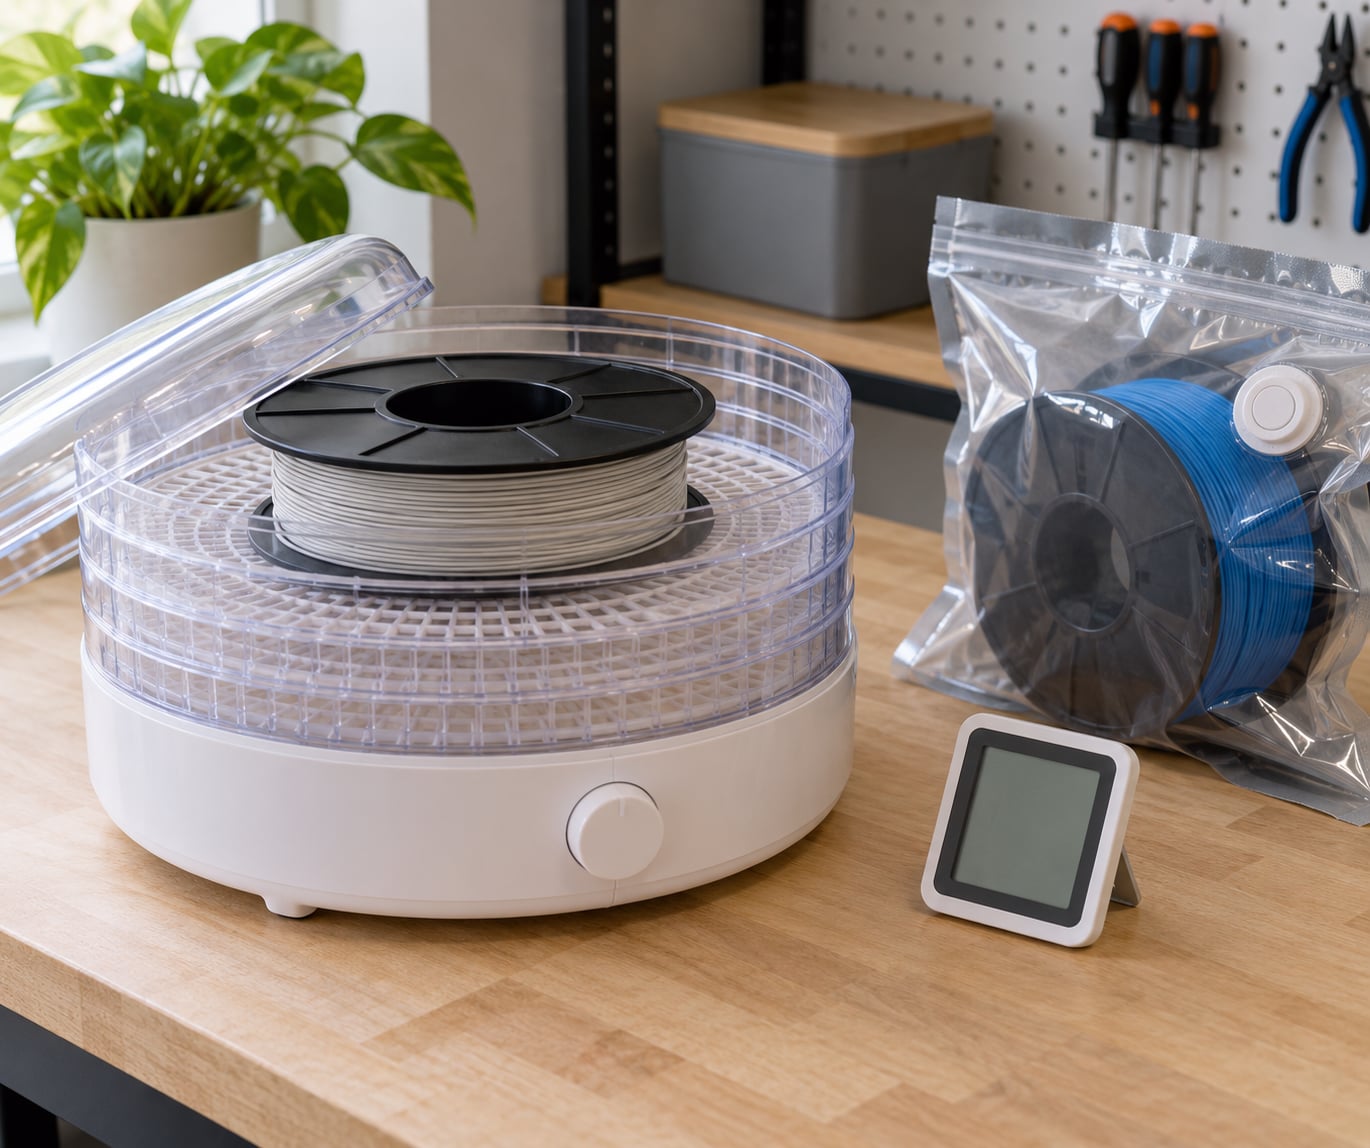
To dry filament in a food dehydrator, set the dial to 40-50°C (104-122°F) for PLA or 60-70°C (140-158°F) for PETG, and run it for 4 to 6 hours. The forced warm air is the whole trick: heating the air drops its relative humidity, so moisture trapped inside the filament can migrate to the surface and evaporate off. Add a small thermometer, set a few degrees below the material’s glass transition point, and you have a working dryer built from an appliance you probably already own.
Nearly every 3D printing filament on the market is hygroscopic, meaning it actively pulls water vapour out of the air. A dry spool left open in a humid room for a week can absorb enough water to make your prints pop, string and lose layer adhesion. That is what drying reverses, and a food dehydrator does it well for most materials as long as you respect two limits: the temperature ceiling of the material and the temperature ceiling of the appliance.
This guide covers the whole routine, from prepping the trays to sealing the spool afterwards. If you just want the short version: prep the chamber, load one spool per tray, run 4 to 6 hours at the material’s target temperature, weigh the spool to confirm it is finished, then bag it while it is still warm and dry.
Table of Contents
- 1What You Need
- 2How to Dry Filament in a Food Dehydrator, Step by Step
- 31. Identify the material and find its drying spec
- 42. Modify the trays so a spool fits
- 53. Clean and weigh the spool
- 64. Load the chamber
- 75. Set the temperature
- 86. Run the cycle
- 97. Check the actual chamber temperature
- 108. Cool and seal immediately
- 11How to Set the Temperature for Common Filaments
- 12How Long to Dry Filament in a Food Dehydrator, and How to Tell When It Is Done
- 13Mistakes to Skip During the Run
- 14Storage After Drying
- 15Common Mistakes
- 16Frequently Asked Questions
- 17Can I use a food dehydrator as a filament dryer?
- 18Can I dry PLA filament in a dehydrator?
- 19What temperature should I set my dehydrator to for drying filament?
- 20What is the fastest way to dry filament?
- 21Do you need desiccant in a filament dryer?
- 22What temperature do you dry desiccant at in a filament dryer?
- 23What to Do First
What You Need
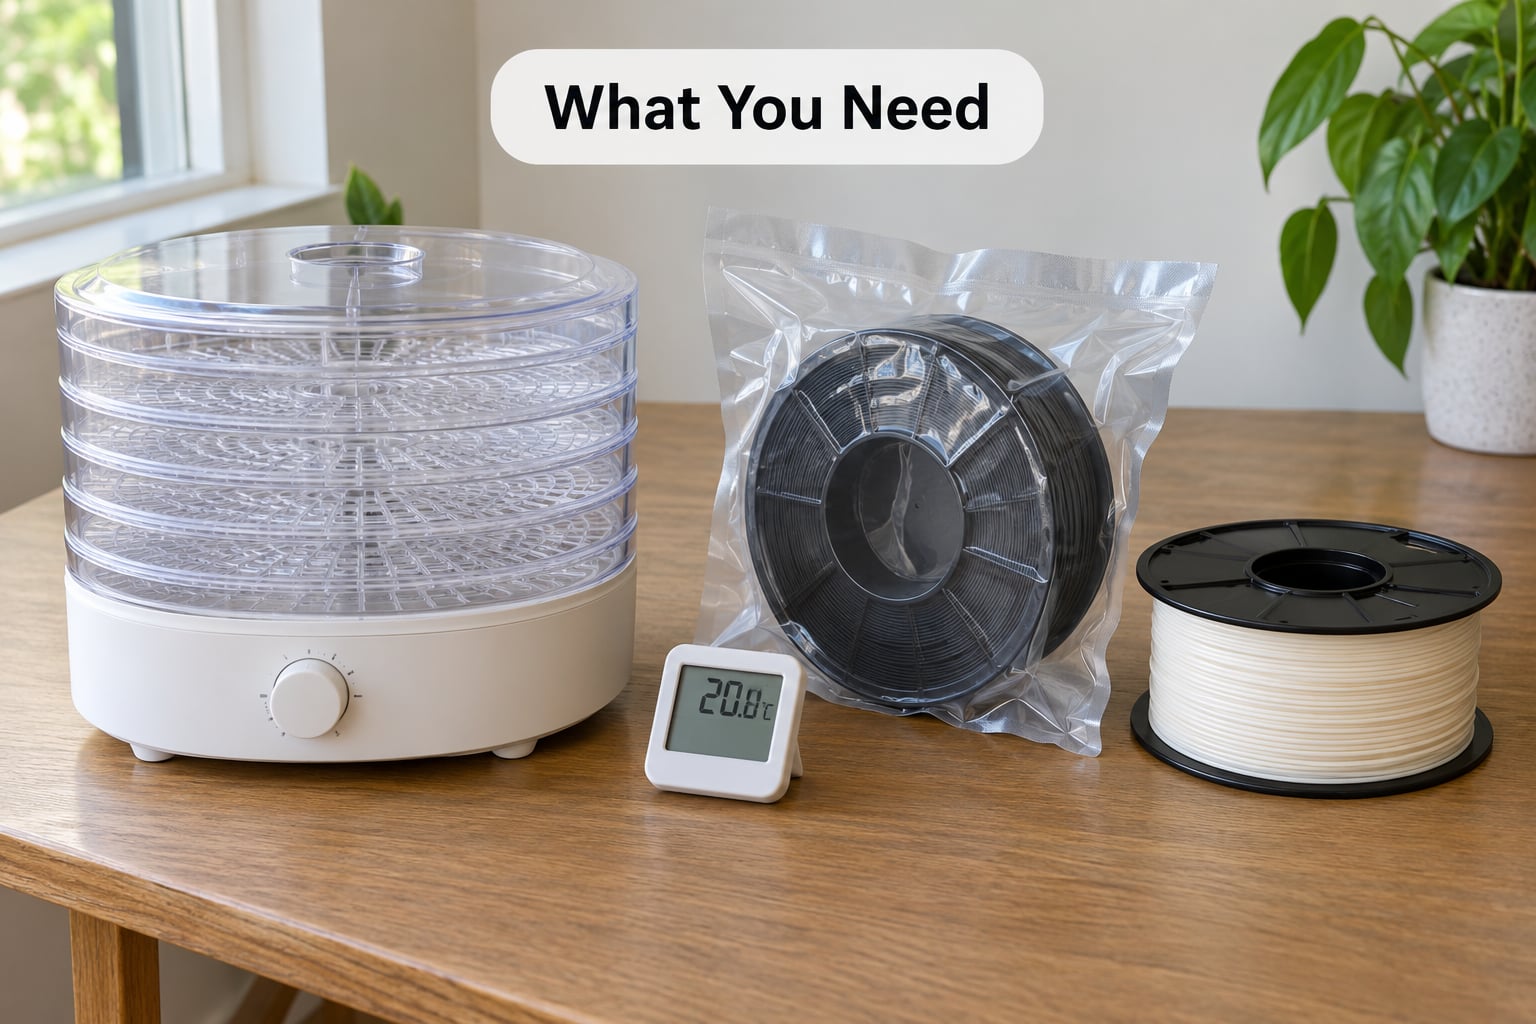
A kitchen dehydrator with an adjustable dial is the main tool. Most consumer dehydrators top out around 70°C (158°F), which covers PLA, PETG and TPU comfortably and leaves ABS and ASA workable at the low end of their range. Nylon is a different story, and I will get to why.
A cheap probe or oven thermometer matters more than people expect. The knob value is not the air temperature, and it is not the same from shelf to shelf either. If you own a thermometer you will stop guessing.
Also worth having on hand:
- A spool that fits the chamber. Most 1 kg spools will not sit flat on a standard tray, which is why the tray mods below matter.
- A precision scale that reads in grams. This is how you know when the filament is actually dry rather than probably dry.
- Airtight storage bags or containers plus a few packs of silica gel desiccant, because filament starts reabsorbing moisture the moment it hits room air.
- A small hygrometer if you store several spools. It tells you whether your dry box is actually working.
- The drying instructions for your specific filament, printed or on the manufacturer’s site. Any number in this article is a starting point, not an override.
- Heat-resistant gloves for pulling trays out of a hot chamber.
One thing you do not need is desiccant inside the chamber. A dehydrator already lowers the humidity of the air it pulls through. Desiccant earns its keep in storage, not in the dryer.
How to Dry Filament in a Food Dehydrator, Step by Step
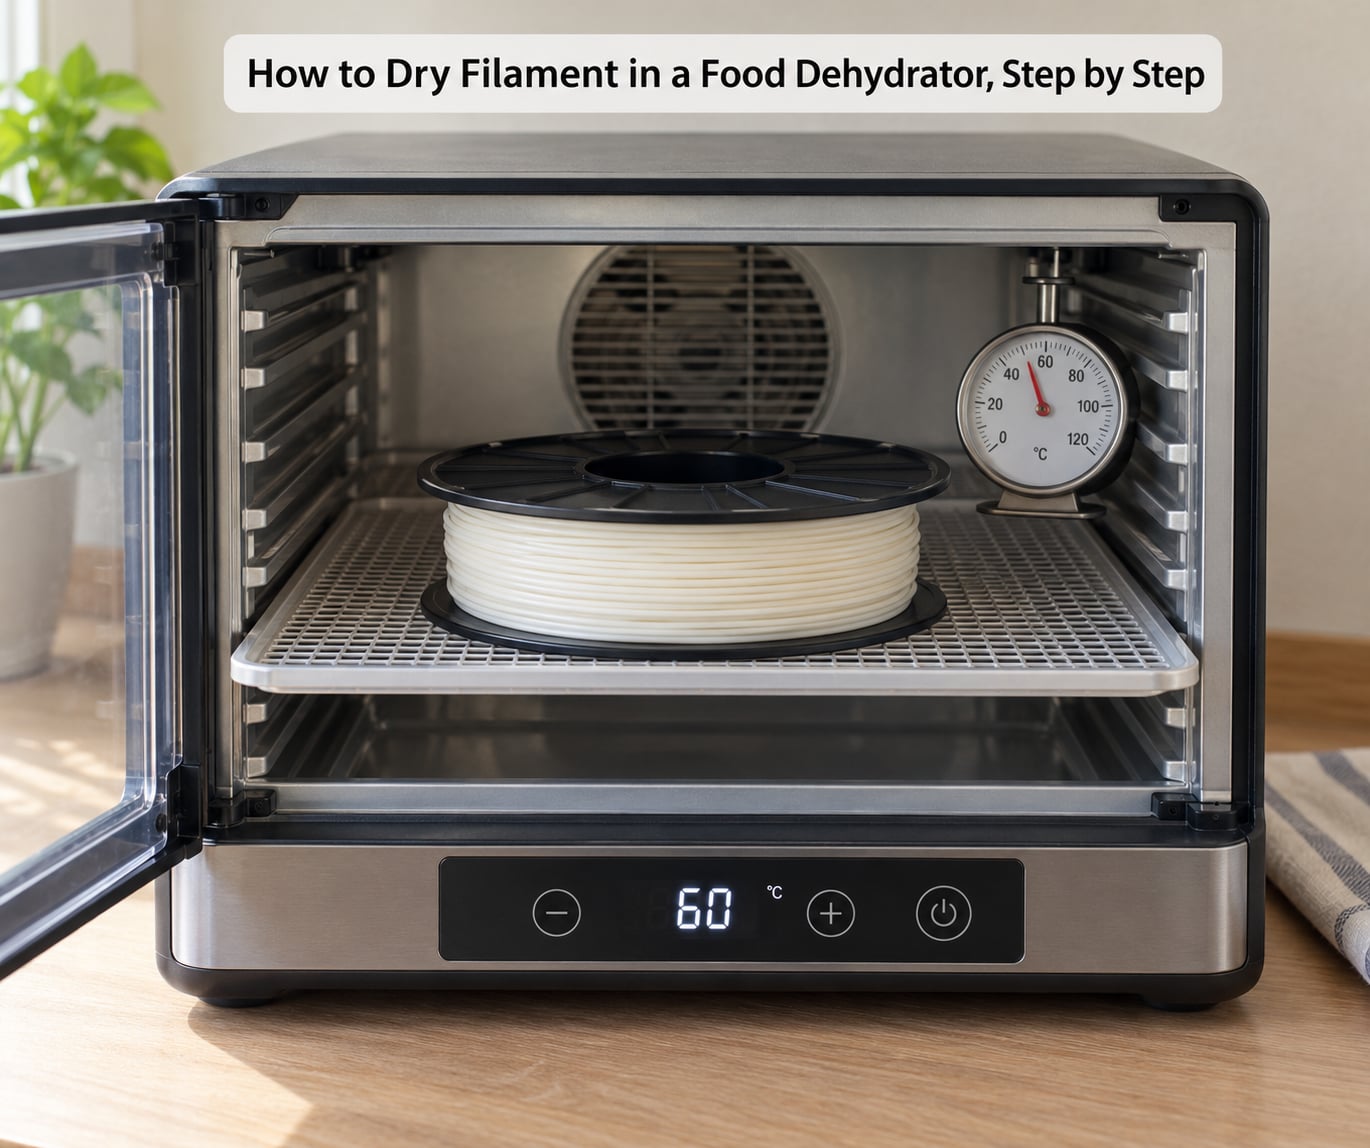
Work through these in order. The prep steps are what separate a clean dry from a disappointing one, and skipping them is the most common reason people say the method did not work for them.
1. Identify the material and find its drying spec
Check the spool label or the manufacturer’s documentation for the recommended drying temperature. Most brands publish a number, and some publish a maximum as well. Write both down before you touch the dial.
2. Modify the trays so a spool fits
This is the single most popular modification in the maker community. Most dehydrator trays have a plastic centre grate that is either in the way or forces the spool to sit at an angle.
- Cut the centres out. Snip or slice the inner plastic grates from four or five of the trays so each spool sits flat and air can move around and through it. Someone on r/3Dprinting stapled a piece of card to the spool diameter to keep a filament spool level on an unmodified tray, which works too.
- Print stackable extensions. If you would rather not cut anything, 3D-printed tray extensions or spool risers give you a flat platform and more usable height. One r/BambuLab user dries PETG on printed risers at 65°C with no problems, and the same trick fits several spools per shelf.
- Order your batches by temperature need. Put the material that tolerates the most heat on the bottom shelf and the most heat-sensitive material on top, since hot air rises through the chamber.
3. Clean and weigh the spool
Wipe the spool and the outer wrap. Oil and skin oils on your hands transfer to the filament and cause the same stringing you are trying to fix. Weigh the spool and write the number down; this is your baseline.
Check the cardboard hubs too. A wet hub is a slow leak into the middle of the spool, and heat can make a damaged hub worse. If the hub feels soft or crumbling, set that spool aside and deal with it separately.
4. Load the chamber
One spool per tray, with a few centimetres of clearance around each one so air can circulate. Do not stack spools directly on top of each other without a riser between them, because the top spool shades the one underneath and dries at a different rate.
Keep every spool away from the heating element and the rear wall. Radiant heat is the reason some readers report deformed spools even at conservative dial settings.
5. Set the temperature
Set the dial a few degrees below the material’s maximum drying temperature, then confirm with your thermometer. Remember that the dial overstates what happens in several cases and understates it in others, so the thermometer wins every argument.
6. Run the cycle
Four to six hours handles most PLA and PETG. Nylon and long-stored spools need considerably longer, up to 12 hours.
The widely shared recipe from r/3Dprinting is roughly 45°C on the dial for about four hours. That works well for PLA. PETG and ABS need a higher setting and longer time.
7. Check the actual chamber temperature
Put the probe on the shelf where the filament sits, close the door and let the unit stabilise for 15 to 20 minutes before reading it. One measured run of a dehydrator set to 75°C delivered about 65°C on the bottom shelf and 55°C on the top shelf.
That gap of ten degrees is the reason results feel random. If your setpoint is near the material’s ceiling, the top shelf may be safe while the bottom shelf is too hot, or the reverse. Measure both ends when you batch multiple materials.
8. Cool and seal immediately
Let the chamber come down with the door closed, or leave the spools inside until the unit is off and cooling. Handling warm filament with damp hands puts moisture straight back in.
Bag the filament while it is still on the warm side of room temperature, purge the bag of air if you use a vacuum bag, and add a fresh desiccant pack. A filament that dries perfectly and then sits open on a shelf is dry again within a few days.
How to Set the Temperature for Common Filaments
The manufacturer’s instructions always take priority, because the same material behaves differently across brands and colours. What follows are cautious starting points for a typical 1 kg spool in a consumer dehydrator.
| Material | Drying temp | Glass transition (Tg) | Time in dehydrator | Works in a 70°C unit? |
|---|---|---|---|---|
| PLA | 40-50°C (104-122°F) | 55-64°C | 4-6 hours | Yes |
| PETG | 60-70°C (140-158°F) | 80°C | 4-6 hours | Yes |
| TPU | 45-55°C (113-131°F) | Varies by hardness | 4-6 hours | Yes, check the grade |
| ABS | 70-80°C (158-176°F) | 105°C | 6-8 hours | Partial, at the top of the dial |
| ASA | 70-80°C (158-176°F) | 105°C | 6-8 hours | Partial, at the top of the dial |
| Nylon (PA) | 80-95°C (176-203°F) | 70-90°C by grade | 8-12 hours | No |
PLA is the easy one, and it is also the easiest to ruin. PLA starts softening around 55-64°C depending on the formulation, and because the spool is wound tightly, the outer loops can weld to each other and the spool can deform permanently. Stay at or below 50°C. Dry PLA for 4 to 6 hours and you will usually fix popping and stringing in one pass.
PETG absorbs less than PLA but still picks up enough to ruin a print. Around 60-70°C for 4 to 6 hours is the working range. PETG is hygroscopic enough that it reabsorbs faster than most materials, so storage matters as much as drying.
TPU varies enormously by hardness and formulation, so follow the spool sheet. Softer TPE and TPU grades can deform at temperatures that are perfectly safe for a rigid variant, which is another argument for staying under the manufacturer’s stated maximum.
ABS and ASA need real heat to drive moisture out, around 70-80°C, and they tolerate temperature well because their glass transition sits near 105°C. The catch is the appliance: most consumer dehydrators stall around 70°C, so you are running at the very top of the dial with the door opening and cooling losses. Users report budget dehydrators that never climb past 102-105°F (39-40°C) even at maximum, and those simply cannot dry ABS or ASA properly.
Nylon is where a home dehydrator runs out of road. Good nylon drying needs roughly 80-95°C, and most consumer dehydrators stop near 70°C. At that temperature you will improve things slightly and convince yourself you succeeded, which is worse than knowing you did not. If nylon is your main material, a dedicated filament dryer or a heated chamber is a real need rather than a nice-to-have. A heated print chamber at 60°C for about three hours is the stopgap makers use when no dryer is available, and it helps more than people expect.
How Long to Dry Filament in a Food Dehydrator, and How to Tell When It Is Done
Four to six hours is the answer most people get for PLA and PETG, and the honest answer is that time alone does not tell you much. A heavily saturated spool and a slightly damp one look identical at hour six.
The reliable method is to weigh it. Put the spool on a precision scale before drying, then check it periodically. Water leaving the filament shows up directly as lost mass. In one measured comparison of drying methods, spool weight on a scale stabilised after roughly 12 hours, and most of that loss happened in the first four to six.
A practical routine: weigh before, check at four hours, check again at six, and stop when two consecutive readings match to the resolution your scale can actually resolve. That endpoint is objective and it removes the guesswork.
Appearance is a useful sanity check but never a measurement. Signs of properly dried filament include far less popping and crackling, a smoother and more consistent extrusion path, a noticeably cleaner surface finish, better layer adhesion, and a general absence of the bubbles you would otherwise see at the nozzle. Dry filament often feels different on the spool too, with a slightly drier, less slick surface, but you cannot confirm moisture by look alone.
Mistakes to Skip During the Run
A few errors account for most disappointing sessions. Crowding the chamber is the first one, because spools touching each other or blocking the fan path dry unevenly. The second is trusting the dial, which we covered above. The third is running at excessive heat to make up for a short session, which fuses the outer loops of a PLA spool and can deform plastic spools permanently.
Also skip touching filament with damp hands mid-run, and skip sealing filament into a bag while it is hot. Trapped heat plus trapped vapour is a poor start to storage. And keep the unit away from walls and cupboards where the case runs hot, with the door closed and the room ventilated.
One more: give the chamber a wipe before loading if you have used it for food. You will probably not use it for food again, and more on that below.
Storage After Drying
Drying is the easy half. Storage is where most of the work gets undone, because filament reaches moisture equilibrium with whatever air surrounds it, and a dried spool reabsorbs water fast in a humid room. Dried spools regain most of their moisture within about five days in open air.
- Cool first, then seal. Let the spool reach near room temperature inside the closed chamber, then bag it while it is still slightly warm and dry.
- Use airtight containers or vacuum bags with a fresh desiccant pack. Vacuum bags with a one-way valve and a manual pump work well and do not require a chamber pump.
- Add a hygrometer to the box or the top of the spool stack. If the reading climbs, the seal or the desiccant has failed.
- Label the spool with the drying date and the material. Six weeks later you will not remember, and knowing when it was last dried tells you when to dry it again.
- In humid climates, make dry boxes the primary method and the dehydrator the rescue tool for a spool that has already been left open.
Do not open storage containers in a steamy bathroom or right after a shower. That one habit undoes a lot of careful work.
Common Mistakes
Most bad experiences trace back to one of a handful of causes. Here is what the symptom looks like, what is actually happening, and what to change.
| Symptom | What is happening | Fix |
|---|---|---|
| Still popping after 6 hours | Moisture is deeper in the spool core, or the core is still above the material’s drying temperature | Extend to 10-12 hours and measure the shelf temperature rather than trusting the dial |
| Spool deformed or flopped over | Heat too high, or radiant heat from the element reaching the spool | Drop the setpoint, move the spool forward, and add tray extensions for even spacing |
| Outer loops fused together | Ran PLA at or above its glass transition point | Keep PLA at 50°C or below and never above the manufacturer’s stated maximum |
| Dehydrator only reaching 102-105°F | Budget unit or a failing heater, not a settings mistake | Check with a thermometer; if it stalls, dry PLA and PETG only and use a dry box for the rest |
| Uneven drying between shelves | Hot air rises, so top and bottom shelves differ by about 10°C in some dehydrators | Probe both shelves and place heat-tolerant material at the bottom |
| Spool will not sit flat on the tray | Standard tray is narrower or has a raised centre grate | Cut out the tray centres or print spool risers |
| Stringing returns a day later | Filament reabsorbed moisture after drying because storage was not airtight | Airtight bag with fresh desiccant and a hygrometer |
Prevention is mostly about three habits: weigh the spool before and after, store it sealed the same day, and keep a note of which shelf runs hottest in your particular unit. Units of the same model vary, so ten minutes with a thermometer pays for itself immediately.
A note on the appliance afterwards. Running plastic through a food dehydrator leaves polymer residue on trays and in the fan housing, so a unit used for filament is not something I would dry fruit or meat in afterwards. Keep one appliance for each job if you care about that, or wash the trays thoroughly and dedicate the unit to filament going forward.
Frequently Asked Questions
Can I use a food dehydrator as a filament dryer?
Yes, for most materials. Forced warm air at a controlled temperature is exactly what dedicated filament dryers do, and a home dehydrator handles PLA, PETG, TPU and often ABS and ASA well. Two limits matter: your unit’s maximum temperature, usually around 70°C, and the material’s glass transition point. Nylon needs 80-95°C, so a consumer dehydrator cannot dry it properly.
Can I dry PLA filament in a dehydrator?
PLA is the easiest material to dry this way. Run 40-50°C (104-122°F) for 4 to 6 hours. Stay at or below 50°C because PLA softens around 55-64°C depending on formulation, and a tightly wound spool can fuse its outer loops or deform permanently at that point. Dry PLA prints noticeably cleaner, with far less popping and stringing.
What temperature should I set my dehydrator to for drying filament?
Match the material: 40-50°C for PLA, 60-70°C for PETG, 45-55°C for most TPU, and 70-80°C for ABS and ASA. Nylon needs 80-95°C, which most consumer dehydrators cannot reach. Always check the filament manufacturer’s own number first, then confirm with a probe thermometer, because the dial setting does not equal the actual air temperature on each shelf.
What is the fastest way to dry filament?
Heat is the limit, not equipment. Get the filament as hot as it can safely go without deforming, hold it there, and use low humidity air, which is the standard advice from experienced makers. A dedicated dryer with a heating chamber and controlled airflow usually beats a dehydrator for heavily saturated spools. For a quick rescue, one hour at temperature often removes enough moisture to fix a single print.
Do you need desiccant in a filament dryer?
No. A dehydrator already lowers the humidity of the air moving through the chamber, so desiccant inside the unit adds little. Desiccant earns its keep in storage instead, where it protects dried filament from the air it will sit in for weeks. Use airtight bags or boxes with a fresh pack and a hygrometer, and replace the pack when the hygrometer climbs.
What temperature do you dry desiccant at in a filament dryer?
Regenerate silica gel desiccant at about 110°C for two hours, which is well above anything you would use for filament itself. That is another reason to keep the two jobs separate. Do not push a filament drying cycle past 100°C, since heat that high degrades the desiccant and does nothing useful for most materials. Dry the desiccant separately, then store it sealed until needed.
What to Do First
Weigh the spool, cut the centres out of two or three trays, and run PLA at 45°C for four hours. That single cycle solves most popping and stringing problems, and the scale reading afterwards tells you whether you need a second session.
Then seal it properly. The habit that matters most is bagging dried filament the same day with fresh desiccant, because that is what stops moisture from coming straight back in a humid room.
Two honest limits to keep in mind. A consumer dehydrator cannot dry nylon properly, since 80-95°C is out of reach and partial improvement is easy to mistake for success. And the unit you use for filament is best retired from food duty afterwards, since polymer residue is difficult to wash out of the fan housing and trays.