Most PLA bed adhesion problems come down to a dirty plate, a first layer that is not squashed enough, or not enough contact area under the part. The best bed adhesion methods for PLA work through those three levers in that order, and adhesive only comes into play once the settings are right.
Here is the short version: on a clean textured PEI sheet, PLA needs no adhesive at all. Hold the bed at 55-60°C, run the first layer at 20-25 mm/s with flow at 100%, and check your Z-offset by eye. On a stock glass bed, a thin PVA glue stick layer does the job for about the cost of a couple of dollars a year. Everything below is built in the order you should actually try it.
Table of Contents
- 1Best Bed Adhesion Methods for PLA at a Glance
- 21. Clean the Build Plate Before Every Print
- 32. Use a Clean, Flat PEI or Smooth Build Plate
- 43. Set the Correct First-Layer Height
- 54. Use a Brim Around the First Layer
- 65. Add a Raft for Small or Footprint-Sensitive Parts
- 76. Apply a Thin Glue Stick Layer
- 87. Use a Glue-Diluted PVA Solution
- 98. Use a Dedicated Adhesive Spray
- 109. Use Painter’s Tape on a Clean Plate
- 1110. Adjust Temperature, Cooling and Bed Heat
- 12How to Troubleshoot PLA Bed Adhesion Failures
- 13The whole part shifts sideways mid-print
- 14Only the corners lift
- 15A visible gap under the first layer
- 16The print releases suddenly partway through
- 17The plate suddenly stopped working
- 18Removing a stuck PLA part
- 19Frequently Asked Questions
- 20What is the best bed adhesion method for PLA?
- 21Does increasing the bed temperature improve PLA bed adhesion?
- 22Should I use glue stick or a glue-soaked sponge for PLA?
- 23Why do the corners of my PLA print lift off the bed?
- 24How do I remove old glue from a 3D printer build plate?
- 25When should I replace a damaged or unusable build plate?
- 26Conclusion
Best Bed Adhesion Methods for PLA at a Glance
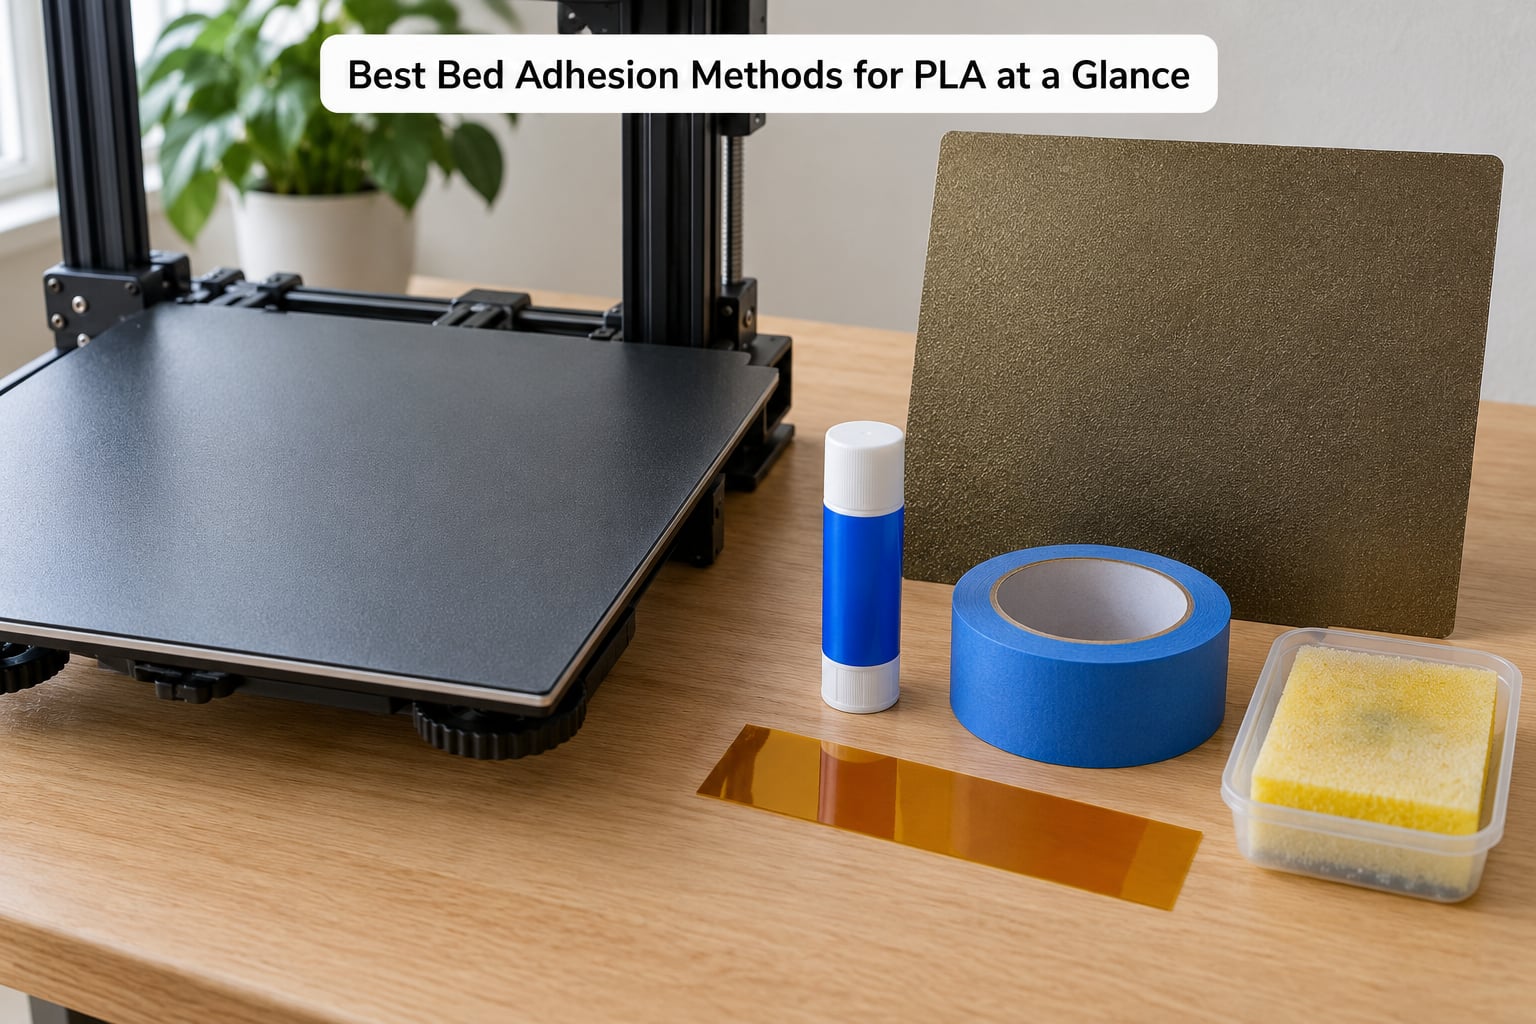
Pick the row that matches your plate, not the row with the strongest adhesive. Most printers that struggle with PLA are struggling because of geometry or temperature, not because they need a stronger glue.
| Method | Suits this situation | Difficulty | Typical effectiveness for PLA | Main drawback |
|---|---|---|---|---|
| Wipe the plate with isopropyl alcohol | Any plate, before every print | Trivial | Fixes most cases on its own | Has to be repeated every time |
| Textured PEI or powder-coated plate | Printers shipping with a PEI sheet | Trivial | Excellent, no adhesive needed | Costs more than a glass plate |
| Correct Z-offset | Every printer, always | Easy | Turns a bad bond into a good one | Drifts as the plate and hotend change shape |
| Brim (5-8 mm) | Small, tall or rounded footprints | Easy | Great for corner lift | Uses extra filament and time |
| Raft | Tiny feet or nearly zero contact area | Easy | Very strong hold | Harder to remove, wasteful |
| PVA glue stick | Stock glass beds | Easy | Very good for PLA | Builds up and needs reapplying |
| Diluted PVA solution | Large glass beds, refresh jobs | Moderate | Very good, even coverage | Clumps if over-thick or reapplied too soon |
| Dedicated adhesive spray | Difficult geometry or worn plates | Easy | Very strong | Fumes, overspray, needs curing time |
| Painter’s tape | Damaged plates, low budget | Easy | Middling to good | Ridges cause gaps and edge lift |
| Bed heat and cooling changes | Every printer, as a fine-tune | Moderate | Fixes pops-off-when-cooling | Slows the first layer down |
1. Clean the Build Plate Before Every Print
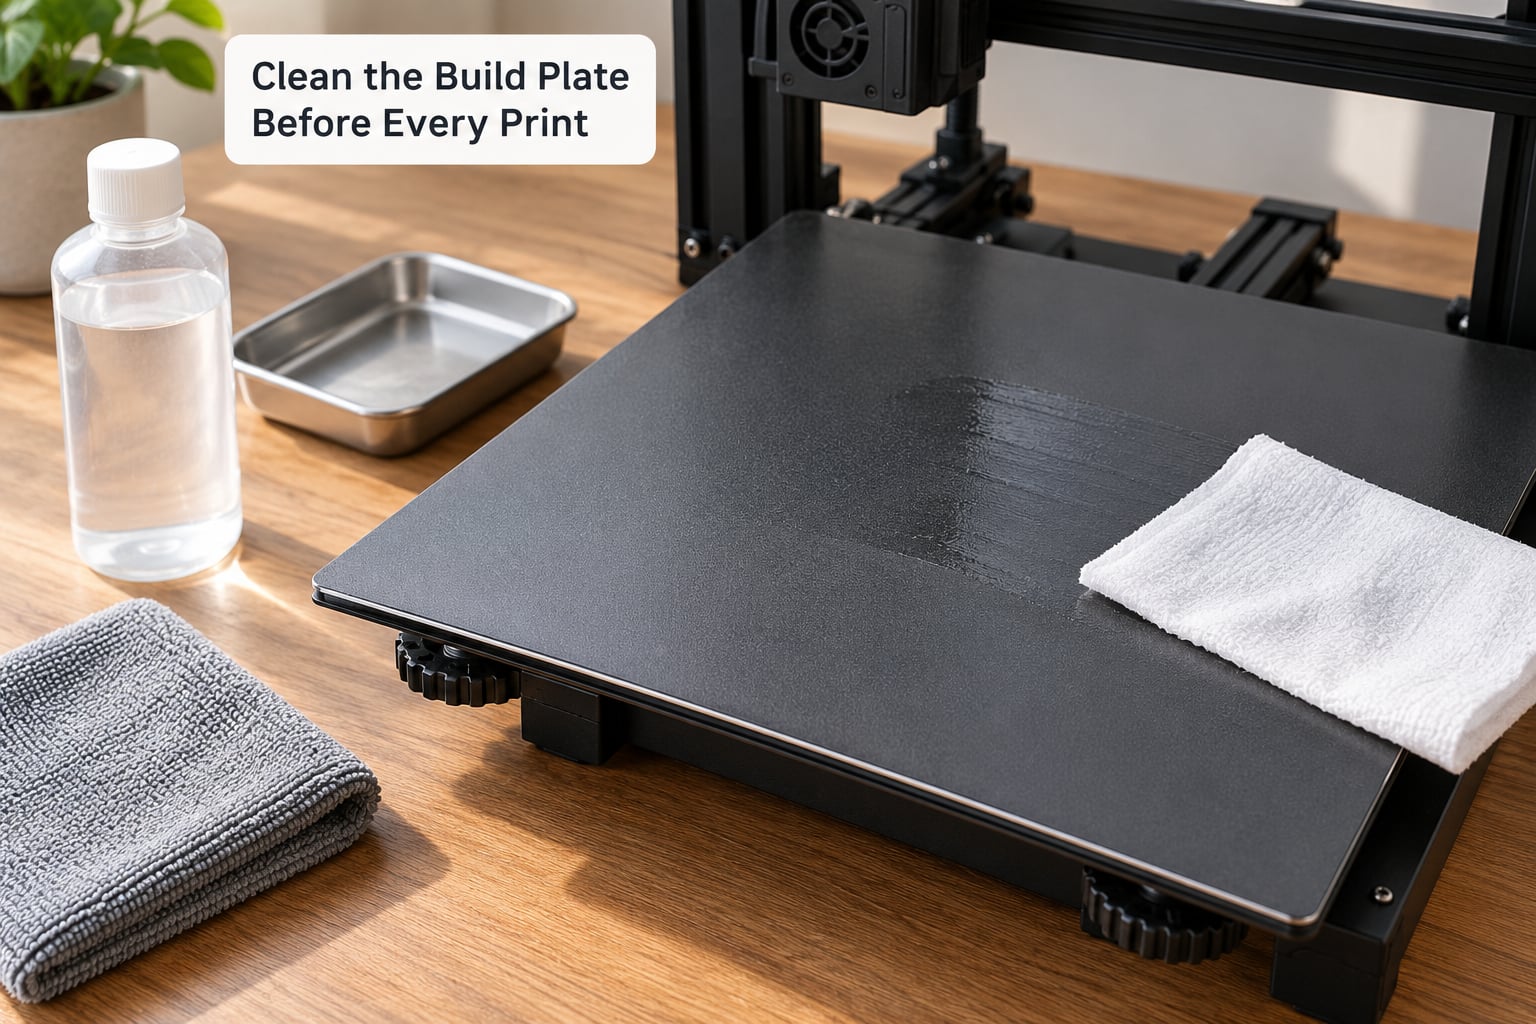
Fingerprints are the single most common reason a plate that worked yesterday fails today. Skin oil is enough to stop PLA fusing, and most of us touch the print area while positioning the plate.
The routine takes about a minute. Put the printer on a cold bed so nothing warps, wipe with 90% or higher isopropyl alcohol using a lint-free cloth, and let it evaporate fully before heating up. If there is visible plastic residue, use a plastic scraper card or a hard plastic spatula first, then wipe. Dish soap and warm water works well for glass but needs a second alcohol wipe to remove the soap film.
Two warnings. Never use acetone on PEI or powder-coated plates — it hazes and cracks the surface permanently. And do not sand a textured PEI sheet to “freshen” it; you take away the micro-texture that gives PLA something to grip.
2. Use a Clean, Flat PEI or Smooth Build Plate
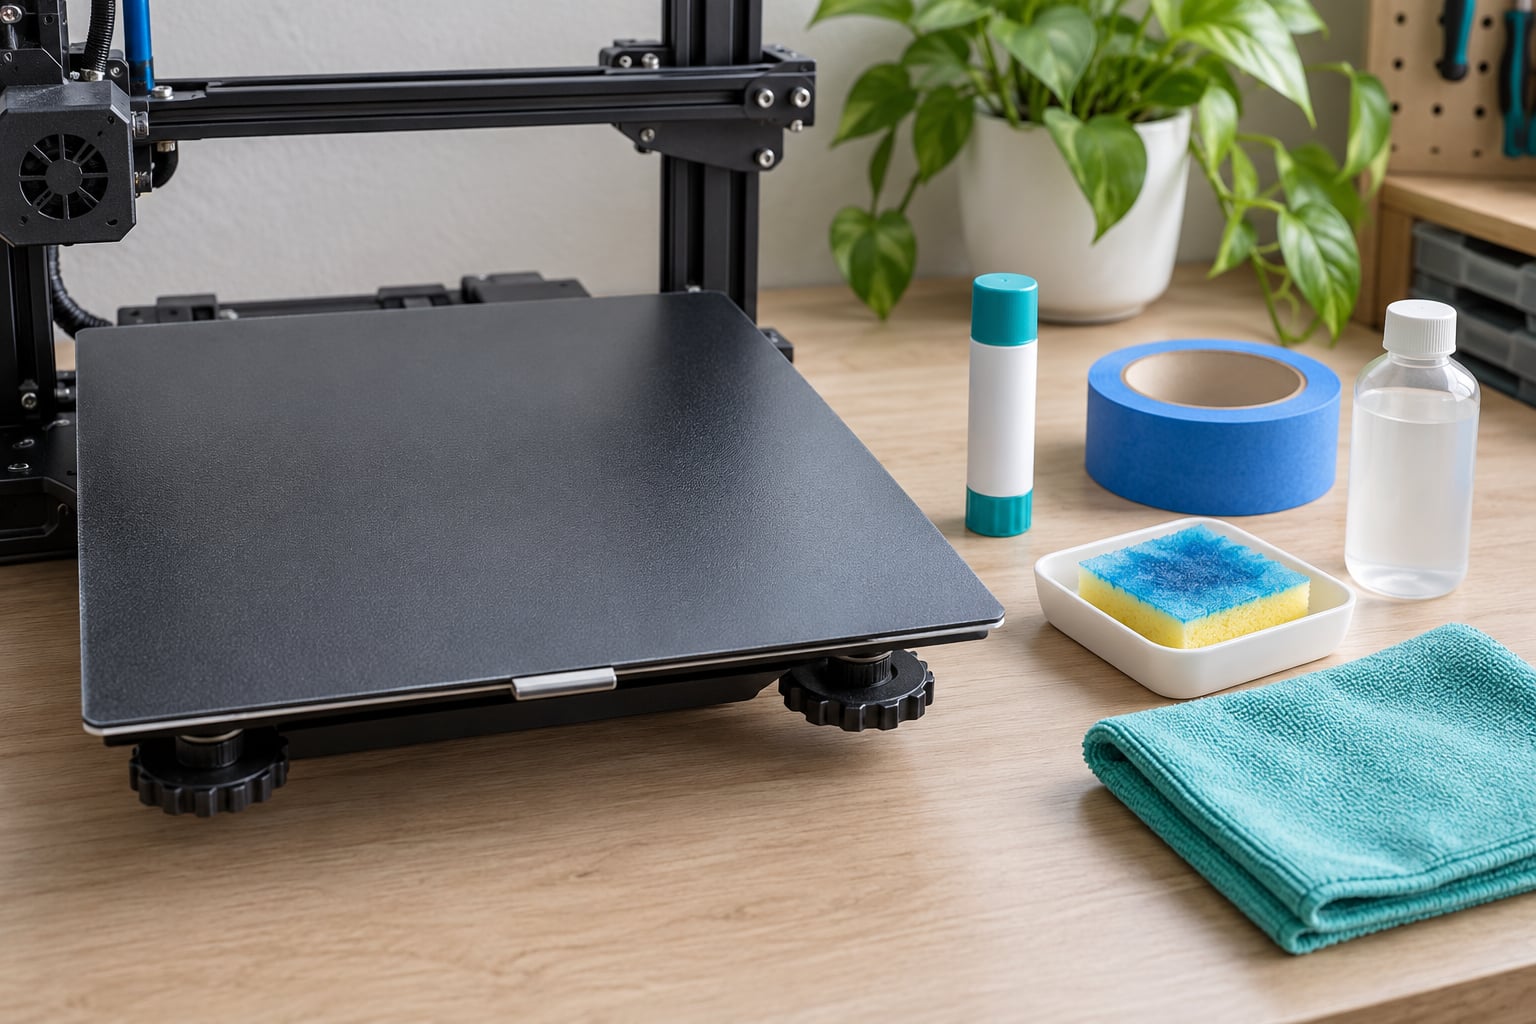
Plate condition decides how much help adhesion needs. A textured PEI sheet grips hot PLA and lets go on cooldown with no glue, while smooth PEI and glass give you almost nothing to hold on to until you add a layer.
Check the plate in good light with a straightedge across it. Look for a highlight gap that means the middle is bowed, deep scratches that catch a fingernail, and delamination where the coating has lifted at a corner. A warped plate cannot be fixed by leveling, because the warp moves with heat.
When the surface is scored, peeling or permanently hazy, replace it. A new textured PEI sheet is a better investment than months of rebuilding glue layers on a damaged one.
3. Set the Correct First-Layer Height
Your first layer should be gently squashed, not a bead sitting on the plate. Slightly too high and there is air under the line; too low and the nozzle drags, smears the bead and can gouge a glass bed.
On a manual-levelling printer, run a paper test: heat the nozzle, lower the nozzle until it just touches the paper, and the paper should drag with a light scrape. Most guides land around a 0.1 mm gap with standard paper. Auto-levelling printers mesh the bed fine but still need a manual Z-offset, which is the step people skip.
Set the offset deliberately high (less negative) and step it down 0.1 mm at a time until the first layer looks matte and slightly flattened with no ridge of unmelted plastic on top. Print a small single-layer square to test rather than burning four hours of filament on a failed part.
4. Use a Brim Around the First Layer
A brim extends the first layer outward by a few millimetres, which multiplies the contact area holding the part down. It is the cheapest adhesion improvement available and costs nothing but filament.
Use one when the footprint is small relative to the height, when the model has rounded or uneven corners, or when the filament shrinks a lot as it cools. A 5-8 mm brim with 8-10 layers at 0.2 mm covers most cases. For tall, narrow parts a wider brim of 10-15 mm helps more than a larger one-layer brim, because the extra layers stack the force.
Skip it when the model already has a wide, flat base on textured PEI. You are just adding plastic to peel off.
5. Add a Raft for Small or Footprint-Sensitive Parts
A raft goes underneath the part as two or three solid layers, with a gap and then the print. Where a brim widens the part’s own outline, a raft gives the filament a separate, larger platform to fuse into.
Reach for a raft when the model has feet, a small tab or almost no bottom area, and when that bottom is the only thing keeping it on the bed. It is also a reasonable answer for very tall and narrow prints on a plate that is difficult to heat evenly.
The cost is real. A raft lengthens the print, uses material that goes in the bin, and the gap layer can tear or lift and drag the part with it. Brim first, raft only when a brim genuinely is not enough.
6. Apply a Thin Glue Stick Layer
A plain PVA glue stick is the budget fix most people keep in a drawer, and for PLA on glass it is genuinely enough. The whole trick is a thin, even coat — thick glue becomes a slippery lump that the nozzle ploughs through.
Cool the bed first. Rub the stick on in one direction to lay down a continuous film rather than a patchy one, wipe across with a dry finger or a sponge to even it out, then let it dry fully. Reapply when the layer looks patchy or the print stops holding, which on a well-prepared glass bed is every few prints at most.
Cleanup matters with PVA layers. Once the plate is cool, scrape the dry layer off with a plastic card and wipe the residue with warm water and dish soap, then a light alcohol pass. Stacked glue goes gummy and eventually pops the plate off a magnetic sheet, so do not just keep re-coating forever.
7. Use a Glue-Diluted PVA Solution
Diluting PVA with water gives you better coverage on a big glass bed than a glue stick, and it is the method most community guides reach for when a large first layer keeps lifting. A cheap white glue diluted roughly 1:10 in warm water works; a dedicated adhesive solution needs no dilution at all.
Apply sparingly with a sponge or a lint roller in one direction, on a cold plate, and spread it to a faint even film rather than a wet coat. Two thin coats beat one thick one every time. Let each dry before the next.
Refresh rather than layer. Wipe the old solution off with warm water and a sponge, dry fully, then reapply. If you see whitish clumps forming, the layer is too thick or too wet — clear it and start over.
8. Use a Dedicated Adhesive Spray
A purpose-made bed adhesive spray is a PVA solution in an aerosol can, built for heat and for releasing cleanly when the part cools. It is the strongest of the adhesive options and the one to reach for on a plate that gives you nothing at all, or for awkward geometry that keeps peeling even with a brim.
Work in a ventilated space, spray from roughly 20-30 cm away in sweeping passes rather than a direct blast, and let the coating cure fully before printing. A tacky or partially cured surface is what causes pops when the print cools.
Follow the product label for cure time and compatibility. Most are re-applied every few prints, and most want a hot water or soapy-water clean rather than acetone to strip the old layer. Test any spray on PETG first: a strong adhesive can act as a release barrier that prevents the plastic tearing your smooth PEI.
9. Use Painter’s Tape on a Clean Plate
Masking or painter’s tape is the fallback when the plate itself is compromised — scratched smooth PEI, a glass bed you cannot get perfectly clean, or a plate with a permanent haze. Two or three strips, butted edge to edge, give a fresh printable surface.
Press each strip down firmly from the middle outwards so no bubbles or ridges sit under the print area. Overlap the strips rather than butting them, since a seam ridge produces a visible gap in the first layer.
Replace strips as soon as they lift or wrinkle. The corners of the print lift first because the tape edge curls, and the printed tape surface has no texture to bite into. Add a brim on tape to counter that.
10. Adjust Temperature, Cooling and Bed Heat
Adhesion is not purely a surface problem. A print that holds while hot and pops off as it cools was held by heat, not by a bond, and that points at temperature rather than glue.
For PLA, 55-60°C on the bed is the working range, and the nozzle at 200-215°C. Above roughly 65°C you soften the plate itself without gaining much. Verify the actual bed temperature with an infrared thermometer in the middle and at a corner — airflow across the bed creates cold spots, and a nominal 60°C corner can be 15°C colder than the centre.
Slowing the first layer to 20-25 mm/s gives the molten bead time to spread and fuse. Raise the first layer flow to 100-105% and enable elephant’s foot compensation so the bead’s edges press down instead of rounding off. Set the minimum layer time for the first layer to around 12-15 seconds so the cooling fan stays off while it lays down, and keep air off the bed if your printer has an enclosure or a draught shield. Corner lift on PLA is usually an airflow problem wearing a temperature costume.
How to Troubleshoot PLA Bed Adhesion Failures
Work from the symptom. Each of these points to a different cause, and fixing them in order saves buying a product that solves the wrong problem.
The whole part shifts sideways mid-print
Almost always a first-layer speed or Z-offset problem, not adhesion. Drop the first layer to 20-25 mm/s, confirm the offset so the bead is flattened, and add a brim so the part is physically constrained.
Only the corners lift
Corner lift is shrinkage pulling on a small footprint. Add an 8-10 mm brim, raise the bed a few degrees, and shut off airflow. If the bed is cold at the corners, an infrared thermometer will show it.
A visible gap under the first layer
The bead is not touching the plate. Lower the Z-offset by 0.1 mm and print a single-layer test square before running the real job.
The print releases suddenly partway through
The first layer was fine and something else broke it: a draught, a heated chamber door, or a plate that has shifted. Check the print didn’t get bumped mid-job. If it peels consistently at the same layer, look at the part geometry there rather than the bed.
The plate suddenly stopped working
Switch the plate off, let it cool, and wipe it. Then check whether an adhesive layer has gone gummy, whether the coating has started to delaminate at a corner, and whether your filament is damp — wet filament pops and sputters, leaving a rough first layer that cannot bond. Dry it before blaming the plate.
Removing a stuck PLA part
Let the bed cool to room temperature before touching it. PLA contracts as it cools, so it usually releases on its own. Slide a thin plastic spatula under one corner with the plate still warm but below 50°C, and never lever against the plate edge. If it will not move, a flexible removal tool or a gentle knock on the frame usually beats prying.
Frequently Asked Questions
What is the best bed adhesion method for PLA?
A clean textured PEI sheet at 55-60°C with no adhesive is the best starting point for PLA. The texture grips the molten layer and releases cleanly as the part cools. On a stock glass bed, a thin PVA glue stick layer is the next step, applied thinly on a cold plate and left to dry fully.
Does increasing the bed temperature improve PLA bed adhesion?
Yes, within a range. 55-60°C keeps the first layer soft long enough to fuse to the surface, and going to 65°C or above softens the plate without adding much grip. If a part holds while hot and pops off as it cools, the real problem is usually airflow creating a cold spot, which an infrared thermometer will reveal.
Should I use glue stick or a glue-soaked sponge for PLA?
Both work, but a glue stick is easier to control and lasts longer on a small plate. A sponge suits a large glass bed where even coverage matters more than convenience. Either way the coat must be thin and dry: thick glue makes the nozzle drag and the first layer smear into gaps.
Why do the corners of my PLA print lift off the bed?
PLA shrinks as it cools and that shrinkage pulls hardest on corners with the least contact area. Add an 8-10 mm brim to extend the first layer, confirm the bed is hot enough, and block airflow across the bed. A brim fixes most corner lift within a couple of prints.
How do I remove old glue from a 3D printer build plate?
On glass and smooth PEI, scrape the dry layer with a plastic card, then wash with warm water and dish soap and finish with a light alcohol wipe. Never use acetone on PEI or powder-coated plates — it hazes and cracks them permanently. Refresh the layer rather than building it up over months.
When should I replace a damaged or unusable build plate?
Replace it when the coating is scratched, hazed or peeling at the corners, or when the surface is visibly bowed enough that leveling cannot follow it. A warped plate shifts as it heats, so no amount of glue or temperature tuning will fix it. A new textured PEI sheet solves more problems than any adhesive.
Conclusion
Work through these in order and most PLA adhesion problems disappear. Clean the plate with isopropyl alcohol. Check the Z-offset with a single-layer test and make sure the bead is flattened, not beaded. Add a 5-8 mm brim for more contact area, and a raft only if the footprint is genuinely tiny. Then look at bed temperature, first-layer speed and airflow.
Only after all of that is correct does adhesive come into it — a thin PVA layer on glass or smooth PEI, a spray adhesive on a plate that gives you nothing. If a part still lifts on a clean textured PEI sheet at 60°C, the plate or the filament is the problem, and no glue will cover it up.
Adhesion advice here stays current with 2026, and the settings above hold for most PLA filaments from any major brand.