To sand 3D prints smooth, work up through progressively finer sandpaper grits without ever skipping a step, starting coarse at 80 to 120 grit to knock down the layer lines, then moving through 150, 220, 320, 400 and finishing at 600 grit or higher. A small PLA part takes 20 to 30 minutes by hand; a large cosplay piece can eat an entire evening. The technique is easy, the patience is the hard part.
One thing worth saying up front: most of the work happens before you touch sandpaper. Layer height, outer wall speed, temperature and ironing decide how much sanding you have to do at all. But the print is already on the bed, so here is how to sand 3D prints smooth once you have one in hand.
Table of Contents
- 1What You Need
- 2Step-by-Step: How to Sand 3D Prints Smooth
- 31. Inspect, Clean, and Prepare the Print
- 42. Start with Coarse Grit to Level Major Layer Lines
- 53. Progress Through Medium and Fine Grits
- 64. Fill Gaps and Small Imperfections
- 75. Wet-Sand Resin or Water-Safe Prints
- 86. Finish and Protect the Smooth Surface
- 9Common Mistakes
- 10Frequently Asked Questions
- 11What grit sandpaper should I use to sand a 3D print?
- 12Can you sand PLA and ABS 3D prints smooth?
- 13Can you wet sand resin 3D prints?
- 14How do I avoid scratches when sanding a 3D print?
- 15How do I sand curved or detailed 3D-printed parts?
- 16Should I sand a 3D print before painting it?
- 17How to Sand 3D Prints Smooth: Start with the Right Grit
What You Need
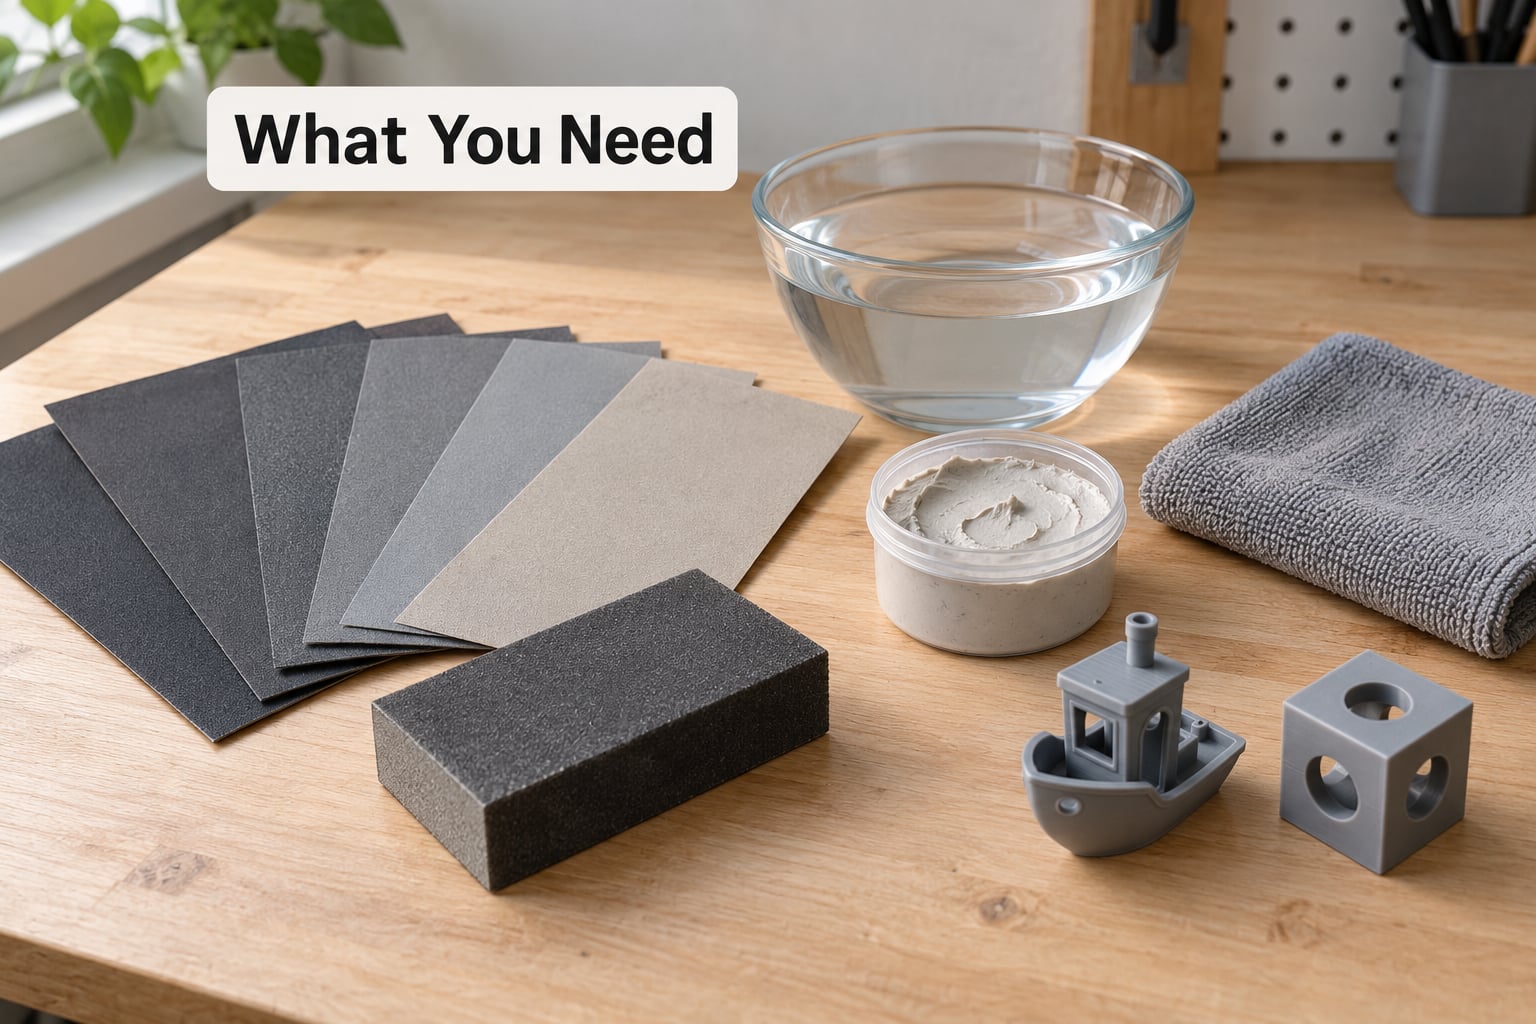
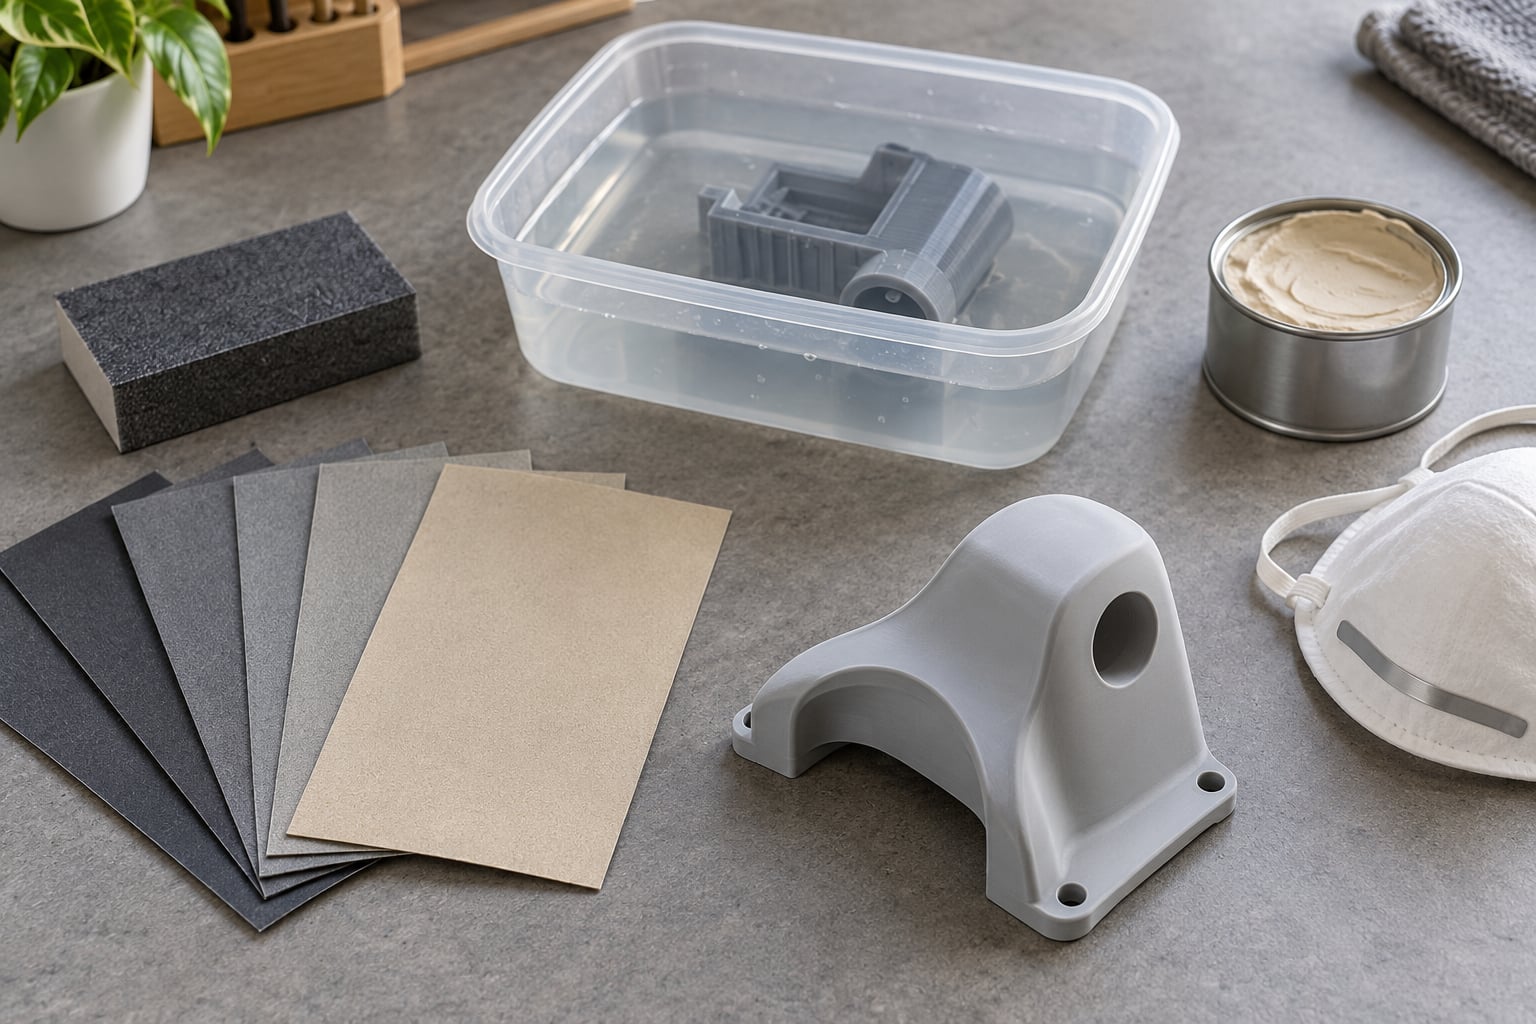
For an FDM print you need sandpaper in at least four grits, something rigid to back it up, water, and a brush or cloth. A flexible sanding sponge handles curves and edges where a flat block will round off your corners.
- Sandpaper: aluminium oxide paper in 80/120, 150/220, 320/400 and 600 grit. Sheets are cheaper than rolls and you will burn through them.
- Sanding block: a flat rubber or cork block keeps pressure even across the whole face. Your fingertips are not a flat surface, and that is where gouges come from.
- Sanding sponge: a shaped foam block for domes, cylinders and anything you would round off with a block.
- Water and a bowl or tray: needed for wet sanding and for soaking resin prints before you start.
- Old toothbrush or stiff brush: for clearing dust out of crevices between grits.
- Microfiber cloth or lint-free wipes: for the final dust check before primer or paint.
- Filler putty or sandable filler primer: optional but transformative when the print has pinholes, seam lines or small gaps.
- Safety gear: an N95 or P2 dust mask, nitrile gloves, safety goggles and somewhere with real ventilation. Plastic dust is fine to inhale exactly once in your life.
Resin prints need a bit less and a bit more. You will want waterproof paper or a dedicated wet-sanding sheet, because you cannot dry-sand cured resin dust into the air and then breathe it. A plastic tray to soak the part in, 400 to 1000 grit wet sheets, and a nylon brush complete the kit. Skip the heat gun entirely; resin and heat do not get along.
Step-by-Step: How to Sand 3D Prints Smooth
1. Inspect, Clean, and Prepare the Print
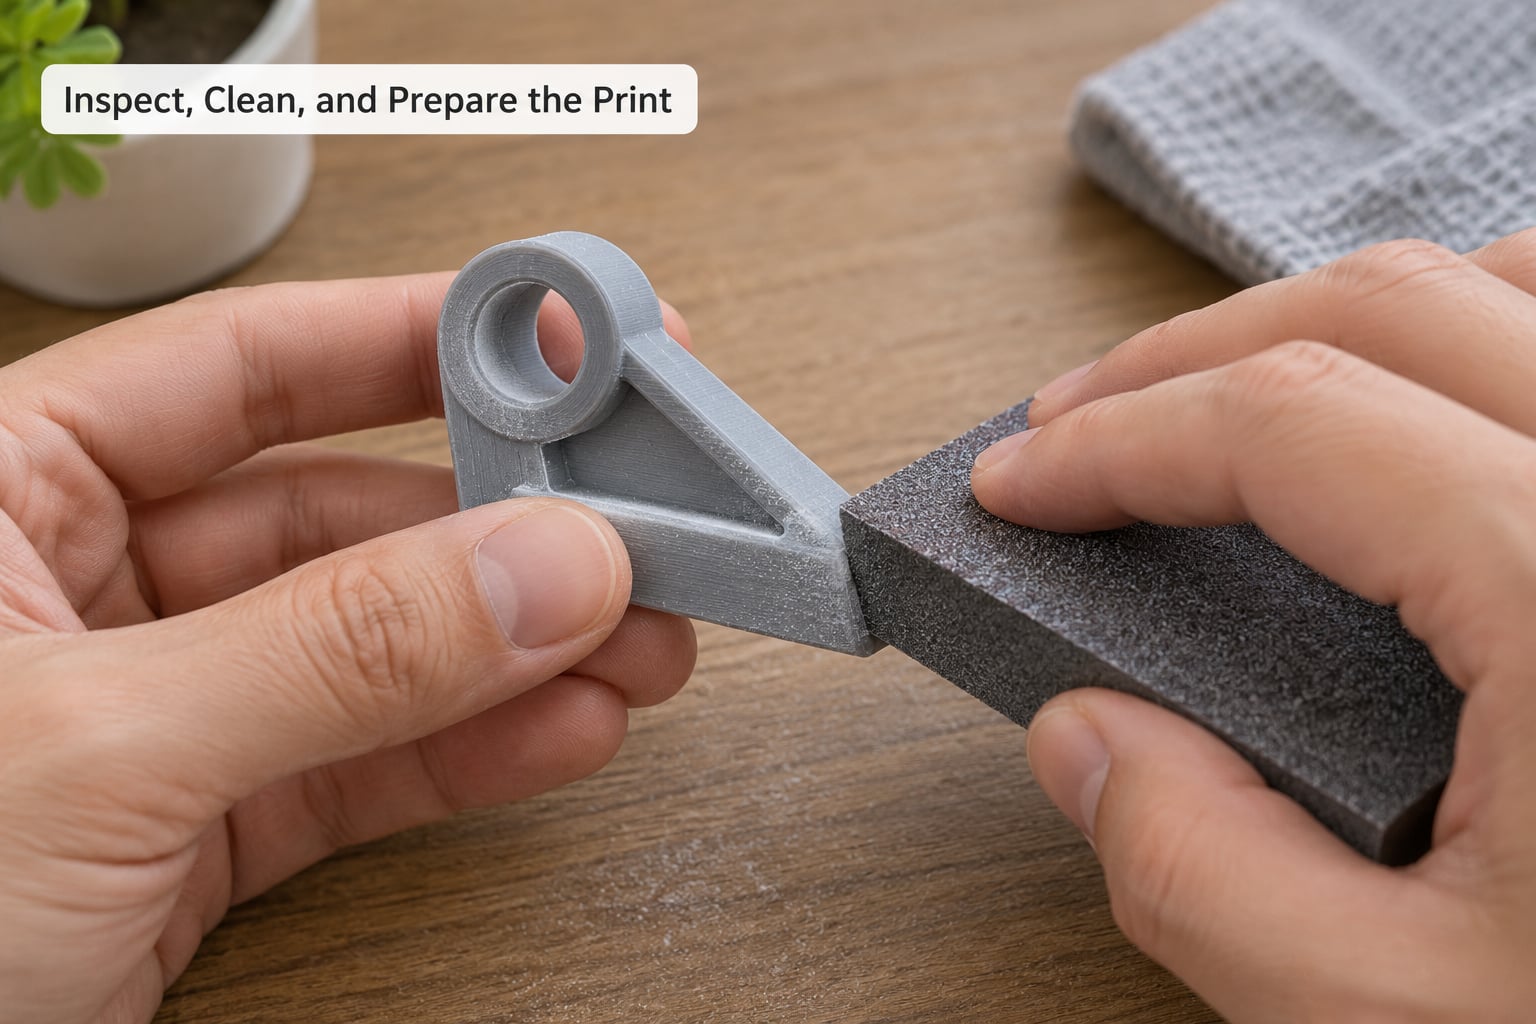
Remove every support and witness mark first, then clean the part. Resin prints get washed, cured and cleaned according to your resin’s instructions before anything else happens. For FDM, a quick wipe with soapy water or isopropyl alcohol removes oils from your fingers that would otherwise clog the paper.
Hold the part up to a light and look at the profile rather than the surface. If you can see daylight through a seam or catch your fingernail in a ridge, that is where your starting grit comes from. Decide on a sanding direction now: along the layer lines, or at 90 degrees to them if the part has visible staircase stepping on curved walls.
Mark the areas you must not touch with masking tape. Bolt holes, threads, snap-fit features, threads on a printed nut, the teeth on a gear. Sanding away a functional dimension is the one mistake you cannot undo.
2. Start with Coarse Grit to Level Major Layer Lines
Wrap 80 or 120 grit around your block and work the raised layer lines with moderate, even pressure. Back-and-forth strokes in a rhythm are better than circular scrubbing, because circular motion digs unevenly into soft plastics like PLA and PETG.
Check your work every 30 seconds. Run a fingernail across the surface: if it catches, keep going. If you are seeing gouges, you are pressing too hard. The paper should be doing the work and your hand just supplying weight.
Friction generates heat, and PLA softens around 60 degrees Celsius. On a thin part, long sessions of hard dry sanding can smear the plastic or round off a detail. If the part starts feeling warm, stop, let it cool, and clean the paper. Most beginners lose more prints to heat than to grit.
You are done with this stage when the layer lines are level, meaning the surface reflects light evenly instead of shimmering. Not smooth yet. Just level.
3. Progress Through Medium and Fine Grits
Move to the next grit only when the current one stops producing dust, which means the scratches it leaves are finer than the ridges you started with. Never skip more than one grit. A 120-grit scratch needs at least 150 grit to soften, and ideally 220 to erase it completely. This is the single most common reason prints end up looking scratchy after painting.
Clean the surface and change the paper between every stage. A sheet of 220 grit with 400-grit dust still embedded in it will scratch exactly like 220 grit, no matter how fine the label says it is.
| Material | Starting grit | Typical finishing grit | Notes |
|---|---|---|---|
| PLA | 80 to 120 | 400 to 600 | Soft and heat-sensitive. Keep pressure light and sessions short. |
| PETG | 120 | 400 | Harder than PLA and less prone to heat damage. Sands cleanly. |
| ABS/ASA | 80 to 120 | 400 to 600 | Must be fully cooled. Fumes while hot, so sand outside or ventilated. |
| Nylon | 120 | 400 | Flexible, so back it with a rigid block or it will just move. |
| Resin | 220 (wet) | 1000+ (wet) | Brittle. A drop of water and a light touch prevent chips. |
For most plastic prints, 220 to 320 grit is the practical target. Going finer than 400 on PLA gains you very little and doubles the time, because the material keeps generating fine plastic dust. The finish only gets truly reflective with filler, paint or a coat of clear.
4. Fill Gaps and Small Imperfections
Sanding cannot remove a hole. Pinholes from under-extrusion, cracks at corners, and visible seams between printed sections all need filling, and this is where filler primer earns its keep.
Mix a lightweight polyester filler or spot putty to a peanut-butter consistency and push it into the defect with a flexible spreader, overfilling slightly. Let it fully dry or cure, then sand it flush with the paper you finished the surrounding surface with. Repeat only if the shrink leaves a visible dip.
Sandable spray filler primer is the slower, cleaner route for larger parts. Two to three thin coats, each allowed to dry fully, will level pinholes you would otherwise chase for an hour. A well-known trick on the Bambu Lab forum is the sanding plus automotive bondo plus filler primer combination, and it is tried and true for painted finishes, but the spray version is far less dusty to sand off.
One caution from people who print large parts: thick filler coats trap heat, and filler plus hot sun plus a big flat surface is a decent recipe for warping. Keep coats thin and let the part cool between them.
5. Wet-Sand Resin or Water-Safe Prints
Wet sanding is the answer for resin and for anyone tired of dust. Water acts as a lubricant and a coolant, so the paper stays sharp longer, the surface stays cool, and the slurry that forms carries plastic dust away instead of into the air.
Soak the cured resin part in warm water for a few minutes, or hold it under a running tap. Start at 220 grit wet, working in small circles with light pressure. Keep the surface lubricated the whole time, and dip or rinse the paper whenever it starts to drag.
Rinse the part and let it dry fully before the next grit, or you will be sanding slurry into the surface rather than removing it. Follow the same 220 to 1000 progression, and expect the surface to end up looking like matte glass. That finish takes paint beautifully and needs no filler at all if the print was good to begin with.
| Consideration | Dry Sanding | Wet Sanding |
|---|---|---|
| Best for | PLA, PETG, ABS, nylon, large flat surfaces | Resin, thin PLA parts, small detailed models |
| Heat risk | Moderate to high on soft plastics | Very low, water cools the surface |
| Dust | A lot of it, mask required | Slurry, rinse instead of sweeping |
| Scratch risk | Higher if the paper clogs | Lower, paper stays sharp |
| Time | Faster on big flat areas | Slower, you keep rinsing |
You can wet sand PLA too. The part must be a sensible shape for it, since water gets into internal cavities and can leave you with a print that looks great and holds moisture. Hollow, sealed prints are a poor candidate.
6. Finish and Protect the Smooth Surface
Do a final pass at 400 to 600 grit, wet if the material allows, then dust the part with a brush and wipe it with a cloth. Run a fingertip over every face. Any area that still feels rough gets another minute, not another grit.
From there you have three sensible finishes. A plastic polishing compound softens the surface of styrene-type plastics and adds gloss, but it will not fix scratches. Primer plus paint gives you full control and hides everything under 600 grit. A clear coat over paint locks the whole thing down and makes it wipe clean.
Follow the instructions on whatever you use for drying times, and resist the urge to sand paint. A coat that has not fully cured gums the paper and pulls it right off. If you are after a mirror finish, that comes from filler, epoxy or a polishing pass after full cure, not from more sanding.
Common Mistakes
Skipping grits is number one. A coarse scratch does not disappear under a finer scratch, it just gets a shallower neighbour. Work every grit in between, even when it feels like you are sanding nothing.
Pressing too hard is number two. Soft plastics gouge, resin chips, and paper wears out three times faster under load. Let the abrasive do the work and use patience instead of force.
Not cleaning between grits leaves old dust in the new sheet, which is a fast route to a scratchy finish no matter how fine the grit is. Wipe the part, change the sheet, and keep going.
Sanding a wet part dry is a common resin mistake. Surface water under dry paper tears into a furry mess instead of smoothing it. Dry the part fully or switch to wet sanding properly.
Over-sanding thin walls rounds off edges and kills fine detail. On miniatures, wrap paper around a sponge, work with a light touch and accept that you will never reach a mirror finish on a 15 mm figure. Sanding sponges follow the curve instead of flattening it.
Ignoring dust is the mistake people regret, because fine plastic dust gets everywhere and it is a respiratory irritant. Mask, gloves, ventilation and a wet clean-up rather than a sweep under the couch.
Finishing before the part is dry traps moisture under primer and causes a bloom or a peeling finish. This one is easy to avoid and annoying to discover three days later.
A few habits keep results consistent. Abrasive that clogs is not saving your time, it is just heating your part. Cool parts, clean paper, light pressure, and a quick check every half minute will beat any fancy technique.
Frequently Asked Questions
What grit sandpaper should I use to sand a 3D print?
Start at 80 to 120 grit to knock down raised layer lines, then move through 150, 220, 320 and 400 grit without skipping a step. Finish at 600 grit or finer for a paint-ready surface. For resin prints, skip the coarse grits and go straight to 220 grit wet, working up to 1000. Always change paper and clean the part between grits.
Can you sand PLA and ABS 3D prints smooth?
Yes. Both sand well, but PLA is softer and more heat-sensitive, so use light pressure and short sessions to avoid smearing it. ABS is tougher and sands more predictably, though it gives off fumes while warm, so work outdoors or in good ventilation. PETG sits between them and takes a finer finish than PLA.
Can you wet sand resin 3D prints?
Yes, and it is the preferred method. Soak or rinse the fully cured and cleaned part, use 220 to 1000 grit waterproof paper, and keep the surface lubricated the whole time. Water cools the resin so it does not chip and keeps the paper from clogging. Rinse away the slurry and let the part dry completely before the next grit or any primer.
How do I avoid scratches when sanding a 3D print?
Never skip grits, because a coarse scratch survives every finer pass that is too far above it. Clean the part and change the paper between each grit so old dust does not keep scratching. Use light pressure on a rigid block, keep the part cool to avoid smearing, and change the sheet as soon as it clogs or stops cutting.
How do I sand curved or detailed 3D-printed parts?
Wrap sandpaper around a sanding sponge or a soft foam pad and follow the curve with light pressure instead of using a flat block. On small figures, start no coarser than 150 grit and accept a matte finish rather than a mirror one. Mask tape over painted or printed eyes and thin features so a stray stroke does not remove them.
Should I sand a 3D print before painting it?
Yes. Paint follows every layer line and every scratch, so sanding to at least 400 grit and dusting gives you a surface that reads as smooth under a brush. If the print has pinholes or seams, fill them first with spot putty or sandable filler primer, sand flush, then prime. Full cure times matter: sanding paint that has not hardened pulls it off.
How to Sand 3D Prints Smooth: Start with the Right Grit
If you do one thing differently after reading this, start at the grit your layer lines actually need rather than the finest sheet you have, and do not skip a step on the way down. A coarse grit levels, a fine grit polishes, and the middle is where the work happens.
Look at the print, choose your starting grit, clean the paper between every stage, and keep the part cool. If it is resin, wet sand it. If the part has holes, fill them before you worry about how smooth it looks. That is the whole method, and it is why a twenty-minute session can turn a rough print into something that looks finished.