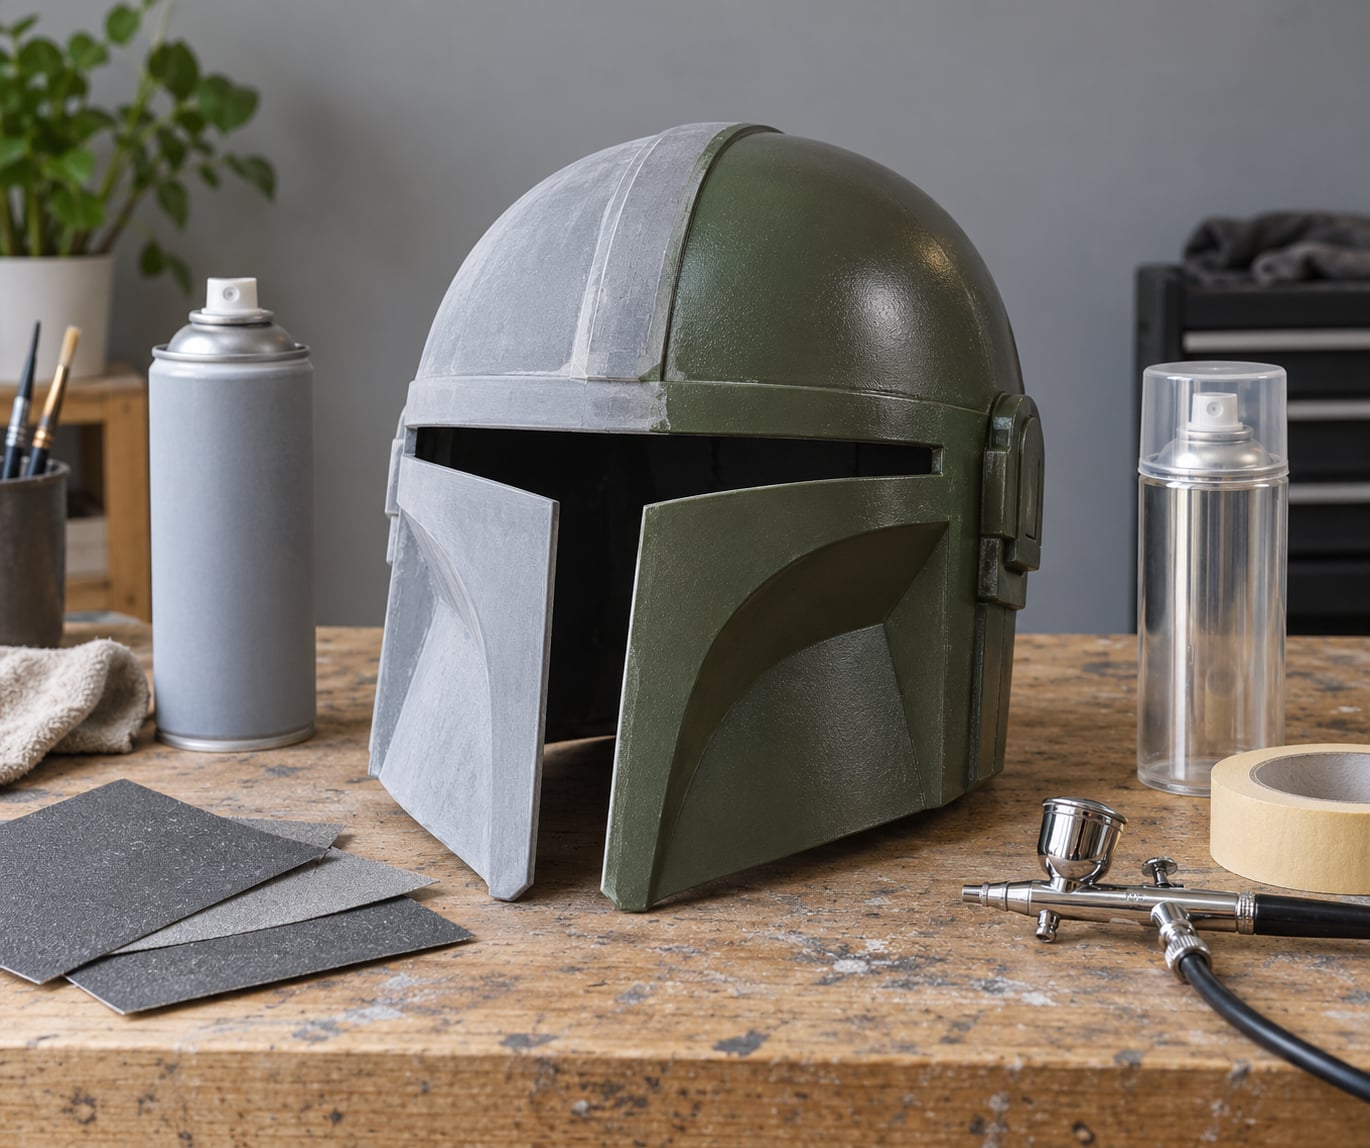
Painting PLA prints for a professional finish comes down to four stages in order: level the surface, sand through a grit progression, prime it, then build many thin coats of colour and seal with a clear coat. Paint only hides defects as well as the surface underneath allows, so a rushed paint job on a raw FDM print magnifies every layer line instead of hiding it. Budget two to four hours for a figurine-scale part, more for a cosplay helmet or large prop.
Table of Contents
- 1What You Need
- 2Step-by-Step: How to Paint PLA Prints for a Professional Finish
- 3Step 1: Clean and Inspect the Print
- 4Step 2: Smooth the Surface
- 5Step 3: Apply Primer and Choose Paint
- 6Step 4: Build the Colour Coats
- 7Step 5: Protect and Finish the Part
- 8Common Mistakes
- 9Frequently Asked Questions
- 10What paint adheres best to PLA 3D prints?
- 11Do I need to sand or prime a PLA print before painting?
- 12Can I use spray paint on PLA without warping it?
- 13How long should I wait before handling a painted PLA part?
- 14What clear coat works best for a painted PLA model?
- 15Can painted PLA parts be used outdoors or exposed to water?
- 16Start With the Fill, Not the Colour
What You Need
The basics are cheap and cover most prints. The upgrades exist to save time on large panels or to get a genuinely booth-quality surface on show pieces.
| Item | What it is for | Basic or upgrade |
|---|---|---|
| Flush cutters, hobby knife, sanding stick | Support removal and cleanup before anything else | Basic |
| Isopropyl alcohol and clean water | Degreasing oils off the surface | Basic |
| Sandpaper in a grit progression | Levelling the layer lines mechanically | Basic |
| Filler primer or spot putty | Filling the valleys between layers | Basic |
| Primer (filler or etching) | Adhesion plus colour consistency | Basic |
| Acrylic or enamel colour paint | The colour coats themselves | Basic |
| Clear coat or varnish | Scratch protection and the depth that reads as professional | Basic |
| Rotary tool with sanding drums | Fast levelling of large flat areas | Upgrade |
| Airbrush and mini cup | Even coats, gradients, no brush marks | Upgrade |
| Nitrile gloves, respirator, extraction fan | Handling putty, primer and solvent safely | Essential for spray work |
Skip anything that claims to solvent-smooth PLA. Acetone vapour smoothing, the standard trick for ABS, does nothing useful to PLA and will only soften or deform the part. If a product listing tells you otherwise, it is written for a different plastic.
Step-by-Step: How to Paint PLA Prints for a Professional Finish
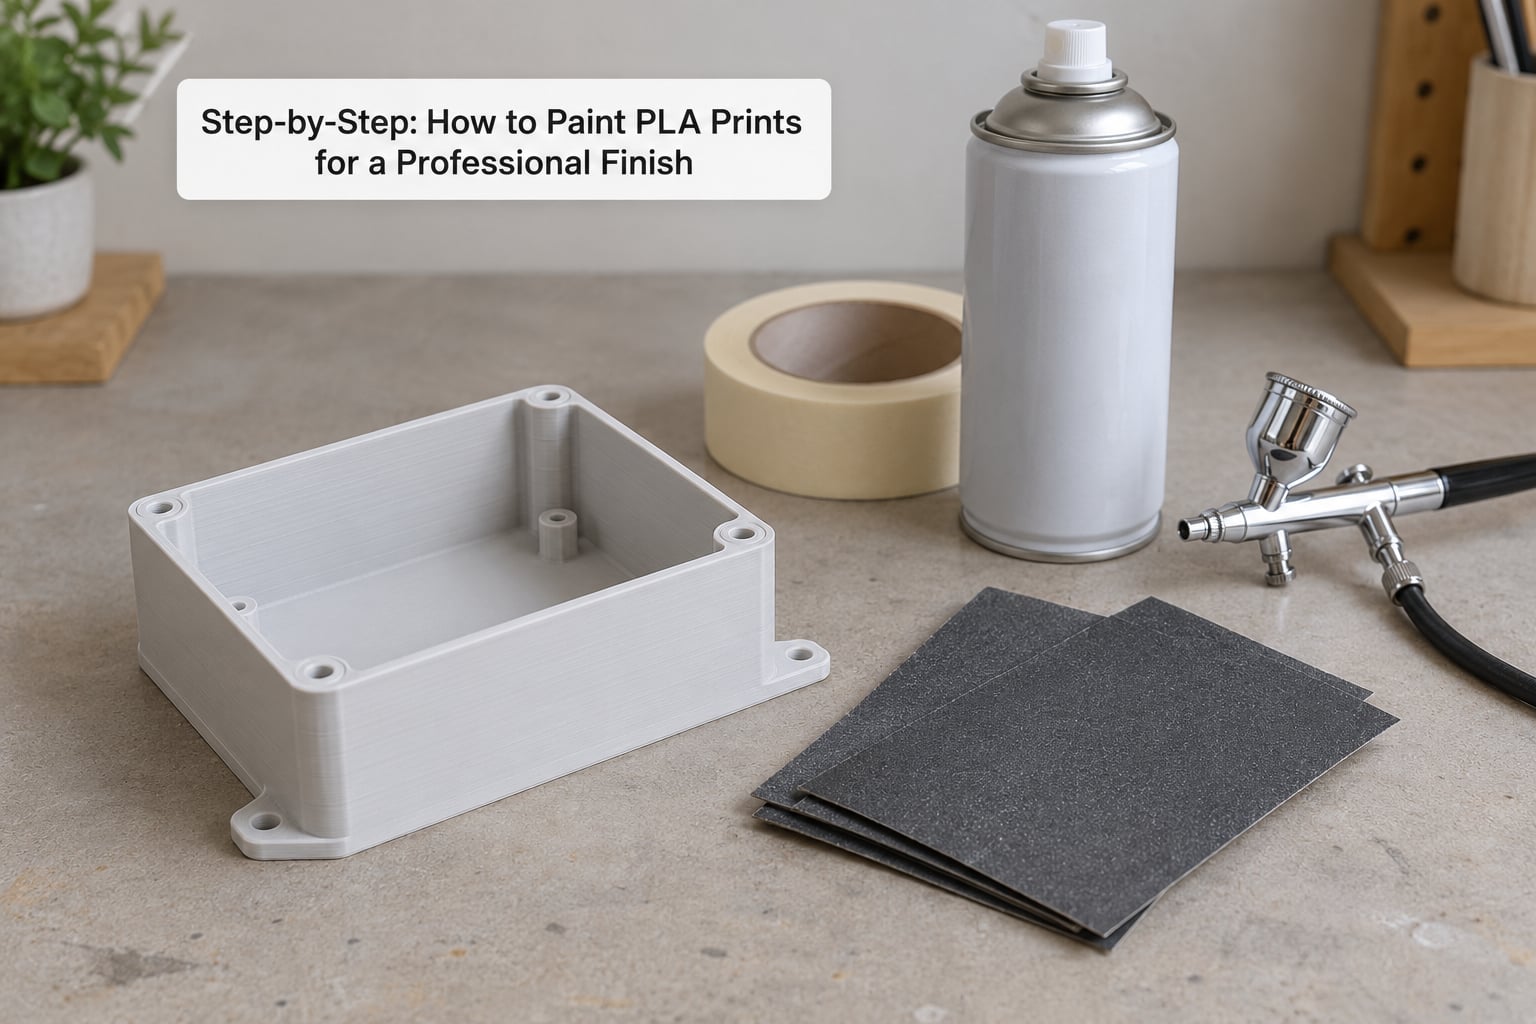
Step 1: Clean and Inspect the Print
Remove every support while the part is still on the bed if you can, so fragile edges do not break when the part flexes. Flush cutters get you down to the joint and a sanding stick or file takes the remaining nub down to the surface without digging in.
Wipe the whole part with isopropyl alcohol and follow with clean water if you have printed with PETG or have handled it with bare hands. Oils from skin are the single most common reason paint peels off later, and they are invisible until the day the finish lifts.
Now look at the part critically under good light. Check for incomplete layers, pinholes and blobs from stringing, because every one of those needs cutting, filling or sanding out before paint goes near it. A thin wall or a bridging problem under a support scar will fail under abrasive work, so reinforce it with a thin coat of filler and let it cure fully first.
Step 2: Smooth the Surface
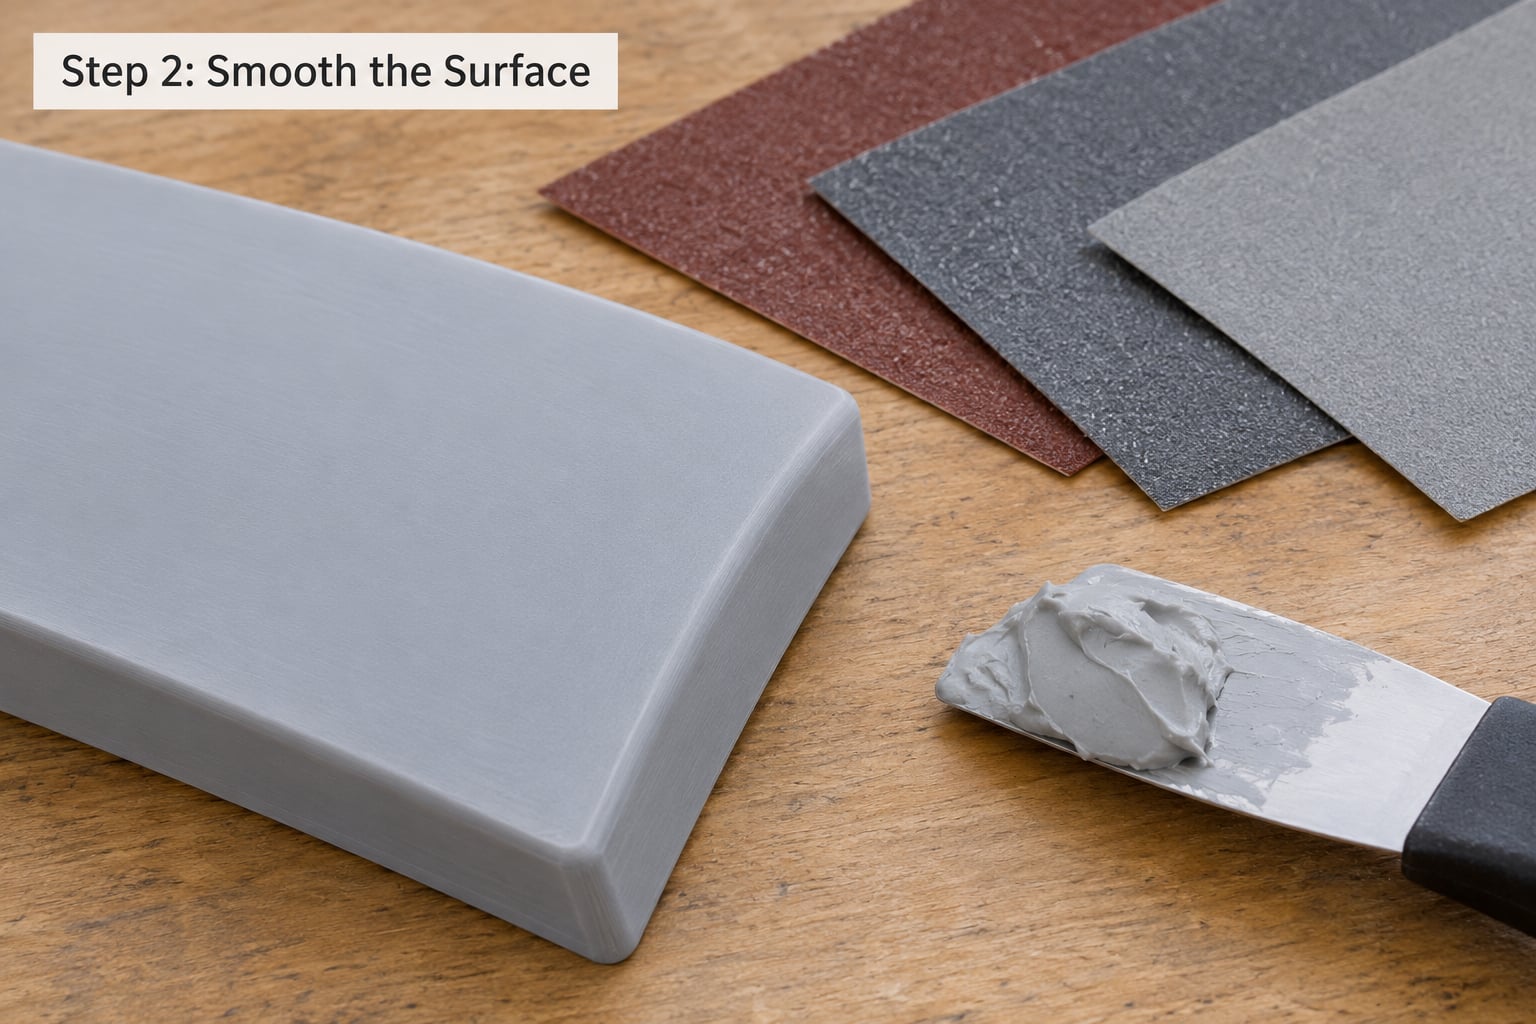
The decision rule is simple: fill first, sand second. Sanding an unfilled print just rounds the layer lines over, and the paint telegraphs them straight back through. Community consensus agrees, which is why grey filler primer is the default opening move in most r/3Dprinting threads rather than sanding straight to bare plastic.
Choose your filler by how flat you need. Spot putty such as Bondo glazing putty or a lightweight polyester filler is the fastest route for small gaps and visible holes. A sandable epoxy coating is thicker and slower but levels large panels in one pass and sands back like a solid surface.
Work the filler into the layer lines with a spreader or a flat brush, scrape the excess off flat, and let it cure fully. Uncured filler that gets sanded gums the paper and pulls the plastic with it. Then sand through a progression: 120 to 180 to knock down the high spots, 220 to 400 for the bulk of the removal, and 600 to finish.
Wet sand from about 200 grit upward if you can. Water carries debris away instead of loading the paper, and it keeps the dust down while you work. Keep the part water-free at the edges though, because PLA softens near boiling water and a wet part sitting on a bench can droop as it dries.
If you use a rotary tool, run it at low speed with light pressure and keep it moving. PLA gums up, melts and deforms at surprisingly low heat, and that is the single most common way people lose detail during finishing. Stop at 600 grit unless you are going to wet sand higher under a primer that will fill the rest.
Step 3: Apply Primer and Choose Paint
Primer does two jobs and you may need both. Filler primer is the high-build grey spray that physically levels the surface and gives paint a uniform colour to sit on. Etching primer, sometimes called self-etching or adhesion promoter, chemically grips the plastic instead of filling it.
Use etching primer when the print is already smooth and unfilled, especially a resin print, and skip straight to colour. Use filler primer when you have layer lines, any filler putty, or a part you want to look good in a photo. The decision people get wrong most often is trying to rely on etching primer alone on a rough FDM surface, where it grips beautifully and still leaves every striation visible.
Spray primer from 20 to 30 cm in light passes, let it flash for a few minutes between coats, and follow the can’s own cure time rather than your own impatience. Thick coats on PLA can stay soft underneath and crack later when the part flexes. Grey primer is the standard because a neutral mid-tone shows flaws that white hides and gives a truer read on dark colours.
For colour, hobby acrylic paints are the easiest starting point and plenty of people stop there with good results. Model enamels such as Tamiya acrylics dry harder and take thinner, more even coats. Enamel paint in the solvent sense is the wrong choice for most PLA parts because the thinner attacks the plastic. If you brush acrylic on miniatures, thin it a few percent with water or a matte medium such as Floetrol to improve flow into the layer lines.
Step 4: Build the Colour Coats
Thin coats beat thick ones every time. A heavy coat pools in every valley, dries textured and looks worse than the bare print underneath. Apply several light coats instead and give each one time to flash before the next.
| Method | Finish quality | Best use | Watch out for |
|---|---|---|---|
| Brush and acrylic | Good on flat panels, brush marks stay visible on curves | Small details, recess work, tight budgets | Thinning too far, brush strokes on edges |
| Rattle can spray | Even and quick if technique is good | Large panels, cosplay props, most beginners | Orange peel and dust inclusion, over-spray |
| Airbrush | Best finish available, smooth gradients | Show pieces, shading, weathering | Thinner and airflow discipline, more setup |
For a spray can, shake it for a full two minutes, test the cap on cardboard, and always spray off the part first before crossing it. Hold even distance, use a back-and-forth motion with about half the stroke overlapping the previous one, and start each pass just outside the silhouette and end it after the edge. Let the part cool between passes.
Dark colours and matte finishes hide layer lines better than gloss. Gloss magnifies every remaining defect because it reflects the surface texture, so if you want the deepest automotive-style shine, sand finer and expect more clear coat passes. Airbrush users should thin acrylic with water or acrylic thinner until it runs off the needle in a controlled line rather than a sputter, and keep the airflow moving to avoid pushing paint into wet coats.
Mask areas you want to stay plastic with tape before the first colour coat, and let the tape sit on for ten minutes before lifting it at a shallow angle to avoid pulling a paint edge with it. Decals and stencils go on after the base colour is fully cured, then get sealed with the same clear coat as everything else.
Step 5: Protect and Finish the Part
The clear coat is what separates a hobby paint job from a professional one. It locks the colour in against scratches, adds depth, and gives you a surface you can wet sand for a mirror finish.
| Finish | Appearance | What it hides |
|---|---|---|
| Matte | Flat, no reflections | Layer lines and small texture flaws; low gloss, shows fingerprints less |
| Satin | Gentle sheen | Small defects, a compromise for parts that get handled |
| Gloss | Deep, wet-looking shine | Nothing. Amplifies every remaining defect and needs a smooth surface |
Water-based clear coats are the safest choice on PLA and the easiest to clean up. Spray two or three light coats, keeping the cut-in short so the edges do not build up into a ridge. Let the finish cure before you judge it, because a fresh clear coat often looks hazier than it will once fully hardened. Mod Podge works as a sealer and is fine for a paper-sealing coat on small parts, but it is water-based, dries to a slight sheen and is not as scratch-resistant as a proper clear coat, so it is a compromise rather than the professional answer.
For a mirror finish, let the colour cure, lay down gloss clear coat, let it level, then wet sand the cured surface from around 800 grit up to 1500 or 2000 with a little dish soap in the water, and finish with one more thin gloss coat. That step is fussy and slow, and on a small figurine the effort usually shows more in the final photograph than under a warm display light.
Wait for full cure before handling or stacking parts. Touching a part hours before the finish hardens leaves fingerprints that no amount of polishing removes.
Common Mistakes
| Problem | Cause | Fix |
|---|---|---|
| Paint peels or wipes off | Oils on the surface, no primer, or one thick coat | Degrease with IPA, prime, and apply thin coats with real flash time |
| Layer lines show through the colour | Sanded but never filled, or gloss top coat | Filler primer or spot putty first, then switch to matte or satin |
| Orange peel texture | Coat too thick, can too close, part too warm | Longer distance, thinner coats, allow the part to cool between passes |
| Cracking after a few weeks | Primer or paint applied thick over PLA and left flexible | Scrap to bare plastic, re-prime in thin coats and cure fully |
| Pinholes and craters | Contaminated surface or dusty spraying area | Clean the part, filter the air, keep dust out of the spray area |
| Fine details rounded off | Over-sanding with a rotary tool | Fill instead of removing material, and stop before the detail goes |
| PLA gumming up while sanding | Friction heat from a rotary tool or fast hand pressure | Lower speed, lighter pressure, switch to wet sanding, let it cool |
| Runs and pooling | Too much material in one pass, usually inside pockets | Light coats, wipe downward with a clean brush before it sets |
Work in a ventilated space with the door closed, wear nitrile gloves when handling filler putty and primers, and use a respirator with organic vapour cartridges for any spray product. Spot putty contains a resin hardener and talc, so gloves are not optional there. Many people also run a small extraction fan with a filter in the paint area, and moving a dust-free spray booth outdoors is the single biggest improvement to finish quality at home.
Frequently Asked Questions
What paint adheres best to PLA 3D prints?
Acrylic and model enamel paints both work once the surface is primed. Acrylic is easier to handle and forgiving; enamels dry harder and take thinner, more even coats. Neither bonds well to bare PLA, so clean the part with isopropyl alcohol and apply filler or etching primer first. Solvent-based enamel thinners attack PLA and are not a good option.
Do I need to sand or prime a PLA print before painting?
Yes to both, in that order. Sand or fill first to level the layer lines, then prime so the colour coats sit on a uniform surface. Priming alone will not hide striations, and sanding alone leaves valleys that paint pools into. Skipping steps works on smooth resin prints but rarely survives contact on a rough FDM surface.
Can I use spray paint on PLA without warping it?
Yes. Warping comes from heat and overspray on thin parts, not from spray paint itself. Use light coats from 20 to 30 cm, let the part cool between passes, avoid baking the printed part to cure the paint, and support thin flat panels while they dry. A PLA part that flexes in the hand before painting is the one most likely to crack later.
How long should I wait before handling a painted PLA part?
Wait at least a few hours between coats so each one can flash off, then give the finished piece 24 to 72 hours before handling, stacking or transporting it. Full cure for most hobby clear coats takes several days. Handling a part early leaves fingerprints and dents that polishing will not remove.
What clear coat works best for a painted PLA model?
A water-based clear coat in the finish you want, sprayed in two or three thin coats over fully cured colour. Matte and satin hide small surface defects and suit display pieces, while gloss gives depth but shows every flaw and needs a smoother surface underneath. Mod Podge seals and adds a slight sheen, but it is not as scratch-resistant as a proper clear coat.
Can painted PLA parts be used outdoors or exposed to water?
Brief exposure is fine, but PLA is not a functional outdoor material. UV light degrades it and water weakens it over time, and a paint job only slows that down. For planters, garden pieces or anything that sees weather, use PETG or ABS instead, and still seal the paint if you want the finish to hold.
Start With the Fill, Not the Colour
Pick your print, degrease it, and get filler primer or spot putty onto the layer lines before anything else. Every later step, from sanding to the clear coat, depends on a surface that is already flat.