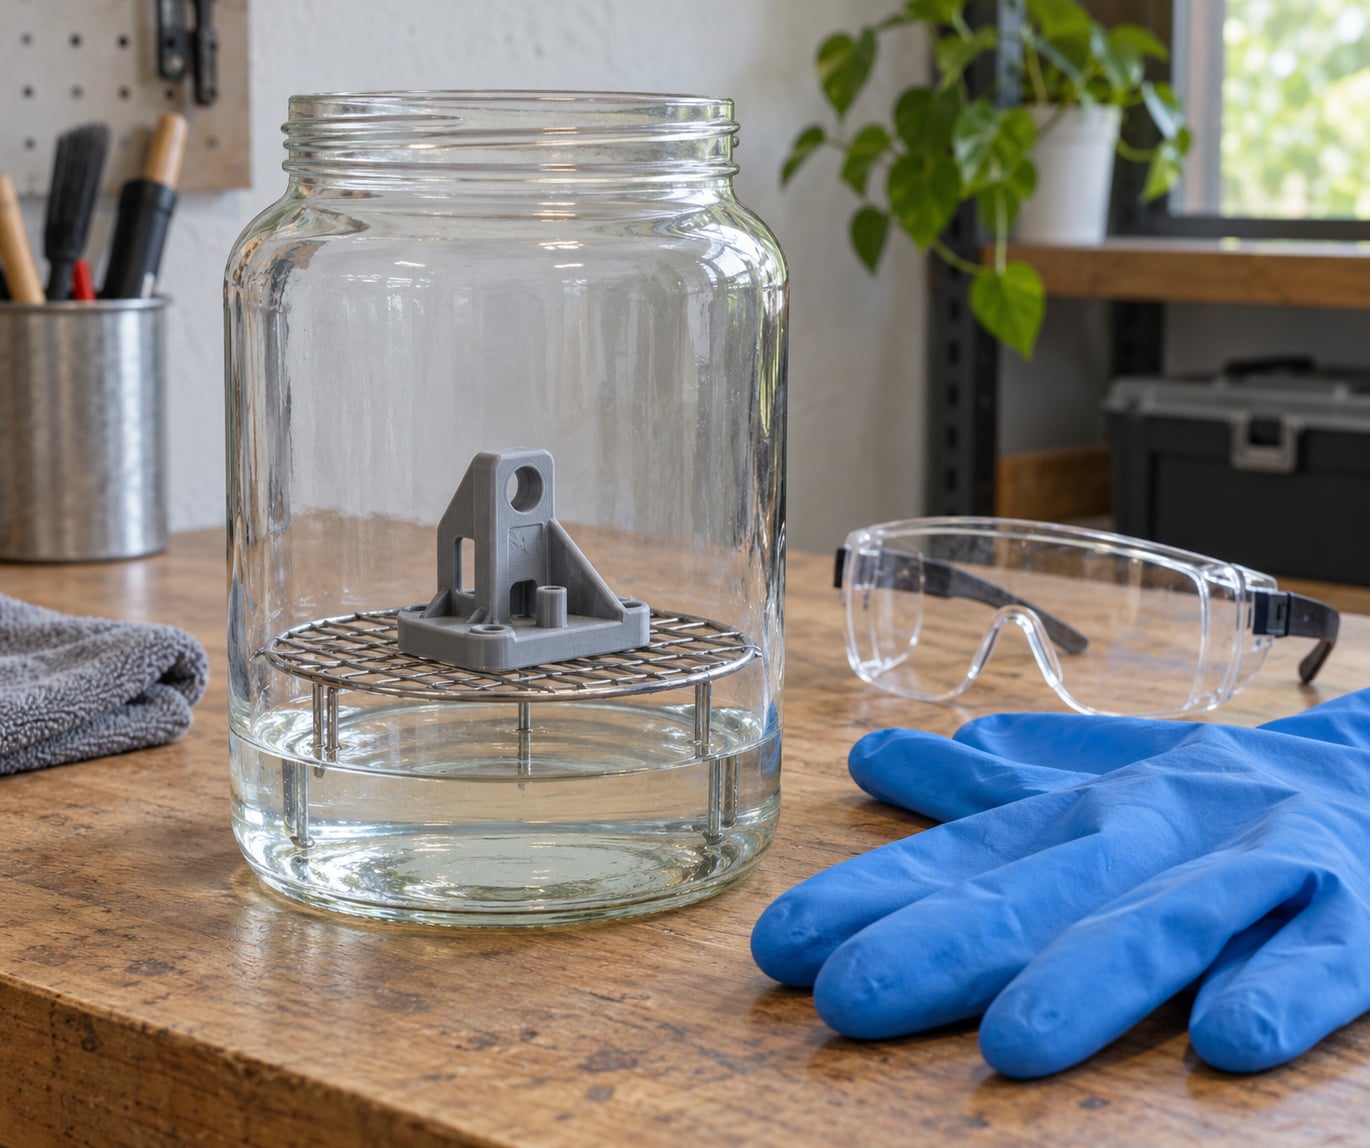
Acetone vapor smoothing works by floating an ABS or ASA print a few centimetres above acetone in a loosely covered container and letting the solvent vapour soften the outer skin until the layer lines flow together and re-solidify as a glossy surface. It takes 20 to 40 minutes in a warm chamber, no sanding, and it will flatten engraved text, panel lines and press fits as effectively as it flattens layer lines.
That trade is fine for a helmet, an armour plate or an enclosure. It is a bad deal for a working mechanical part. Below is the process I use, with the timings that go with each finish cue and a troubleshooting table for the problems that come up most often.
Nothing here needs a dedicated smoothing rig to start. A glass jar on a warm plate works, as does a polypropylene tub on a switched-off heatbed. What matters is that the vapour actually builds up, that you can see the print while it works, and that the room can clear the fumes.
Table of Contents
- 1What You Need
- 2Materials and equipment
- 3What acetone will and will not smooth
- 4Step-by-Step: How to Smooth ABS Prints with Acetone Vapor
- 51. Inspect and Clean the ABS Print
- 62. Prepare the Acetone Vapor Chamber
- 73. Control the Acetone Vapor Exposure
- 84. Remove and Dry the Print
- 95. Inspect, Repeat, and Finish the Surface
- 10When to skip acetone entirely
- 11Common Mistakes
- 12Mistakes and how to fix them
- 13Troubleshooting: why layer lines are still visible
- 14Safety rules worth treating as non-negotiable
- 15Frequently Asked Questions
- 16Will acetone ruin ABS plastic?
- 17Can you use acetone vapor to smooth PLA?
- 18How long should I leave ABS in acetone vapor?
- 19What container do I need for acetone vapor smoothing?
- 20Is acetone vapor smoothing safe at home?
- 21Conclusion
What You Need
You need very little, but three of the items matter more than the rest: pure acetone, a container that acetone does not eat, and somewhere for the vapour to go.
Materials and equipment
- A finished ABS or ASA print, supports removed, surface clean and dry
- 100% acetone, hardware-store or lab grade
- A chamber: wide-mouth glass jar with a loose lid, a polypropylene tub, or a purpose-built smoothing station
- A raised platform to hold the print above the liquid, such as a wire rack or a sheet of perforated plastic
- Heat source: a warm plate, a candle warmer, or a heatbed switched off and cooling to roughly 80 °C
- Chemical splash gloves, eye protection, and an organic vapour respirator with changeable cartridges
- A timer and a ventilation fan or an open doorway with a cross-breeze
- Abrasive paper, filler primer and paint, if you plan to finish the surface afterwards
Nail polish remover is not a substitute. Most formulas are diluted with water or ethyl acetate to slow evaporation, and diluted acetone simply does not build vapour pressure fast enough to do anything visible.
What acetone will and will not smooth
Only amorphous styrenic plastics dissolve in acetone. That single fact decides whether the technique is worth setting up for your material.
| Material | Result | Notes |
|---|---|---|
| ABS | Smooths well | The classic case. Glossy skin in 20 to 40 minutes in a warm chamber. |
| ASA | Smooths well | UV-stable ABS. Same behaviour, often a touch slower because of the rubber content. |
| HIPS | Smooths well | Limp with the same solvent, useful as a sacrificial support material. |
| PLA | No effect | Does not dissolve in acetone. Use heat, filler primer and paint instead. |
| PETG | No effect | Solvent-welds to other PETG, but acetone leaves it alone. |
| PVB | No effect | Untouched; PVB is already optically clear and glass-like. |
| Polycarbonate | Damages | Crazes and stress-whitens. Do not expose it. |
| Nylon | Damages | Absorbs moisture and can swell or warp. |
| TPU | Damages | Swells and goes gummy. Never put it in a chamber. |
Filled or budget filaments are a gamble. Some dissolve evenly, others leave a chalky, uneven skin because the filler does not dissolve. Test an offcut before you commit a helmet to the chamber.
Step-by-Step: How to Smooth ABS Prints with Acetone Vapor
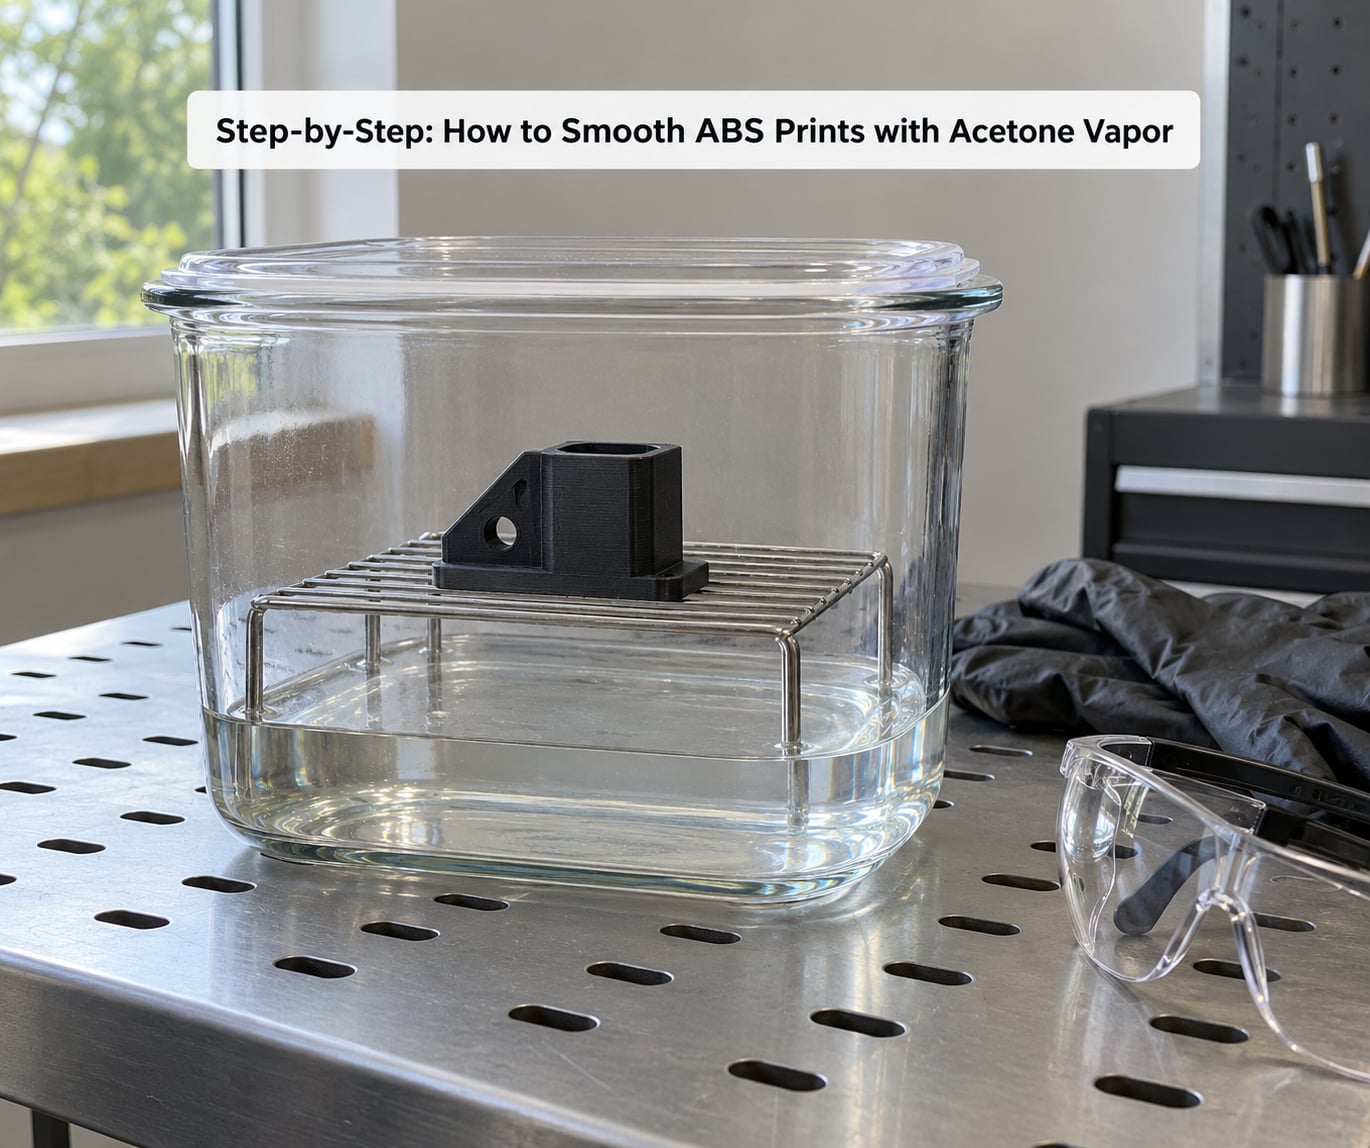
The whole method rests on one idea: the print never touches the liquid. Vapour does the work slowly and evenly, which is exactly why it is worth waiting for.
1. Inspect and Clean the ABS Print
Remove every support, including the faint scars they leave, and clean the part with warm water and dish soap. Wipe it dry with a lint-free cloth and let it cool to room temperature. A cold part condenses vapour into droplets, and those droplets are what leave the blotchy marks people complain about.
Check the material before you go further. If you are not certain it is ABS or ASA, look at the spool label or the colour of the strand. Test one corner with a drop of acetone on a scrap offcut: ABS softens and goes tacky within a few seconds, PLA does nothing at all.
2. Prepare the Acetone Vapor Chamber
Pour acetone into the container to a depth of roughly 5 mm. A tablespoon in a wide jar is plenty; more liquid does not mean faster, it means a bigger spill risk and a longer off-gassing time.
Fit the raised platform so the part sits 2 to 5 cm above the liquid. Hold it off the sides of the container, because acetone wicks up a wall and pools there, which is how you get a shiny part with a wet, dull foot.
Close it loosely. An airtight seal builds pressure and pushes vapour out past the print; a container with a small gap lets the chamber reach equilibrium and still breathes into the room. A sheet of cardboard across the top held with a rubber band is the traditional answer for a glass jar.
Warm the chamber from outside. A heatbed switched off and cooling to around 80 °C, a warm plate under a jar, or a small hot plate all raise vapour pressure and shorten the run. Never heat the acetone itself, and never put a flame near it.
3. Control the Acetone Vapor Exposure
Set the timer for 5 minutes and look. Those early minutes tell you whether the concentration is right: the surface should turn faintly glossy and the layer lines should start to blur. If nothing changes by minute 10, add a second splash of acetone rather than extending the timer.
These bands are checkpoints for looking, not instructions to wait. A larger chamber holds more vapour and needs longer; a small jar reaches equilibrium fast.
| Time band | What the surface looks like | Detail you can still expect |
|---|---|---|
| 5 to 10 minutes | Faint sheen, layer lines still clearly visible | Everything survives, including small engraved text |
| 15 to 20 minutes | Layer lines soften and merge at glancing angles | Panel lines blur, features under 0.5 mm start to go |
| 20 to 40 minutes | Even satin or gloss finish, lines gone from normal viewing distance | Sharp edges rounded, thin walls and lugs soften noticeably |
| 40 to 60 minutes | Deep gloss, faint runs and sagging on vertical faces | Detail loss is permanent; dimensional change becomes measurable |
Two variables move faster than the clock. Layer height does most of the work: a part printed at 0.15 mm will smooth dramatically, the same model at 0.35 mm will still show steps no matter how long it sits there. Second, printing quality sets a floor. Smoothing hides layer lines; it does not fix stringing, elephant foot, warping or under-extrusion.
Leave the chamber undisturbed and lift the lid away rather than sliding it, so you do not wipe vapour across the part. Look through the glass each time rather than lifting the lid every minute.
4. Remove and Dry the Print
Lift the platform, not the part. At this stage the outer skin is still soft and it will take a fingerprint from your glove that no amount of sanding will remove.
Let residual vapour evaporate before you handle the part directly. Put it on a rack in a ventilated, dust-free spot for two to four hours, and longer for a large part with enclosed volumes that trap acetone. A strong smell means it is not done; a faint sweet solvent note that fades overnight is normal.
Keep the platform out of any enclosure where vapour could collect. Tilt large parts so condensation runs off rather than pooling in a face recess.
5. Inspect, Repeat, and Finish the Surface
Judge the result under diffuse light and at a glancing angle, which is where surviving layer lines show up first. If the lines are still readable, another short run beats one long one, because you keep control the whole time.
Gloss does not hide everything. Matte paint on a well-sanded surface often reads better than gloss on a surface that still shows printing defects, because gloss exaggerates every one of them.
For finishing, sand the cured skin lightly with 220 to 400 grit to cut the gloss, fill remaining gaps with filler primer, then paint. Wet sanding between coats and a final coat of satin or matte topcoat gives a result that photographs well and hides fingerprints.
When to skip acetone entirely
Do not set up a chamber for PLA or PETG, for miniatures where fine detail is the point, or for functional parts with press fits and mating faces. Vapour smoothing rounds edges and shrinks outer surfaces by a small amount that will break a fit you spent an evening aligning.
For those parts, dry sanding with progressively finer grit, filler primer and paint take longer but keep every dimension and every feature intact.
Common Mistakes
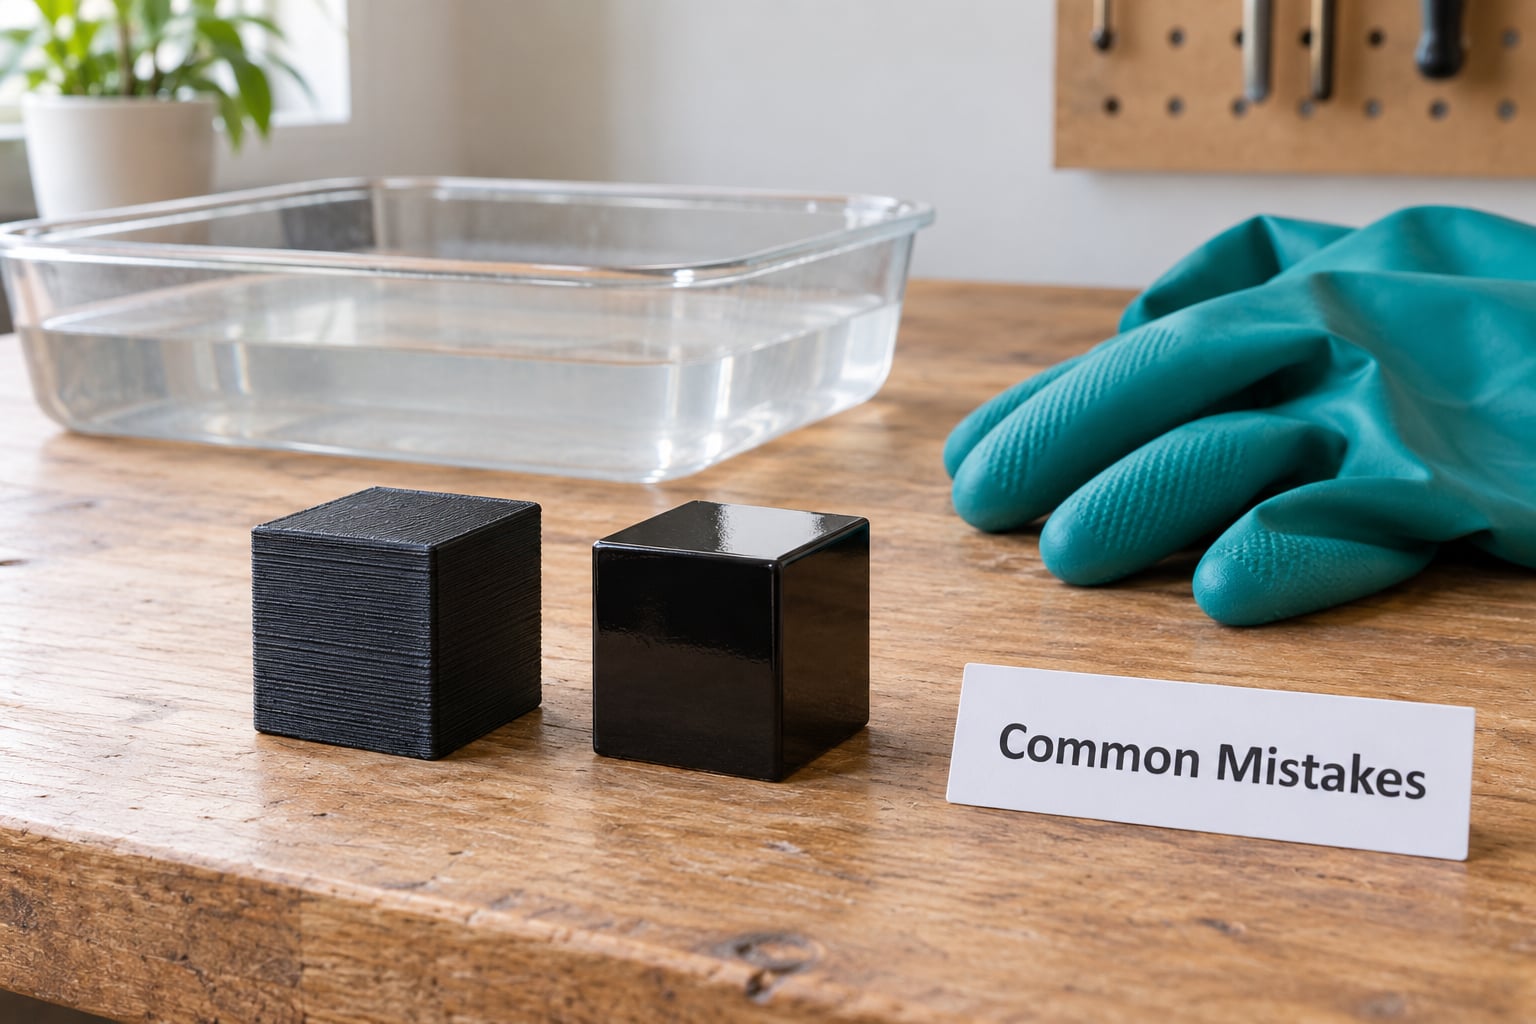
Almost every question I see about this technique is a troubleshooting question, and nearly all of them come down to concentration, heat or timing.
Mistakes and how to fix them
- Immersing the print in liquid acetone. It is far faster and far harder to control. Droplet marks, lost detail and soft, sagging geometry are the result. Fix: keep the part above the liquid at all times.
- Heating the acetone directly. Boiling acetone is a fire and fume hazard, and it fills the room with vapour instead of the chamber. Fix: heat the container from outside only.
- Using a plastic container made of the wrong polymer. Polystyrene, polycarbonate and ABS containers cloud, warp or dissolve in contact with acetone. Fix: glass, metal or polypropylene only.
- Sealing the chamber airtight. Pressure builds and vapour escapes past the print, so the part sees almost none of it. Fix: loose lid, small vent gap.
- Too little acetone, or diluted acetone. This is the most common cause of nothing happening. Fix: a 5 mm pool of 100% acetone, and add a splash if minute 10 looks unchanged.
- Pulling the part out and handling it too early. The skin is still soft. Fix: lift the platform, wait two to four hours, and keep gloves on for the first handling.
- Setting the platform too low. Condensation drips onto the print and pools in droplets. Fix: hold the part 2 to 5 cm above the liquid.
- Waiting a full hour before checking. There is no benefit past the point where the finish stops improving, and long runs add detail loss. Fix: look at 5, 10 and 20 minutes.
Troubleshooting: why layer lines are still visible
| Symptom | Likely cause | Fix |
|---|---|---|
| No visible change after an hour | Vapour never built: too little acetone, a diluted product, or a lid sealed too tight | Check the acetone is 100% and pour a deeper pool. Leave a deliberate gap in the lid. |
| Glossy but the layer lines are still visible | Layer height too coarse, or exposure too short for the chamber volume | Re-print at 0.15 mm. Extend in 10 minute increments rather than one long run. |
| Blotchy, smudged or streaky surface | Condensation, a pool of liquid on the part, or touching it while soft | Raise the platform, tilt the part, and let it finish drying before handling. |
| Fingerprint-like marks | Gloved touch on a still-soft skin | Lift the platform out. Add several hours of air drying. |
| Droplet craters on flat faces | Condensation dripping from above, platform too low | Increase clearance to 2 to 5 cm and leave more headroom under the lid. |
| Engraved text and panel lines gone | Normal behaviour past the 20 to 40 minute band | Mask those areas with tape, or choose sanding instead for detail parts. |
| Chalky, uneven skin | Filled or low-quality filament whose filler did not dissolve | Try a different filament. Filled ABS will not give a uniform gloss. |
| Large part came out soft or sagging | Massive vapour volume, exposure far too long | Support the part on a rack, reduce exposure, and consider a warm rather than hot chamber. |
| Assembled parts no longer fit | Outer surfaces and edges softened, dimensions shifted slightly | Smooth before assembly, or leave mating faces untouched and sand them by hand. |
Safety rules worth treating as non-negotiable
Acetone has a flash point of -18 °C and forms explosive mixtures between roughly 2.5% and 13% by volume in air, which is a range most people underestimate in a small closed room. Keep it away from flames, hot plates, sparks and any device that switches on with a relay.
The occupational exposure numbers are worth knowing: an OSHA permissible limit of 1000 ppm, a NIOSH recommended limit of 250 ppm, and an immediately dangerous to life or health value of 2500 ppm. Work outdoors or under extraction.
On gloves, most of the advice online is wrong. Permeation data does not favour nitrile for acetone; a laminated or butyl glove with a long breakthrough time is the better choice. Change contaminated gloves immediately, and wash rather than reuse.
A dust mask does nothing useful against vapour. You want an organic vapour respirator with changeable cartridges. Store and dispose of acetone-soaked towels and gloves as hazardous waste, not in the kitchen bin.
Frequently Asked Questions
Will acetone ruin ABS plastic?
Vapour is gentler than liquid on ABS. It softens only the outer skin, so the part keeps its infill and most of its strength. What it does damage is detail: engraved text, panel lines, thin lugs and press fits soften or round off, and outer surfaces shift very slightly. Mask those areas or smooth before assembly if fit matters.
Can you use acetone vapor to smooth PLA?
No. PLA does not dissolve in acetone, so the vapour leaves it untouched no matter how long it sits there. Isopropyl alcohol will not smooth PLA either. Use heat and physical methods instead: sand the layer lines progressively, fill with filler primer, then paint or coat.
How long should I leave ABS in acetone vapor?
Most prints finish in 20 to 40 minutes in a chamber warmed from outside to around 80 degrees Celsius. Small glass jars can react faster, larger boxes need longer. Treat the times as checkpoints for looking, not as instructions to wait: check at 5, 10 and 20 minutes, and stop once the lines have merged at a glancing angle.
What container do I need for acetone vapor smoothing?
A glass jar, a metal container or a polypropylene tub, with a loose lid that lets vapour out slowly. Never use polystyrene, polycarbonate or ABS containers; acetone clouds and softens them. A wide-mouth jar with a cardboard lid and a raised rack inside is the cheapest setup that works well and lets you watch the part through the glass.
Is acetone vapor smoothing safe at home?
It is manageable, not risk-free. Acetone has a flash point of -18 degrees Celsius and forms explosive mixtures between about 2.5% and 13% by volume in air. Work outdoors or under extraction, away from flames and hot plates, wear eye protection, laminated or butyl chemical gloves and an organic vapour respirator with changeable cartridges. Never heat the acetone itself.
Conclusion
Start with a small test coupon rather than the finished helmet. Print it at the layer height you plan to use, run it for 20 minutes in a warm glass jar with ventilation running, and let it dry for a few hours before you judge the result.
From there, adjust in short increments. The part stays above the liquid, the chamber breathes, and you stay out of the vapour while it works. Those three rules, plus the finish cues in the table above, are what separate a clean satin surface from a blurry, over-smoothed part.