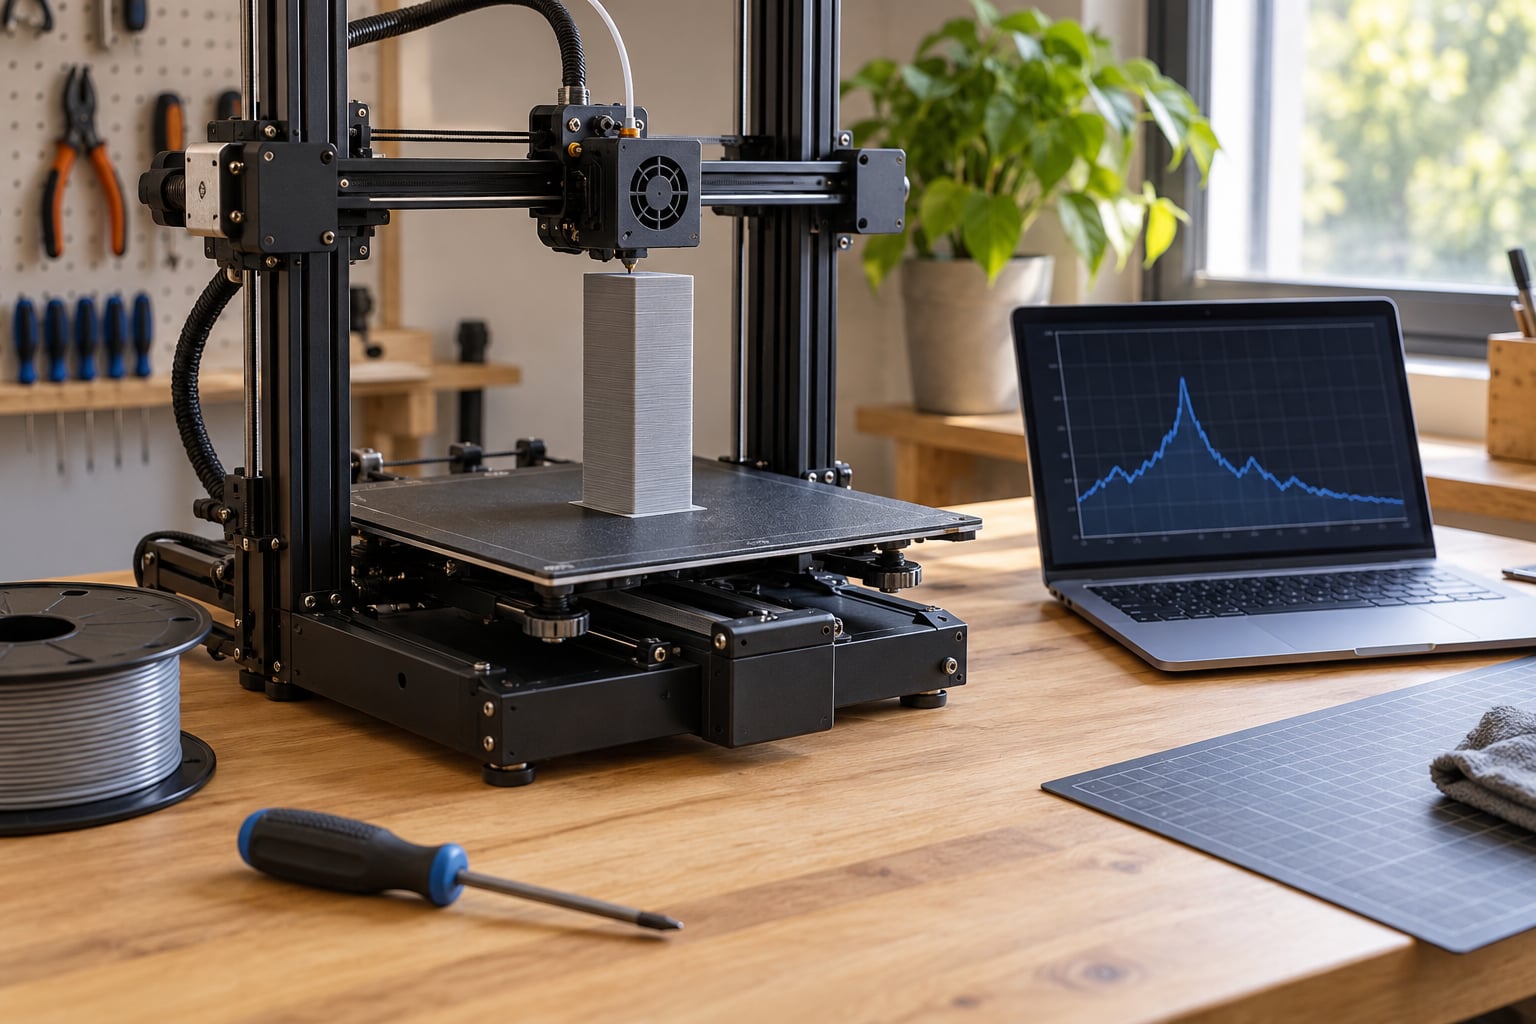
Ringing, the rippled echo effect most people call ghosting, is caused by the toolhead or bed overshooting and oscillating after every sharp corner, and the extruder prints those oscillations into the layer. Fix it by working outward in order: check belts and frame, cut acceleration, then enable input shaping if your firmware supports it. Most machines stop ringing after two or three changes, and it costs an evening and about 20 grams of filament.
The annoying part is that ringing looks identical to several other defects, and people routinely spend a weekend tuning acceleration on a printer that just needed a loose pulley screw tightened. That is why this guide starts with identification, not with settings.
Table of Contents
- 1What You Need
- 2Step-by-Step
- 31. Identify Ringing, Ghosting, and Other Print Artifacts
- 42. Check the Printer Before Changing Software
- 53. Run a Controlled Test Print
- 64. Reduce Acceleration and Jerk Carefully
- 75. Tune Input Shaping or Resonance Compensation
- 86. Check Slicer Settings That Affect Corner Motion
- 97. Verify Filament, Cooling, and Temperature Settings
- 108. Reprint and Confirm You Fixed Ringing and Ghosting on Prints
- 11Common Mistakes
- 12Frequently Asked Questions
- 13What causes ringing and ghosting on 3D prints?
- 14Is input shaping necessary to fix ringing on every 3D printer?
- 15Does reducing acceleration eliminate ringing on FDM printers?
- 16What is the best test model for checking ringing?
- 17Can ringing and ghosting be fixed without changing firmware?
- 18How much should I lower acceleration before seeing a difference?
- 19Conclusion
What You Need
You do not need a new printer for any of this. You need the printer you already own, about 20 to 30 minutes of hands-on time, and something to measure with.
- The printer and its firmware. Know whether you are running stock firmware, Marlin, Klipper, or a vendor build such as Bambu Lab or Creality firmware, because each exposes different motion controls.
- Your slicer profile. PrusaSlicer, OrcaSlicer and Cura all control motion, but Cura hides acceleration control behind a setting you have to enable first.
- A ringing test model. Ellis’ Calicat or a Voron Cube both work. A tall, sharp-cornered square tower works too.
- A phone camera. Photograph the test print at the same angle each time, ideally lit from the side. Ripples that are invisible under room light show up immediately under raking light.
- A small flat-blade screwdriver and the hex keys that came with the printer. You will be checking set screws, frame bolts and pulley grub screws.
- Optional but useful: a guitar tuner app for belt tensioning by pitch, an accelerometer such as the ADXL345 for Klipper resonance measurement, and a rigid base such as a foam mat or a paving slab.
Step-by-Step
1. Identify Ringing, Ghosting, and Other Print Artifacts
Ringing is a repeating wave pattern on vertical walls that starts a few millimetres after a sharp corner and fades out over roughly 10 to 20 mm. It appears on every corner at the same height, which is the give-away that it is motion-related rather than a filament problem.
Before you change anything, rule out the look-alikes:
- Ringing and ghosting: repeating ripples immediately after corners, same on every corner of the part, caused by mass oscillation after a direction change. Fix with motion control.
- Stringing: thin hairs between features and between the nozzle and the part, caused by ooze during travel moves. Fix with retraction, temperature and wiping.
- Vertical fine artifacts: straight, evenly spaced lines running along the whole wall rather than after corners, often caused by a clogged or damaged nozzle. Fix by removing and cleaning the nozzle.
- Banding: horizontal ridges spaced at a fixed layer interval across flat surfaces, caused by Z-axis backlash or a dirty lead screw. Fix by cleaning the screw and removing Z play.
- Salmon skin: a rough, uneven texture on the surface without any directional pattern, caused by partial cooling between layers. Fix with airflow and temperature.
- Elephant foot: a thickened, squashed first few layers at the bottom edge. Fix with a chamfer or by raising the nozzle height.
You can also read the ripple spacing as a frequency signal, which tells you where the problem lives. Ripples about 2 mm apart at a 100 mm/s outer wall speed point to roughly 50 Hz, which is a light mass such as the toolhead. Ripples 5 to 10 mm apart at the same speed point to 10 to 20 Hz, which is the frame or the bed moving. Fine tight waves mean lighten the toolhead; coarse wide waves mean stiffen the machine.
2. Check the Printer Before Changing Software
Most persistent ringing on budget machines comes from mechanical play, not from firmware. A loose belt or a pulley with a half-turn of backlash lets the axis move before it actually starts moving, which produces a bigger overshoot than a properly tensioned axis ever would. Check the mechanics first because it costs nothing and it changes what the calibration tools measure.
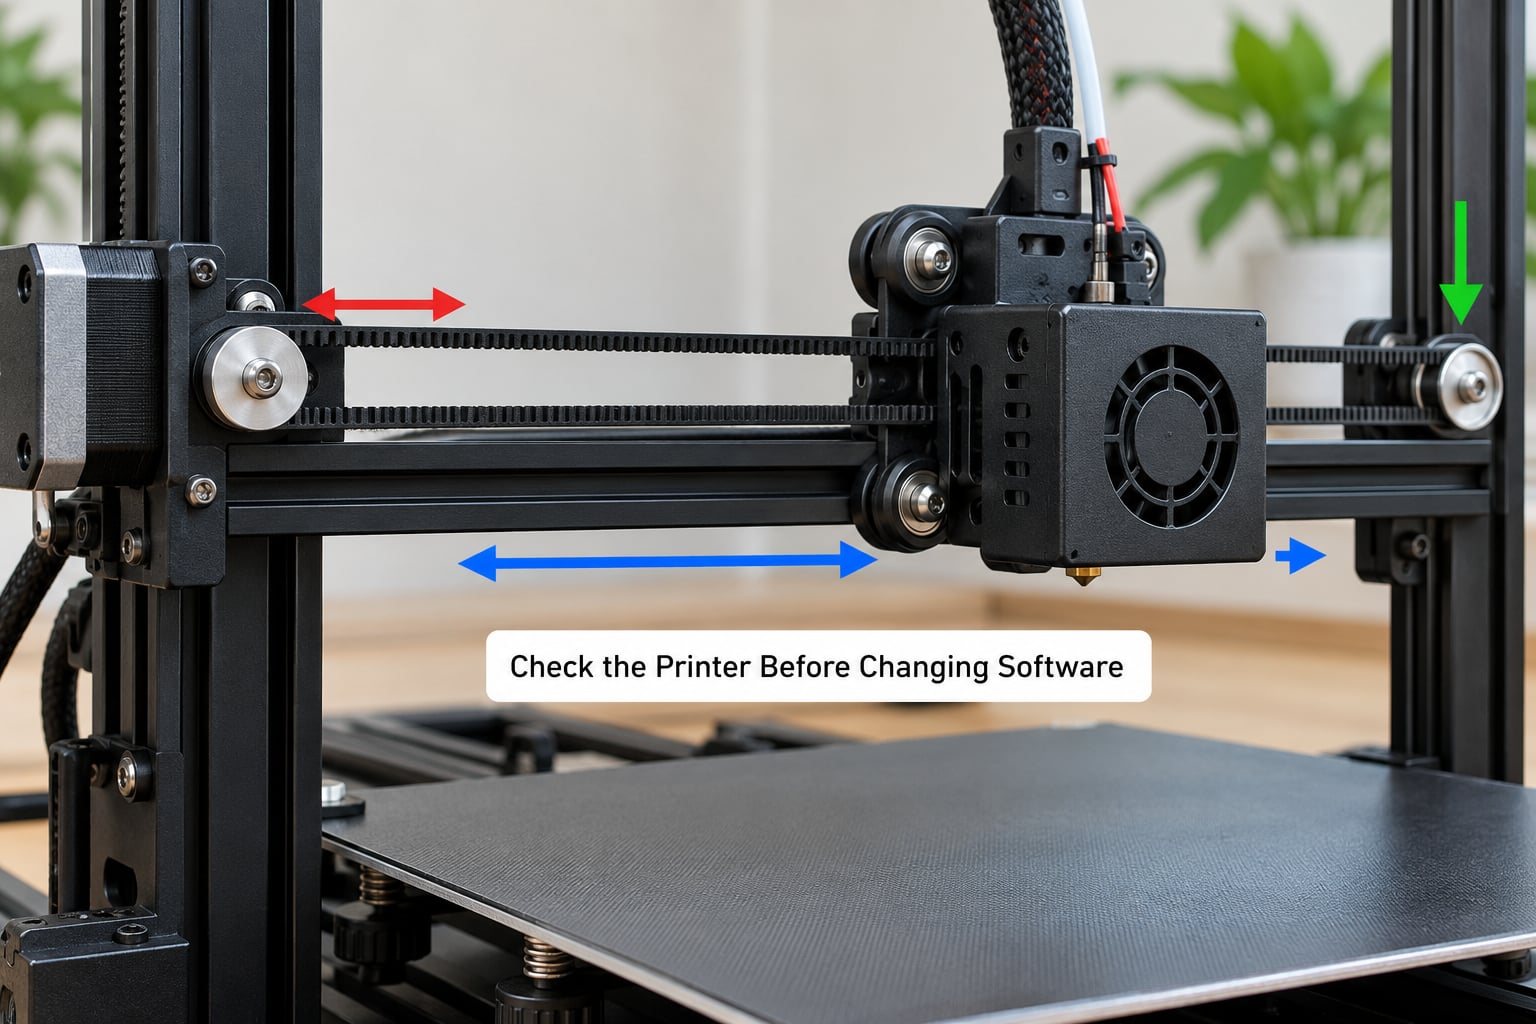
Work through these in order:
- Belts. Press the middle of each belt span with a fingertip. A good GT2 setup deflects roughly 1 to 2 mm and feels firm with no knock. Any sideways slack means you are at the first cause.
- Precision method. Pluck the belt like a guitar string and read the pitch with a tuner app. A loose 6 mm belt sits around 50 to 70 Hz; a properly tensioned one reads roughly 90 to 120 Hz. Match X and Y within about 10 Hz. Creality K2 Pro users report targets near 110 Hz on X and 100 Hz on Y, with the K1C closer to 95 Hz, so treat those as orientation points rather than laws.
- Idler and motor pulleys. Check the grub screws on every pulley. Half a loose set screw is the single most common mechanical cause and it takes five minutes to fix.
- Frame bolts. Every corner joint on an extrusion frame should be tight. Sidewinder and Ender 3 style frames often loosen in shipping, and owners on the 3D printing space forum reported that tightening a loose frame plus adding back-to-top bracing removed severe ringing.
- Gantry squareness and rail play. Push the gantry sideways against each linear rail. Any perceptible rock means loose carriage bearings or a missing preload. Ringing you cannot remove here will keep coming back.
- Cable chain and dress bundle. A drag chain that catches as the axis reverses pulls the mass sideways at the moment of the direction change, which makes ringing look worse than it is.
Do not overtighten. Cranking belts past spec wears linear rails and can push the resonant frequency into a range that shakes the frame instead of the toolhead.
3. Run a Controlled Test Print
A controlled test print is the only way to know whether a change worked, because your memory of the last print is unreliable. Print a Calicat or a Voron Cube at your normal layer height, normal nozzle temperature, and a deliberately slow outer wall speed of 30 to 40 mm/s. It takes about 25 minutes and uses roughly 20 g of filament.
Photograph it against a plain background from the same three-quarter angle, and stand it under a desk lamp at a low angle afterwards to catch ripples the eye skips. Keep this photo. Every later comparison is against this baseline, not against a vague memory.
4. Reduce Acceleration and Jerk Carefully
Acceleration, not print speed, is what creates ringing. Speed determines how long the nozzle travels between corners. Acceleration determines how hard the mass changes direction, and that force is what sets the ringing. Cutting speed by half barely changes the waves; cutting acceleration in half removes a visible band of them.
Use these as starting values:
- Quality printing: 500 to 1500 mm/s². Below 500 you are wasting time; above 3000 on a stock machine you are ringing.
- Outer wall speed: 30 to 40 mm/s for a cosmetic surface. The outer wall carries the only surface quality your customer sees, so it deserves the slowest setting in the profile.
- Jerk in Marlin and Klipper: 5 to 10 mm/s. Klipper users set junction deviation instead, usually 0.02 to 0.05 mm, where a higher number means the corner speed is higher.
- Per feature: walls, top surface and infill each have their own acceleration control in PrusaSlicer and OrcaSlicer. Set walls low and infill high, since infill defects are hidden anyway.
Drop acceleration in steps of 300 to 500 mm/s² and reprint the same test model. You should see the ripples shrink within two or three steps, and the point where they stop is your practical ceiling until the mechanics are sorted. Changing two settings at once tells you nothing about which one mattered, and that is how people end up at 300 mm/s wondering why nothing improved.
5. Tune Input Shaping or Resonance Compensation
Input shaping is the firmware feature that cancels the oscillation instead of merely slowing it down. It works like noise-cancelling headphones: the firmware knows the frequency of your machine’s shake and moves the stepper commands at just the right moment so the ringing and the cancelling motion cancel each other out. Once it is active you can raise acceleration back up without bringing the waves back, which is the whole point.
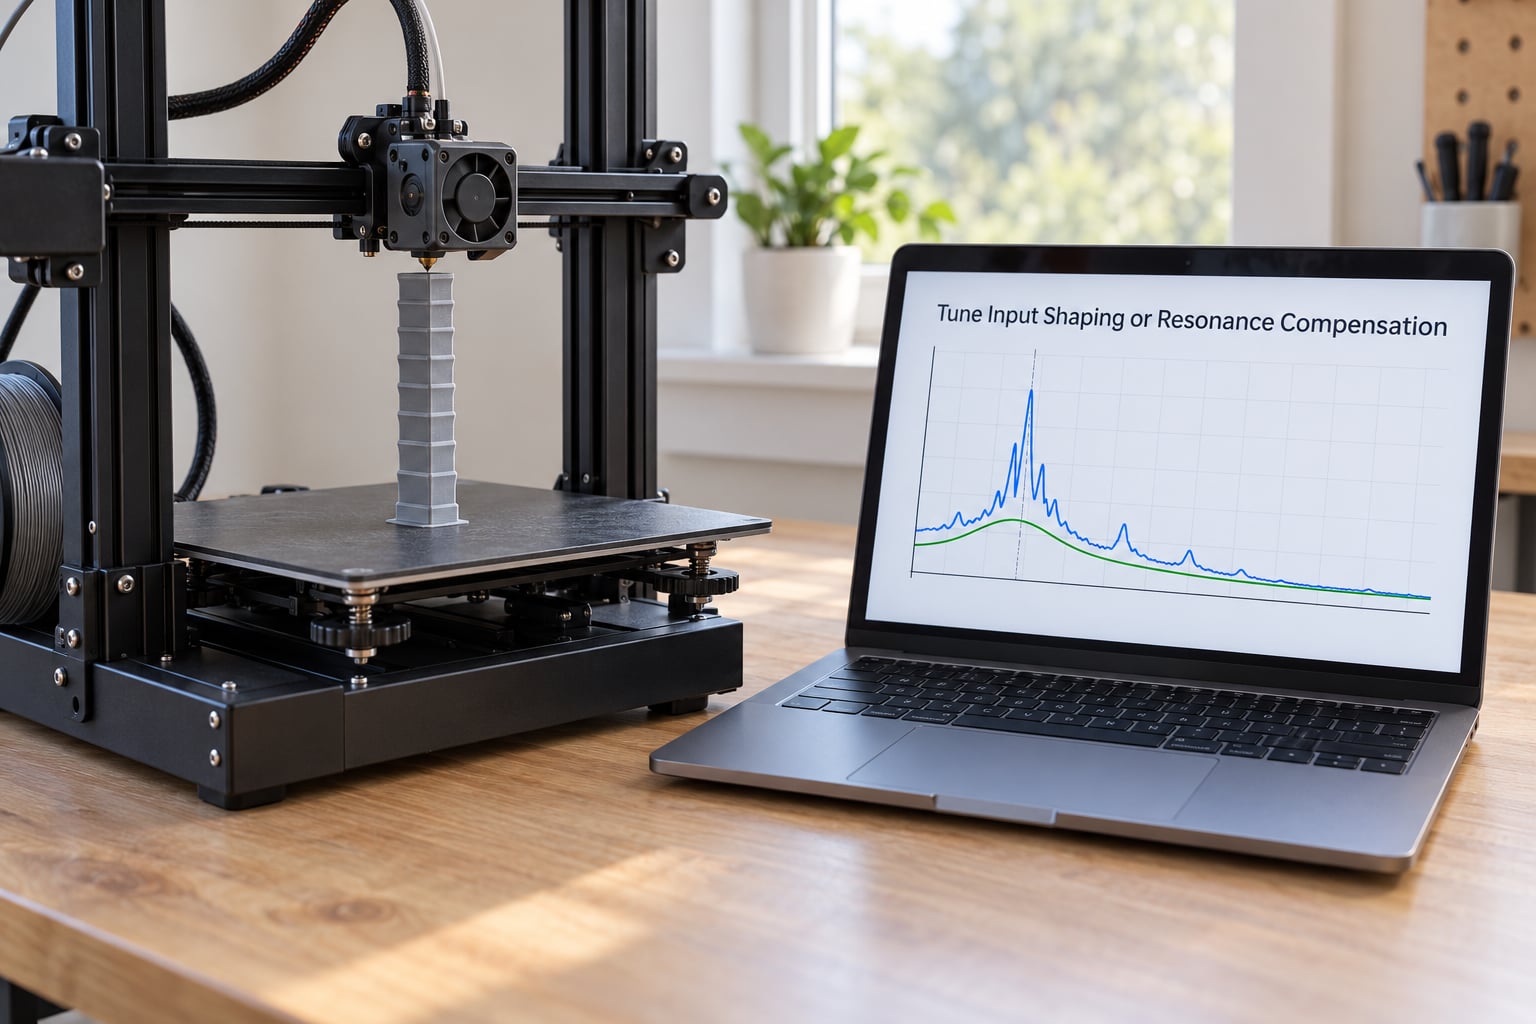
In Klipper, mount an ADXL345 accelerometer to the toolhead, run MEASURE_AXES_NOISE to check the sensor, then run SHAPER_CALIBRATE for each axis. That command measures the resonant frequency and damping ratio, recommends a shaper, and writes the result into the printer.cfg [input_shaper] section. Use the MZV or ZV shaper for most CoreXY machines, EI where you want maximum acceleration at the cost of some residual shake, and 2HUMP_EI or 3HUMP_EI only if the first two cannot reach your target speed.
Marlin and RepRapFirmware can also run resonance compensation, but you need your measured frequency first. Bambu Lab and Creality firmware on current machines measure and apply it automatically on the first print. As a rough starting point for a Klipper CoreXY build, expect X in the 40 to 50 Hz band and Y in the 35 to 45 Hz band. Measure your own machine. Copying another builder’s numbers is the most common reason input shaping underperforms on someone else’s setup.
Now the part almost nobody explains: ringing often gets worse right after you calibrate. That is not a failure. Calibration does not just cancel ringing, it invites you to raise speed, and if you jump from 150 to 300 mm/s and from 2000 to 2500 mm/s² in the same afternoon as the modded Ender 3 owners on r/FixMyPrint did, you are now running at a performance level your frame has never been asked to reach. Separate the two changes. Enable input shaping, confirm the test print is clean at your old settings, then raise speed in one deliberate step. If the waves come back after that step, you have found your machine’s real limit.
6. Check Slicer Settings That Affect Corner Motion
Slicer settings often make ringing visible or hide it without touching its cause. Perimeter direction decides which corners are sharp: with alternating perimeter direction you get sharp corners at every layer and the full ringing signature. Set it to a constant direction and half the corners turn into smooth arcs where the ripples no longer form. Seam placement matters too, because a seam on a visible face hides one of the worst corners.
In Cura, acceleration control is disabled by default. Turn on Enable Acceleration Control before concluding that Cura cannot help you. PrusaSlicer and OrcaSlicer expose jerk and junction deviation in the motion settings panel, and both also let you slow the outer wall independently of infill. Leave the seam on a hidden face and keep perimeter direction constant only while you are diagnosing; once the ringing is under control you can turn both back for a look you prefer.
7. Verify Filament, Cooling, and Temperature Settings
Wet filament and inconsistent flow can imitate ringing, especially on top surfaces where the effect reads as ripples rather than echoes. If the ripples are only on the top face and the vertical walls are clean, stop tuning motion. Dry the spool and check pressure advance, which compensates for the extra ooze at direction changes.
Poor cooling on short layer times also leaves uneven surfaces that look like waves under raking light. Improve airflow over the nozzle and check that your part fan is actually running before blaming the firmware.
8. Reprint and Confirm You Fixed Ringing and Ghosting on Prints
Verification is simple and it is where discipline pays off. Reprint the same test model with the same layer height, the same nozzle temperature, the same camera angle, and only one setting changed. Compare against your baseline photo, not against a new print you half remember.
When the waves are gone, write down the acceleration, jerk or junction deviation, and the input shaping frequency you settled on. When you change mass later, by fitting a lighter toolhead or a different extruder, you need to measure resonance again rather than trusting yesterday’s numbers.
Common Mistakes
Changing three settings at once. The most common failure and the most expensive in filament. If you lower acceleration, tighten the belts and enable input shaping in one session and the result is better, you still do not know what to keep. One variable, one print, one photo.
Dropping acceleration to absurdly low. Setting 300 mm/s² makes prints ugly and slow without ever removing the rings, which is why people conclude motion settings do not work. Use the 500 to 1500 mm/s² quality band and look for the point where the waves stop, not the lowest number that exists.
Applying input shaping to the wrong axis, or the wrong shaper. A shaper tuned for X does nothing for Y, and a ZV shaper on a machine with heavy damping will not reach your target speed. Measure each axis separately and re-measure after any change that adds or removes mass.
Mistaking a mechanical fault for a slicer problem. If a lofted straight wall ripples, no slicer setting will fix it. Tighten the grub screws and check belt tension first. Belts are the most cited successful fix across forum threads, and they are free to check.
Raising speed in the same session as calibration. This is the input shaping speed-creep trap described above. Enable, verify at your current settings, then raise speed deliberately.
Expecting firmware fixes to cure belt under-tension. Input shaping cancels a resonance. It cannot add stiffness the frame never had. If ripples keep coming back after a clean calibration, the remaining cause is mechanical, and Ultimaker owners who traced similar symptoms to buffer underrun found the fix was reducing segmentation in the motion settings, not anything about corner motion.
Frequently Asked Questions
What causes ringing and ghosting on 3D prints?
Ringing happens because the toolhead or bed has mass and inertia. At a sharp corner the axis changes direction, overshoots, corrects, and oscillates back to rest over a few cycles while the extruder keeps laying down filament. Each cycle becomes a physical ridge, so the corner prints a decaying trail of waves. Loose belts, a light or heavy moving mass, a flexing frame and high acceleration all make that overshoot bigger.
Is input shaping necessary to fix ringing on every 3D printer?
No. Input shaping is the best fix when your firmware supports it, because it cancels the oscillation instead of hiding it behind slower motion. Older Marlin machines without the feature, or budget printers running stock firmware, can still be improved substantially with acceleration limits, correct belt tension and a rigid base. Those changes alone will not remove every wave, but they usually remove most of it.
Does reducing acceleration eliminate ringing on FDM printers?
Not entirely. Acceleration is the main lever, since it sets how hard the mass changes direction rather than how far it travels. Dropping quality acceleration from 3000 to 1000 mm/s² removes most visible ringing, but residual waves from frame resonance, loose belts or a heavy toolhead will remain until those are addressed. Use 500 to 1500 mm/s² as the quality printing band.
What is the best test model for checking ringing?
Ellis’ Calicat is the most diagnostic choice because its geometry deliberately exposes ringing on both axes. A Voron Cube works nearly as well if you want a single model to print repeatedly. Print it slowly, around 30 to 40 mm/s outer wall, and photograph it from the same angle under a side light each time. Changing one setting between prints is what makes the comparison meaningful.
Can ringing and ghosting be fixed without changing firmware?
Yes, and you should try that route first. Check pulley set screws, tension the belts, confirm the gantry has no sideways play, then lower acceleration and outer wall speed in your slicer. Put the printer on a rigid, damped base. Plenty of printers drop from obvious ringing to nearly clean with those four changes alone, and they cost no flashing, no disassembly and no risk of a bad configuration.
How much should I lower acceleration before seeing a difference?
Drop it in steps of 300 to 500 mm/s² and reprint the same test model. Most people see a clear change within two or three steps, which usually lands between 800 and 1500 mm/s² for a stock machine. If nothing changes after a 50 percent cut, acceleration is probably not your problem and you should look at belt tension, frame rigidity and toolhead weight instead.
Conclusion
Start by printing one controlled test model and photographing it, then check the pulley set screws and belt tension. That is the cheapest step and it removes the most common cause.
If the waves are still there, cut quality acceleration in 300 to 500 mm/s² steps and slow the outer wall to 30 to 40 mm/s. Only after the mechanics and the motion settings are clean should you move to input shaping, and when you do, verify the improvement at your existing speed before raising anything. Ringing that survives all of that is a mass or frame problem, and the fix is lighter moving parts or a stiffer machine.