Annealing 3D printed parts for strength means heating a finished print to a controlled temperature above its glass transition point but below its melting point, holding it there, then letting it cool slowly inside the chamber. That cycle relieves the internal stresses locked in during printing, raises crystallinity in semi-crystalline materials, and stiffens the part noticeably.
What it will not do is turn a cheap PLA print into a metal substitute. Stiffness and heat deflection rise reliably. Tensile strength gains are real but modest. Impact toughness often falls, which is exactly where snaps and hinges break. A Rochester Institute of Technology study on printed nylon 6 found crystallinity climbing while yield strength stayed flat and impact energy dropped across every sample tested.
So anneal when heat, sun, sustained load or dimensional drift is the problem. Skip it when you want a tough, forgiving part, or when the better answer is simply a better filament. This guide covers the process, the numbers per material, and the failures that waste a weekend.
Table of Contents
- 1What You Need
- 2Choosing a heat source
- 3Step-by-Step: How to Anneal 3D Printed Parts for Strength
- 4Step 1: Identify the Material
- 5Step 2: Remove Supports and Prepare the Part
- 6Step 3: Select the Correct Temperature and Time for Annealing 3D Printed Parts
- 7Step 4: Heat the Part Gradually
- 8Step 5: Hold and Cool the Part
- 9Step 6: Verify the Result
- 10Common Mistakes
- 11Frequently Asked Questions
- 12Does annealing actually make 3D printed parts stronger?
- 13What temperature should I anneal PLA at?
- 14Can I anneal 3D prints in a home oven?
- 15Can I use a heat gun to anneal a 3D print?
- 16How do I stop a part warping or cracking while annealing?
- 17How much does a 3D printed part shrink when annealed?
- 18Conclusion
What You Need
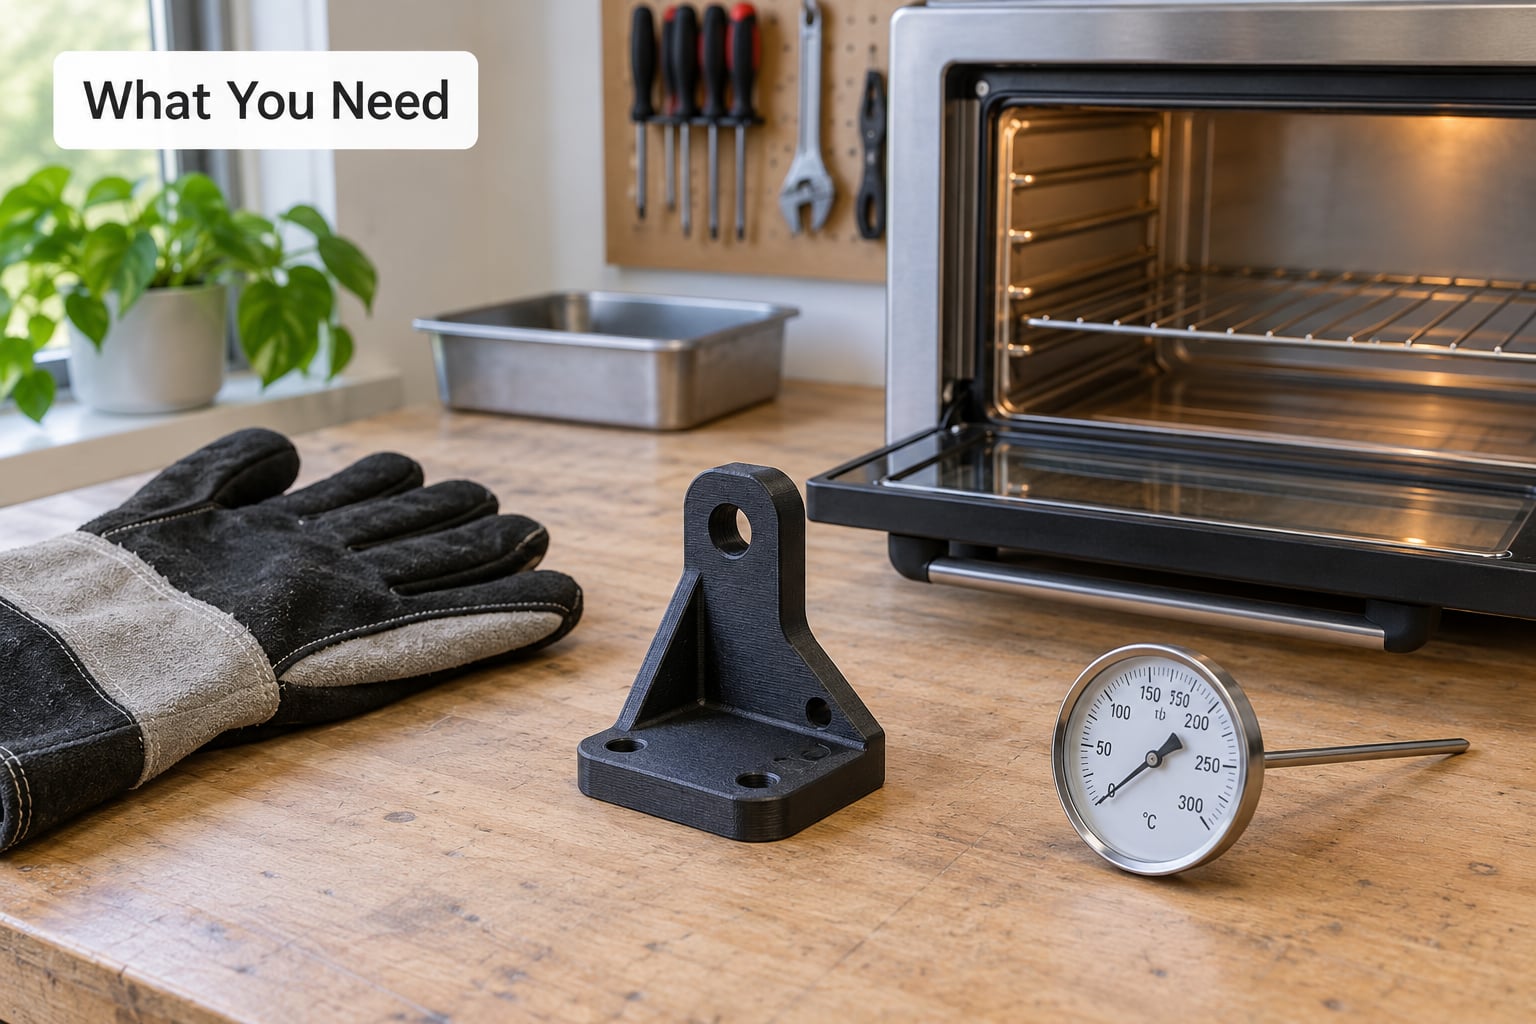
The list is short, and the expensive item is optional. Most people start with a kitchen oven and an inexpensive oven thermometer.
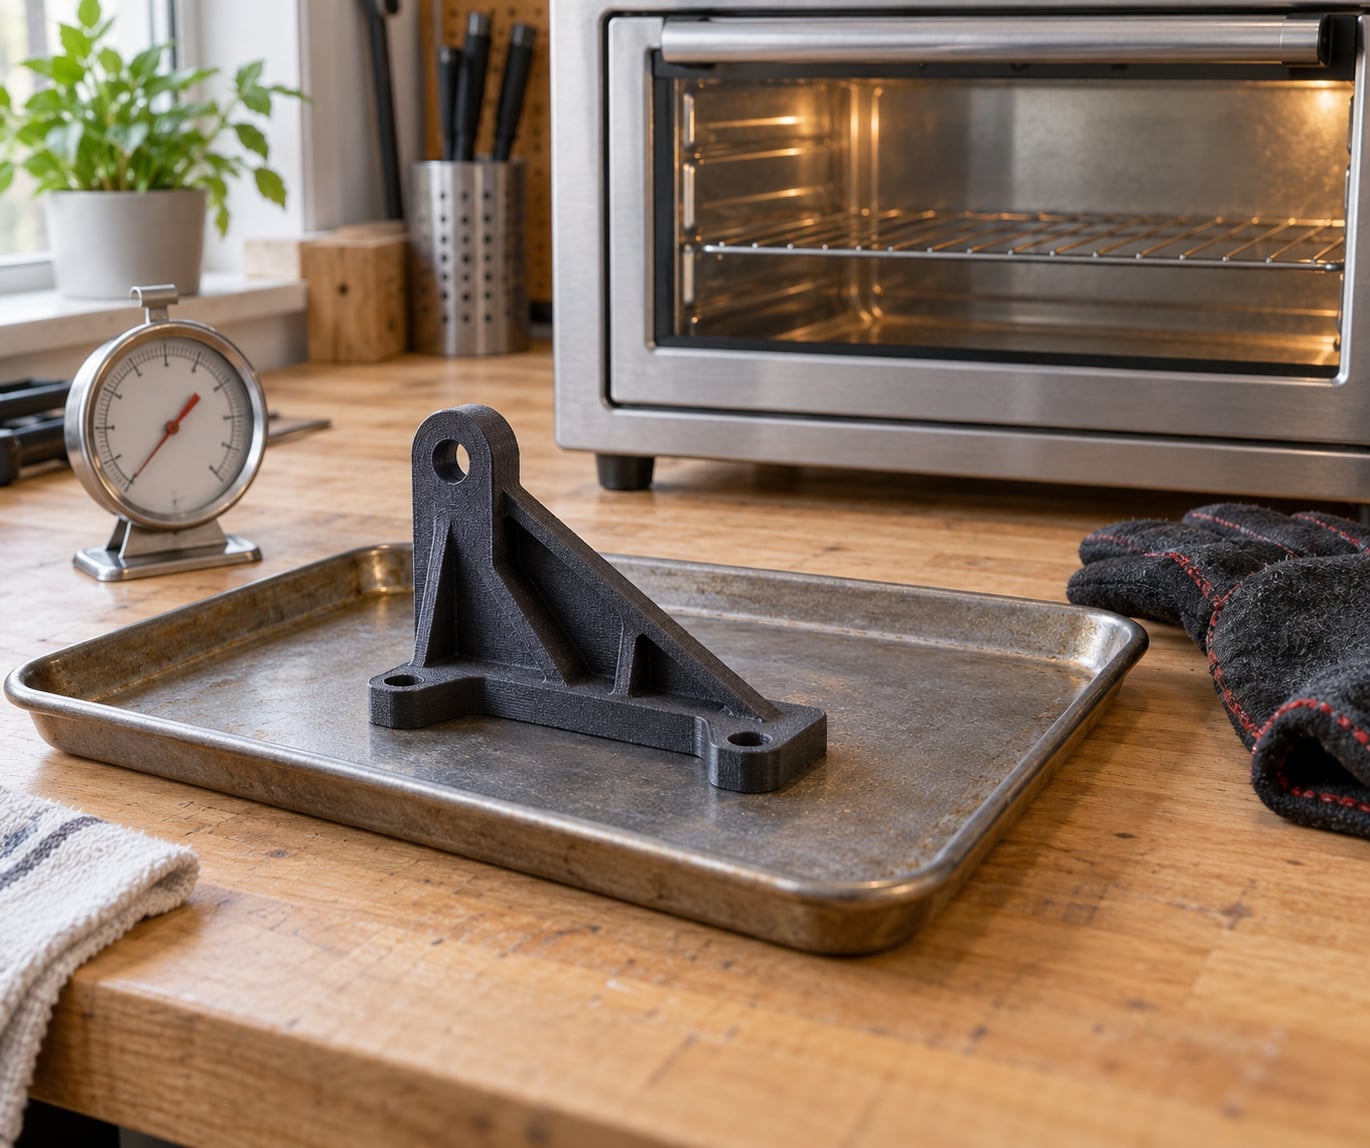
- A temperature-controlled chamber that holds your target temperature without overshooting. Kitchen oven, toaster oven, air fryer, or a dedicated annealing chamber.
- An independent thermometer placed at the part, not the oven dial. Consumer oven dials routinely read 15-25C off. An oven thermometer or an infrared thermometer aimed at the chamber wall both work.
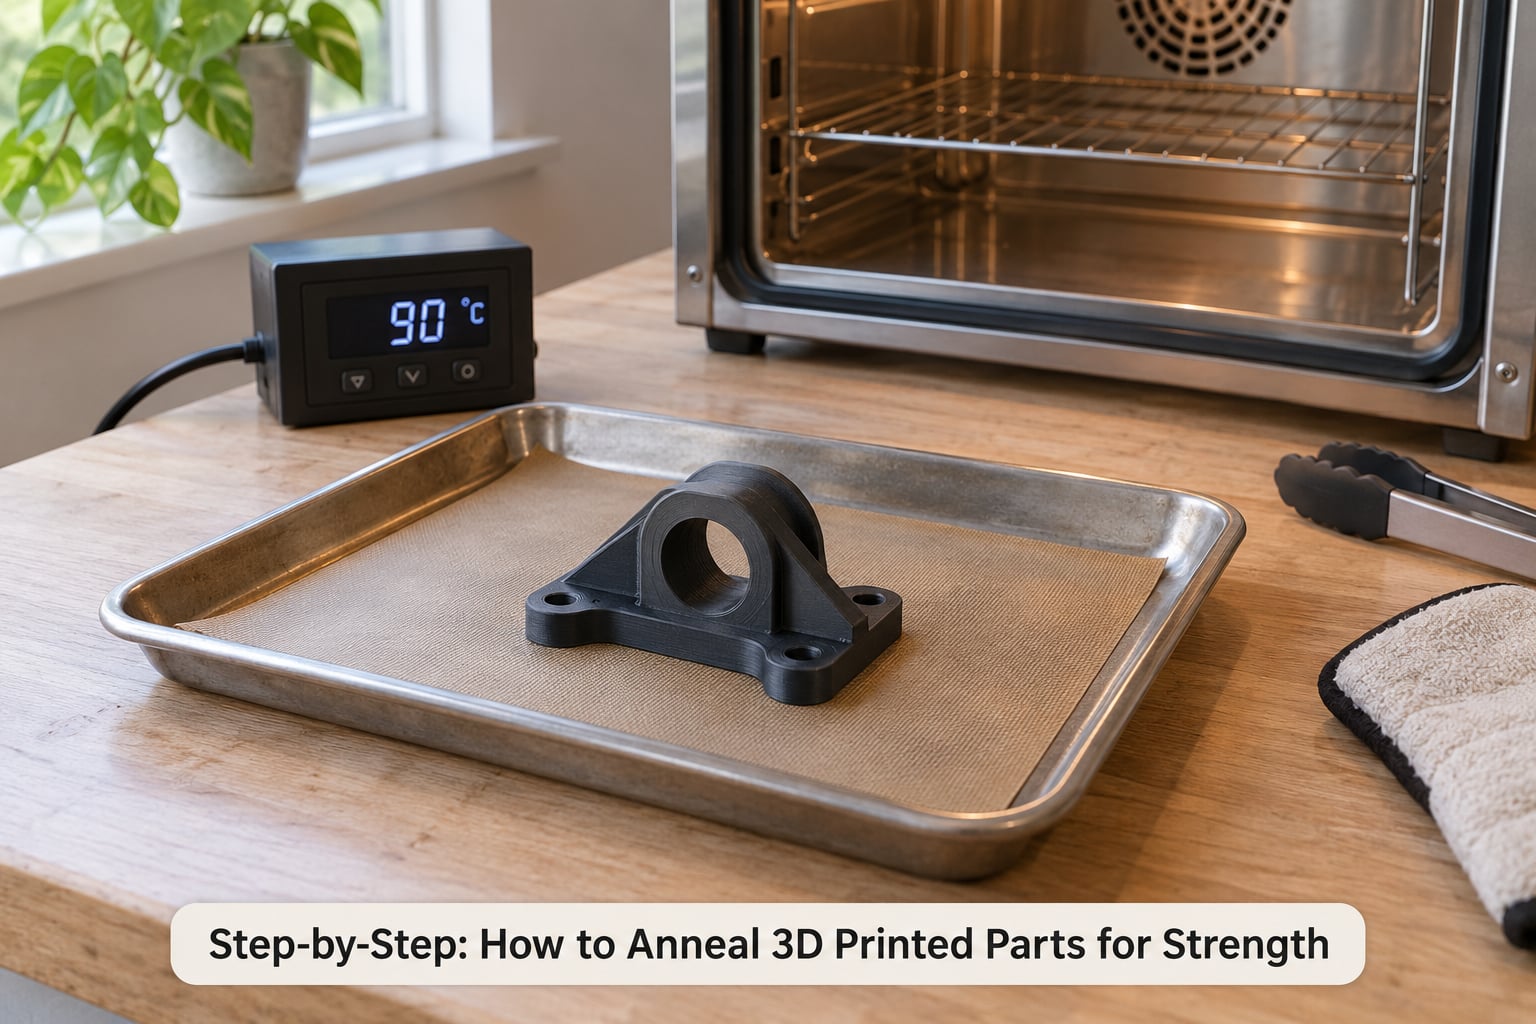
- A support medium — a heat-resistant metal tray, a shallow mold, or fine dry sand. This is what stops flat parts from curling.
- Tongs and heat-resistant gloves. Trivially obvious, still the most common burn in this process.
- Digital calipers to measure the part before and after. You cannot quantify shrinkage you did not record.
- The filament datasheet, which should give you the annealing temperature, soak time and expected heat deflection temperature. Follow it before anything you read online.
- Ventilation. Heating polymer gives off decomposition products. See the safety notes below.
Choosing a heat source
A home kitchen oven often will not go below about 75-80C, which is workable for PLA and PETG but far too cool for nylon, which needs 130C or more. A toaster oven reaches lower temperatures with less thermal mass, which makes it easier to hold a small soak accurately. Air fryers run hot and fast and cycle the fan aggressively, so they tend to overshoot on the ramp.
An enclosed printer with a heated bed can serve as a compact chamber for lower-temperature plastics. Heating a whole chamber is more controlled than a heat gun, which cannot hold a soak temperature steady or cool the part slowly — a heat gun is the one tool that genuinely does not work here.
Safety: Do not heat unknown material in an oven you also cook food in. Decomposition of polymer at elevated temperature produces irritant fumes, and glass- or carbon-filled filaments add particulate. Ventilate the room, run the cycle outdoors or in a garage if you can, and treat a dedicated small oven as the sensible long-term answer.
Step-by-Step: How to Anneal 3D Printed Parts for Strength
Step 1: Identify the Material
You cannot pick a cycle without knowing what you printed. FDM parts are thermoplastics, and thermoplastics split into two families that behave very differently under heat.
Semi-crystalline polymers — PLA, PETG, nylon, PAHT-CF — have ordered regions that can grow when chains are free to move at temperature. This is where annealing pays off. Amorphous polymers — ABS, ASA, PC — have no crystal structure to grow, so they mostly get stress relief and a modest gain in dimensional stability.
Materials to skip: photopolymer resin prints, which need a UV cure rather than a heat cycle, and TPU or other flexible filaments, which soften and lose the very elasticity you printed them for. Annealing those is wasted time at best.
Step 2: Remove Supports and Prepare the Part
Heat behaves like a solvent for glue and support residue. Any part carrying solvent-blended supports, paint, epoxy, or an uncured resin skin should not go in the chamber — the solvents off-gas and can distort the surface.
Clean the part, remove supports mechanically while the part is still slightly warm, then dry it. Moisture in hygroscopic filaments like nylon comes off as steam during the soak, and steam pockets cause exactly the blistering people blame on temperature.
Inspect before you heat. Existing cracks, delamination between layers, or visible voids will propagate under soak and thermal cycling. Annealing a damaged part spreads the damage; it does not repair it.
If dimensional accuracy matters, scale the model up in CAD before printing. Printed parts commonly shrink 1-5% depending on material, and a 100 mm test block coming out at 98 mm is a normal result, not a mistake. Measure before, measure after, and record the factor for your machine and material.
Step 3: Select the Correct Temperature and Time for Annealing 3D Printed Parts
Start with the manufacturer datasheet for your filament. Where published guides disagree, the datasheet wins, because it reflects the actual formulation in your spool rather than a generic polymer family.
The reason you will find conflicting numbers online for PLA — 60-80C in some guides, 80-110C in others, 95-115C in others — is that they are describing different things. A low soak is stress relief: enough chain mobility to release locked-in strain, minimal crystallinity change. A high soak is a full anneal near the melting point, where crystallinity grows substantially. Plain PLA softens early, so conservative cycles are common; tougher PLA blends tolerate and benefit from higher temperatures.
Use these as representative starting points, not universal prescriptions:
| Material | Temperature | Soak time | Expected shrinkage | Notes |
|---|---|---|---|---|
| PLA | 60-80C (stress relief) | 30-60 min | 1-3% | Higher risk of softening and distortion |
| Tough PLA / HTPLA | 90-115C | 1 hour | 2-5% | Most heat-resistant PLA family |
| PETG | 70-85C | 60 min | 1-3% | Crystal formation is slow; gains are modest |
| ABS / ASA | 90-110C | 1-4 hours | 2-4% | Amorphous; long soak for stress relief |
| Polycarbonate | 110-130C | 2-6 hours | 1-3% | Strongest response of any hobby filament |
| Nylon PA6 / PA12 | 130-140C | 2-4 hours | 2-5% | Dry thoroughly first; needs a hot chamber |
| PAHT-CF | 90-100C | 4-6 hours | Very low | Fiber holds the geometry; HDT near 160C |
Distinguish stress relief from annealing when you set the schedule. Stress relief is short and low, suited to parts that warp or crack after machining. Annealing is long and hot, suited to parts that need heat resistance. Running a stress-relief cycle and expecting a heat-deflection jump is the most common disappointment in this whole process.
Step 4: Heat the Part Gradually
Preheat the chamber to the target and let it stabilize before the part goes in. Then ramp. An aggressive ramp heats the outside of the print faster than the core, and the resulting gradient warps the part before the soak even starts.
Place the thermometer where the part sits, not on the door glass. Give the chamber a stabilization window of roughly 10 minutes after reaching temperature so the air and the walls agree, then start counting soak time. Sand baths help here — the sand holds the part and conducts heat evenly, so the surface and core stay closer to the same temperature.
Step 5: Hold and Cool the Part
Hold at temperature for the datasheet time. Thick parts need longer than thin ones because the soak is about the core reaching temperature, not the clock.
Then turn off the heat and leave the part inside with the door shut until the chamber reaches room temperature. This is the step people skip, and it is the step that causes cracking. Cooling fast re-imposes thermal stress on a part you just went to the trouble of relaxing.
Never quench in water. The shock transition from soak temperature to tap temperature produces delamination along layer lines and cracks through bulk sections. Natural cooling is slower, and slower cooling lets more crystallinity develop in semi-crystalline materials, which is the entire point.
Keep the part supported as it cools. Flat panels belong in a mold or buried in fine sand; tall thin parts want a fixture. Carbon-fiber and glass-filled materials hold their geometry better than unfilled ones, which is why PAHT-CF parts distort far less than PLA parts in the same cycle.
Step 6: Verify the Result
Annealing 3D printed parts for strength means measuring the outcome, not assuming it. Pull the calipers on the same features you recorded before the cycle and write down the difference.
Look for three things: uniform shrinkage rather than uneven contraction, no new cracks or delamination at layer lines, and a surface that has hardened without softening or sagging. A part that lost shape failed, even if the temperature was correct.
For anything load-bearing, print a coupon of the same material, same settings, same orientation and run it through the same cycle. A three-point bend test on a small printed bar is cheap and repeatable. For heat resistance, print a standard heat deflection coupon and load it at a rising temperature until it sags. Appearance tells you very little — an annealed PLA part looks nearly identical to a non-annealed one.
Common Mistakes
Guessing the temperature. Every filament blend behaves differently. Follow the datasheet, not a forum answer for a different brand.
Heating too fast. A steep ramp creates a thermal gradient that distorts the part before the treatment begins. Ramp slowly and let the chamber stabilize.
Cooling in water or in open air. The most common cause of cracking and delamination after an anneal. Cool inside the closed chamber.
Treating the wrong material. Resins need UV post-cure, not heat. Flexible TPU loses its elasticity. Heating them is wasted effort at best.
Annealing a part that already has damage. Pre-existing cracks and voids propagate during soak and cooldown.
Trusting the oven dial. Consumer ovens overshoot by 15-25C. Put an independent thermometer at the part.
Expecting a visible strength jump. Stiffness and heat resistance go up measurably. Tensile gains are modest, and a harder part can shatter where a raw print would have bent.
Annealing instead of choosing a better material. If your application sits above 60C continuously, printed PAHT-CF or polycarbonate will outperform annealed PLA with less effort and no dimensional loss.
Frequently Asked Questions
Does annealing actually make 3D printed parts stronger?
Partly. Annealing reliably raises stiffness and heat deflection temperature, and tensile strength usually improves modestly. Impact toughness often drops, so parts become harder and more brittle. A Rochester Institute of Technology study on printed nylon 6 found crystallinity rose while yield strength stayed flat and impact energy fell on every sample. Treat annealing as a heat and dimensional fix, not a strength multiplier.
What temperature should I anneal PLA at?
For plain PLA, 60-80C for 30-60 minutes gives stress relief with modest dimensional change. Tough PLA and HTPLA blends tolerate 90-115C for about an hour and gain substantially more heat resistance. The widely published ranges conflict because some describe stress relief and others full annealing. Check your filament datasheet, and always run a coupon first.
Can I anneal 3D prints in a home oven?
Yes, for most thermoplastics, with two caveats. Many kitchen ovens will not drop below about 75-80C, which rules out nylon. And the dial is unreliable, so verify actual chamber temperature with a separate oven thermometer. If the oven also cooks your food, use a different unit for polymer, because heating plastic releases decomposition fumes.
Can I use a heat gun to anneal a 3D print?
No. A heat gun cannot hold a stable soak temperature for the required duration, and it heats the surface faster than the core, which warps the part. Annealing needs a chamber that holds temperature evenly and lets you cool the part slowly inside. Forum users try this constantly and the result is almost always distorted, unevenly treated plastic.
How do I stop a part warping or cracking while annealing?
Slow the ramp, soak fully, and cool inside the chamber with the door shut. Never quench in water. Support flat panels in a mold or bury them in fine dry sand so shrinkage happens in two dimensions instead of one. Print at 100% line infill before annealing, dry hygroscopic filaments, and lower the temperature or shorten the soak if the part still distorts.
How much does a 3D printed part shrink when annealed?
Expect 1-3% for PLA and PETG, 2-5% for PLA blends, ABS and nylon, and close to nothing for carbon-fiber-filled materials such as PAHT-CF, which hold their geometry well. Measure with calipers before and after to record your own factor. For dimension-critical parts, scale the model up in CAD by that amount before printing.
Conclusion
Start by identifying the exact material and pulling its datasheet, then run that cycle on a printed coupon rather than your real part. Measure the coupon before and after so you know your shrinkage factor and whether the response was worth it.
When the cycle works, control it properly: slow ramp, full soak, slow cool inside the chamber, supported geometry. Annealing 3D printed parts for strength is a controlled process with real gains in stiffness and heat resistance, and modest gains in tensile strength, alongside a genuine drop in toughness that catches people who only wanted tougher parts.