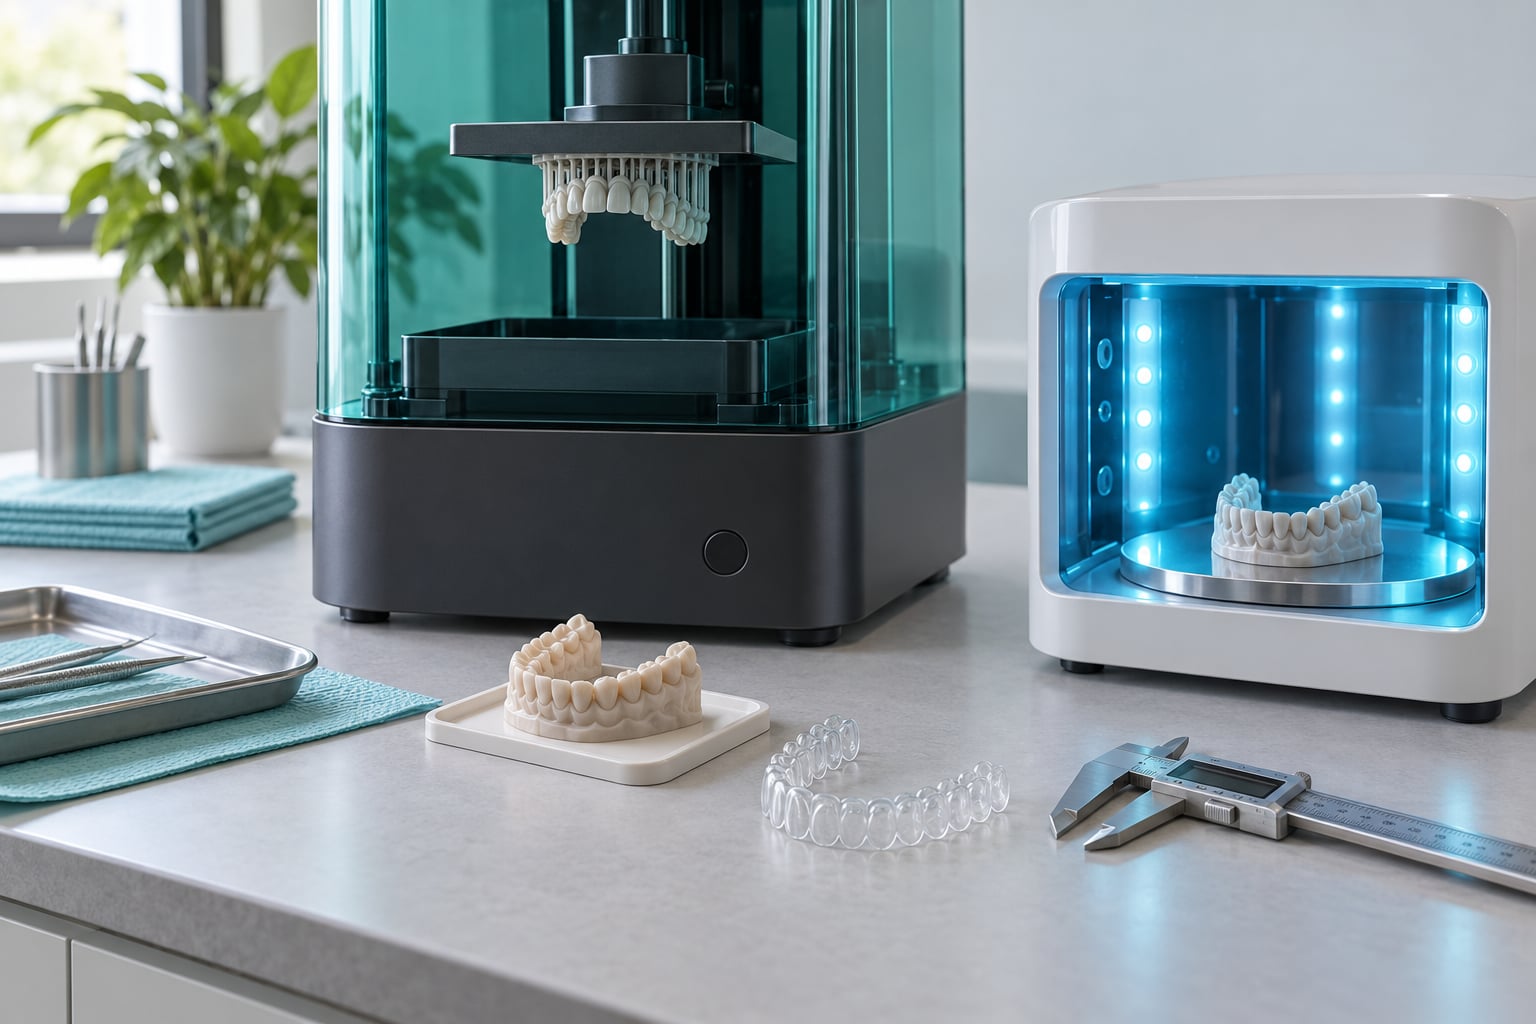
3D printing dental models and aligners means turning a digital scan of the teeth into a physical resin part, either the working models that a plastic sheet is thermoformed over or the aligner trays themselves printed directly in a biocompatible resin. Both routes run through the same five-step chain: scan, plan, print, post-process, fit check. This is a professional workflow carried out under dental supervision, not a home procedure, and anything that ends up in a patient’s mouth needs validated materials and a trained operator.
Table of Contents
- 13D Printing Dental Models and Aligners at a Glance
- 2How Are Dental Models and Aligners Made?
- 31. Capture the teeth digitally
- 42. Design the model or plan the tooth movement
- 53. Print the model or the aligner
- 64. Wash, cure, de-support and finish
- 75. Inspect and verify fit
- 8What Do You Need to Produce Them?
- 9Which 3D Printing Technology Works Best?
- 10Which technology fits 3D-printed dental models and aligner trays?
- 11How Do You Choose the Right Dental Printing Material?
- 12How Do You Prepare a Dental Model for Printing?
- 13How Accurate Must 3D-Printed Dental Models Be?
- 14How to verify a printer for dental work
- 15What Is the Role of Post-Processing?
- 16What Safety and Quality Checks Matter?
- 17How Do You Troubleshoot Common Printing Problems?
- 18Frequently Asked Questions
- 19Can you 3D print dental models and aligners with the same printer?
- 20What is the best 3D printing technology for dental models and aligners?
- 21How accurate do 3D-printed dental models need to be?
- 22Are resin dental models safe to use?
- 23How do you clean and finish a 3D-printed dental model?
- 24Can a desktop 3D printer be used for aligner production?
- 25Conclusion
3D Printing Dental Models and Aligners at a Glance
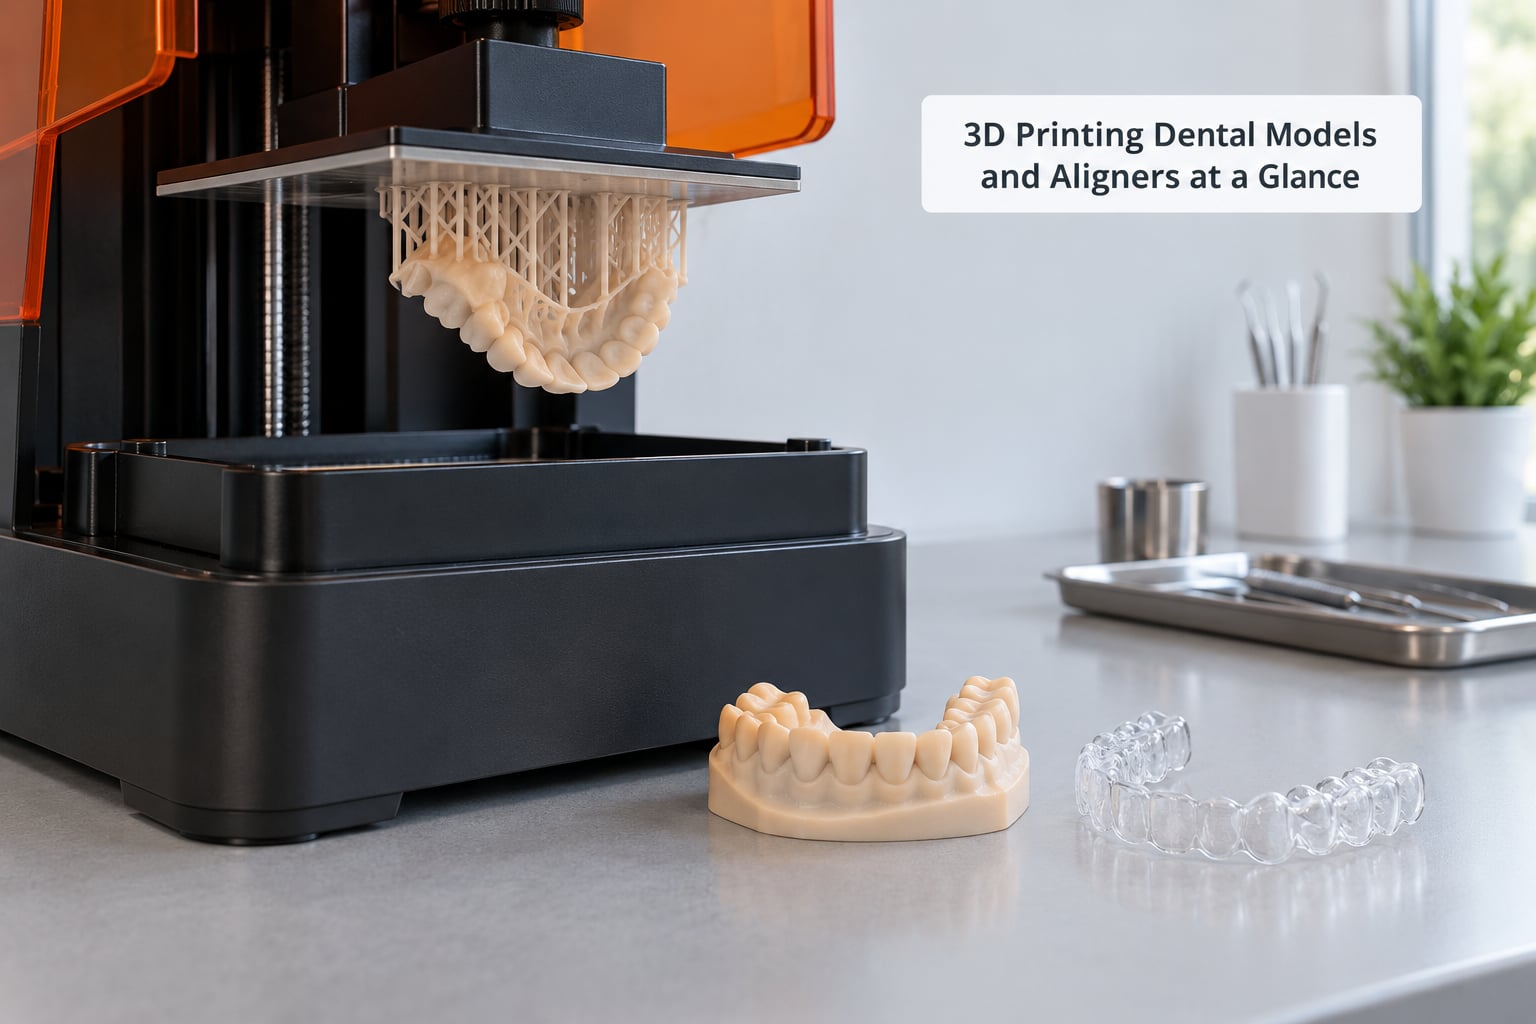
Dental models and clear aligners are two different products from the same digital file. A model is a rigid replica of the teeth used for planning, thermoforming, or reference. An aligner is a flexible tray that sits on the teeth and moves them, and it is either formed over a printed model or printed straight from resin.
| Factor | 3D-Printed Dental Models | 3D-Printed Aligners |
|---|---|---|
| What the printer makes | A rigid arch replica of the upper and lower teeth | A flexible, tooth-shaped tray worn by the patient |
| Typical workflow | Scan, block out, print, wash, cure, trim, inspect | Plan tooth movement, print or thermoform over a model, finish, fit check |
| Equipment | Resin printer with a dental or model-grade resin | Resin printer with an intraoral-grade resin, or a printer plus a thermoforming machine |
| Material requirement | Dimensional stability and a clean surface are what matter most | Biocompatibility documentation, consistent thickness, controlled force delivery |
| Accuracy driver | Arch geometry, base flatness, tooth position fidelity | Tooth position plus shell thickness and staging accuracy |
| Who uses it | Orthodontic labs, general practices, dental labs | Orthodontic practices running in-house aligner programmes |
| Where it goes wrong | Warpped bases, missing margin detail, resin left uncured | Poor fit, rough surfaces, staining, unintended force on teeth |
Most people who search this topic are mixing the two up. The large majority of clear aligners sold today, including most doctor-branded systems, are thermoformed over a printed model rather than printed straight as a tray. Both count as 3D printing dental models and aligners, but they are different factories with different failure points.
How Are Dental Models and Aligners Made?
The production chain has five stages, and the same stages appear whether the practice prints models or aligners. The difference sits in stage three.
1. Capture the teeth digitally
An intraoral scanner walks a light or structured-light wand across the arches and builds a point cloud that becomes a mesh. Where no scanner exists, a physical impression is scanned on a desktop or lab scanner instead. Either way, the output is a triangle mesh of the upper arch, the lower arch, and usually the bite relationship between them.
2. Design the model or plan the tooth movement
For a plain working model, the mesh is cleaned, the gingival margin is trimmed to a defined height, and a flat base is cut so the print sits square. For an aligner, software simulates the sequence of tooth positions from the current bite to the planned finish, then places attachments and undercuts that give the tray something to grip. This is the most skill-heavy step in the whole chain, and it is the step most practices choose to outsource.
3. Print the model or the aligner
If the practice is thermoforming, the printer makes a sequence of rigid models, one per stage of treatment, and a plastic sheet is pressed over each one. If the practice is direct printing, the printer produces the flexible tray itself in an intraoral-grade resin. Print time alone is rarely the constraint. Times Dental Lab reports running about 70 models in a batch that takes roughly three hours on lab-scale equipment, which works out to a few minutes per model once the platform is full.
4. Wash, cure, de-support and finish
Fresh resin prints come out tacky and covered in uncured liquid. They get washed in solvent, fully cured in a UV or thermal curing unit, cleaned of supports, trimmed at the base, and polished on the surfaces that touch the mouth. This stage consumes more staff time than printing does.
5. Inspect and verify fit
Models get checked against the design for tooth position, base flatness, margin definition and cracks. Aligner trays get seated intraorally to confirm they click fully into place, that the occlusion is right, and that the patient can remove them. Nothing ships before that check.
What Do You Need to Produce Them?
A printer is the cheapest part of this setup. The list below runs from data to documentation, and the last two rows are where most implementations stall.
| Requirement | What it does | Why it decides success |
|---|---|---|
| Scan data or impressions | Upper and lower arches plus bite relationship | Garbage in means a model that does not match the mouth |
| CAD and model-building software | Trims margins, sets bases, simulates movement, places attachments | The design file determines geometry and force delivery |
| A calibrated printer | Layering of the resin into the final geometry | Uncalibrated machines drift dimensionally over weeks |
| Material with documentation | Model resin, thermoforming sheet, or intraoral-grade resin | Anything in the mouth needs biocompatibility documentation |
| Post-processing equipment | Wash station, curing unit, trimming tools, polishing kit, ventilation | This is where the hours actually go |
| QC tools and records | Calipers, batch logs, inspection sheets, storage | Traceability turns a print into a controlled part |
| Applicable requirements | Local rules on medical devices, materials and professional practice | Rules differ by country and change over time |
The CAD row deserves a second look. A printer sitting idle because nobody on staff can design in the dental CAD package is a common and expensive outcome, and practices that hit it usually buy software design as a service instead of hiring for it.
Which 3D Printing Technology Works Best?
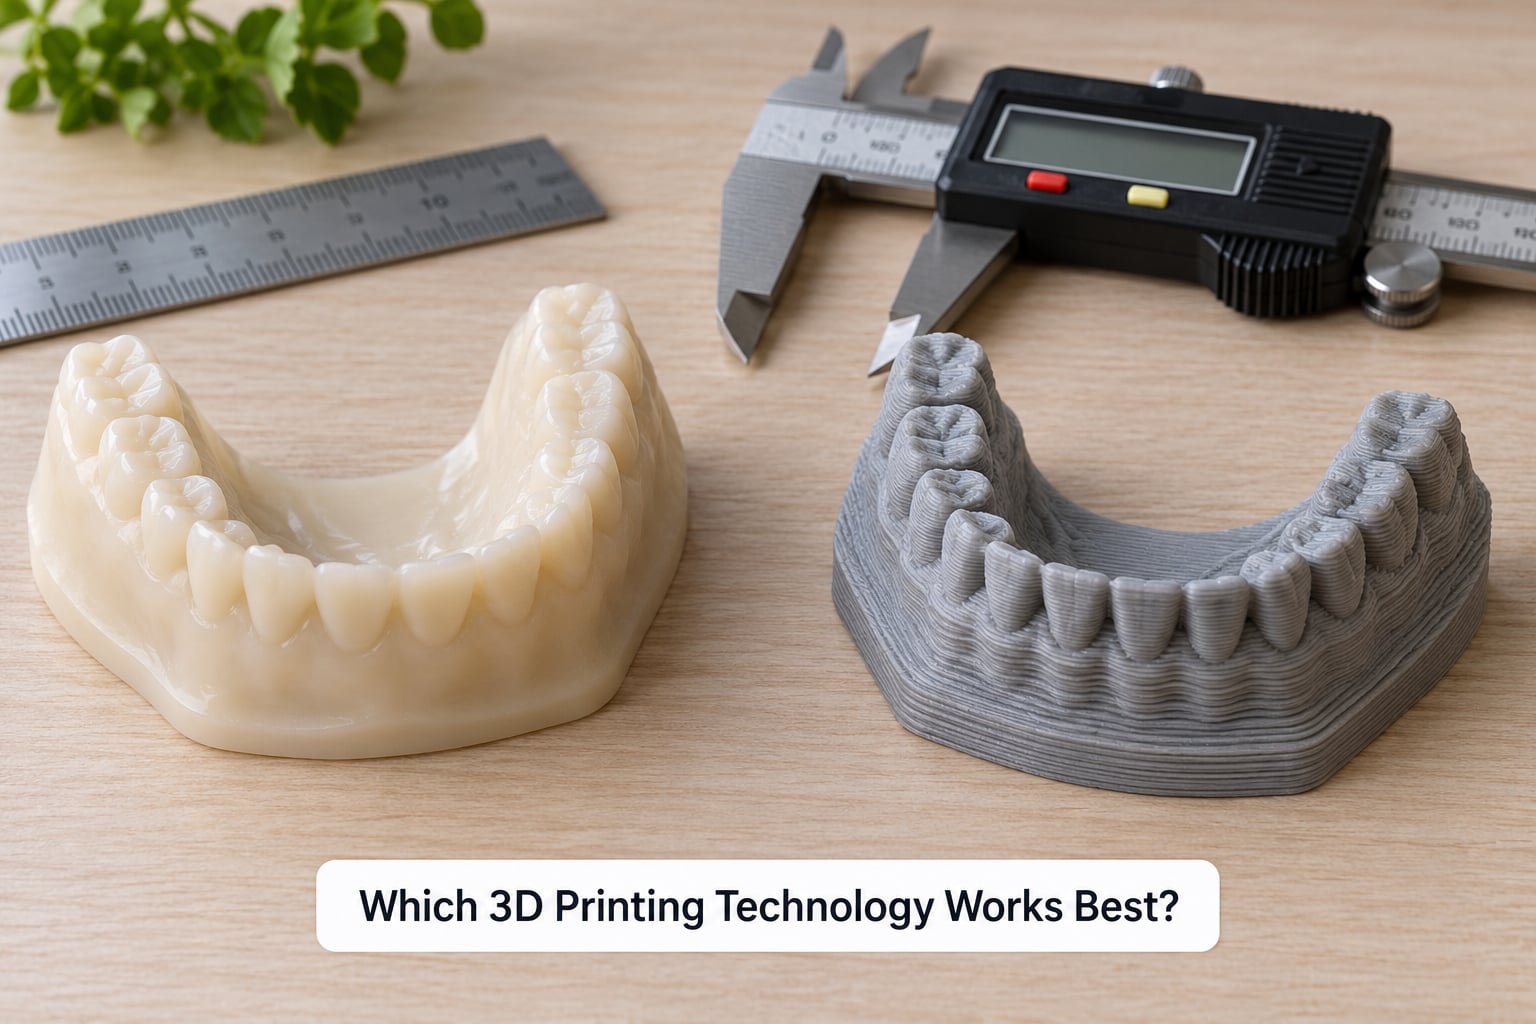
Photopolymer resin printing wins for almost all dental work because it reproduces fine surface detail and holds tight dimensions at thin layer heights. Material extrusion turns out adequate models in some cases and struggles with the smooth, gap-free surfaces an aligner thermoform needs.
Which technology fits 3D-printed dental models and aligner trays?
Pick the process around the part. Rigid study models, working models, and guides tolerate more variation than a tray that has to seat on teeth without rocking. Below 50 micron layers, resin printing captures marginal ridges and contact points that filament blurs into rounded ridges. Resin printers also need more handling discipline: ventilation, gloves, and a controlled wash and cure routine, because liquid resin is far messier than filament.
Stereolithography and digital light processing are the same family. Both cure liquid resin layer by layer with light, differing mainly in how the light is delivered. Mask stereolithography uses a projector under the tank, so every layer is exposed at once and prints scale well to full arches. Laser or digital light processing scans a laser or light source across each layer, which gives fine detail but means printing time grows with the area being covered. Light-processing formaldehyde is a third variant that softens the material during the print so peel forces stay low, which reduces layer splitting on tall arch models.
Material extrusion prints thermoplastic filament and costs less to run per hour, but the layer lines matter more in dental work than they do elsewhere. An enthusiast post on r/3Dprinting describing a batch of 13 aligner models printed on a desktop Phrozen Sonic XL Plus 4K shows how far the enthusiast tier has come, and the same post is a useful reminder that printing a model and producing a clinically fit appliance are different problems. One r/3Dprinting thread asks exactly that question about a model that will be thermoformed, and the answers circle support strategy and surface quality rather than fit.
No technology wins every category. A lab printing tens of thousands of models a month cares most about batch density and resin cost per part. A practice printing one retainer a day cares about footprint, noise, and how long one operator can run the machine safely.
How Do You Choose the Right Dental Printing Material?
Material choice determines whether a print is a planning artefact or a clinical part. The strongest single test is documentation: ask what biocompatibility evidence exists for the exact resin and the exact colour of it, since a base resin and a pigmented version are not always covered by the same clearance.
| Material | Strengths | Weaknesses | Typical use |
|---|---|---|---|
| Dental model photopolymer | Fine detail, fast cure, stable over time | Brittle at thin walls, needs support removal | Study models, aligner working models, guides |
| Intraoral-grade photopolymer | Clear, smooth, documented for mouth contact | More expensive, stiffer to peel, slower throughput | Direct-printed aligners, retainers, night guards |
| Castable photopolymer | Burns out cleanly for metal frameworks | Not dimensionally stable while warm, not for mouth contact | Pattern resin for crowns and partials |
| FDM/FFF thermoplastics | Cheap per hour, familiar handling, safe materials | Layer lines, harder surface finish, slow | Planning models, articulator models, teaching |
| Thermoforming sheet | Uniform thickness, proven clinical history | One shape per model, needs a forming machine | Aligner trays made over printed models |
Dimensional stability matters more than raw strength. A model that warps a fraction of a millimetre across the arch changes the shape of every tray formed over it, and the error shows up as an aligner that does not seat fully. Batch consistency between resin bottles is the variable practices get burned by most often, so tracking lot numbers per case is worth the small effort.
How Do You Prepare a Dental Model for Printing?
Preparation decides most fit problems before a single layer is exposed. The file you import is a scan of soft tissue and teeth, not a manufacturable object, so it has to be turned into one.
- Import and repair. Load the scan mesh, close holes, remove artefacts from the gum line, and check for scan errors before anything else.
- Trim the gingival margin. Set a clean border above the gum line. Ragged margins are the most visible defect on a finished model and the hardest to fix after printing.
- Cut a flat base. A level base keeps the arch stable on the build platform, which keeps the print flat, which keeps the thermoform predictable.
- Orient the arch. Tilt and rotate so supports land on non-critical surfaces and the arch does not need heavy rafts. Tall arches need splitting into sections or support on the occlusal surface.
- Place supports. Support every island of geometry, especially margin detail and the base edge, and design them to break off cleanly.
- Compensate for shrinkage. Scale the model slightly for the material’s known shrinkage so the printed arch matches the digital plan within tolerance.
- Set layers and exposure. Choose layer height for the detail the part needs, then run the printer’s exposure test and lock the value in for that resin and that machine.
Verify the digital model suits the chosen process before slicing. A part with features the process cannot resolve will print, will look wrong, and will waste a whole case.
How Accurate Must 3D-Printed Dental Models Be?
Accurate enough that a tray formed over the model seats fully on the teeth without rocking or binding, and accurate enough that every tooth position matches the digital plan within a tolerance the clinician accepts. There is no universal number because the tolerance is set by the treatment, not by the machine.
The variables that move accuracy are well known and worth tracking one at a time. Layer height sets the resolution floor. Calibration drifts over weeks and with temperature changes. Orientation decides how much peel force acts across a surface. Support design can add a millimetre of error at a contact point if it lands badly. Resin shrinkage varies with formulation and with how long the bottle has been open. Post-processing adds its own error, since aggressive washing or heating can distort a part after a perfect print.
A peer-reviewed comparison of 3D printing against milling for aligner fabrication found printing to be more economical and to waste less time and material than milling. That is a workflow result as much as an accuracy one. It does not make a printed model identical to the digital file, and any clinic measuring fit needs its own method rather than a vendor claim.
How to verify a printer for dental work
Print a known test object and a calibration arch, measure with digital calipers against the design file, and record the deviation. Then repeat that check on a schedule and after every resin or firmware change. Add a visual check under magnification for margin detail and cracks, and keep the results with the case file. If a model drifts out of tolerance between checks, the calibration is the first thing to suspect.
What Is the Role of Post-Processing?
Post-processing turns a raw print into a controlled part, and it is where most of the labour in an in-house setup lives. Skipping a step here shows up later as a fit failure that gets blamed on the printer.
- Wash. Rinse off uncured resin in solvent before anything cures, or the surface stays tacky and the part is unusable.
- Cure. Full UV or thermal cure, not a token pass. Under-cured resin stays soft, distorts in the mouth, and can release residual monomer.
- Remove supports. Take supports off while the part is still slightly warm and flush, then re-cure the surface that was exposed.
- Trim and finish. Level the base, smooth any support witness marks, and polish the surfaces that contact the mouth or the lip.
- Label and store. Mark every part with its case, stage, material lot, and date. A tray with no label is an untraceable tray.
- Inspect. Check dimensions, completeness, surface quality, deformation, and cracks before the part leaves the bench.
Finish quality also changes how the appliance feels. A rough tray surface irritates the gingiva and traps plaque, which is why polishing is a clinical step and not a cosmetic one.
What Safety and Quality Checks Matter?
Two separate systems sit behind a printed dental part. Manufacturing quality control decides whether the part matches the file. Clinical decision-making decides whether it should go in a patient’s mouth. Confusing the two is how defects reach patients.
On the manufacturing side, ventilation matters more than almost anything else. Uncured resin and wash solvent are handled daily, so extraction at the wash station, sealed containers, and gloves are the baseline. Waste resin and solvent go into proper chemical waste, not the sink. On the quality side, keep exposure and calibration logs, record resin lot numbers per case, review incoming scans for defects before they reach the printer, and inspect finished parts against a written checklist. Anything that will be worn intraorally needs material documentation for that specific resin, plus the professional oversight that the treatment requires. Dental and medical device rules vary by country and change, so check what applies where you are practising.
How Do You Troubleshoot Common Printing Problems?
Almost every dental print problem traces back to one of a short list of causes. Find the symptom, test the likely cause, and change one variable before the next attempt.
| Symptom | Likely cause | Fix |
|---|---|---|
| Model will not sit flat on the build platform | Adhesion failure or an unlevel platform | Re-level, clean the platform, run the adhesion test, re-sit the part |
| Layer shifts mid-print | Platform moves, transmission issue, or loose vat | Check platform tightness and vat seal, confirm the resin is at the right level |
| Arch curves or cups on the build | Uneven post-processing, or resin shrinkage | Even wash and cure, keep the model away from the edge of the cure unit |
| Margin detail missing or soft | Layer height too coarse, or exposure too low | Drop layer height and run an exposure test for that resin |
| Raised marks where supports were | Support contact points too large or too hard | Shrink contact points, re-orient the part, sand the marks flat |
| Surface stays tacky | Under-cured, or washed in the wrong solvent | Complete the wash first, then give a full cure cycle |
| Model out of tolerance after printing | Calibration drift or wrong shrinkage compensation | Measure against the design file, re-calibrate, adjust scale |
| Aligner will not seat fully | Model geometry, thermoform temperature, or thickness error | Check the model first, then the sheet’s draw and thickness |
If two variables changed at once, the result tells you nothing. One change, one print.
Frequently Asked Questions
Can you 3D print dental models and aligners with the same printer?
The same machine handles both jobs, but the material and the design rules differ. A model-grade resin with a flat base and trimmed margin produces the rigid arch, while direct-printed aligners need an intraoral-grade resin, a different orientation strategy, and tighter layer settings. One printer can serve both if you run two validated materials and two validated setups, which is normal in practice.
What is the best 3D printing technology for dental models and aligners?
Photopolymer resin printing is the standard for dental work, because it holds fine detail and tight dimensions at thin layer heights. Stereolithography and digital light processing cover most clinics and labs; light-processing formaldehyde suits tall arch models that peel badly on other machines. Material extrusion works for planning models but the layer lines make it a poor match for thermoforming quality.
How accurate do 3D-printed dental models need to be?
Accurate enough that a tray formed over the model seats fully on the teeth without rocking, and that each tooth matches the digital plan within a tolerance the clinician accepts. The tolerance is set by the treatment rather than by the machine. Verify it yourself by printing a calibration arch, measuring against the design file with digital calipers, and repeating that check on a schedule.
Are resin dental models safe to use?
It depends on where the model goes. A diagnostic or planning model never touches a patient, so a standard dental model resin is appropriate. Anything worn intraorally needs material documentation covering that exact resin, plus appropriate professional oversight. Handle all uncured resin and wash solvent with ventilation, gloves, and correct chemical waste disposal, and never hand an undocumented tray to a patient.
How do you clean and finish a 3D-printed dental model?
Wash the print in solvent right away so uncured resin does not set on the surface, then give it a full cure cycle in a UV or thermal unit. Remove supports while the part is slightly warm, flush the marks, re-cure, then level the base and polish any surface that will contact the mouth. Finish with a written inspection covering dimensions, completeness, deformation, and cracks.
Can a desktop 3D printer be used for aligner production?
Yes for working models that a plastic sheet is thermoformed over, which is how many practices run in-house aligner programmes. Direct-printing aligner trays on a desktop machine is a different proposition, because the resin needs mouth-contact documentation and the workflow needs validated post-processing and fit verification. Desktop resin printers also need proper ventilation and chemical waste handling before daily clinical use.
Conclusion
Start by naming the intended application, because a study model and a worn aligner have different accuracy targets and different documentation requirements. Choose the process and material to match that target and your real throughput, then validate the complete workflow end to end on your own equipment before scaling volume.
In practice the printer is the easy decision. File preparation, post-processing discipline, and quality records are what decide whether printed models and aligners fit a patient safely or end up in the bin.