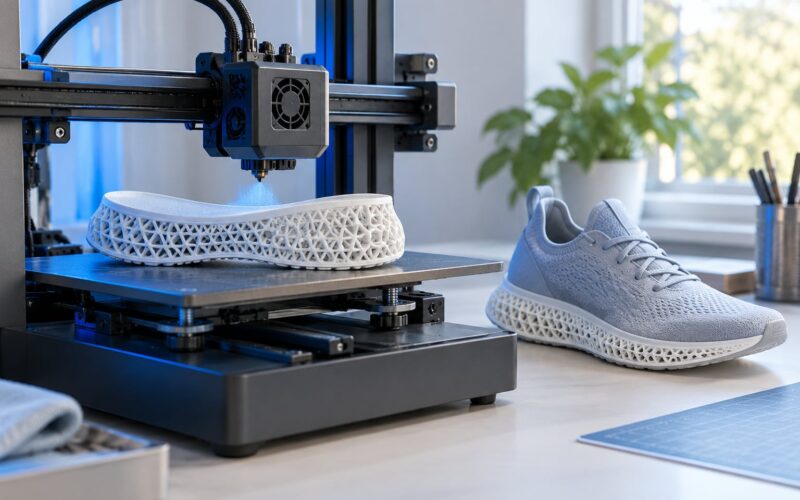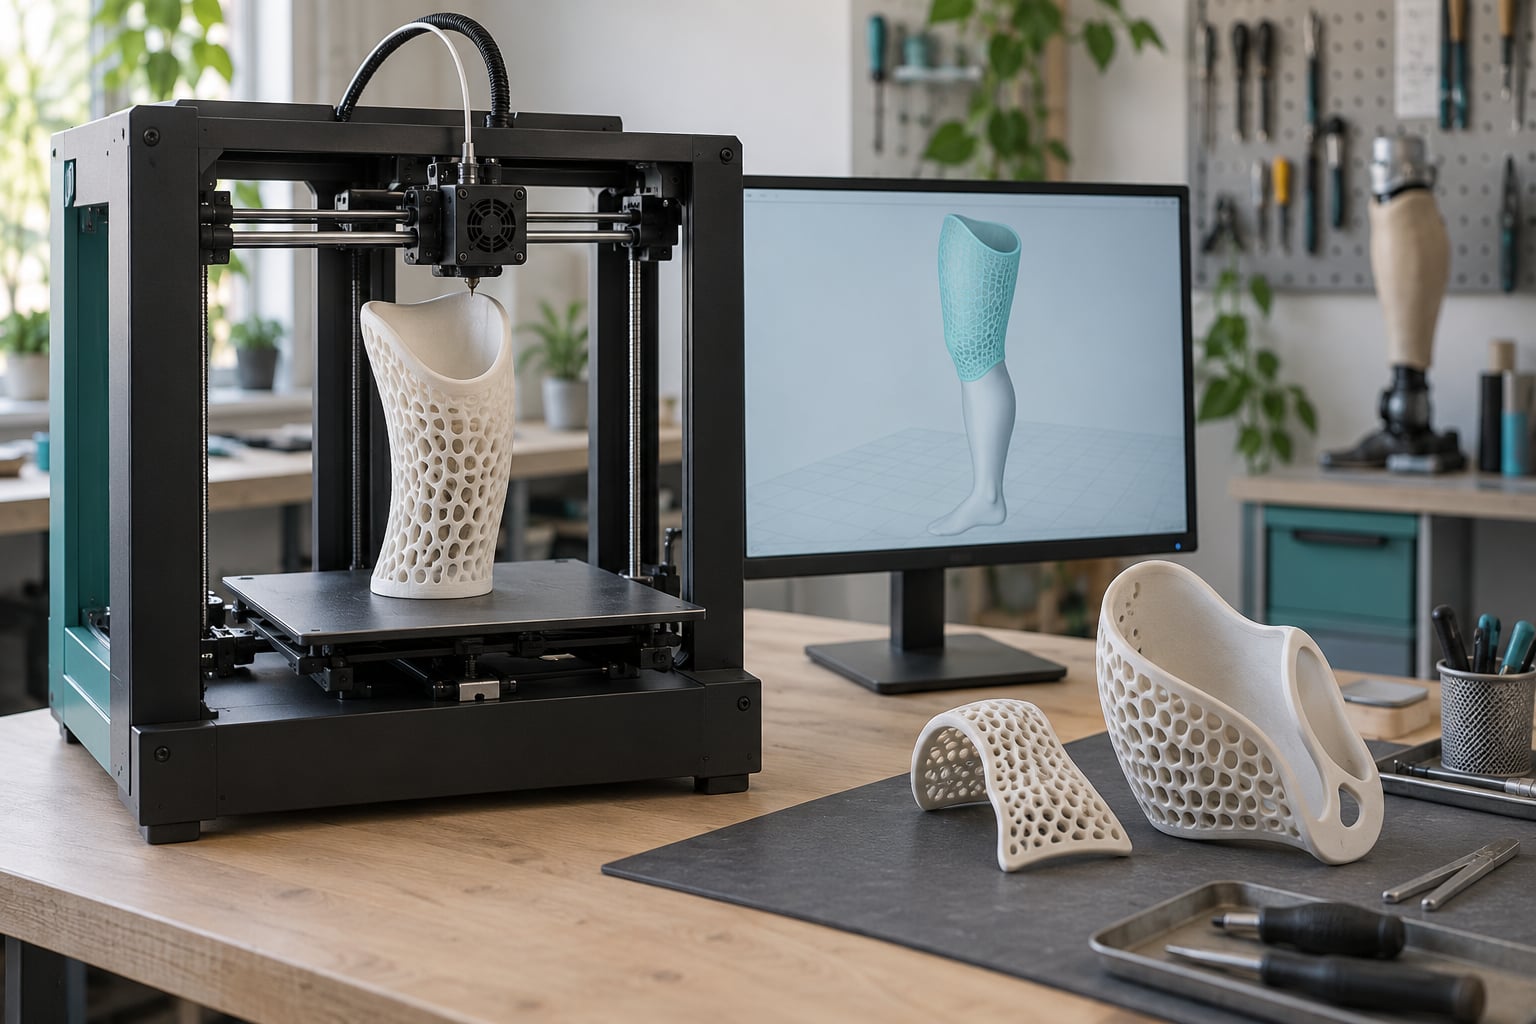
3D printed prosthetics are artificial limbs, hands, sockets and body parts built layer by layer from a digital model instead of being molded, machined or hand-fabricated. That one change in how the device is made gives designers freedom to match a person’s anatomy exactly, iterate in days rather than weeks, and cut the material waste that comes with carving a shape out of a solid block.
The catch matters just as much. A printed part is not automatically a safe medical device, and a design that looks convincing in a render can crack at a joint interface after a few weeks of daily load. The technology is genuinely useful; it is just useful in specific places, and it depends on who designed it, what it was printed in, and who fitted it.
This guide covers what these devices are, how the workflow runs from body scan to fitting, what they can and cannot do, and where a printed option beats a conventionally manufactured one. I have kept the clinical side general on purpose, because anything touching a residual limb belongs with a certified prosthetist.
Table of Contents
- 1What Are 3D Printed Prosthetics?
- 2How Do 3D Printed Prosthetics Work?
- 3How a 3D Printed Prosthetic Is Made
- 4What Are the Main Benefits?
- 5What Types of Prosthetics Can Be 3D Printed?
- 63D Printed Prosthetics vs. Traditional Prosthetics
- 7What Materials Are Used?
- 8What Are the Limitations and Safety Risks?
- 9Frequently Asked Questions
- 10How much do 3D printed prosthetics cost?
- 11Are 3D printed prosthetics better than traditional ones?
- 12How long does a 3D printed prosthetic last?
- 13Can you 3D print a prosthetic arm at home?
- 14Are 3D printed prosthetics covered by insurance?
- 15Conclusion
What Are 3D Printed Prosthetics?
3D printed prosthetics are external devices that replace or support a missing or underdeveloped body part, manufactured by additive manufacturing rather than traditional shaping methods. The term covers everything from a silicone-covered cosmetic hand to a load-bearing socket and, at the research end, patient-specific implants.
Most devices people see consist of a few recognizable parts:
- The socket — the interface that sits on the residual limb and transfers load. Fabricated on traditional devices, printed on many modern ones.
- The structural frame or pylon — connects the socket to the foot, hand or terminal device and carries bending and axial loads.
- The terminal device — a foot, hand, gripper or finger assembly that contacts the ground or an object.
- Cosmetic covers — flexible shells that give a device a natural shape and skin-like appearance, sometimes over a functional core.
- Control components — cable drives, springs, or myoelectric motors and electrodes for powered hands and arms.
Worth separating clearly: a prosthesis replaces a missing part, while an orthosis supports or corrects an existing limb or joint — a brace, a scoliosis shell, a foot orthotic. Both can be 3D printed, and the two are often blurred together in promotional material, so check which one you are actually looking at.
They are also not the same as temporary aids. A cotton stocking or an over-the-counter grab bar is neither printed nor patient-specific. 3D printing sits at the far end of the range, where a device is designed around one person’s body.
How Do 3D Printed Prosthetics Work?
The working principle is straightforward: capture the body as data, adjust the geometry in software, and let the printer build the shape layer by layer. Because there is no mold, the geometry is limited only by what the printer and material can physically do.
A structured light scanner, a photogrammetry rig, or a CT or MRI scan produces a point cloud of the residual limb or the target body area. A mesh-repair and surface-fitting step turns that raw scan into a clean, watertight model, because a mesh with holes will not slice properly. Designers then work in CAD software, trimming the model, adding clearance where skin needs it, and pulling wall thickness to reasonable values.
The interesting engineering happens in the structure. Solid blocks are heavy, and a printed solid block has no strength advantage. Designers use topology optimization, which calculates the minimum material needed to carry a given load along given directions, and print the result as a lattice — an internal honeycomb of thin struts. Place the struts along the stress direction and you get a part far stiffer and lighter than the same shape printed solid. This is the single biggest reason printed parts feel different from machined ones.
At the body interface, the socket has to distribute pressure across the limb without strangling it. A printed socket can carry channels, venting cutouts and offloading geometry that a hand-built socket cannot easily produce. Fit decides everything here. People who use printed limbs consistently say the socket, not the printed component, is what determines whether a device gets worn or abandoned.
How a 3D Printed Prosthetic Is Made
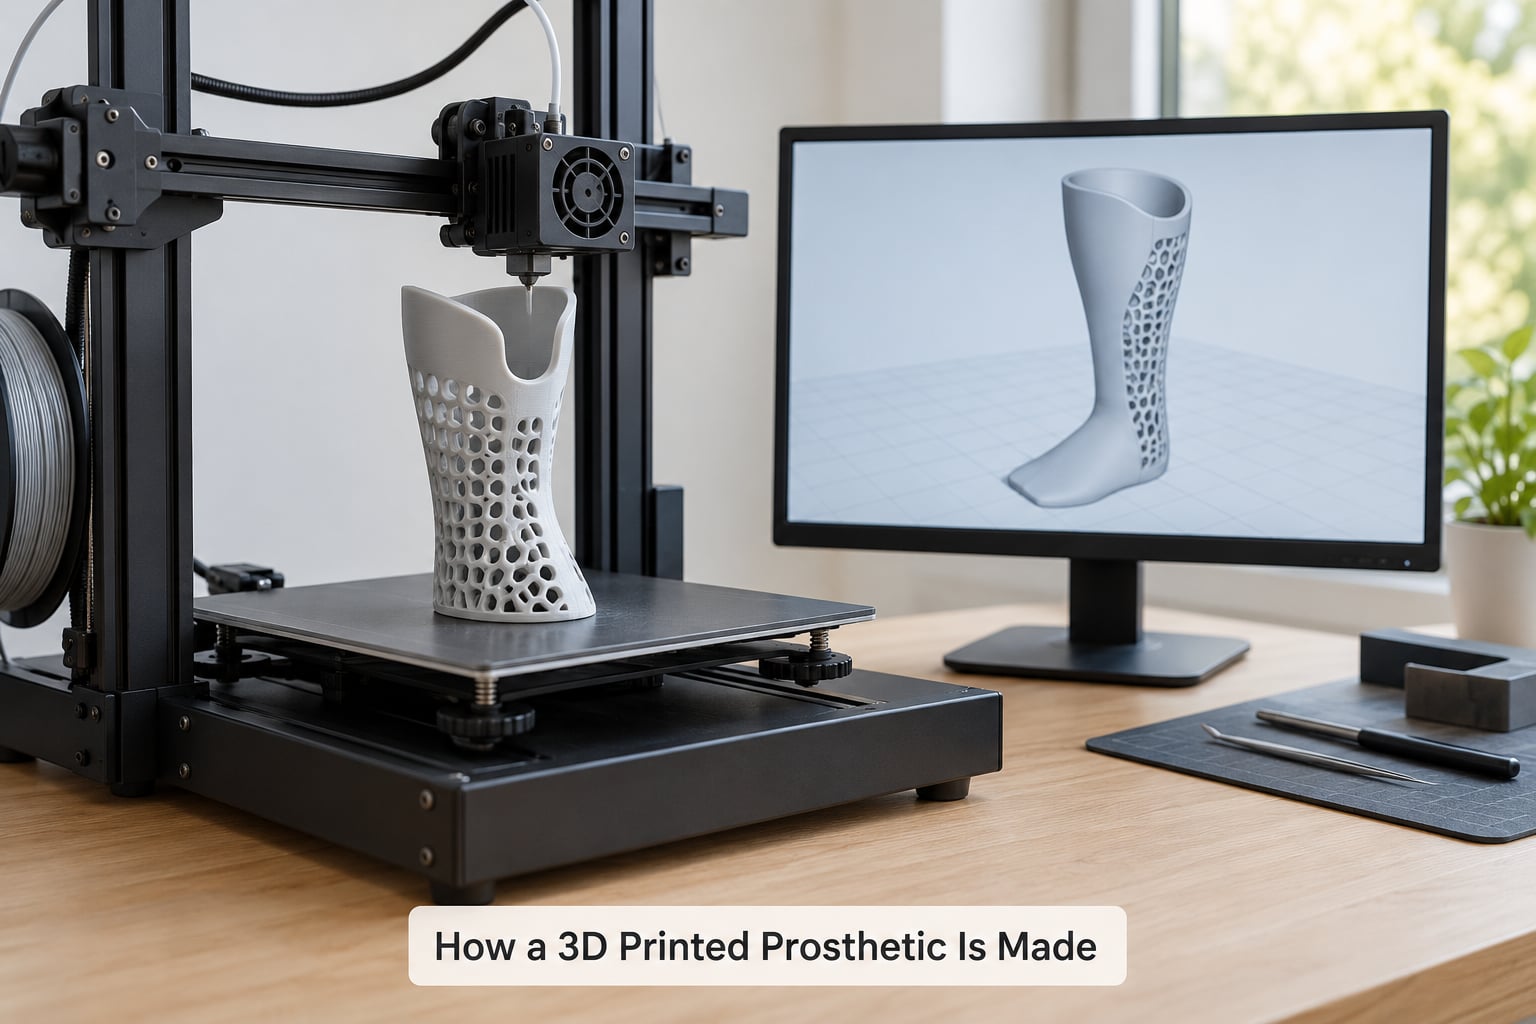
The full chain from a person’s body to a working device runs through six or seven distinct steps, and each one can introduce error. Skipping any of them is how a printed device ends up looking plausible and failing in the hand.
- Measurement or scanning. A scan of the residual limb, or a set of measurements plus castings if the limb has changed shape. For a child this step is repeated often, because the limb is still growing.
- Model preparation. The scan is cleaned, scaled and checked. Landmarks that matter for pressure are marked before anything is designed around them.
- CAD design. A designer or prosthetist modifies the geometry, adds the socket interface, defines the structure, and decides what the part must survive. This is a clinical and mechanical decision, not a formatting one.
- Slicing and material choice. The file is sliced into toolpaths. Layer height, orientation, wall count and infill percentage are set here, and they determine the strength far more than the printer model does.
- Printing. The part is built. FDM deposits thermoplastic layers; SLA and polyjet cure liquid resin or jetting material; SLS and metal powder-bed systems fuse a whole layer at a time without support structures.
- Post-processing. Supports removed, resin parts washed and fully post-cured, polymer parts annealed where required, metal parts heat-treated, machined or polished at mating surfaces, and everything cleaned before it goes near skin.
- Fitting and review. A qualified prosthetist or orthotist fits the device, checks skin response, adjusts pressure, and reviews the design before the user relies on it for daily load.
Only the fifth step is the printer. Most of the quality lives in steps three, six and seven.
What Are the Main Benefits?
The benefits that hold up under scrutiny come from removing tooling, not from the printing itself. That distinction keeps the claims honest.
- Personalization. Every device can be different. Two people with the same level of amputation rarely have the same residual limb, and a printed part can follow those differences exactly instead of approximating them from a standard shape.
- Faster iteration. A design change is a modelling change. Instead of reordering tooling, a revision is printed overnight, which is why fitting loops can be shorter.
- Lower material waste. Additive manufacturing only uses the material the part needs. Machining or molding starts with a block or a cavity and removes the excess.
- Cheaper prototypes. Testing a geometry costs one print instead of a factory order. That is why printed sockets and covers get refined so quickly.
- Lighter devices. Lattice and topology-optimized structures cut mass, and less mass on a limb is less fatigue at the end of a day.
- Access in places conventional manufacturing does not reach. Volunteer organizations and hobbyists reliably produce usable open-source prosthetic hands at low or zero cost, a distribution model that has no commercial analogue.
- Reproduction and repair. The design file can be archived, versioned and reprinted. When a joint wears out, only that part has to be remade.
Two of these deserve a caveat. Cheaper prototypes do not make the finished device cheaper in every case, because clinical labor, scanning and follow-up often dominate the cost. And access through volunteer channels is genuinely valuable, but a volunteer-printed hand and a clinically fitted prosthesis are not interchangeable things.
What Types of Prosthetics Can Be 3D Printed?
Cosmetic covers, fingers, hands, sockets, feet and research prototypes all exist as printed devices today, and the practical difference between them is what they are asked to do.
- Cosmetic covers and finger devices. The most common home-printed project. Covers a hand, restores the look of fingers, and carries almost no load.
- Body-powered and mechanical hands. Volunteer projects have produced working hands with simple tendon-and-spring mechanics printed in ordinary thermoplastics. Grip strength is modest and durability is the honest limitation.
- Myoelectric components. Housings, brackets and finger mechanisms printed to hold motors, gears and electrodes. The control electronics and motors are conventional; the printed part is the structure around them.
- Prosthetic feet. Printed feet are used where weight and cost dominate. Load-bearing versions are heavily engineered and usually not hobbyist projects.
- Sockets and interfaces. A major clinical use, because pressure distribution and venting benefit from custom geometry.
- Pediatric components. Children outgrow devices quickly. A lighter, cheaper part that can be reprinted as the limb changes has an obvious advantage here.
- Orthoses and research prototypes. Braces, and implants and surgical guides that sit adjacent to prosthetics and fall under different regulatory routes entirely.
Any device that touches skin, carries body weight, or goes inside the body needs professional oversight. A printed file circulating online is not a validated design, whatever its documentation says.
3D Printed Prosthetics vs. Traditional Prosthetics
Neither option wins outright. Printed devices pull ahead on customization, iteration speed and cost at the prototype stage; conventionally manufactured devices pull ahead on proven strength, validated performance and repair support.
| Factor | 3D printed | Conventionally manufactured |
|---|---|---|
| Customization | Near-unique geometry per user | Standardized modules, adjustable within limits |
| Lead time for a revision | Days, often overnight | Weeks when tooling or a new pattern is involved |
| Prototype cost | One print plus machine time | Pattern, mold or CNC setup |
| Weight | Light when lattice-optimized | Depends on material; metals and composites are heavy |
| Strength consistency | Varies with layer adhesion and orientation | Well-characterized for the chosen material |
| Failure mode | Layer separation, crack growth at joints | Fatigue in a known component, predictable wear |
| Clinical evidence | Varies widely; many designs are unvalidated | Long-established evidence base and follow-up data |
| Repair | Reprint the failed part from the file | Order or replace a catalogued component |
| Regulatory path | Depends on intended use and customization | Established device pathway |
On cost, published figures in the prosthetic implant space are worth reading carefully rather than repeating. Researchers have reported printed titanium implants costing in the low thousands of euros against tens of thousands for comparable custom implants, and polymer printed alternatives reported as low as a few hundred against several thousand per conventional orthopedic prosthetic implant. The gap is real in those cases. It comes from removing tooling, and it applies most strongly to patient-specific one-off parts, not to every device on the market.
The comparison that decides most cases is not price. It is whether a qualified clinician is willing to stand behind the device.
What Materials Are Used?
Material choice is the biggest single factor in whether a printed prosthetic holds up, and each material trades strength against flexibility, finish and certification status.
- Photopolymers and resins. SLA and polyjet resins give fine detail and smooth surfaces, which suits covers and cosmetic parts. Standard resins are brittle and can crack along a stress concentration; tougher engineering resins exist but need deliberate testing.
- Nylon and nylon composites. A common structural choice. Tough, fatigue-resistant, and usable in SLS and MJF, which also print the whole layer at once and so avoid layer-by-layer weakness in the build direction.
- TPU. Flexible and abrasion-resistant, which is why it turns up in grip surfaces, covers and liners. It prints slowly and is hard to machine after curing.
- PLA and PETG. The filaments most accessible to hobby printers. Cheap and easy, but neither is intended to carry repeated body load indefinitely, and PETG creeps under sustained stress. Useful for prototypes, covers and low-load parts.
- Filled composites. Nylon or PETG carrying carbon or glass fibre prints far stiffer than the base polymer, but the fibre changes how the part fails and complicates recycling and disposal.
- Metal alloys. Titanium alloys, and stainless steels, printed by powder-bed fusion and finished by machining. They carry the highest loads and sit closest to conventional orthopedic practice, at the highest cost and complexity.
Two properties deserve attention. Biocompatibility is not the same as “prints fine” — skin contact depends on the specific resin, the pigment, and how thoroughly it was washed and cured. And a part’s strength follows its print orientation, because layers bond to each other far more weakly than material bonds within a layer. A part printed on its side can be dramatically weaker than the same file printed standing up.
What Are the Limitations and Safety Risks?
Printed prosthetics have real limits, and knowing them is more useful than another benefit list.
- Fatigue and layer adhesion. Printed polymer parts crack and delaminate at joint interfaces after weeks of use. This is the most common reported failure in volunteer-printed hands, and it is structural, not cosmetic.
- Anisotropy. Strength depends on direction relative to the build plate, so a part cannot be treated as a uniform material.
- Fit and skin health. A socket that does not relieve pressure can cause skin breakdown. Heat build-up, moisture and friction all matter over a full day of wear.
- Hygiene. Skin-contact surfaces need to be washable and non-porous. Raw printed surfaces trap residue, and incomplete resin curing leaves irritants.
- Unvalidated designs. A file shared as open source has not necessarily been through clinical review, mechanical load testing or a regulatory pathway. Printed does not mean approved as a category.
- Reproducibility gaps. Custom designs often live with an individual rather than an organization, so a replacement a year later can be hard to source even when the device itself is simple.
- Ongoing maintenance. Printed parts need inspection, and wear is gradual rather than sudden. A part that feels fine can be close to failure.
Wearers of printed devices describe the balance in plain terms: appearance and social comfort sometimes matter more in daily life than maximum function, and a device that gets worn beats a better device in a drawer. That is a legitimate way to weigh the trade-offs, as long as the safety limits above are respected.
Frequently Asked Questions
How much do 3D printed prosthetics cost?
Cost depends far more on the clinical process than on the print. Published figures from the patient-specific implant space report printed titanium devices in the low thousands of euros against tens of thousands for comparable custom implants, and polymer alternatives as low as a few hundred against several thousand for conventional orthopedic prosthetic implants. A clinically fitted socket or limb also includes scanning, design time and follow-up appointments, which no printer replaces.
Are 3D printed prosthetics better than traditional ones?
Neither is better overall. Printed devices are stronger candidates when the design must match one person’s anatomy, when revisions are frequent, or when conventional manufacturing cannot economically produce a one-off part. Conventionally manufactured devices remain stronger candidates for high daily load, where proven fatigue data and an established repair network matter more. Many people end up using both in the same prosthesis.
How long does a 3D printed prosthetic last?
There is no single answer, and anyone quoting one is oversimplifying. Expect the printed component to last months to years depending on polymer, print orientation, infill and daily load, while the socket and wearable parts need replacing on their own schedule as the limb changes. Lightweight covers and low-load parts can run for years; thin tendon-driven hands under heavy daily use are where printed parts most often need reprinting.
Can you 3D print a prosthetic arm at home?
You can build a cosmetic cover, a finger device or a low-load mechanical hand, and volunteer groups do exactly this. Whether that device is safe for daily load depends on the material, the print orientation and whether anyone with clinical training has reviewed the design. If the device will support body weight, grip real force, or stay attached for a full day, get a certified prosthetist involved before you wear it.
Are 3D printed prosthetics covered by insurance?
Coverage rules vary by country and by plan, and printing itself is rarely the thing that is reimbursed. Reimbursement usually follows the device and the clinical service rather than the manufacturing method, so a printed socket may be covered the same way a fabricated one is, and a volunteer-supplied device may sit entirely outside the system. Ask your insurer and clinic for the specific device code in writing before you commit.
Conclusion
3D printed prosthetics work because additive manufacturing removes molds, tooling and a lot of waste, which makes patient-specific geometry practical and cheap revisions possible. The devices that benefit most are the ones nobody could economically make before: custom sockets, lightweight covers, pediatric parts and one-off components for people conventional manufacturing never reached.
Start by describing the actual need rather than the technology: what the device has to do each day, who will fit it, and what the limb will look like in two years. Then take that to a qualified prosthetist or orthotist, agree a safe design, and validate it before anyone depends on it. The printing is the last step, not the first.
This article was last checked in 2026. Questions about a specific device belong with your clinic, not a printer forum.