Outdoor 3D prints usually fail for four reasons: ultraviolet light breaking down the polymer, heat and temperature cycling, moisture getting into the material, and weak bonding between layers. All four are fixable. Pick a UV-stable filament, print it so the layers bond properly, seal the surface and mount it where water drains away, and an outdoor part goes from months to years.
This guide covers the whole process rather than one filament, because a brilliant material choice still fails on a part with no drainage holes. For a garden sign, a planter, a sensor housing or a bike mount, the whole job takes a weekend: an afternoon of printing, an hour of surface prep, and a few coats of coating with drying time between them.
Last updated October 2026.
Table of Contents
- 1What You Need
- 2Filament and material supplies
- 3Drying and storage gear
- 4Surface protection
- 5Mounting and inspection
- 6Step by Step: How to Make Outdoor 3D Prints Last Longer
- 71. Choose a material suited to the outdoor environment
- 82. Design the part for drainage, strength and easy replacement
- 93. Print with settings that reduce weak layers and moisture
- 104. Apply UV, water and chemical protection
- 11Coating options and what each one does
- 12Application order
- 135. Install the print where water, dirt and stress cannot accumulate
- 146. Inspect and maintain it on a schedule
- 15Common Mistakes That Kill Outdoor Prints Fastest
- 16Printing PLA and leaving it untreated
- 17Sealing water inside a cavity
- 18Applying an incompatible coating
- 19Ignoring UV until it is obvious
- 20Over-tightening fasteners
- 21Skipping maintenance
- 22Printing thin, flat and unsupported
- 23Baking prints to improve heat resistance
- 24Frequently Asked Questions
- 25Can 3D prints stay outside?
- 26Will PETG last outside?
- 27Is PLA or PETG more UV resistant?
- 28Is there a waterproof spray for PLA?
- 29Will PLA fade in the sun?
- 30Is ASA or ABS better for outdoor use?
- 31Conclusion
What You Need
Gather the material, coating and mounting supplies before you print, so nothing gets missed when the part is already cured and in the weather. The list is short and most of it is ordinary workshop kit.
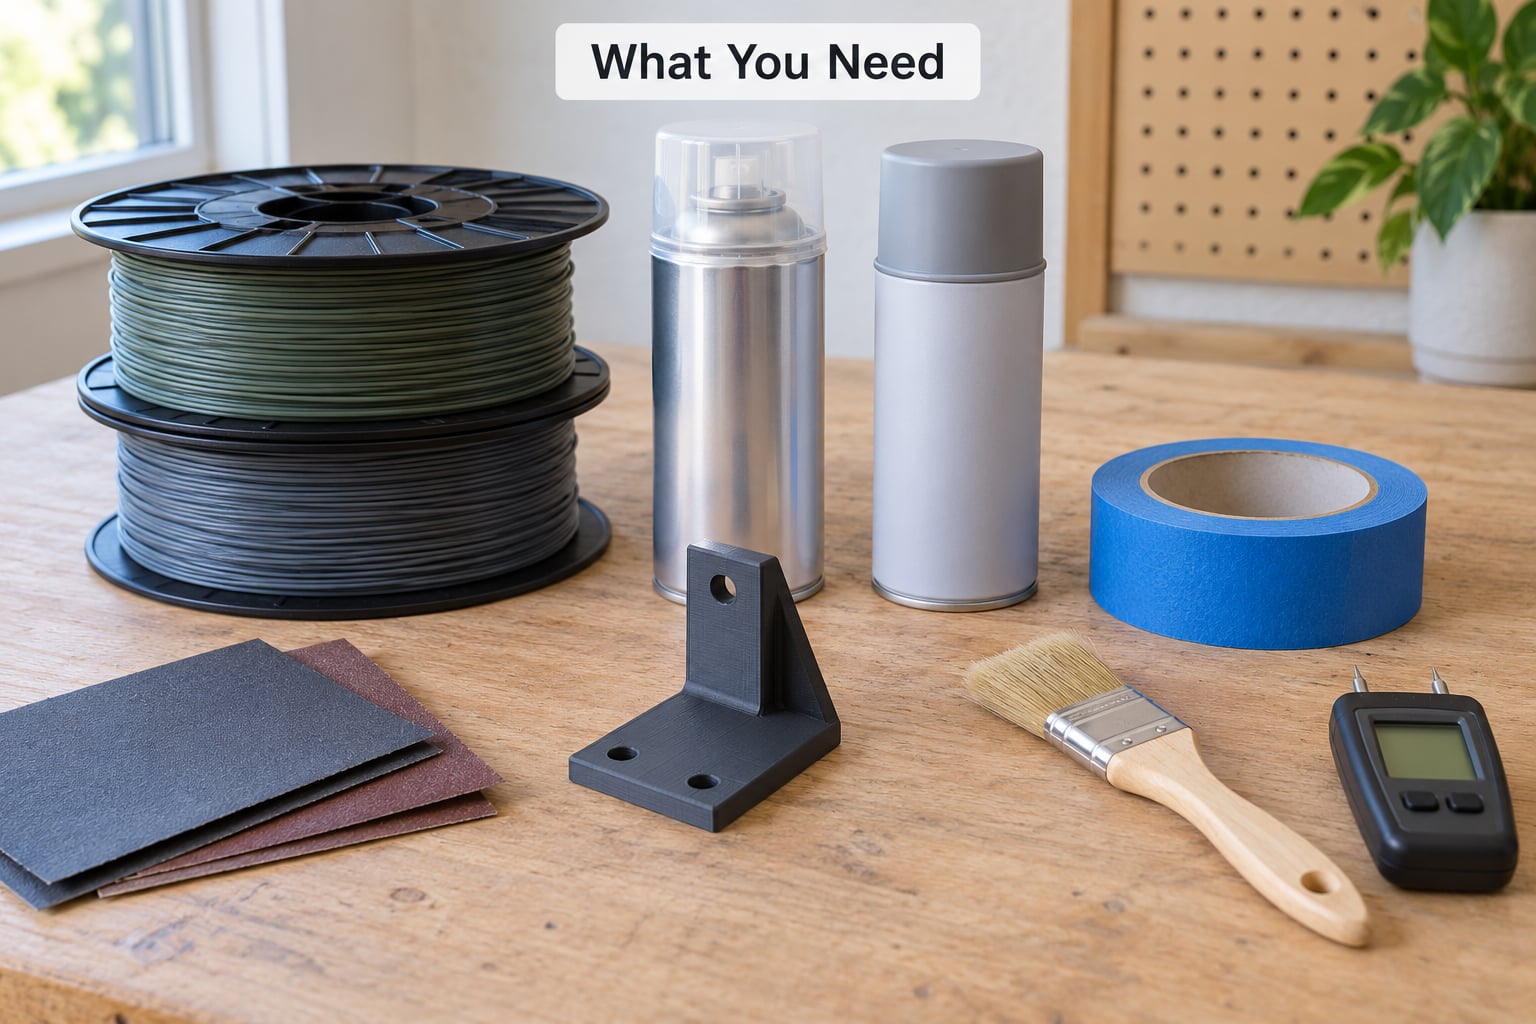
Filament and material supplies
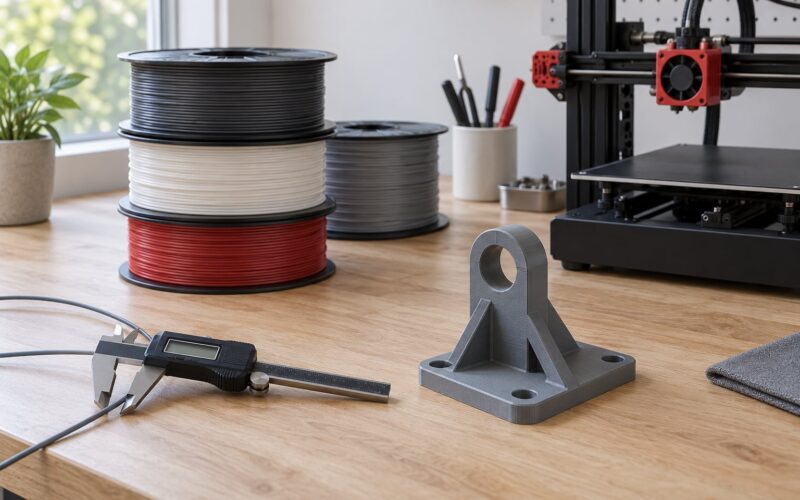
- ASA filament for anything in direct sun. It prints like ABS and weathers far better.
- PETG filament for rain-exposed parts that sit in partial shade, and for anything that takes an impact.
- Nylon for stiff, dimensionally stable parts that will be dried and printed in an enclosure.
- Polycarbonate only if your printer can run a hot nozzle and a controlled chamber.
- TPU for gaskets, clips and bumpers that flex rather than for sun-facing parts.
Drying and storage gear
A filament dryer, a food dehydrator, or an oven set low and monitored with a thermometer. Airtight storage boxes with fresh desiccant silica gel keep filament dry between prints. Damp nylon and PETG print badly and absorb more water in the field, which is the opposite of what you want outdoors.
Surface protection
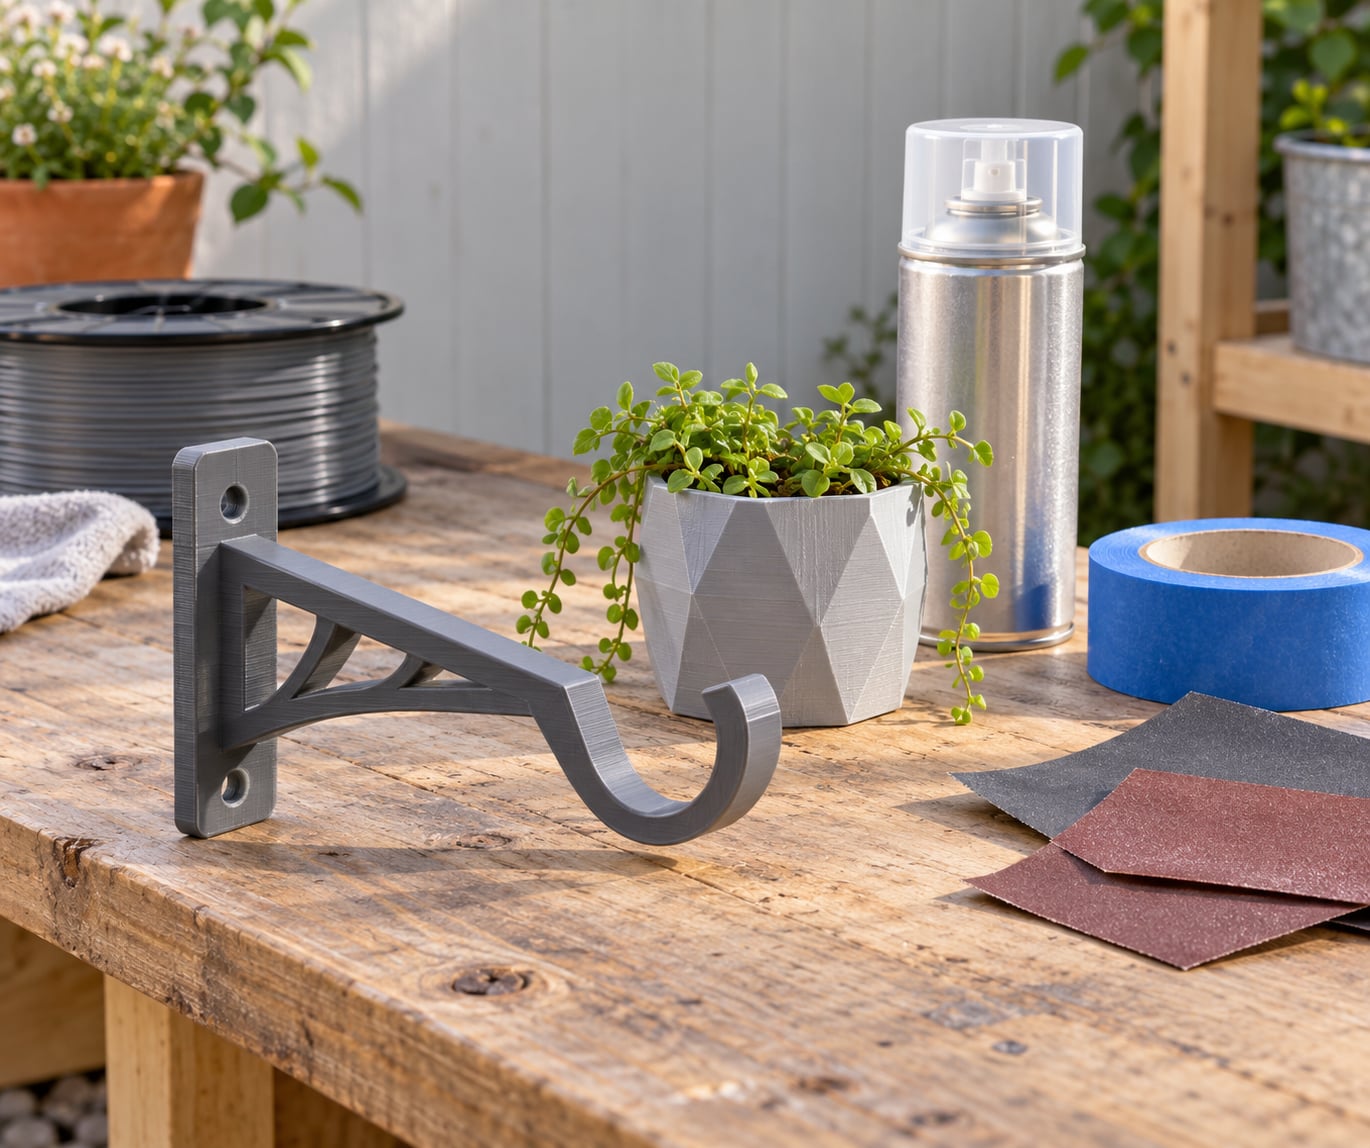
- 120 to 400 grit sandpaper and a sanding block
- Filler primer that bonds to plastic
- UV-resistant acrylic paint, in a dark colour if the part is PLA
- Polyurethane clear coat or a two-part epoxy sealer rated for outdoor use
- Masking tape, a clean soft brush, a foam roller, and paper or poly dust sheets
- A dust mask or respirator and eye protection for sanding
Mounting and inspection
Stainless steel or galvanised fasteners, flat washers, and the right driver size. A zip tie or two for a cable run. A strong light and a small straightedge for checking cracks and flatness once the part is up. A moisture meter is optional but useful when a print keeps absorbing water in a humid climate.
Step by Step: How to Make Outdoor 3D Prints Last Longer
The order below matters, because each step protects the one before it. Changing material after printing does nothing, and coating a part with trapped water inside seals the failure in.
1. Choose a material suited to the outdoor environment
Match the filament to what the part actually faces. UV exposure, moisture, temperature swings, impact load and chemical contact each rule out different materials, and a part that only meets rain and shade has far more choice than one in full afternoon sun.
ASA is the default answer for sun-facing parts. It handles ultraviolet degradation, rain and heat better than anything else on a normal desktop printer, and it prints with the same high bed temperature and enclosure as ABS. Its weakness is layer adhesion on large parts, which is a settings problem you can fix.
ABS is the fallback when a printer cannot hold temperature well. It chalks, fades and cracks faster than ASA outdoors, so paint it before it goes out.
PETG takes rain and knocks well and prints without an enclosure, which makes it the practical choice for planters, hose fittings and handles in partial shade. It yellows and stiffens in strong sun sooner than ASA, and a clear coat slows that down.
Nylon is stiff, tough and dimensionally stable, and it absorbs water enough to swell by roughly 1 to 5 percent of its mass. That is fine for a fixed part printed dry, and a problem for anything that must stay dimensionally exact.
Polycarbonate handles heat best, and demands the most from your printer: a hot end near 260 to 300°C and a closed chamber. Many hobby machines are not up to it.
TPU is often sold as weatherproof because it is elastomeric and impact resistant. Users on maker forums report it discolouring and degrading in sunlight, so use it for flexing parts, not for sun-facing ones.
PLA is the worst choice outdoors. It has no meaningful UV resistance, and heat cycles push it past its limits repeatedly.
One caution about numbers. The glass transition temperature, heat deflection temperature and Vicat softening temperature on a filament spec sheet are lab measurements, not service life. A part sitting on a hot concrete step at midday can see temperatures no HDT figure predicts, which is why coating and mounting matter as much as material.
For expected life, published guides are cautious with numbers and so should you be. On 3dprinting.stackexchange one user reported a PLA part for ocean use lasting roughly six months before breaking; another maker in a functional-print forum described a part still holding up four months in with a multi-year forecast. Treat those as anecdotes about specific parts, not as guarantees.
2. Design the part for drainage, strength and easy replacement
Design does more for outdoor life than any coating. A part that cannot hold water, flex away from stress and be taken off without tools will outlast a better material with a poor geometry.
- Wall thickness: four perimeters, roughly 1.6 mm of solid wall on most printers, and up to 2 to 3 mm on brackets that carry load. Thin walls crack along layer lines first.
- Infill: 30 to 40 percent gyroid is plenty. Extra infill adds little once your walls are solid and slows the print.
- Ribs and fillets: add ribs at the roots of brackets and round external corners. Sharp internal corners are stress risers and the usual place a printed part snaps.
- Drainage holes: every cavity, cup or box gets a hole at its lowest point, large enough that dirt cannot plug it. Water sitting in a hollow is the single most common cause of a burst or split part.
- Vents: enclosures around electronics need air paths at top and bottom so condensation has somewhere to go.
- Standoff mounting: hold the part off the wall or post with spacers so air and water can pass behind it.
- Replaceable parts: mount the sacrificial element, such as a foot or a clip, with fasteners so you can swap one piece instead of reprinting the whole assembly.
- Fastener bosses: print a wall of material around each screw hole and use flat washers so the fastener clamps on the boss rather than crushing a single line of plastic.
3. Print with settings that reduce weak layers and moisture
Outdoors, the part usually fails along a layer line long before the material gives out, so print settings decide whether the coating even has something sound to protect. Use these as starting ranges for common desktop FDM printers, then tune for your own machine.
- Dry first. PETG at 60 to 70°C, ASA at 65 to 75°C, nylon at 70 to 80°C, four to six hours in a dryer. Bubbling, stringing and rough surfaces mean wet filament.
- Nozzle temperature: ASA 240 to 260°C, ABS 235 to 250°C, PETG 235 to 250°C, nylon 250 to 270°C, PLA 200 to 215°C. Higher within the range bonds layers better.
- Bed temperature: ASA and ABS need roughly 90 to 110°C to stop the corners lifting. Open-frame printers struggle to hold this consistently, which is where warping starts.
- Enclosure: required for ASA, ABS and polycarbonate. Keep it closed for the whole print on large parts.
- Cooling: minimal fan on ASA and ABS so layers have time to fuse, moderate on PETG, full fan on PLA.
- Print speed: drop it for the final third of a load-bearing part. Slower travel keeps the nozzle hot against the previous layer.
- Bed adhesion: brim or raft on large flat prints, and a clean, level bed. A warped first layer bends the whole part.
- Orientation: turn the part so the load runs across layers, not along them. A wall bracket printed flat fails faster than the same bracket on its edge.
- Supports: contact supports leave marks that soak up water. Use a lower support density or design the part to need none.
After printing, let the part cool fully on the bed before you pull it. Handling a warm ASA or ABS part can twist it, and the twist turns into a crack weeks later.
4. Apply UV, water and chemical protection
A coating buys years, but only if the layers beneath it are sound and the coating chemistry suits the plastic. Work in dust-free conditions with thin coats, and follow the cure times printed on the can or the technical data sheet.
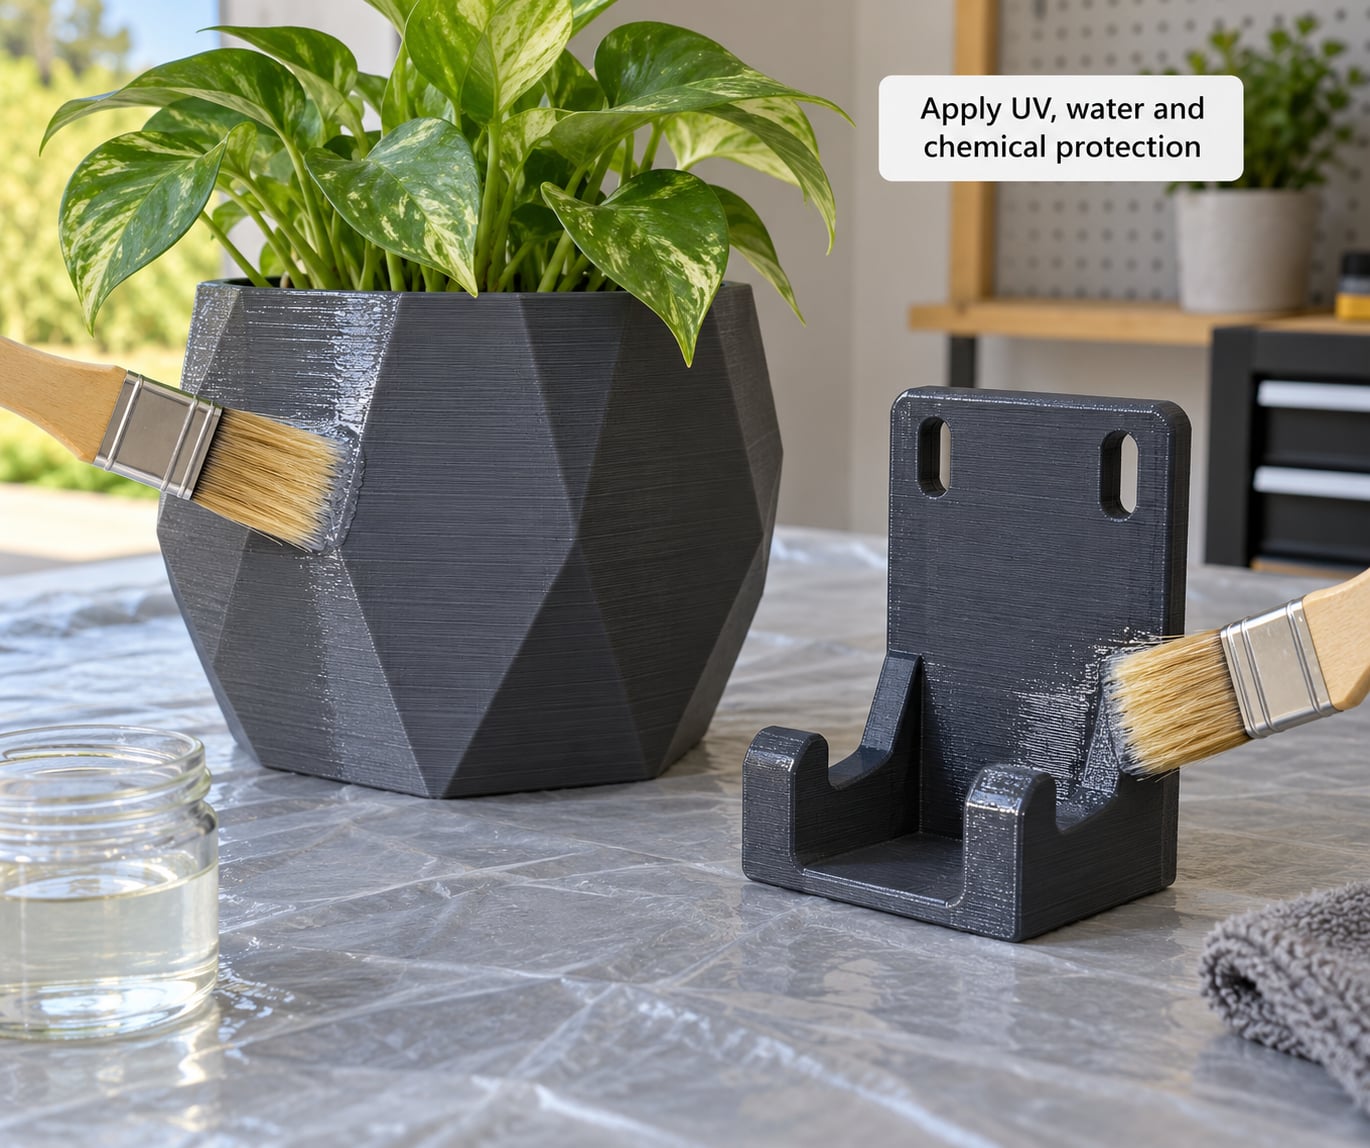
Coating options and what each one does
- Paint only: blocks light reasonably well but leaves a thin, porous film that water finds. Cheapest and fastest, and a fine choice for decorative parts.
- Filler primer plus paint: fills layer lines, gives the paint something to grip and looks better. The best balance for most parts. One thin coat, sand lightly, then paint.
- Polyurethane clear coat: an automotive two-part clear coat is the strongest UV block per coat. It is the most demanding to apply and needs proper mixing, ventilation and full cure time.
- Epoxy sealer: two-part epoxy fills small gaps and gives a hard waterproof skin. It is chemically aggressive, so test on a scrap print first and check the manufacturer says it suits your plastic.
- UV-protectant spray: convenient and quick, and the first coat many people use. Plan on refreshing it every season or two.
Application order
Sand the part with 120 to 400 grit to knock down layer lines, clean off the dust with a damp cloth and let it dry fully. Apply filler primer in thin coats, following the can’s flash time. Sand again lightly if you want a smooth finish, then paint or coat. Two or three thin coats always beat one thick one, because a thick coat traps solvent and stays soft.
Give each coat the cure time on the label, and give the part 24 to 48 hours before it sees weather. Skip coatings on hot TPU unless the manufacturer approves it, and never spray solvent-based products without ventilation.
5. Install the print where water, dirt and stress cannot accumulate
Where the part sits often decides how long it lasts. A coated part bolted flat against a south-facing wall will fail sooner than the same part mounted in shade on standoffs.
- Drainage: angle mounted surfaces so water runs off, and keep drain holes pointing down and clear of soil.
- Ventilation: leave air around and behind the part, especially around electronics housings.
- Shade: mounting under an eave, on a north wall or under a canopy removes a large share of the UV load.
- Fasteners: tighten to hold the part, not to crush it. Use flat washers and stainless steel hardware that will not seize, and leave room for thermal expansion between fasteners.
- Sharp edges: round off exposed corners and edges that someone will brush against, since they crack first.
- Wind and load: wide flat panels act like sails. Design a second fixing point so the part cannot pivot and crack at the mount.
- Contact surfaces: keep the part off soil, and isolate it from concrete and metal so moisture stays on one surface and galvanic corrosion cannot creep in.
6. Inspect and maintain it on a schedule
Two inspections a year, once after winter and once after summer, is enough for most parts. Set a reminder, because an unnoticed crack is the one that ends the part’s life.
Check for cracks with a strong light along layer lines and around fastener bosses, especially at load points. Look for fading, chalking or a dull surface, which means the UV coating has worn through. Feel for soft spots, since softened plastic means heat has crept past what the material can take. Check the fasteners for looseness and rust. Clear any drain hole that has collected dirt, and rinse trapped mud off the part.
Small problems are repairable. A hairline crack can be filled and recoated, a drained hole re-cleared, a recoat applied before the surface goes chalky. Replace the part when a crack has run through a wall, when the layer bonding has separated, or when a fastener boss has been crushed.
Common Mistakes That Kill Outdoor Prints Fastest
Most outdoor failures trace back to one of a handful of habits. Each has a straightforward correction.
Printing PLA and leaving it untreated
Plain PLA in sunlight fades, chalks and turns brittle within months. Use ASA or PETG instead, and coat it. If you must print in PLA, keep it in shade and paint it dark, which hides the damage.
Sealing water inside a cavity
Coating a part that has a hollow with no drain hole traps water that expands when it freezes and gets hot in summer. Drill the drains before you coat, and print with the openings facing down.
Applying an incompatible coating
Some epoxies and solvents attack certain plastics and can leave a part softer than before. Test on a scrap print, and check that the product is rated for your filament.
Ignoring UV until it is obvious
By the time a part visibly fades, the polymer chains behind the colour have already been broken. Coat before you install the part, not after the first summer.
Over-tightening fasteners
Plastic threads strip, and bosses crush and crack under a driver held too long. Tighten until the part is secure, add a flat washer, and stop.
Skipping maintenance
A clogged drain hole turns a working part into a cracked one within a season. Two checkups a year catch it while it is still a five-minute fix.
Printing thin, flat and unsupported
A single-layer wall with no brim, printed flat and loaded across its layers, is the weakest part you can make. More perimeters, a brim and the right orientation cost nothing at the design stage.
Baking prints to improve heat resistance
Baking a finished PLA part to raise its heat tolerance is a widely repeated tip with little solid testing behind it. If heat is the problem, change material.
Frequently Asked Questions
Can 3D prints stay outside?
Yes, as long as the filament suits the job and the part is protected. ASA and polycarbonate handle sun and rain far better than PLA, and all of them last longer with a UV-resistant coating, drainage holes and a shaded mount. A well-designed, coated ASA part routinely outlasts an uncoated PLA one several times over, while plain PLA in full sun usually starts fading within a few months.
Will PETG last outside?
PETG handles rain and knocks well, so it works for shaded or partly exposed parts such as planters, hose fittings and tool handles. In direct, high-UV sunlight it tends to yellow and go brittle sooner than ASA, and the timing varies with colour, formulation and climate. A dark PETG part with a UV-resistant clear coat can run for years; the same part in white sun can fail within a season or two.
Is PLA or PETG more UV resistant?
PETG, by a wide margin. PLA has almost no UV resistance, so colour fades, the surface chalks and the part turns brittle within months in full sun. PETG slows that process considerably, though it still yellows under prolonged exposure, and neither comes close to ASA or polycarbonate. If you want outdoor service, print in PETG or ASA and add a UV-resistant coating rather than reaching for PLA.
Is there a waterproof spray for PLA?
A waterproof spray will slow water reaching the surface, but it will not stop UV damage to the PLA underneath. UV-resistant acrylic paint under a polyurethane clear coat or an epoxy sealer does much more, because it blocks sunlight as well as sealing the part. Any coating needs a clean, dry surface, thin coats rather than one thick one, and the full cure time printed on the can before the part goes outside.
Will PLA fade in the sun?
Yes. Ultraviolet light breaks down the polymer chains at the surface of PLA, so colour fades and yellows, the surface goes chalky and the part becomes brittle with it. Cloud-filtered daylight still adds up over a season. A UV-resistant coating blocks most of the damage, and keeping the part in shade works too. Painting it a dark colour also hides the discoloration that does occur.
Is ASA or ABS better for outdoor use?
ASA. The two print almost identically, but the acrylate content in ASA makes it far more weatherable, so it holds its colour and stays tough in sunlight where ABS chalks and cracks. ASA wants the same high bed temperature and enclosed chamber ABS does, which is usually why people settle for ABS instead. If your printer cannot hold that heat, use PETG and coat it well.
Conclusion
Start with the material, because no coating rescues PLA sitting in full sun. ASA is the safe default, PETG covers rain and impact where the sun is less brutal. Then handle water before you handle coatings: drain every cavity, vent every enclosure, mount on standoffs and keep the part off the soil. Protect the surface next, with filler primer, UV-resistant paint and a clear coat applied in thin layers with full cure time between them. Finally, look at the part twice a year, because a crack caught early is a ten-minute repair and a crack caught late is a reprint.