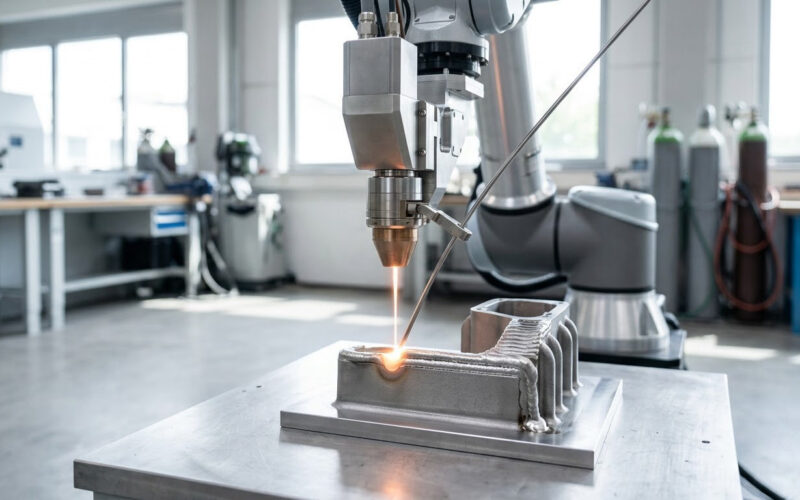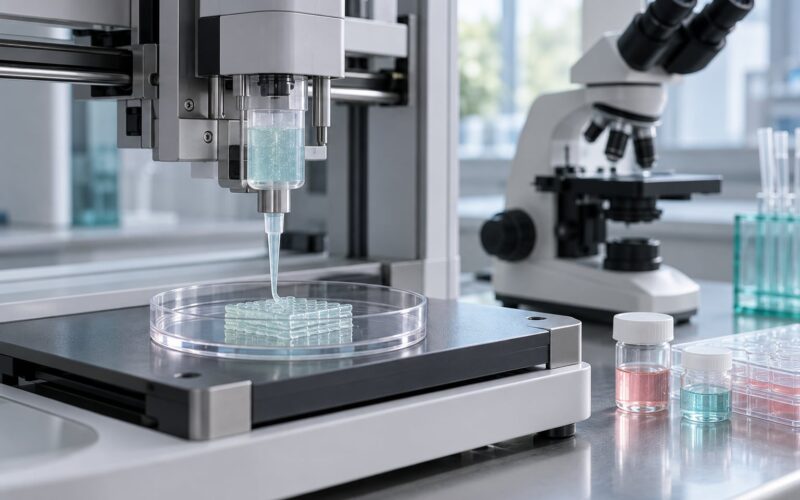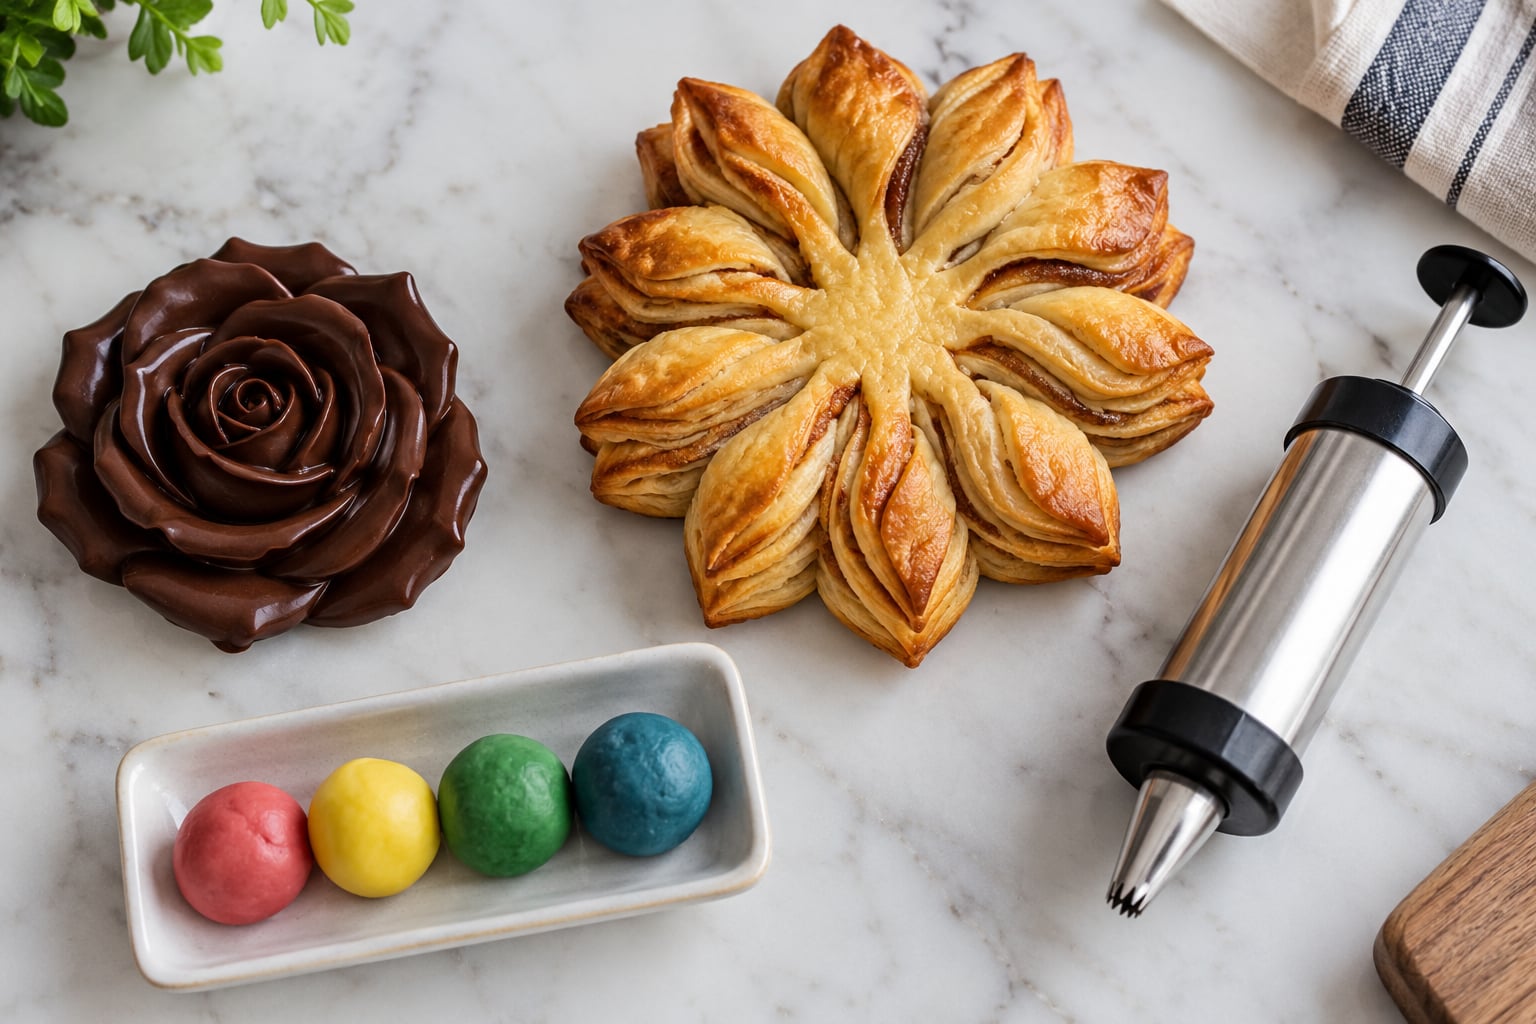
3D printed food is edible material — chocolate, dough, purée, cheese, or a plant-based protein paste — that a printer deposits in thin layers to build a finished shape, using the same additive principle as plastic printing. Once the model is designed and the paste is formulated, the machine does the shaping work.
The interesting part is not the printer. It is that the same ingredients you already cook with get arranged into forms that are tedious or impossible to shape by hand, and into internal structures that a mould cannot produce at all.
What follows is how the process actually runs, which materials work, what the technology genuinely buys you, and where it stays awkward. I have kept it practical because the gap between the demo videos and a working kitchen is wider than most coverage suggests.
Table of Contents
- 1What Is 3D Printed Food?
- 23D printed food is not the same as a 3D-printed cookie cutter
- 3The idea is older than most headlines suggest
- 4How Does 3D Printing Food Work?
- 5Design the shape as a digital model
- 6Turn the ingredients into an extrudable paste
- 7Load the food ink into the printer
- 8Build the shape layer by layer
- 9Post-process to set the structure
- 10Why complex shapes do not always pay off
- 11What Materials Can Be 3D Printed?
- 12How Does 3D Printed Food Taste and Compare With Conventional Food?
- 13What Are the Main Advantages of 3D Printed Food?
- 14Customisation at a level hand-shaping cannot reach
- 15Internal structures that moulds cannot make
- 16Controlled nutrition and diet
- 17Precise portioning
- 18Ingredient efficiency where it applies
- 19Fast prototyping for kitchens
- 20What Are the Limits, Costs, and Food-Safety Challenges?
- 21Speed is the first objection and it is valid
- 22Throughput and equipment
- 23Narrow ingredient range
- 24Consistency between runs
- 25Sanitation and allergen control
- 26A prototype is not a commercial food product
- 27Where Is 3D Printed Food Used Today?
- 28Is 3D Printed Food Safe to Eat?
- 29Frequently Asked Questions
- 30What is 3D printed food?
- 31Can 3D printers print anything humans can eat?
- 32Is 3D printed food healthier than conventionally made food?
- 33What 3D printer is used to make food?
- 34How long does 3D printed food take to make?
- 35Is 3D printed food commercially available?
- 36Conclusion
What Is 3D Printed Food?
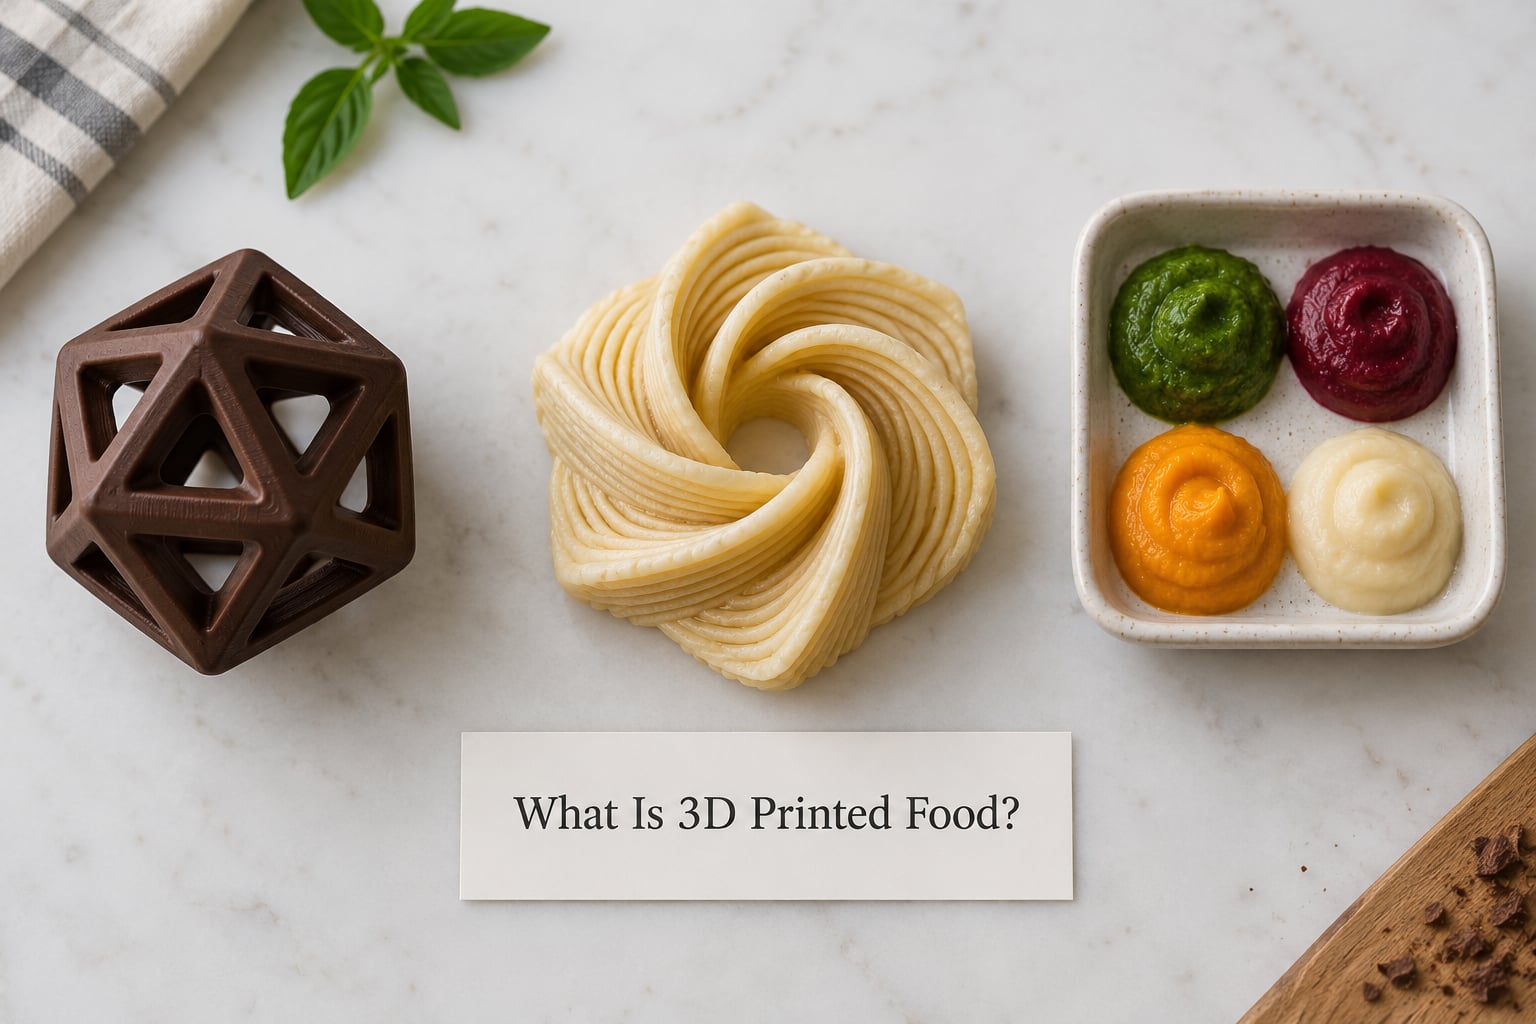
3D printed food is any edible substance built up from a digital model by depositing one thin layer on top of another. The material is food, and the tool is an extruder or print head that moves in the pattern the software dictates.
3D printed food is not the same as a 3D-printed cookie cutter
This distinction trips up a lot of readers, so it is worth being blunt about it. Printing food means the food itself is deposited by the machine. A 3D-printed cookie cutter is a plastic tool that shapes ordinary dough — useful, clever, but not food printing. Much of what circulates online under the food-printing label is the second category.
Custom chocolate shapes, piped sugar structures and layered dough forms count as the real thing. So do printed purée shapes for people who struggle to swallow, and prototype meat alternatives with designed fibre and marbling.
The idea is older than most headlines suggest
Cornell University demonstrated a syringe-based multi-material food printer, the Fab@Home, in 2006. It could deposit several pastes at once, which was the point: different ingredients in different places in the same object.
Two decades on, extrusion is still the method that matters, and the refinements have been in materials science and software rather than in any dramatic change of principle.
How Does 3D Printing Food Work?
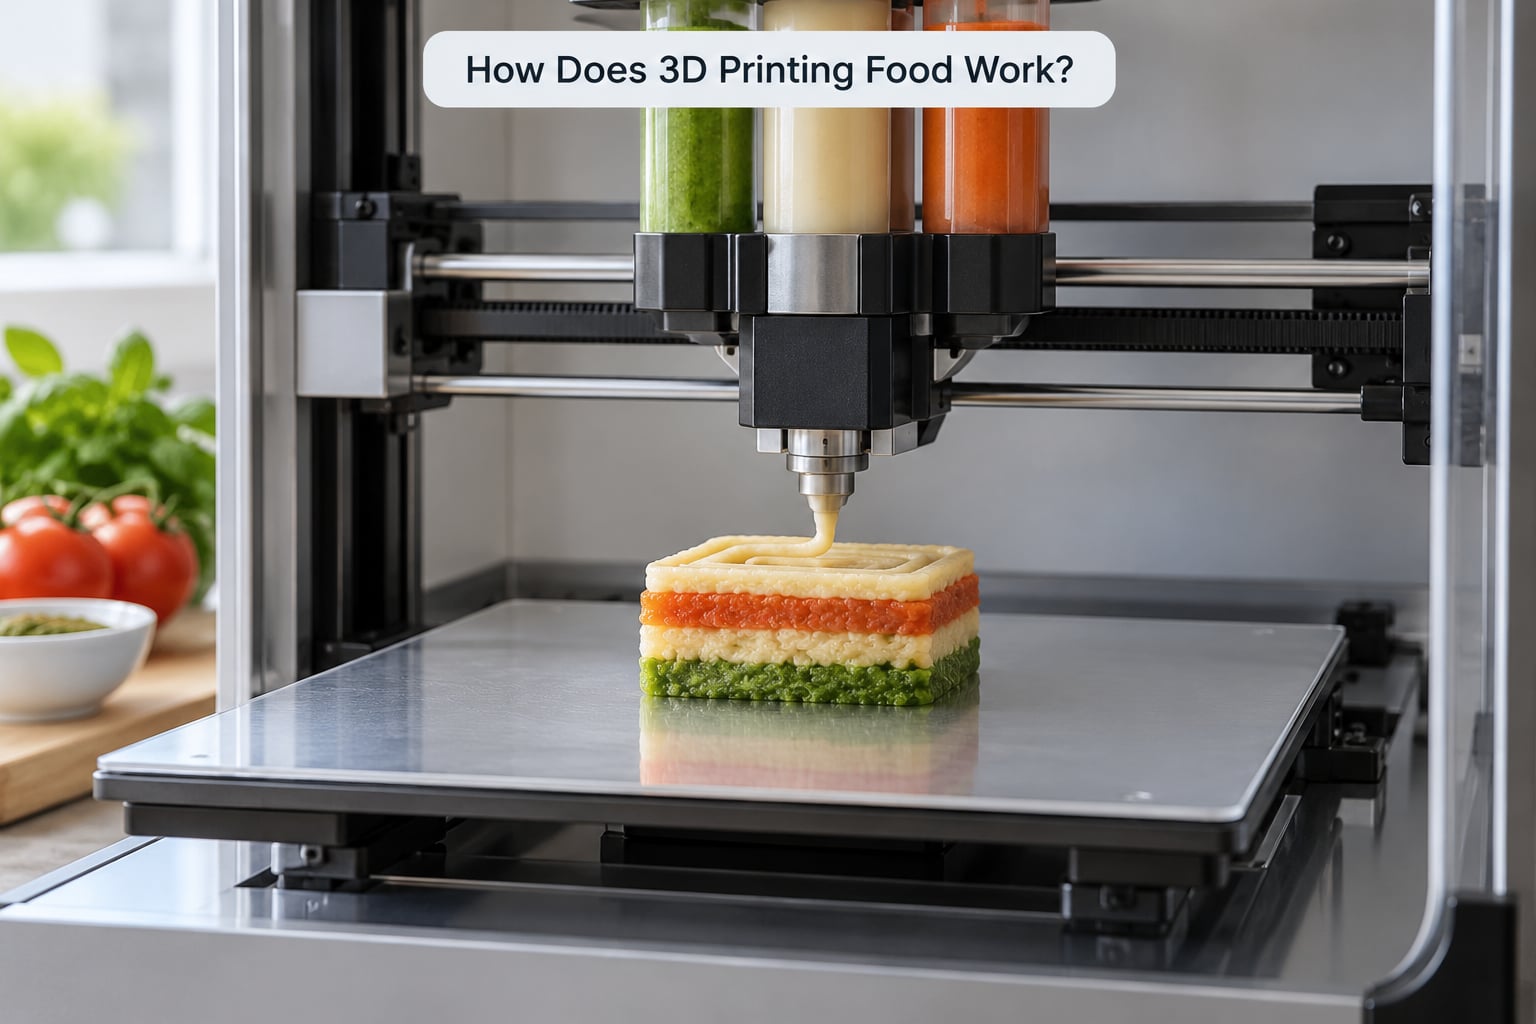
The process runs in five steps, and the first two are where most of the real work happens.
Design the shape as a digital model
The dish is modelled in CAD software or sculpted in a mesh editor, then sliced into toolpaths. Layer height, print speed, nozzle diameter and infill percentage are all set at this stage, in much the same way as a plastic print.
Turn the ingredients into an extrudable paste
Ordinary ingredients are cooked, blended or otherwise processed until they flow. Viscosity and shear-thinning behaviour matter enormously here: a paste that stays put under pressure keeps its shape, while one that thins out too much sags as soon as it lands.
Load the food ink into the printer
The paste goes into a syringe or hopper and is pushed through a food-contact nozzle. Multi-material machines carry several syringes and can switch between them mid-build, which is how a dessert can combine two textures in one piece.
Build the shape layer by layer
The head deposits a path of paste, advances by one layer thickness, and repeats. A modest dessert runs into the hundreds of layers; a tall or solid form runs into thousands. The layers bond as they land, either through cooling, gelling, drying or a starch-based set.
Post-process to set the structure
Freshly printed paste is usually not finished food. It gets baked, steamed, cooked, chilled or rested, depending on the material. This step is not optional, and it is where most home attempts go wrong.
Why complex shapes do not always pay off
Print time scales with path length and layer count, not with how clever the shape looks. An intricate filigree that needs 1,000 thin layers can take hours where a simple form finishes in minutes. Internal lattice structures do genuinely add value — they change texture and mouthfeel — but decorative detail mostly costs time.
What Materials Can Be 3D Printed?
Not every printer handles every material. Purity, particle size and how the paste behaves under pressure all decide whether a material is printable at all.
| Material | Texture before cooking | Post-processing needed | Flavour profile | How well it holds a shape |
|---|---|---|---|---|
| Chocolate | Firm paste, sets on contact | Cooling and tempering | Sweet, clean | Excellent |
| Sugar paste | Stiff, workable | Drying | Sweet, neutral | Excellent |
| Cookie dough | Soft paste | Baking | Sweet, baked | Good |
| Savoury dough or batter | Pourable to soft | Baking or frying | Depends on recipe | Good |
| Mousse and purée | Liquid to soft paste | Chilling or setting | Mild, ingredient-led | Fair |
| Soft cheese | Spreadable paste | Chilling | Mild, creamy | Good |
| Meat paste | Protein gel paste | Cooking | Savoury, neutral base | Good |
| Plant-based protein paste | Firm paste | Cooking, often with added structure | Savoury, neutral | Excellent |
| Cellulose and hydrogel inks | Clear gel | Setting | Neutral carrier | Fair |
Anything with chunks in it is a problem. A nozzle will block on an apple piece, so fruit, nuts and seeds get blended down, strained, or added after printing.
How Does 3D Printed Food Taste and Compare With Conventional Food?
Printed food tastes like the ingredients used to make it. The printer adds shape, not flavour, so a chocolate print is chocolate and a purée print tastes of whatever went into the purée.
The difference people notice is mouthfeel. Layering produces a slightly striated texture, and how tightly the layers fuse depends on the material and on how fast it is post-processed. Printed items also have more exposed surface area than an equivalent moulded one, which affects drying and browning.
Formulation usually matters more than hardware. A well-recipe chocolate print beats a badly-recipe one on any machine, and two printers running the same recipe can still differ because of layer height and cooling rate. Treat identical results between machines as an assumption, not a given.
Texture engineering is the interesting part. Print parameters can create fibrous, flaky or layered structures that imitate muscle and fat in alternative proteins — which is the reason the technique draws serious research money.
What Are the Main Advantages of 3D Printed Food?
Customisation at a level hand-shaping cannot reach
A printed dessert can match a specific mould, theme or guest’s initials. Several machines switch materials mid-build, so one object can carry two pastes, two colours or two textures.
Internal structures that moulds cannot make
Infill and lattice patterns inside a printed piece create specific mouthfeel. A layered interior gives a flaky texture that a solid block of chocolate simply has no way to deliver.
Controlled nutrition and diet
Because the recipe is a recipe, macronutrients, texture and portion size can be set to a target. That is why researchers are working on food for people with swallowing difficulties, where soft but structured food is genuinely useful, and on diets that need an ingredient excluded entirely.
Precise portioning
Depositing by volume rather than by eye suits small, repeatable portions. It also suits settings where consistency across many servings matters.
Ingredient efficiency where it applies
Depositing only the material a shape needs reduces trimming waste. The gain is real for chocolate and confectionery work and negligible for anything a mould would have filled anyway.
Fast prototyping for kitchens
A chef can iterate on plating and portion ideas in hours rather than commissioning moulds. Printed samples also work as a test of whether a dish holds together before it reaches a service.
What Are the Limits, Costs, and Food-Safety Challenges?
Speed is the first objection and it is valid
Printing even a small solid form takes far longer than mixing a batter. A dessert can run into hours. Feeding a room this way is not realistic today, and any coverage that suggests otherwise is selling something.
Throughput and equipment
Food-grade machines with syringe-based deposition cost considerably more than hobby printers, and they need dedicated cleaning cycles. Maintenance, replacement tubes and nozzle time add up, which is why commercial use concentrates in high-margin dessert work and product development.
Narrow ingredient range
The window is pastes that flow through a small nozzle and then set. Everything outside that window — clear liquids, hard chunks, thin dry powders — needs processing first, which changes the dish.
Consistency between runs
Moisture content and particle size shift batch to batch, and a recipe that extruded cleanly last week may behave differently today. Production environments add sensors and monitoring to catch drift, which is normal manufacturing practice and not exotic.
Sanitation and allergen control
A porous, ridged surface is harder to clean than a smooth mould, and shared equipment raises cross-contamination questions, particularly for allergens. This is the concern I see raised most often by people who actually run printers, and it deserves a straight answer rather than a reassurance.
A prototype is not a commercial food product
Printing a shape in a lab or kitchen demonstrates capability. Selling food requires validated ingredients, food-contact equipment, sanitation procedures and, in most markets, regulatory approval. The distance between the two is wider than the press coverage suggests.
Where Is 3D Printed Food Used Today?
Fine dining is the most visible application, where printed chocolate, sugar and purée structures appear as part of a dessert designed to be discussed. Restaurants tend to use it as an experience element rather than as production infrastructure.
Plant-based protein development runs deeper than most people realise. Alternative meat and fish prototypes are printed to develop fibre, marbling and flaky structures that extrusion-based forming cannot easily produce.
University and institute labs print experimental material — novel hydrogel inks, structure studies, and printed cheesecake-style demos that circulate online as timelapses. Recent work has focused on printable food inks that carry flavour and colour while staying extrusion-friendly, and on whether consumers accept printed textures as food rather than as a demonstration.
Consumer chocolate printers exist and are sold as home devices. Pancake art robots and similar novelty machines have had a patchy commercial record, which is a useful reminder that demonstration and product are different categories.
Medical and clinical nutrition is an active research area rather than a routine service. Swallow-safe printed structures and personalised meal concepts appear in papers; treat them as research until your local service says otherwise.
As for grocery shelves, printed meat is not something you will find next to the beef today. That framing comes mostly from press releases about prototypes and pilot runs.
Is 3D Printed Food Safe to Eat?
Safety depends on five things: ingredients you would eat anyway, equipment with food-contact surfaces, a documented cleaning routine, a formulation that does not trap moisture or burn, and appropriate cooking or cooling.
Where animal products or cooked fillings are involved, follow the standard minimum internal temperatures. Poultry to 165°F (74°C), ground meat to 160°F (71°C), and whole cuts and fish to 145°F (63°C). A printed structure that traps a soft filling in its centre still has to reach those temperatures throughout, which is an argument for recipes that cook as a whole rather than in thin decorative shells.
One persistent claim deserves correcting plainly. Soaking printed parts in bleach does not make a hobby printer food-safe. Bleach sanitises a surface; it does not remove residues from a non-food-grade thermoplastic, and it does not convert an open-frame machine with an ABS or PET build surface into equipment that has been designed for food contact. A machine used for food has to be built for it.
For home experiments, use a machine with a removable stainless build surface and food-contact extruder path, purge it thoroughly between materials, and avoid printing anything allergenic on a machine you also run plastic through. For commercial or clinical applications, talk to a qualified food-safety professional and check your local regulatory requirements rather than copying a hobby setup.
Frequently Asked Questions
What is 3D printed food?
3D printed food is edible material deposited layer by layer from a digital model, using the same additive method as plastic printing. Chocolate, dough, sugar paste, purée, cheese and plant-based protein pastes are all used. The printer supplies shape and internal structure; the flavour comes entirely from the ingredients.
Can 3D printers print anything humans can eat?
No. Only materials that flow through a small nozzle and then set will extrude reliably, which in practice means pastes, purées and gels. Clear liquids, hard chunks and dry powders need blending, straining or binding first. You are not choosing from a menu of finished dishes; you are choosing a consistency the machine can handle.
Is 3D printed food healthier than conventionally made food?
Not inherently. Because the recipe is controlled, a printed item can be engineered to meet specific nutritional or texture targets, which is genuinely useful in clinical diets. But printing changes shape, not nutrition. Unless a recipe differs from the conventional version, the printed and moulded versions contain broadly the same ingredients in the same proportions.
What 3D printer is used to make food?
Syringe-based extrusion machines are the standard, with one or more food-grade syringes feeding a heated print head. Multiple syringes allow different pastes or flavours in one build. Devices built for plastic filament cannot simply be loaded with food, since build surfaces and wetted parts are not designed for food contact.
How long does 3D printed food take to make?
It depends on volume, layer height and detail. A simple chocolate form is quick, while a tall dessert built from hundreds of thin layers can take several hours, and post-processing adds baking or chilling time on top. Print time scales with layer count and path length, so intricate detail costs disproportionately more.
Is 3D printed food commercially available?
Partly. Printed chocolate, sugar structures and consumer chocolate printers are sold today, and fine dining restaurants use printed components in set menus. Printed meat alternatives and clinical nutrition products remain at prototype, pilot and research stage rather than ordinary retail items, so most published claims describe development work rather than products on a shelf.
Conclusion
3D printed food works by depositing an edible paste in thin layers and bonding each layer to the last, then finishing the shape with cooking, chilling or drying. Everything difficult about it happens before the first layer: choosing a material that flows, getting its viscosity right, and planning the post-processing.
If you want to try it, start with a material that needs no complex thermal history, learn what your machine’s build surface and extruder path can be exposed to, and treat the result as a prototype until the ingredients, equipment and cleaning routine are validated. Realistically, it remains a tool for custom desserts, texture research and prototyping rather than a replacement for everyday cooking.