A 3D printing portfolio earns its spot by showing finished parts next to the decisions behind them: the brief, the slicer settings, the versions that failed, and where the finished object ended up. Anyone can buy a printer, so the portfolio is the only proof a client or hiring manager has that you can solve problems on a deadline.
Building one takes most makers a weekend of setup and then a few hours a week for a month. I have watched hobbyists with years of prints go stuck at a photo gallery, then rebuild the same work as four honest case studies and start hearing back from clinics, recruiters, and paying customers within a fortnight.
Table of Contents
- 1What You Need
- 2A shortlist of finished projects
- 3A written record of every print
- 4Basic capture gear
- 5A hosting platform and a visual template
- 6Step-by-Step: How to Build a 3D Printing Portfolio
- 71. Define the Role or Clients You Want
- 82. Choose Projects with Visible Results
- 93. Document the Problem and Design
- 104. Show the 3D Printing Process
- 115. Present Finished Results Clearly
- 126. Turn Projects into Case Studies
- 137. Build and Review the Final 3D Printing Portfolio
- 14Common Mistakes
- 15Presentation tips that cost nothing
- 16Frequently Asked Questions
- 17How many projects should a 3D printing portfolio include?
- 18How do I show a 3D printing project that is under NDA?
- 19Should a 3D printing portfolio include failed prints?
- 20Do I need CAD screenshots in a 3D printing portfolio?
- 21What file format is best for a 3D printing portfolio?
- 22How can a beginner choose a strong portfolio project?
- 23Conclusion
What You Need
You need three things before you touch a template: projects worth showing, a record of how they were made, and somewhere to host them. Everything else is decoration.
A shortlist of finished projects
Eight to twelve works is plenty. Each one needs a photo you already own or can retake, plus enough memory of the process to write it up honestly.
A written record of every print
Pull your slicer project files, spreadsheets, or chat logs. For each print, note the printer, material, layer height, infill percentage, support strategy, orientation, print time, and any post-processing. If that log does not exist yet, write it from memory now, while the details are still sharp.
Basic capture gear
A phone camera, a plain white or grey backdrop, a window with indirect daylight, and something to hold the part steady. A small turntable or a phone on a clamp helps with rotation shots. Nothing here needs a brand.
A hosting platform and a visual template
Pick one home base rather than five. A personal site on your own domain looks professional, but a free builder is a completely legitimate first step, especially while you are still finding your voice. One maker I read about started on a free site builder with no custom domain, gathered feedback for six months, and moved to a paid site only once they had traffic worth keeping.
Choose a visual template before you shoot anything. One typeface, one heading style, one background colour, one accent colour, and a fixed order for the spec box. Consistency does more for credibility than any single beautiful photograph.
Step-by-Step: How to Build a 3D Printing Portfolio
Seven steps, in this order. The order matters because early steps save you from rewriting everything at the end.
1. Define the Role or Clients You Want
Start by writing down who will open this portfolio and what they need to believe within thirty seconds. A hiring manager for an additive-manufacturing role wants to see process discipline and tolerance. A freelance client wants reliability, finish quality, and turnaround. A clinic or occupational therapist wants to see a part solving a real problem for a real person.
Then turn that into selection criteria. If you want print-service work, favour projects with repeatability and a repeatable material. If you want a design role, favour projects where your own CAD work is visible. Write those criteria on paper; they become the filter for everything after this.
2. Choose Projects with Visible Results
Pick a small set that covers different skills, different challenges, and different outcomes. Three brackets in one row proves nothing. One functional part, one finished or painted piece, one tolerance-critical item, and one personal project that people actually use tells a far better story.
Test each candidate with one question: can a stranger say what this object does after five seconds of looking? If not, it needs a better hero photo or a clearer title, and if it still fails after that, drop it.
3. Document the Problem and Design
Every case study opens with the brief, not the model. Who needed this part, what were they doing without it, and what constraints shaped the design? Load, temperature, print bed size, material availability, and cost all belong here.
Then show your design workflow. Early sketches, the CAD screen where you set wall thickness and clearances, and the decision you argued yourself into or out of. If you printed someone else’s model under a licence, name the designer and link to it. Crediting third-party models is not a weakness on a portfolio, and pretending otherwise is the fastest way to lose a technical client’s trust.
4. Show the 3D Printing Process
This is where most portfolios get thin, and where the strongest ones separate themselves. Record the printer and process, the material and colour, layer height, infill, wall count, support type, orientation, print time, nozzle or resin temperature, and any retraction or fan settings you changed.
Document the failures too. A first attempt that lifted off the bed at 40% scale, a layer shift on layer 214, a support scar you had to sand out. One maker on Reddit builds assistive devices and documents every version of every part, including what each attempt tried to fix and what failed. That habit reads as rigour, not as failure, because anyone who has printed anything recognises the problem.
Keep an iteration log with a consistent shape: version, date, what changed, why it changed, and the result. Three lines per version is plenty.
5. Present Finished Results Clearly
Shoot in indirect daylight near a window, or against two large soft light sources if you want control. A plain sheet of white or grey card works better than a patterned backdrop, because print texture and layer lines are exactly what you are trying to show.
Use a small object with a known size, such as a coin or a caliper, so viewers get scale instantly. Capture one hero shot, two to four detail shots showing surface finish and critical features, and one process image or time-lapse frame. A short turntable clip of the part rotating does more than three stills for showing symmetry and finish.
Note the dimensions and the post-processing you did by hand. Sanding, priming, painting, washing and curing, or a tapped hole all tell a reviewer you care about the last ten percent.
6. Turn Projects into Case Studies
Repeat one structure for every project and the portfolio stops feeling like a gallery and starts feeling like evidence. Use these eight blocks: the challenge, the constraints, the approach, the technical decisions, the testing, the result, the limitations, and what you would do differently.
Keep each block short. A hiring manager skims; a curious reader clicks for depth. That is why a one-photo-plus-short-description top layer with a deeper write-up underneath works so well, and it is the structure makers in maker communities keep converging on.
Write the limitations block seriously. Naming the surface finish you would improve or the tolerance you would tighten next reads as a working engineer, not a beginner.
7. Build and Review the Final 3D Printing Portfolio
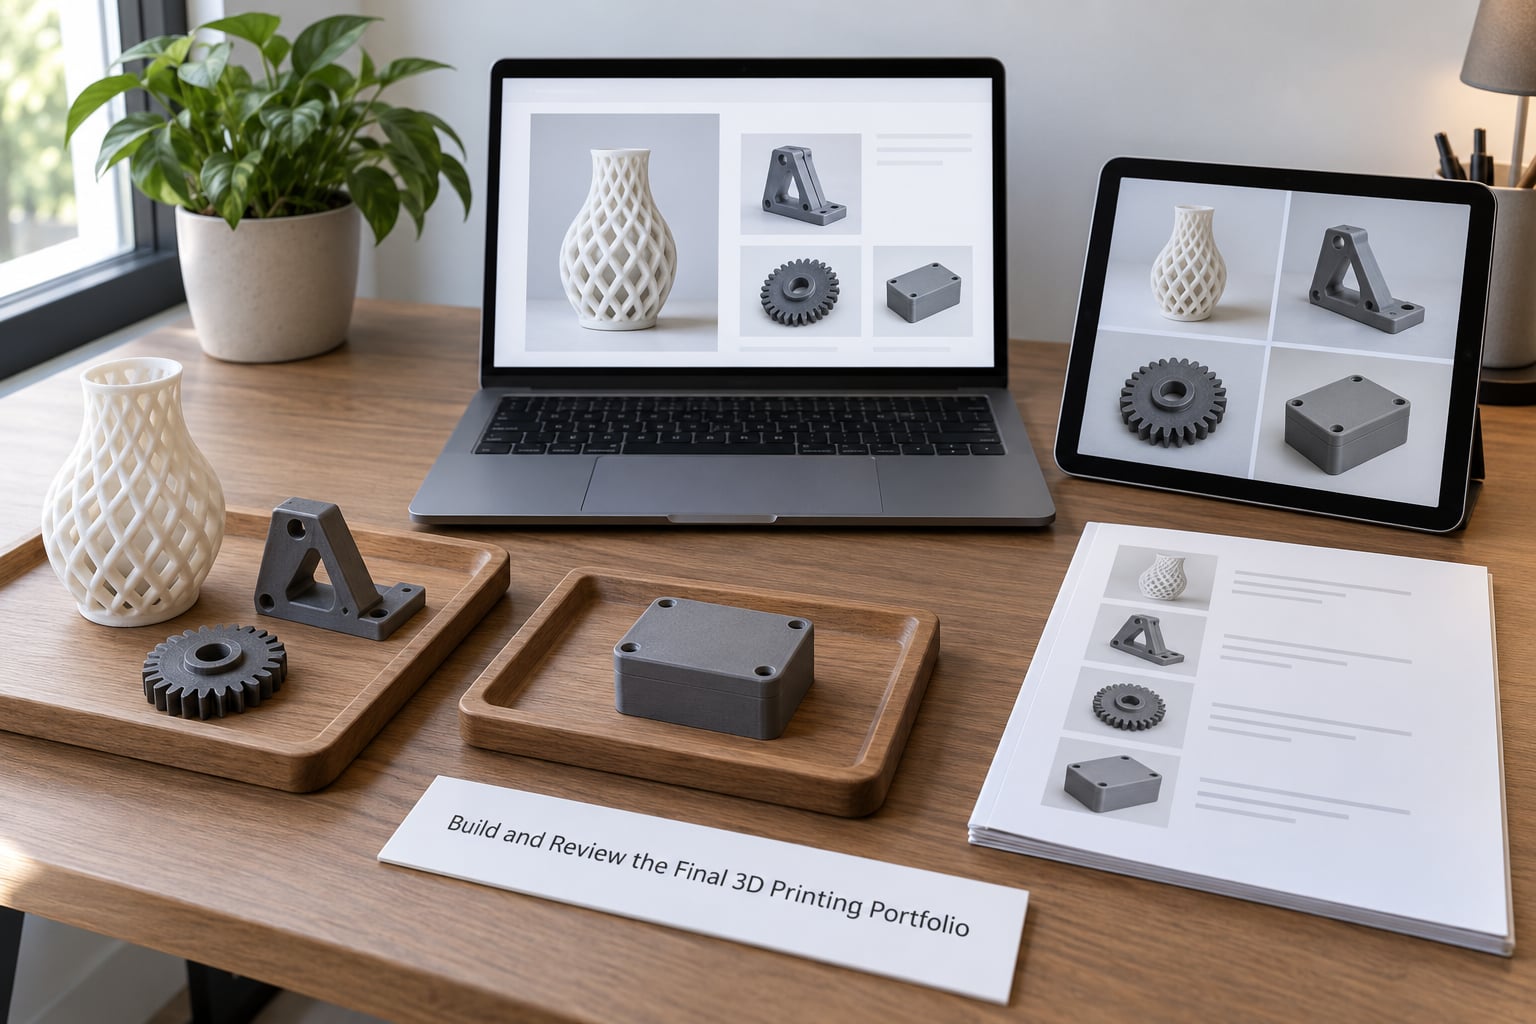
Put your strongest two projects first. Reviewers spend the least time on project number one and the most time on whatever they find second, so front-load substance there.
Check the layout on a phone as well as a desktop, then read every sentence for technical accuracy. If a setting is wrong, a claim is inflated, or a photo caption contradicts the spec box, fix it before publishing rather than after someone points it out.
Then ask three people who work in the field to look at it. One maker building assistive devices reached out to clinics and occupational therapists for honest feedback rather than sales, and that framing is worth copying: ask what confused them, not for a job. Remove what they consistently misread, and keep what they understood immediately.
Common Mistakes
Most weak portfolios fail on the same handful of things, and every one of them has a simple fix.
- Only close-up photos. A macro shot of a layer line is not a portfolio image. Fix: shoot the whole object first, then move in for detail.
- A printer list instead of results. Naming your machines without saying what you built with them tells a reviewer nothing. Fix: lead each project with the problem and the outcome, and put the hardware in the spec box.
- Hiding every failure. A flawless record reads like marketing. Fix: keep one or two failures in the main body, where they explain why the final design exists.
- Watermarked or unlicensed models presented as your own. This ends conversations with technical clients. Fix: credit the original designer and link to the licence.
- No organisation. Twenty projects in random order reads as a dump. Fix: group by application area, write a one-line title for each, and add an index page.
- Selling physical prints with unclear rights. Selling prints of your own models is generally fine; what is restricted is selling or distributing other people’s models without a licence. Fix: check each model’s licence, keep records, and state terms on any sales page. Rules differ by country, so check locally if the work becomes commercial.
- Abandoned drafts left half-finished. Fix: publish a project only when it has a result and a lessons section.
- Images with no alt text. Fix: describe the part and its process in plain words; it helps screen readers and it helps search engines.
Presentation tips that cost nothing
Leave real white space between sections rather than filling gaps. Keep one type scale and one caption style across every case study. Show the object in its real context once per project, on a workbench, in a hand, or installed in the machine it was made for. And date nothing you cannot support with a fact.
Frequently Asked Questions
How many projects should a 3D printing portfolio include?
Aim for eight to twelve projects, each with one case study. Fewer than six looks thin for a job application, and more than fifteen rarely gets read. Cover different challenges rather than variations of the same object, put your two strongest first, and make sure each entry includes the result and where the part ended up.
How do I show a 3D printing project that is under NDA?
Describe the problem and your process without naming the client, the product, or confidential dimensions. Generic phrasing like a medical device enclosure works fine, and redacting figures or blurring faces in photos is standard. Get written permission before publishing anything identifying, and ask your client what they will tolerate in a portfolio.
Should a 3D printing portfolio include failed prints?
Yes, but selectively. Include one or two failures that explain a design decision, with a short note on what went wrong and what you changed. That builds trust because it proves you can diagnose a problem. A wall of failures without context reads as inexperience, so keep the embarrassing ones out of the main page.
Do I need CAD screenshots in a 3D printing portfolio?
They help, especially for design and engineering roles where your modelling decisions are the work. Include the view that shows the decision you made, such as wall thickness, clearances, or a feature you iterated on. Skip the crowded full-screen capture with every toolbar visible. A cropped, annotated view communicates far more.
What file format is best for a 3D printing portfolio?
For the portfolio itself, a responsive website is best because images stay sharp on any screen and text remains readable and searchable. Have a single-page PDF as a backup for emails, applications, and trade show handouts. Host 3D model files separately on a model-sharing platform and link to them, rather than offering downloads from the portfolio page.
How can a beginner choose a strong portfolio project?
Choose something you finished, that solved a real problem, and that you can explain in three sentences. A functional part you designed yourself beats a complicated model you downloaded. Make sure you still remember the material, layer height, and print time, because that record is what you will write about. Motivation matters less than being able to describe the decisions.
Conclusion
How to build a 3D printing portfolio comes down to three habits: show the process, document the settings, and keep it current. Pick the job or client you want, filter your archive through it, and write each project as challenge, approach, technical decisions, result, and lessons.
Start today with one project you have already finished. Pull the slicer file, write down the settings from memory, take five photos near a window, and write 200 words. One honest case study done properly is worth more than twenty finished prints with no explanation, and it is far easier to build the second one after the first.